Yes, and you have two solid routes. If eggs are fine in your kitchen, a fresh egg white plus powdered sugar, a squeeze of lemon juice and a little vanilla gives you true royal icing that dries hard and holds detail. If eggs are out, powdered sugar with warm water and light corn syrup works for spreading, piping and dipping, but it dries soft and behaves like a thicker glaze than a hard shell. This guide covers both, with the ratios in cups and grams, the four consistencies and how to fix the icing when it misbehaves.
One correction before you start, because it comes up constantly: cream of tartar cannot replace meringue powder. More on that below.
Table of Contents
- What You Need
- For the egg-white version (dries hard)
- For the egg-free version (dries soft)
- Tools that make this easier
- Step-by-Step
- Step 1: Mix the icing base
- Step 2: Add color and adjust the consistency
- Step 3: Pipe, spread, or dip the cookies
- Step 4: Let the icing dry
- How to Make Cookie Icing Without Meringue Powder
- Common Mistakes
- Frequently Asked Questions
- Can I make cookie icing without meringue powder?
- What can replace meringue powder in cookie icing?
- How do I make cookie icing thick enough for piping?
- How long does cookie icing without meringue powder take to dry?
- Does royal icing without egg whites harden enough for a gingerbread house?
- Is this icing safe for someone with an egg allergy?
- Conclusion
What You Need
Meringue powder is dried egg white with cornstarch, citric acid and a little sugar. The egg protein is what gives royal icing its body, and the acid is what keeps that body flexible instead of glassy. Once you know that, the substitutions make sense.
For the egg-white version (dries hard)
- Powdered sugar: 3 cups (360 g). Sifted, or pushed through a fine sieve if it has lumps.
- Fresh egg white: 1 large (about 30 g), at room temperature.
- Lemon juice: 1 teaspoon, fresh or bottled, plus more for thinning.
- Vanilla or almond extract: 1/2 teaspoon.
- Gel food coloring: optional, for color.
- A pinch of salt: optional, and worth it.
For the egg-free version (dries soft)
- Powdered sugar: 3 cups (360 g).
- Light corn syrup: 2 teaspoons, plus more to thin.
- Warm water: 1 to 2 teaspoons, plus more as needed.
- Lemon juice: 1/2 teaspoon, which cuts the sweetness and adds a little structure.
- Vanilla or almond extract: 1/2 teaspoon.
Water and corn syrup both go into the egg-free version, and that is the whole problem with it. Decorators on baking forums describe it as icing that works fine until you try to change its consistency, then it will not do what you asked. Plan on picking one thickness and living with it.
Tools that make this easier
- A small bowl and a silicone spatula or flat whisk.
- A piping bag with a coupler and a small round tip, plus bag clips.
- A paring knife for the knife test.
- A small dish of water for dipping cookies.
- A lazy Susan if you are piping wet-on-wet designs, so you can rotate the cookie instead of your wrist.
- A small spray bottle or a second pipette for controlled water additions.
- A heater fan for setting the icing faster.
Mix the smallest batch that covers the cookies in front of you. Icing is adjusted by the spoonful, and adjusting is much easier in a cup or two of powdered sugar than in a five-cup batch sitting in a hot kitchen.
Step-by-Step
Step 1: Mix the icing base
Put the sifted powdered sugar in a bowl. Make a well in the center and add the egg white, lemon juice, extract and salt right into it, then stir from the middle outward until everything comes together.
The bowl will look alarming at first. Half the sugar is loose powder and the other half is a wet clump stuck to your spatula. Keep going. You are looking for a texture like thick soft serve, with no dry powder sitting in the bottom when you drag a clean finger through the surface.
If you have a hand mixer or a stand mixer, use the flat whisk on low for about a minute at the end. It is not about aerating here, it just makes the icing smoother and faster. A spoon works fine, it is only more arm work.
For the egg-free version, stir the syrup, warm water, lemon juice and extract together first, then fold in the powdered sugar until no dry pockets remain. Let it sit for 10 minutes so the sugar hydrates, then stir again. That rest is the difference between grainy icing and smooth icing.
Step 2: Add color and adjust the consistency
Add gel coloring at the stiff stage, before any thinning, because the color is more intense in thick icing and the water you add later will not wash it out. A tiny amount on the end of a toothpick goes a long way.
Liquid food dye also works, but you need roughly twice as much and it can tint the icing grey if it is heavy-handed. Gel colors from a small bottle are worth having for this reason alone.
Now check the thickness with the knife test. Dip a clean paring knife into the icing and lift it out upright, letting the surface close over the blade. Time how long the surface stays flat before a clean line appears.
| Stage | What the knife test shows | Use it for |
|---|---|---|
| Stiff | About 25 seconds, no line at all | 3D roses, borders, thinned with water for lines |
| Piping | About 15 seconds, a faint line | Outlines and writing |
| Medium | About 10 seconds, a clear line | Feathering, wet-on-wet, simple borders |
| Flood | 8 to 10 seconds, the line closes fast | Filling large areas with a spatula |
Adjust one variable at a time. Too thin means adding powdered sugar a spoonful at a time and waiting for it to absorb before judging again. Too stiff means water, one drop or one half-teaspoon at a time, and mixing fully in between, because adding all the water at once is the single most common reason lines end up watery and grainy.
Step 3: Pipe, spread, or dip the cookies
For piping, fill a bag about one third full and twist the top closed. Squeeze a little into a scrap of parchment first. If the tip clogs, the icing is too stiff; if it runs sideways off the cookie, it is too thin for that tip.
Outlines go on first at piping consistency, then you flood the inside at flood consistency without touching the outline. Let the outline dry before you flood, otherwise the two colors bleed into each other and you get mud.
For spreading, the egg-white version at medium consistency spreads with an offset spatula and holds the surface long enough to smooth out the marks. Thin it more and it slumps off the edge, which is the most common decorating mistake with home-made icing.
For dipping, thin both versions until they run off the spoon in a slow ribbon, dunk the cookie halfway, and lift it out letting the excess drip back into the dish. This is where the egg-free version genuinely shines, because you only need it to set enough to handle the cookie.
Step 4: Let the icing dry
The egg-white version on a smooth sugar cookie sets to the touch in about 2 hours and is fully firm after 6 to 8 hours, or overnight. The egg-free version dries to a soft satin finish in roughly 4 hours and never becomes a hard shell.
A heater fan on low for an hour speeds things up and leaves a slightly shinier surface than air drying alone. Keep the fan pointed at the cookies, not at the icing while it is still wet, or you will blow dust and crumbs onto it.
Humidity changes all of this. In a dry kitchen the icing tightens in a few hours; in a damp one it can take most of a day and stay tacky underneath even when the top feels dry.
Store finished cookies in an airtight container at room temperature, with a layer of parchment between the layers so the icing does not stick to the one above. Fridge storage pulls moisture out and makes the icing sticky again; if that happens, a few minutes near the fan brings it back.
Leftover icing lasts about a week covered in the fridge. When it separates, massage the closed bag with your hands for 30 seconds, squeeze out a little air, and knead it back together. Freezing it in the piping bag itself is fine and keeps the consistency untouched for a couple of months.
How to Make Cookie Icing Without Meringue Powder
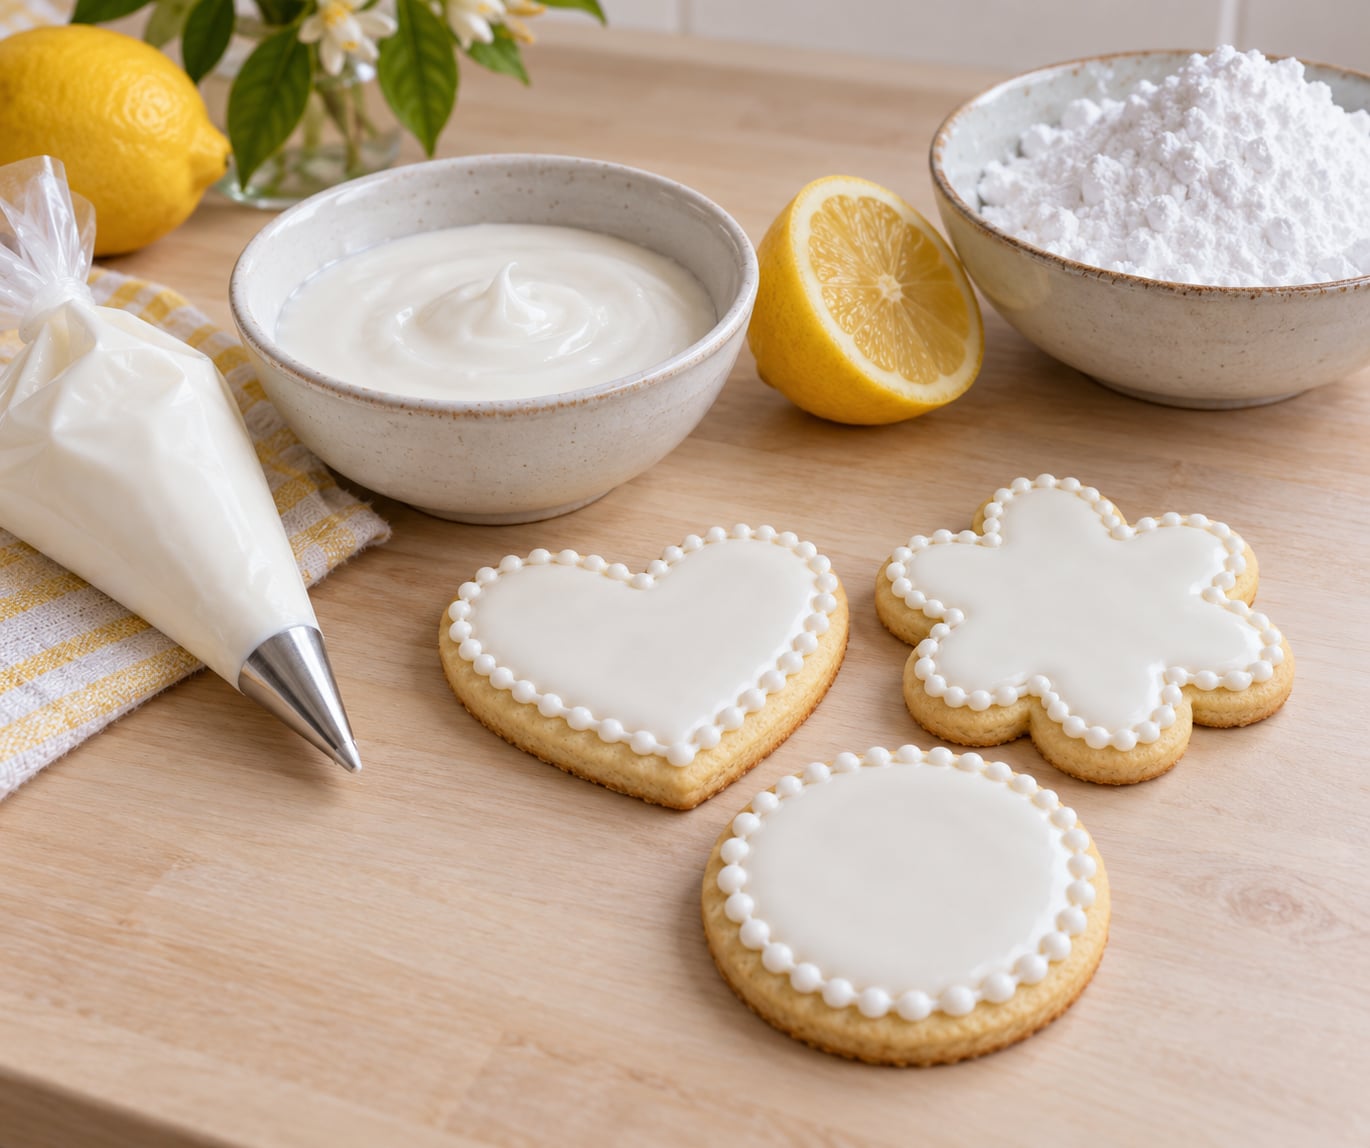
Here is the whole method on one screen: sift the sugar, add the wet ingredients, stir until no dry pockets remain, color it at the stiff stage, then thin it one drop at a time until the knife test matches the job you are doing.
The consistency chart above is the part worth memorizing. Decorating is not about one perfect icing, it is about four different icings from the same bowl, and the only tool you need to switch between them is a knife and a clock.
| Version | Main liquid | Dries hard? | Best for |
|---|---|---|---|
| Egg white + lemon | 1 egg white, 1 tsp lemon juice | Yes, fully | Outlines, floods, 3D work, gingerbread houses, transport |
| Egg white + vinegar | 1 egg white, 1 tsp white vinegar | Yes, fully | Same as above when you are out of lemons |
| Egg-free, water based | Warm water, 1/2 tsp lemon juice | Partly, soft satin | Spreading, dipping, cut-out cookies eaten the same day |
| Egg-free, syrup based | 2 tsp light corn syrup, warm water | No, stays soft | One-consistency decorating, thin cookies, kids helping |
The honest difference comes down to protein. Egg white sets into a shell as it dries, which is why that version survives being stacked and boxed. Without egg, the sugar and syrup set into something closer to a thin candy shell, pleasant to eat and a little fragile to handle.
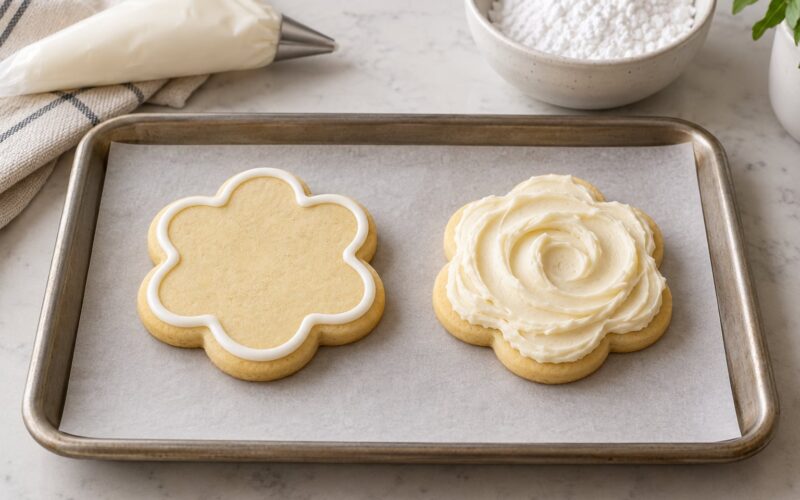
There is a third route worth naming, because it is the one most people picture when they say cookie icing: a butter glaze. Cream 4 tablespoons (60 g) of softened butter with 2 cups (240 g) of powdered sugar, a half teaspoon of vanilla and 1 to 2 teaspoons of milk, then beat until it is pale and glossy. It is the softest option of the three, spreads with a knife, and never hardens at all, so it suits cookies you are eating the same day. Nothing in that recipe needs meringue powder, which is exactly the point: the meringue in royal icing is there for hardness, and if you do not need hardness you do not need it.
For flavor, the egg-free versions need help because there is nothing to balance the sugar. A pinch of salt, a little extra lemon juice, or almond extract instead of vanilla all cut the sweetness. Cold cookie icing tastes noticeably sweeter than warm, so taste it on a biscuit before you decide it is wrong.
Color work is easier in the egg-free version because soft icing blends smoothly, which makes wet-on-wet designs forgiving. Color each batch separately, drop a small blob of the next color into the wet icing, then drag a toothpick through for a pulled look. Let each flood dry before the next, or the colors bleed.
Common Mistakes
Icing runs off the cookie edge. It was thinned too far for the flood. Add a spoonful of powdered sugar, wait for it to absorb, then flood a spare cookie and let the surface settle for 10 seconds before judging.
Icing is too stiff to pipe. Beat in a little more egg white, or for the egg-free version add water one drop at a time. Do not dump in a teaspoon, because over-thinned icing cracks as it dries.
Icing is grainy or gritty. The sugar did not dissolve. Beat it for another minute, or let it sit covered for 10 minutes. For the egg-free version, always sift the sugar first and give it that rest.
Icing looks greasy or dull. Too much fat, usually shortening, or a dry surface on the cookie. Use butter rather than shortening, and let baked cookies cool completely on a flat surface before decorating, since a warm cookie melts the fat in the icing.
Icing takes forever to dry. Either the layer is too thick or the room is humid. Spread thinner than feels right, move the cookies closer to a fan, and give it overnight before stacking anything.
Icing cracks as it dries. Three usual causes: the icing was thinned too much, the cookies were bone dry or over-baked, or the air is very dry. Add more powdered sugar to stiffen, and next time pull the cookies a minute or two earlier.
Colors bleed into each other. The flood was still wet when the next color went on. Let each flood sit until the top is dry to a light touch, then pipe the next color.
The icing tastes flat. It needs acid and salt more than more sugar. Add lemon juice a few drops at a time and a pinch of salt, then taste again.
Finally, a straight answer to the sugar-free question, since plenty of people try it: sugar-free sweeteners do not produce royal icing. They behave differently in solution and the icing stays tacky and fragile. If you need to reduce sugar, use half regular powdered sugar and half allulose-based sweetener and accept a softer finish.
Frequently Asked Questions
Can I make cookie icing without meringue powder?
Yes. A butter-based icing made with powdered sugar, vanilla, and a small amount of liquid works well for spreading, piping, and dipping. For icing that dries hard enough to stack and transport, use one egg white with powdered sugar, lemon juice, and vanilla instead of butter. Pick the version based on whether you need a hard finish or just something that tastes good.
What can replace meringue powder in cookie icing?
Fresh egg whites are the closest match, since meringue powder is dried egg white with cornstarch and citric acid. Egg white powder works the same way and is pasteurized. For a fully egg-free version, use warm water and light corn syrup, or water with a little lemon juice, accepting that the icing dries soft. Cream of tartar is not a substitute.
How do I make cookie icing thick enough for piping?
Mix the icing, then run the knife test. If the line in the icing disappears in under 8 seconds, add powdered sugar one spoonful at a time and stir completely between additions. If it stays flat for 25 seconds, that is stiff and ready for borders or 3D work. Piping outlines usually need a line that takes about 15 seconds to close.
How long does cookie icing without meringue powder take to dry?
The egg-white version is touch-dry in about 2 hours and firm after 6 to 8 hours or overnight. The egg-free version takes roughly 4 hours to a soft satin finish and never fully hardens. Humidity, icing thickness, and the cookie itself all change the timing. Leave decorated cookies uncovered and flat while they dry, then store them in an airtight container.
Does royal icing without egg whites harden enough for a gingerbread house?
Egg-free icing is workable for a gingerbread house you eat the same day, but the corn syrup and water version holds one consistency only and never becomes structural. For walls and roofs that need to stand on their own, use the egg white version, which dries hard and can be trimmed and joined. Test a small panel and leave it overnight before you commit to the whole house.
Is this icing safe for someone with an egg allergy?
Only the egg-free versions. Both use no eggs and are also dairy-free and gluten-free, so they suit vegan and nut-free decorating as well. Egg white powder is pasteurized and generally considered lower risk, but anyone with a severe allergy should check the label and their allergist. Cross-contact matters too, so keep egg-based and egg-free icing separate when decorating for a guest.
Conclusion
Start with a small batch. Three cups of powdered sugar, one egg white and a teaspoon of lemon juice will decorate a batch of cookies in well under ten minutes, and if it goes wrong you have not wasted a bag of sugar.
Check the consistency before you touch a cookie. Put a knife in, watch the line, and adjust one drop or one spoonful at a time. That single habit solves most of the problems people run into.
And pick the right version on purpose. Need hard icing that stacks, ships to a party, or holds up a gingerbread roof? Use egg whites. Eggs are off the table, or you only need something soft and sweet for cookies eaten today? The egg-free sugar and syrup version does that job well, as long as you are honest that it will not harden.