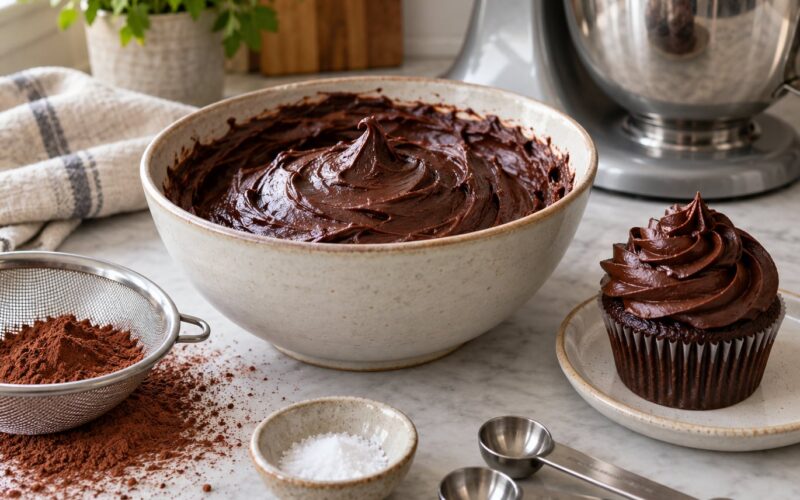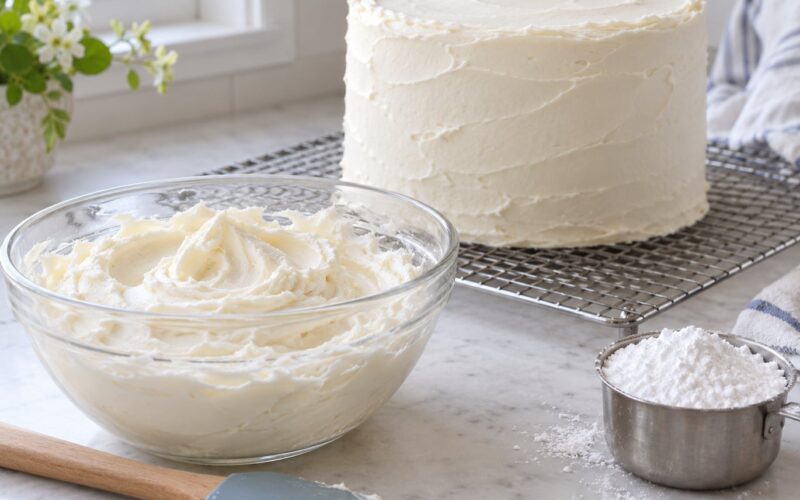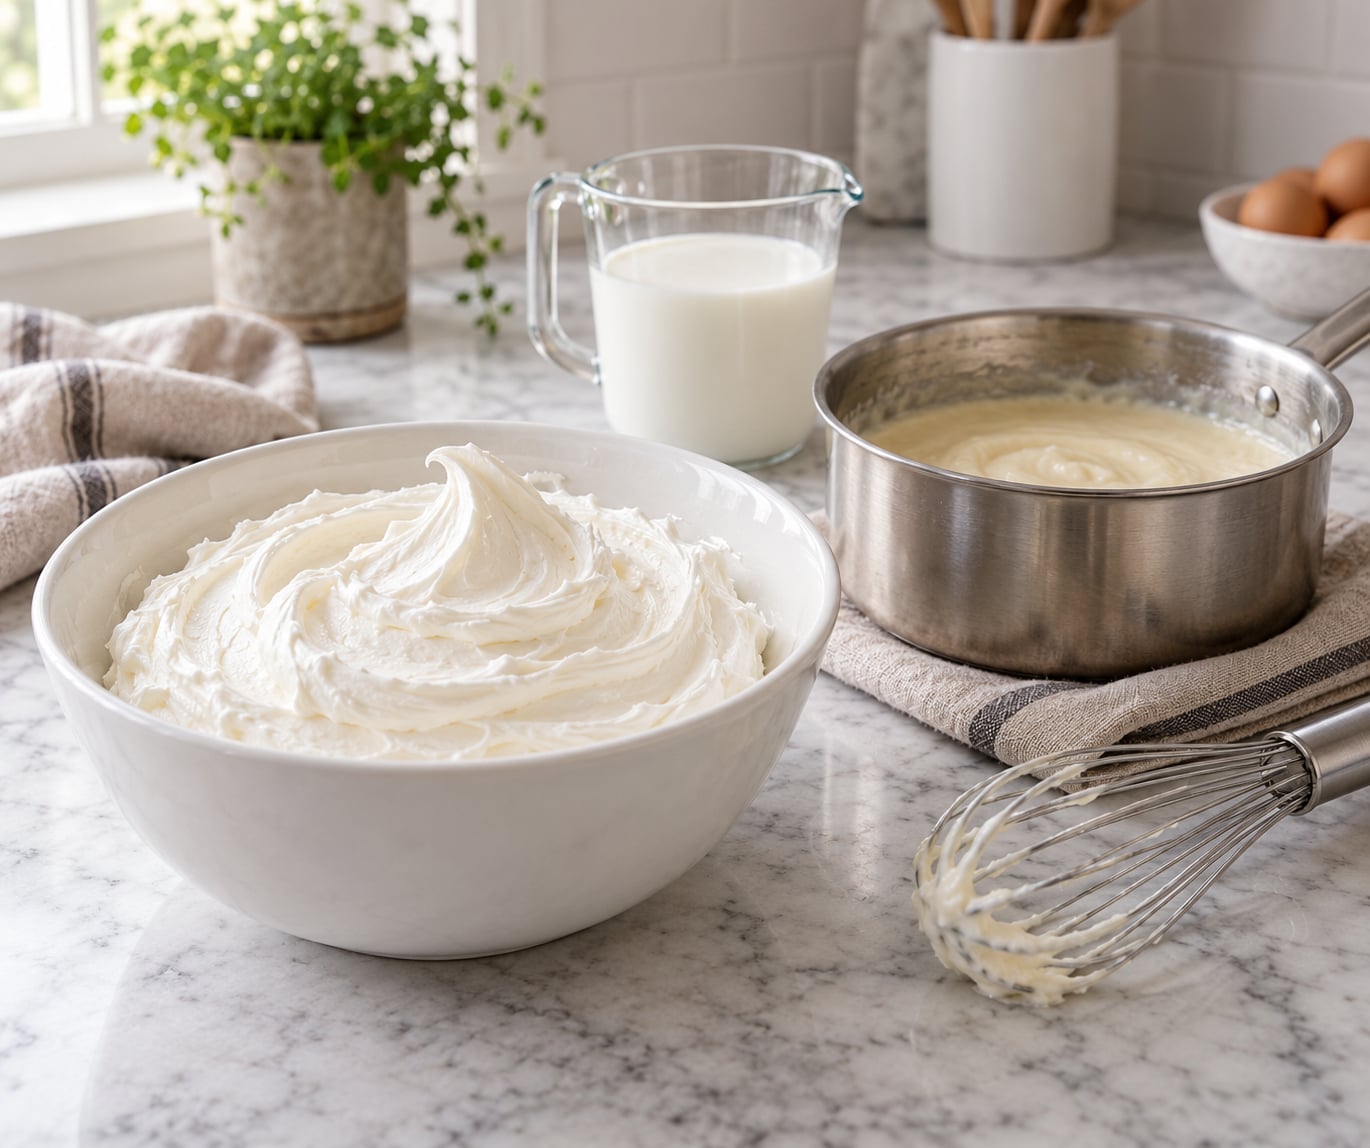
Ermine frosting is an old-fashioned, silky-smooth cooked flour frosting made by cooking milk, sugar and flour into a thick paste, chilling it completely, then whipping that paste into softened butter until light and fluffy. You will also see it called boiled milk frosting, flour frosting, cooked flour frosting, roux frosting, poor man’s frosting or whipped icing. It takes about 30 minutes of active work plus cooling time, and it is far less sweet than American buttercream, which is why it has been the frosting of choice for red velvet cake since the 1900s.
Recipe updated for 2026.
Table of Contents
- What You Need for Ermine Frosting
- Equipment
- Substitutions and Swaps
- Step-by-Step
- Step 1: Combine the Sugar and Milk
- Step 2: Cook the Sugar-Milk Mixture
- Step 3: Cool the Mixture Carefully
- Step 4: Whip the Butter Until Fluffy
- Step 5: Add Vanilla and Finish the Frosting
- How to Make Ermine Frosting Without a Candy Thermometer
- How to Use and Store Ermine Frosting
- Common Mistakes
- Grainy frosting
- Soupy frosting that slides off the cake
- Frosting that split or turned greasy
- Frosting that is too stiff to spread
- Lost volume hours later
- Raw flour or milk taste
- Frequently Asked Questions
- How long should I whip ermine frosting?
- What is another name for ermine frosting?
- Why is my ermine frosting grainy?
- What does ermine frosting taste like?
- What is ermine frosting best for?
- How long does ermine frosting last in the refrigerator?
- Conclusion
What You Need for Ermine Frosting
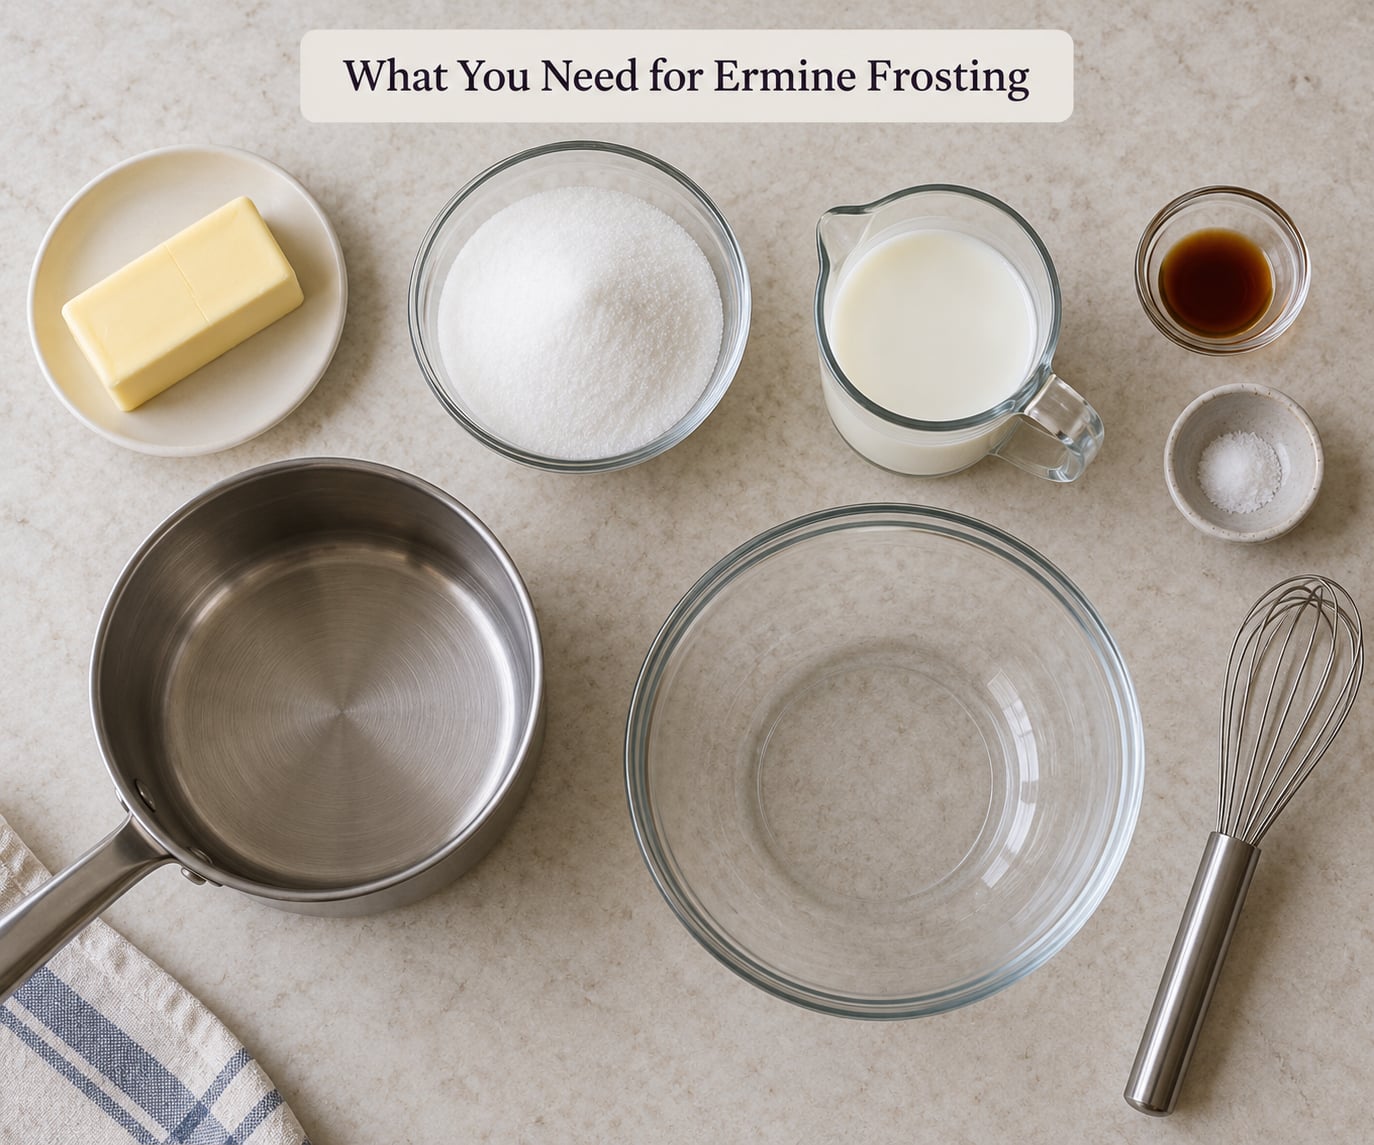
This is a small-batch recipe, about five ingredients plus salt. It makes enough to fill and frost one two-layer 9-inch cake, or one 9×13 sheet cake, or roughly 24 cupcakes.
- 1 cup whole milk
- 3 tablespoons all-purpose flour
- 1 cup granulated sugar
- 1 cup unsalted butter, softened to room temperature
- 1 teaspoon vanilla extract
- A pinch of fine sea salt
The butter is the only place fat enters the recipe, so buy unsalted. It also needs to be genuinely soft, dented by a thumb but not melted, because melted butter will not trap air.
Equipment
A heavy-bottomed saucepan, a whisk, a candy thermometer, and a stand mixer with a whisk attachment or paddle. A rubber spatula and a piping bag for the finished frosting round out the list.
A hand mixer works, and so does an arm-powered whisk, though readers on baking forums usually describe hand-whipping the same quantities as slower and fiddlier. A thermometer is not strictly required, but it is the single cheapest way to avoid a grainy batch.
Substitutions and Swaps
Use whole milk or 2% for the intended texture. Skim milk makes a thinner paste and a looser frosting, and plant milks vary so much by brand that results are unpredictable.
For a gluten-free version, substitute a cup-for-cup gluten-free flour blend that contains a binder such as xanthan gum. For dairy-free, use a firm vegan butter and plant milk, understanding that the result sets more like a cream cheese frosting than a traditional one.
Cutting the sugar in half gives a less sweet frosting that still works well. Below about half, though, the granules are harder to dissolve and graininess becomes more likely.
Step-by-Step
Step 1: Combine the Sugar and Milk
Whisk the sugar into the milk in a heavy saucepan until the liquid is smooth and the sugar has mostly dissolved. Then whisk in the flour and keep whisking until you have a completely smooth slurry with no dry pockets left in the bottom of the pan.
Getting rid of lumps at this stage matters more than any later step. Flour that hits the pan in clumps stays clumped, and clumps become the grainy bits people complain about most.
Step 2: Cook the Sugar-Milk Mixture
Set the pan over medium heat and stir constantly with a whisk or silicone spatula, scraping the bottom and the sides. Cook to 240°F (116°C) on a candy thermometer, which reads as a soft ball, or until the mixture is thick, glossy and pulls away slightly from the edge of the pan when you drag a spoon across it.
Keep the heat moderate. A rolling boil scorches milk and drives off moisture, and cooking well past the target point reduces the paste to a tough, gummy mass that will never whip into something light. The texture at the end of this step should resemble thick pudding or pastry cream, not glue.
If you can taste raw flour in the finished frosting, the next batch gets a dry toast: warm 3 tablespoons of flour in the dry pan for a minute or two over medium heat, stirring, until it smells faintly nutty, then whisk it into the cold milk before the sugar goes in.
Step 3: Cool the Mixture Carefully
Pour the hot paste into a heatproof bowl, press plastic wrap directly against the surface so no skin forms, and let it cool to the touch. Then chill it until it is completely cold to the touch, at least 30 minutes in the refrigerator or about 15 minutes in the freezer.
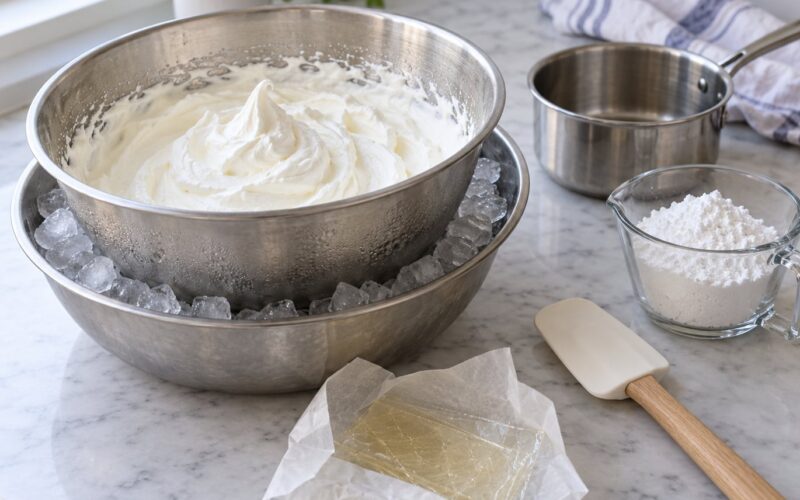
This is the step that trips up most first attempts, and warm paste is the number-one cause of soupy frosting. Slightly warm paste melts the butter before the mixer can aerate it, and the frosting never recovers. If you want to skip the chill, at least cool the paste over an ice bath in the bowl, stirring, and do not add butter until the mixture stops steaming.
Step 4: Whip the Butter Until Fluffy
Put the softened butter in a clean mixing bowl and beat on medium speed for 3 to 5 minutes, until it looks pale, creamy and noticeably lighter in color. Scrape the bowl twice, because butter hides air in the gaps at the bottom.
Roughly 1 cup of milk plus 1 cup of sugar plus 3 tablespoons of flour whipped into 1 cup of butter is a lot of payload, so budget 5 to 7 minutes of mixing for the final stage on top of the butter creaming time.
Step 5: Add Vanilla and Finish the Frosting
With the mixer on low speed, add the cold paste one spoonful at a time, or squeeze it in slowly from a piping bag while the paddle turns. Let each addition mix in before adding the next. Add the vanilla and salt with the last two spoonfuls.
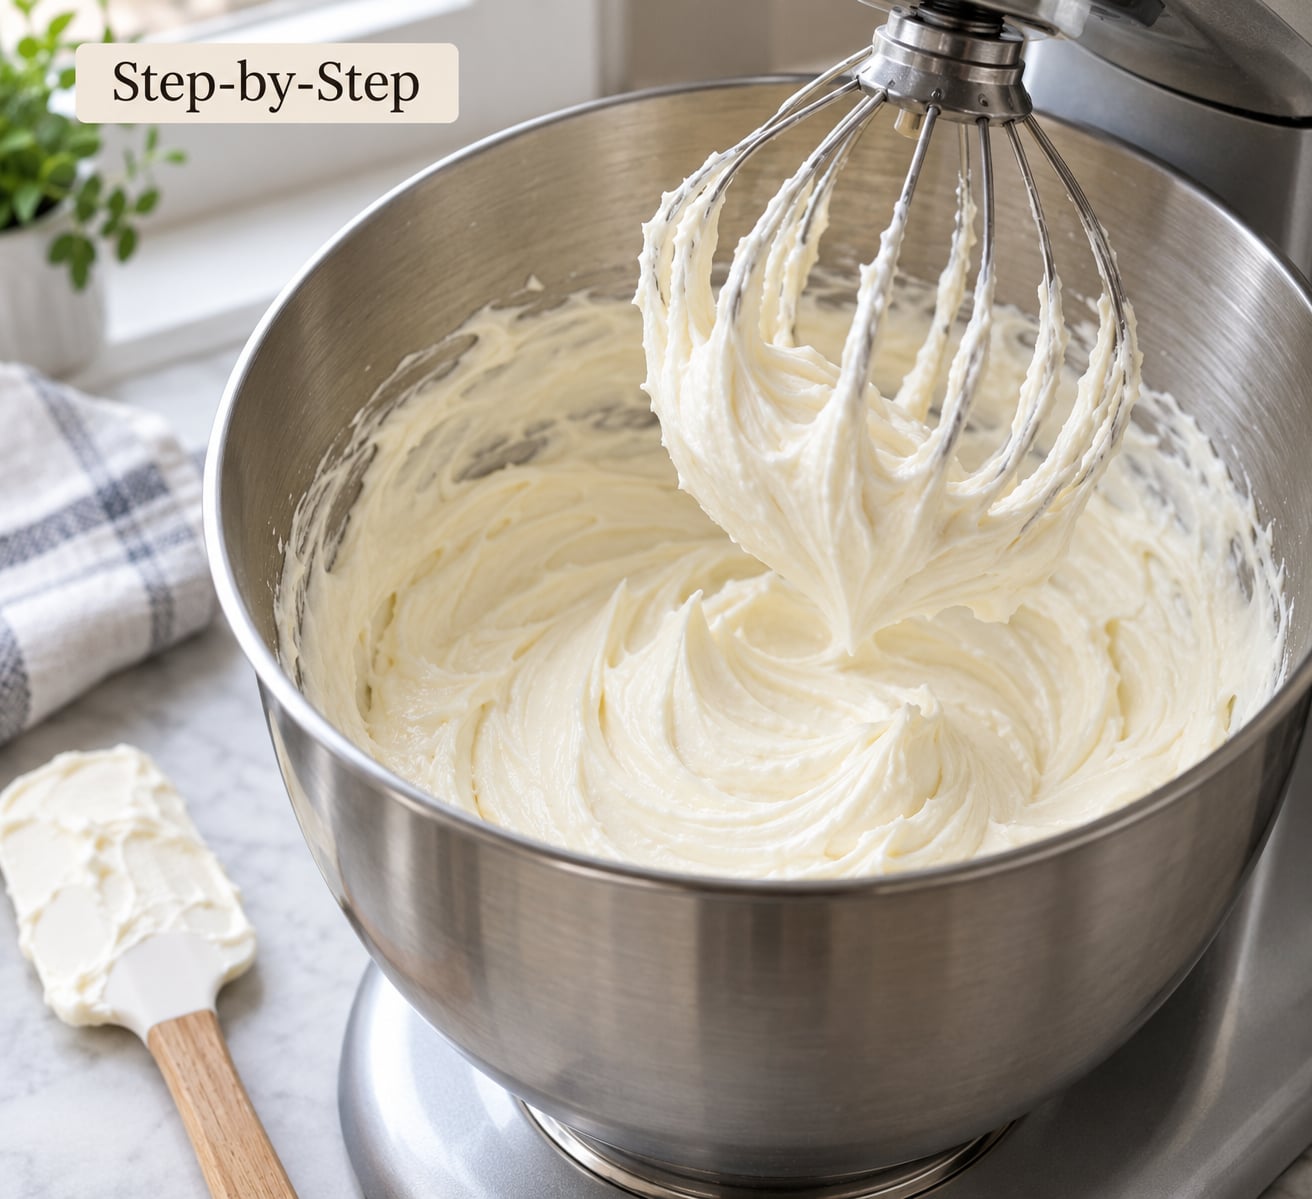
Beat on medium-high for another 3 to 5 minutes until the frosting turns white, thick and cloud-like and holds a soft peak when you lift the beaters. The frosting is ready when it looks like whipped cream and the bowl feels noticeably heavier than the butter did at the start.
Too stiff, a tablespoon of warm milk or cream fixes it. Too loose, chill the bowl for 10 minutes and beat again. Gel food coloring beats drops of liquid coloring, which can thin the frosting and dull the color.
How to Make Ermine Frosting Without a Candy Thermometer
Skip the thermometer and cook by texture instead. Stir until the mixture is thick enough that a spoon leaves a clean line across the bottom of the pan that stays visible for a few seconds, and the paste falls slowly off the spoon in a thick ribbon rather than pouring.
That check lands close to the thermometer reading most of the time, but it is a window rather than a point, so give it two extra minutes of gentle cooking before you trust it. A thermometer gives the most consistent result, and it is the better tool when you are frosting a cake that has to look right.
How to Use and Store Ermine Frosting
Ermine is at its best on red velvet, chocolate layer cakes, carrot cake, cupcakes and vintage-style celebration cakes. It spreads with a bench scraper, holds swirls from a piping bag, and fills layer cakes without the syrupy slide of a thinner glaze.
There are jobs it should not do. It is softer than American buttercream, so it compresses under fondant and slumps under the weight of tall stacked tiers. It also softens in a warm room, so it is a poor choice for an outdoor summer display or a cake sitting in a car. If you need a warm-weather or tiered-cake frosting, Swiss meringue buttercream holds up better.
Store the frosting in an airtight container in the refrigerator for up to 4 days, pressing plastic wrap onto the surface so it does not form a skin. Let it come to room temperature and re-whip for 30 seconds before using it, since the texture firms up noticeably within a few hours of whipping.
Freezing works for longer storage. Freeze in a container leaving a finger of headroom, then thaw overnight in the refrigerator and whip again. The cooked paste on its own keeps for about a week refrigerated in a sealed container.
To scale up, double the recipe for a wedding cake or a pair of sheet cakes and triple it for a large tiered cake. Cook the roux in batches in a heavy pot rather than one enormous one, since a bigger volume of milk takes much longer to reach temperature and is far easier to scorch. Use deep mixing bowls and give the butter extra creaming time, since the finished frosting is heavy and a small bowl can overheat.
Common Mistakes
Grainy frosting
Graininess means sugar or flour crystals never dissolved. Whisk the slurry smooth before heating, cook to the full target temperature, and whip the finished frosting for the full 5 minutes at medium-high speed. If it is still gritty, strain it through a fine mesh sieve. Prevention next time: grind the sugar to a fine powder in a blender, or buy caster sugar and pulse it briefly.
Soupy frosting that slides off the cake
Warm paste is the usual cause. Chill it fully, then add the paste in small amounts with the mixer running. A frosting that thins afterward usually means liquid coloring or too much vanilla; use gel color and taste the vanilla before pouring.
Frosting that split or turned greasy
Dumping the cold paste in at full speed shocks the butter into separated clumps. Save it by returning the bowl to the mixer on low, adding a tablespoon of cool milk, and letting it come back together for several minutes. It often needs a full 5 minutes of patient mixing. This is a common report on r/Baking, and most of those frosting recovered.
Frosting that is too stiff to spread
Stiffness usually means the paste went slightly past the target temperature. Beat in a tablespoon of warm milk or cream at a time until it spreads without sagging. For a long job, keep the bowl over a folded towel so the butter stays workable.
Lost volume hours later
Ermine firms as it sits, so do not frost a cake hours in advance and expect the same softness. Frost the cake the same day, and if you must work ahead, keep the finished frosting chilled and re-whip it before spreading.
Raw flour or milk taste
Undercooked paste tastes of raw flour; overcooked paste tastes scorched. Toast the flour dry first, stir the whole time the pan is on the heat, and hit the target temperature rather than eyeballing it.
Frequently Asked Questions
How long should I whip ermine frosting?
Whip the softened butter on its own for 3 to 5 minutes until pale and creamy, then add the cold paste a spoonful at a time on low speed. Once everything is combined, beat at medium-high for another 3 to 5 minutes until the frosting is white and holds a soft peak. Total mixing time is usually 8 to 12 minutes.
What is another name for ermine frosting?
Ermine frosting goes by boiled milk frosting, flour frosting, cooked flour frosting, roux frosting, poor man’s frosting and whipped icing. It is a cooked flour and milk paste whipped into butter, and the older names are simply the labels different families and cookbooks used before ermine became standard.
Why is my ermine frosting grainy?
Graininess comes from sugar or flour that never fully dissolved. Whisk the slurry lump-free before heating, cook to 240°F (116°C), and whip the finished frosting for a full 5 minutes at medium-high speed. If grains remain, strain the frosting through a fine mesh sieve. Using powdered or finely ground sugar next time usually solves it.
What does ermine frosting taste like?
It tastes like vanilla, butter and a clean cooked milk sweetness, with no powdered sugar aftertaste. The texture is light and cloud-like, closer to whipped cream than to dense buttercream, and the sweetness is noticeably lower than American buttercream. It is the classic pairing with red velvet cake.
What is ermine frosting best for?
It is best for red velvet cake, chocolate layer cakes, carrot cake, cupcakes and vintage-style celebration cakes, where its light texture sits well against a tender crumb. It is a poor choice under fondant, under tall stacked tiers, or for a cake displayed in hot weather, since it softens and slumps more than a meringue buttercream.
How long does ermine frosting last in the refrigerator?
Finished ermine frosting keeps in an airtight container in the refrigerator for up to 4 days, with plastic wrap pressed directly against the surface. It firms noticeably within a few hours, so let it come to room temperature and re-whip for 30 seconds before spreading. For longer storage, freeze it and whip again after thawing overnight.
Conclusion
Start by getting the paste completely cold before it ever touches the butter, and everything after that is straightforward. Cook the milk, sugar and flour to 240°F (116°C), chill it, then stream it into whipped butter a spoonful at a time and beat until it looks like whipped cream.
If your first batch turns grainy or soupy, you can still use it. Strain it, chill it, or add a splash of warm milk and whip it back to where it should be.