Gluten free cupcakes go crumbly for three reasons: the flour had no binder in it, the batter got overworked, or they spent too long in the oven. Fixing those three is how to make gluten free cupcakes that are not crumbly — start with a cup-for-cup blend that already contains xanthan gum, mix only until the flour disappears, and pull them while the centers still look a shade underdone. From counter to cooling rack, the whole thing takes about 35 minutes.
If you’ve been following a recipe exactly and still get crumbs on the first bite, the recipe probably isn’t the problem. The flour blend is. Most people buy the cheapest rice flour bag they can find, use it like plain flour, and expect gluten to show up and hold things together.
Table of Contents
- What You Need: Flour Blend, Binder, and the Rest
- Step-by-Step: How to Make Gluten Free Cupcakes That Are Not Crumbly
- 1. Why Gluten Free Cupcakes Go Crumbly in the Dry Stage
- 2. Add the Right Amount of Moisture in the Right Order
- 3. Bake Until the Crumb Is Fully Set
- Common Mistakes and the Fix for Each One
- Frequently Asked Questions
- Can I use a boxed gluten-free flour blend to make cupcakes that are not crumbly?
- Do gluten-free cupcakes need xanthan gum or another binder?
- Should I use oil or butter for moist gluten-free cupcakes?
- How long should I bake gluten-free cupcakes at 350°F?
- Why are my gluten-free cupcakes crumbly after they cool?
- Why do my gluten-free cupcakes sink in the middle?
- Conclusion
What You Need: Flour Blend, Binder, and the Rest
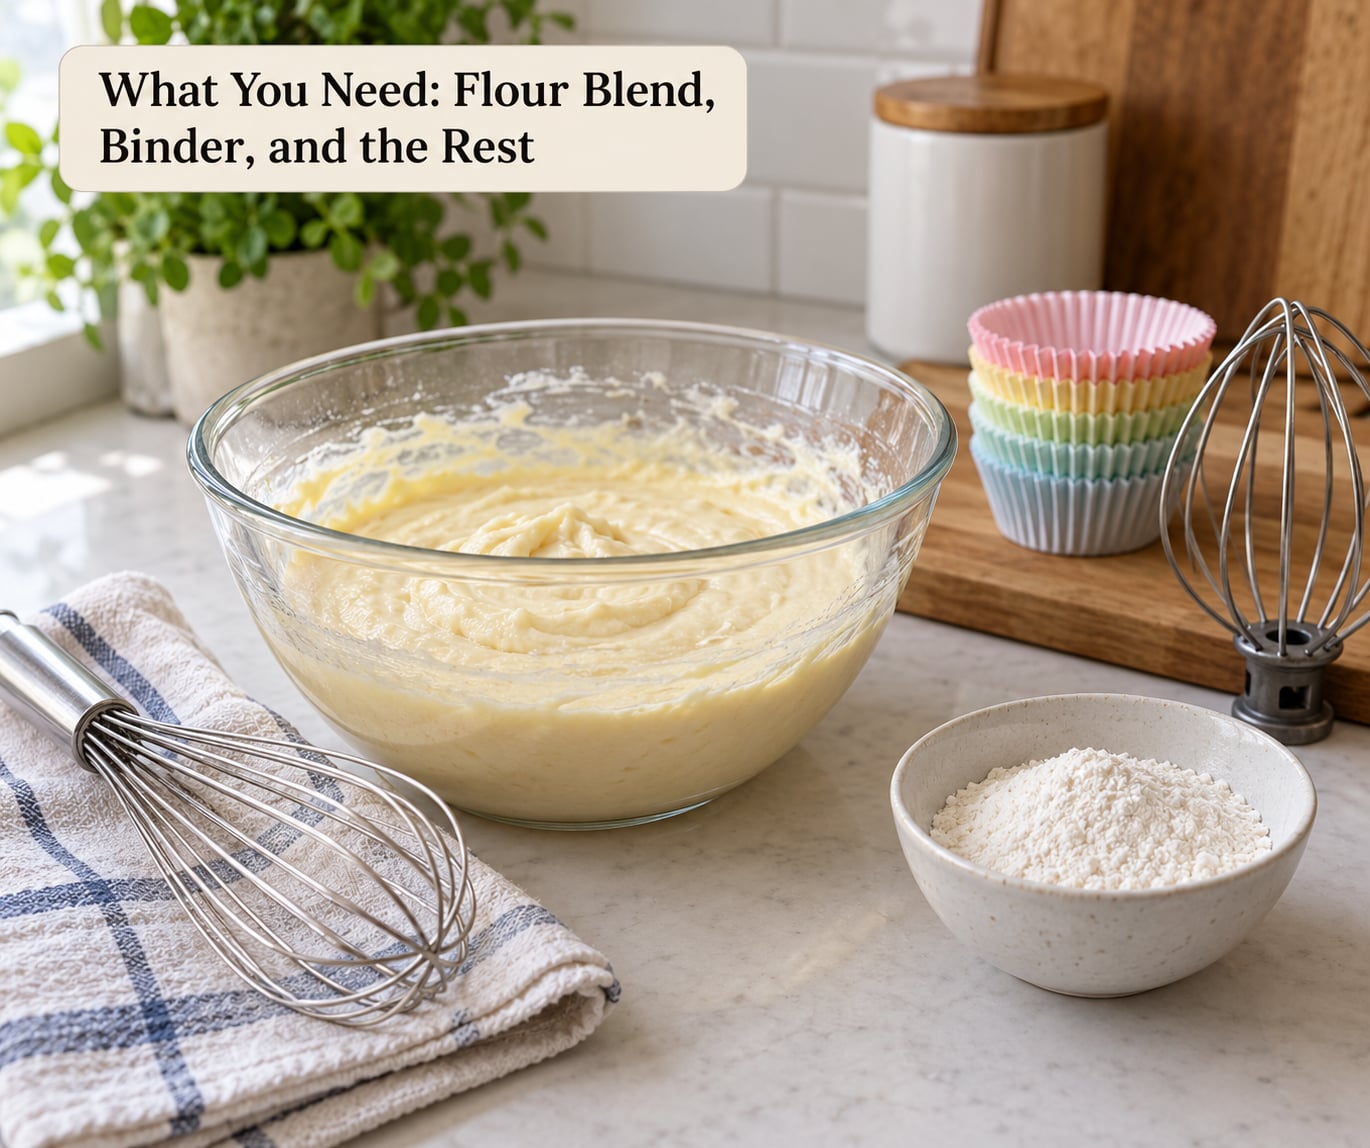
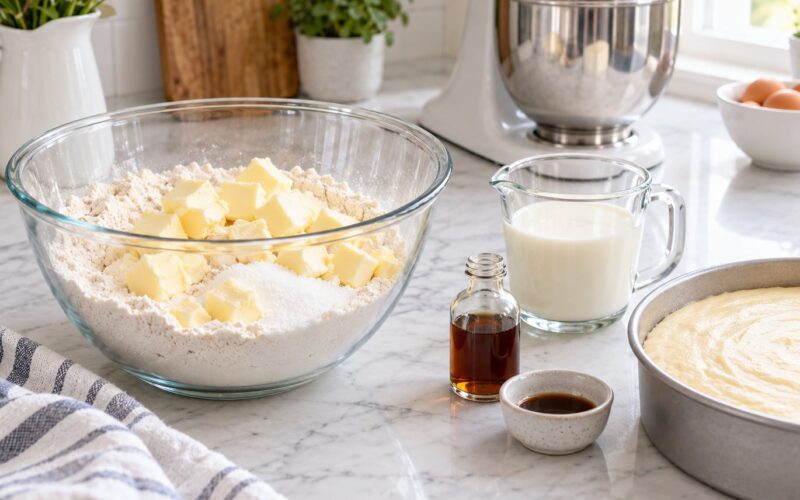
A 12-cup muffin tin, paper liners, a kitchen scale, a whisk, a rubber spatula, an ice cream scoop, a toothpick, a thin skewer, and a wire cooling rack. A stand mixer helps with the creaming step but a bowl and a hand mixer do the same job.
An oven thermometer is worth more than it sounds. Home ovens run hot or cold by 25°F or more, and gluten-free batters have almost no margin for error, because there’s no gluten to brace against over-baking.
Here’s the ingredient list I’d start from, with weights because grams are the only way to get this right twice in a row:
- Gluten-free flour blend — 1 cup (about 115 g), cup-for-cup style, certified gluten-free, and already containing xanthan gum
- Sugar — 3/4 cup (150 g)
- Butter — 6 tablespoons (85 g) at room temperature, or neutral oil, 1/3 cup (80 ml)
- Eggs — 2 large, room temperature
- Milk — 1/3 cup (80 ml), plus 1/3 cup (85 g) plain yogurt or sour cream
- Baking powder — 1.5 teaspoons, certified gluten-free
- Salt — 1/4 teaspoon
- Vanilla — 2 teaspoons
- Baking soda — 1/4 teaspoon, chocolate versions only
- Unsweetened cocoa — 1/3 cup (22 g), chocolate versions only
The flour is the whole ballgame, so let’s be specific about it. A cup-for-cup blend is a mix of starches — usually rice flour, tapioca starch, and potato starch — sold at the same volume measure as wheat flour. Because starch has no gluten proteins, no elastic network forms in the batter, and the crumb has nothing to hang onto. Xanthan gum is the replacement: a few thousandths of a gram per gram of flour forms a gel that mimics what gluten does in a wheat cake.
If the bag says “no gum required” or lists no binder at all, add 1/4 teaspoon of xanthan gum per cup of flour yourself. That’s the standard starting ratio, and it’s why many home bakers who thought their cupcakes failed on technique were actually baking with no binder in the bowl.
Not a fan of xanthan? Psyllium husk works as a direct swap at roughly double the volume — 1/2 teaspoon per cup of flour — and it produces a slightly tighter, less gummy crumb. The trade-off is that psyllium drinks liquid hard, so drop the milk by a tablespoon and add yogurt back in if the batter stiffens.
Also check your baking powder. Some brands dust their powder with wheat starch as an anti-caking agent, which matters if you’re baking for someone with celiac disease rather than for yourself. Most major baking powders are gluten-free, but the label is worth two seconds.
Step-by-Step: How to Make Gluten Free Cupcakes That Are Not Crumbly
1. Why Gluten Free Cupcakes Go Crumbly in the Dry Stage
Wheat flour hydrates during mixing, swells during baking, and locks moisture into a set crumb. Starches hydrate differently. They absorb water unevenly and slowly, which is why a gluten-free batter that looks finished can still be drying out in the oven while the starches catch up.
That single fact explains most of the crumbling: the outside sets, the inside stays on the dry side, and the two pull apart. Everything you do from here manages hydration.
Heat the oven to 350°F (175°C) and line a 12-cup tin. Set the rack in the middle, not low and not high — low bakes the bottom of the liner before the center sets, and that hard shell is half the problem when a cupcake leaves the pan in pieces.
Put the flour blend, baking powder, and salt in a bowl and whisk about 20 seconds. Add the sugar and, for chocolate, the cocoa and baking soda. Whisking longer than that does nothing but aerate the starches and make the batter drier.
Here is the checkpoint: squeeze a pinch of the dry mix in your palm. It should hold together in a soft clump and feel barely damp. If it stays dusty with white streaks of flour, sift it or run it through a fine sieve before the liquid goes anywhere near it.
2. Add the Right Amount of Moisture in the Right Order
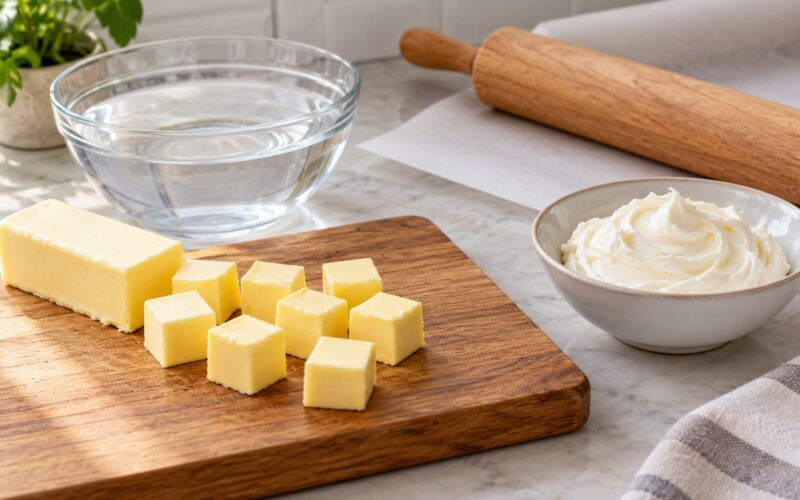
If you’re using butter, cream 6 tablespoons (85 g) with the 3/4 cup (150 g) sugar on low to medium speed for five full minutes, scraping the bowl twice. The mixture should go from pale yellow to noticeably lighter and a little fluffy, and the sugar should no longer feel gritty between your fingers.
Five minutes is not padding. That aeration is where the lift in a wheat cupcake comes from, and a gluten-free batter has no gluten to trap gas, so the butter and sugar step is doing extra work for it.
Beat in the eggs one at a time, room temperature and already cracked into a small bowl. Cold eggs shock the butter and make it seize into little curds, which is another way the crumb ends up sandy.
Now add about a third of the dry mix, then a third of the yogurt or sour cream and the milk, and repeat until everything is used. The yogurt matters: the acid and the fat tenderize the starch and give you a crumb that eats soft for two days.
Fold in the last addition with the spatula and stop the moment there are no dry streaks. Ten to twelve strokes is plenty. Overmixing hydrates the starches early and turns the batter gluey, and gluey batters set hard and brittle.
If you’re using oil instead of butter, whisk the dry ingredients and the wet ingredients in two separate bowls, then combine them and stir just until the flour disappears. There’s no creaming stage to do.
The thick-ribbon test is where most people win or lose the crumb. If you’re still working out how to make gluten free cupcakes that are not crumbly, judge the batter right here: it should fall off the spoon in a thick ribbon and hold a soft peak for a second before slumping. Shiney and runny means too much liquid, so add a tablespoon of flour blend and fold again. Stiff, dull, and paste-like means not enough, so add milk a spoonful at a time. Gritty batter that looks right means it needs one or two more folds, not more liquid.
3. Bake Until the Crumb Is Fully Set
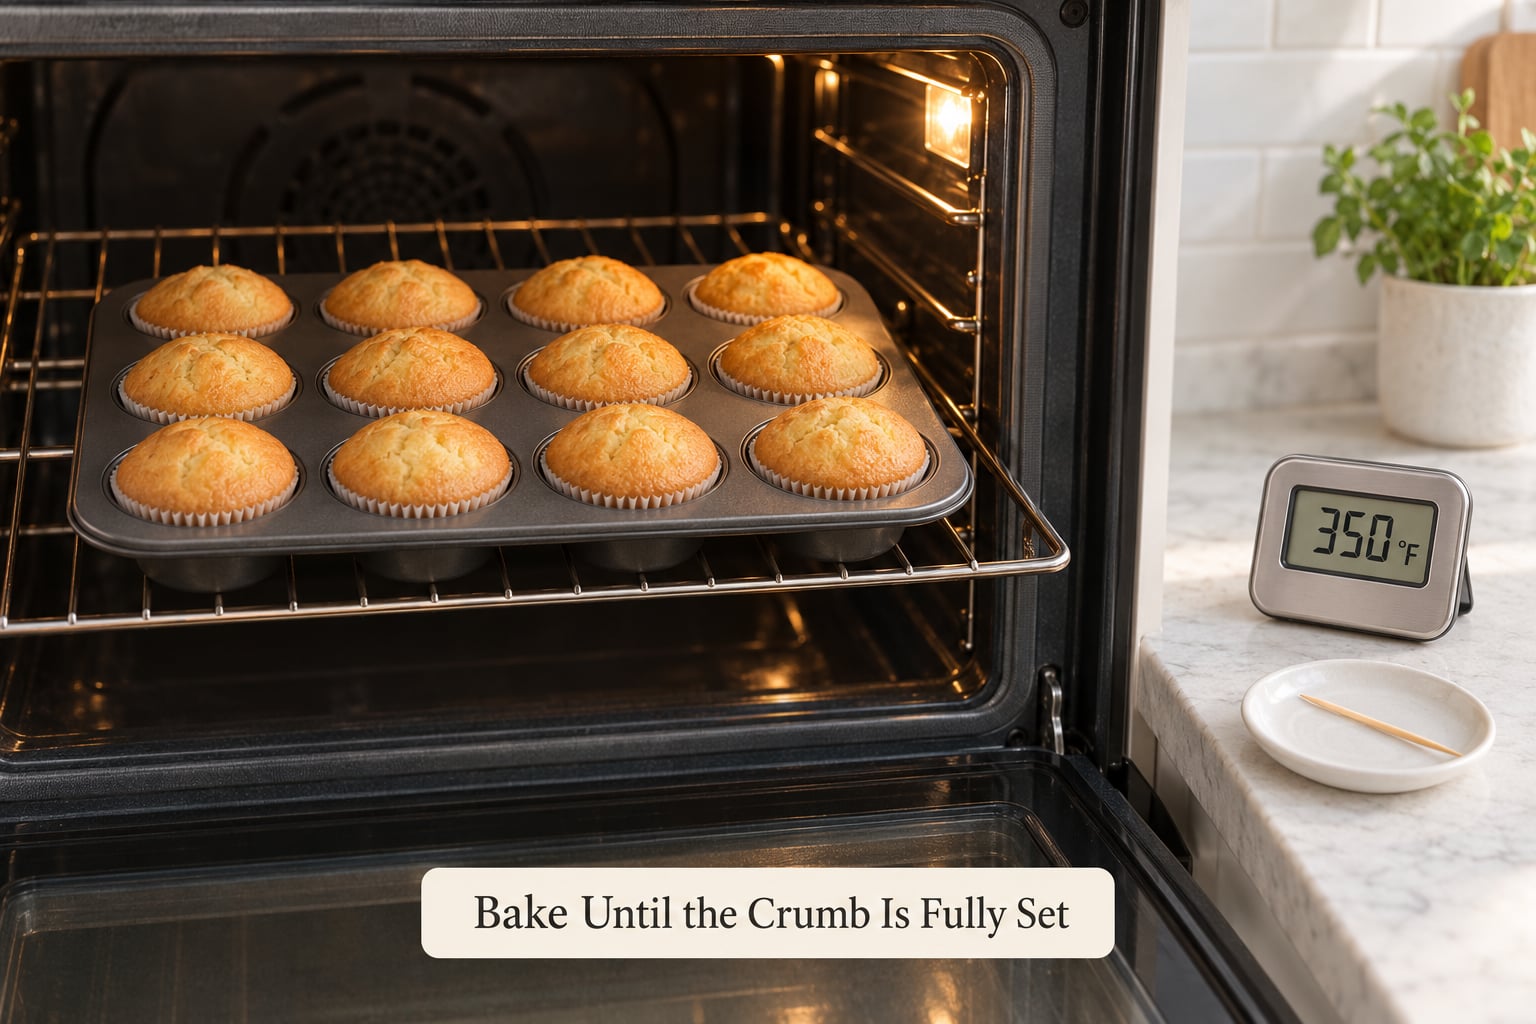
Scoop the batter into the liners with a greased ice cream scoop so every portion is the same weight. Fill each cup about two-thirds full. An uneven third cup bakes unevenly, and the short one dries out next to the tall one in the same tin.
Tap the tin once on the counter to settle the batter and pop the big air pockets, then bake at 350°F for 18 to 22 minutes. Don’t open the door for the first 15 minutes. A cold shock of air in a wet starch batter sets the outside while the center is still liquid, and that’s how you get a dent in the middle.
Start testing at 18 minutes with a toothpick in the center of one cupcake, away from the liner. A few moist crumbs clinging to the wood are fine and correct. Wet batter smeared on the toothpick means give it more time.
The better test is the thin skewer. Push it into the center at an angle and pull it out slowly. The cupcake is done when what comes out looks like damp cake with no shine and no smear. Wet shine means keep going.
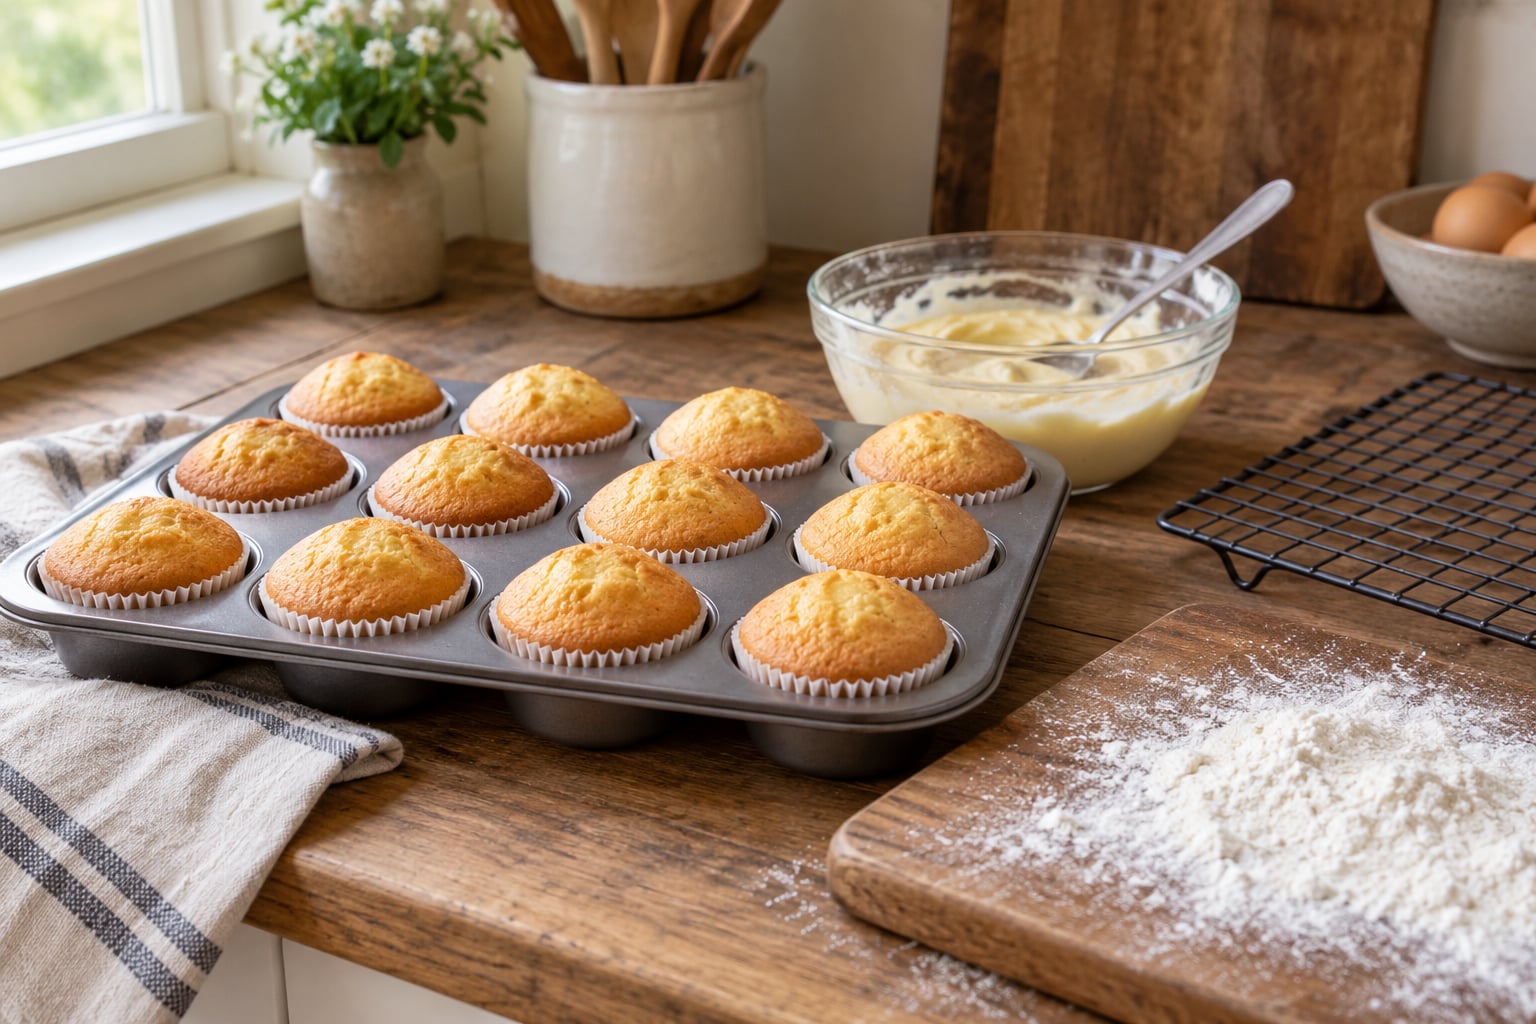
Pull them when they pass. Gluten-free crumbs keep setting as they cool, and the residual heat in the tin finishes the work for you. The centers should still look faintly underdone coming out of the oven, and that’s exactly what you want.
Cool in the tin for 5 minutes, then turn out onto a wire rack. Wait a full hour before frosting or slicing. Warm crumbs are fragile, and frosting a warm cupcake melts it into the cake and tears the top when you try to spread it.
Common Mistakes and the Fix for Each One
Baking with a flour blend that has no binder. This is the most common cause by a wide margin. Check the ingredients list for xanthan gum, guar gum, or psyllium husk. If none is listed, add 1/4 teaspoon of xanthan per cup of flour.
Overmixing the batter. Once the flour streaks disappear, stop. You are not creaming anything at that stage, and every extra stroke pulls water into starches that then set into a tight, brittle crumb.
Getting the liquid ratio wrong. Too little liquid leaves dry crumbs in the middle; too much gives you a dense, chewy cap that pulls away from the sides. Use the yogurt, weigh your milk, and trust the thick-ribbon test instead of guessing.
Using baking powder that’s lost its punch. Baking powder is stale faster than most people think, and a gluten-free batter has no gluten to compensate for a lift that never happened. Replace your baking powder annually, or test a spoonful in hot water — it should fizz hard right away.
Opening the oven door too early. The dent in the middle of a cupcake is almost always underbaking plus a temperature drop. If you must check before 15 minutes, do it fast and once, and never at the start of the bake.
Baking too long. Gluten-free cupcakes dry out faster than wheat ones because there’s no gluten to hold water. Test at 18 minutes, and if the skewer is already clean and the top is deep golden, take the tin out. Golden-brown edges are the usual sign you’ve gone a minute or two past done.
Unmolding, slicing, or frosting while warm. Give them the full hour on the rack. If you’re in a hurry, put them in the freezer for 15 minutes after the 10-minute cool instead — that firms the crumb faster than the fridge ever will.
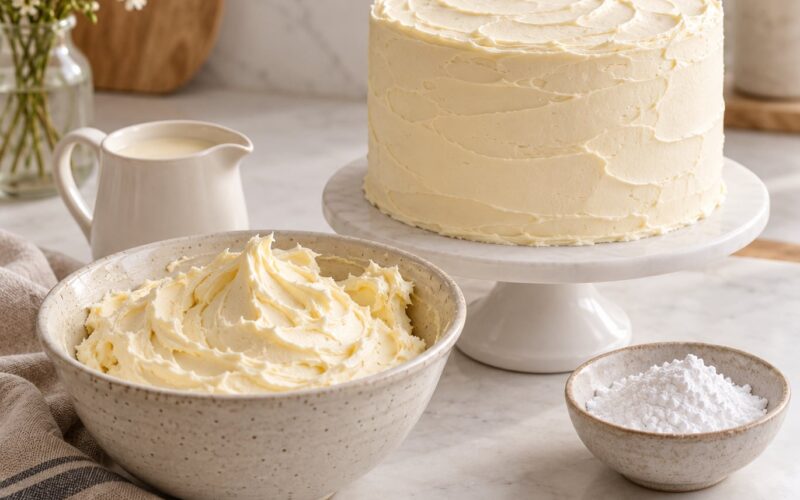
Frosting that’s too stiff or too warm. A stiff American buttercream needs a splash of milk to spread on a delicate crumb, and a Swiss meringue goes on barely warm, never hot. Thin it by the teaspoon, not the tablespoon.
If you only change one thing in your next batch, change one. Adjust the binder first, then add two tablespoons of yogurt or sour cream, then pull two minutes earlier, then swap oil for butter. Changing everything at once tells you nothing about what fixed it.
Frequently Asked Questions
Can I use a boxed gluten-free flour blend to make cupcakes that are not crumbly?
Yes, and it’s the easiest way to get a tender crumb. A cup-for-cup box blend already contains xanthan gum and the right starch ratios, which is exactly what you want for cupcakes. Just don’t reduce the liquid or skip the creaming. If you make your own blend from scratch, add 1/4 teaspoon of xanthan gum per cup of flour, because plain rice flour and tapioca on their own have nothing holding the crumb together.
Do gluten-free cupcakes need xanthan gum or another binder?
They need something doing the same job. Xanthan gum is the standard, at 1/4 teaspoon per cup of flour, and most boxed blends already include it, so check before adding more. Psyllium husk is the best alternative, used at about 1/2 teaspoon per cup, though it soaks up extra liquid. Too much of either binder makes a gummy, sticky crumb rather than a tender one.
Should I use oil or butter for moist gluten-free cupcakes?
Butter gives you a better rise and a richer flavor, and it needs the full five-minute creaming with sugar. Oil gives a moister crumb that stays tender a day longer, and you just whisk wet into dry. If your cupcakes taste dry but not dense, swap in 1/3 cup (80 ml) of neutral oil next time. If they taste flat and cakey, go back to butter.
How long should I bake gluten-free cupcakes at 350°F?
Usually 18 to 22 minutes in a standard 12-cup tin, filled two-thirds full. Start checking at 18 minutes with a toothpick, then confirm with a thin skewer. Moist crumbs on the toothpick are correct. Wet shiny batter means they need longer, but a completely clean skewer often means you have already gone a minute or two past done.
Why are my gluten-free cupcakes crumbly after they cool?
Most often the flour blend had no binder, or the batter got overmixed once the flour streaks disappeared. Stale baking powder is the next likely culprit. Check your liners are firmly seated, too — if a cupcake sticks halfway out of the pan it looks crumbly even when the crumb itself is fine. Cool them fully for an hour before you judge the texture.
Why do my gluten-free cupcakes sink in the middle?
A crater in the center almost always means underbaking plus a temperature swing. If you open the oven door before 15 minutes, the wet starch batter sets around a center that is still liquid. Bake a little longer, keep the door shut, and check with an oven thermometer, since a hot oven sets the outside before the middle catches up.
Conclusion
Four things do almost all the work: a balanced blend with a binder in it, ingredients weighed rather than eyeballed, mixing that stops the second the flour disappears, and a bake that ends while the centers still look faintly underdone. Get those right and how to make gluten free cupcakes that are not crumbly stops being a puzzle and turns into a Tuesday afternoon bake.
If your last batch was still bad, the first adjustment to make is the flour. Check whether your blend actually contains xanthan gum, and if it doesn’t, add 1/4 teaspoon per cup before you change anything else. That’s the fix that resolves more crumbly batches than any other single change.