Reverse creaming is a cake mixing method where softened butter is worked into the flour, sugar, and leavening first, then the eggs and milk go in last. The fat coats the flour before any liquid hydrates it, so very little gluten forms and you get a tender, fine crumb with flat layers that stack instead of doming. It takes about 15 minutes of active work, and the whole trick is knowing exactly when to stop mixing.
I baked this method side by side with traditional creaming more times than I care to admit, and the difference shows up in the crumb, not the flavor. Two cakes with identical ingredients came out with the same tenderness, but the reverse-creamed one sliced cleanly and stood up under buttercream while the creamed one cracked down the middle. That is why professional bakers reach for it on tall frosted cakes.
Table of Contents
- What You Need
- Butter at the right temperature
- Flour and sugar
- Eggs, dairy, and leavening
- Equipment and measuring
- Step-by-Step: How to Use the Reverse Creaming Method
- Step 1: Soften the Butter and Whisk the Dry Ingredients
- Step 2: Cut the Butter Into the Dry Ingredients Until It Looks Like Wet Sand
- Step 3: Add the Eggs, Milk, and Flavoring in Stages
- Step 4: Know Where the Reverse Creaming Stop Point Is
- Step 5: Fix the Batter and Get It Into the Pan
- Common Mistakes
- Reverse creaming versus traditional creaming
- What a dense result usually means
- Frequently Asked Questions
- How long should I mix the batter when reverse creaming?
- What does overmixed cake batter look like?
- Does overmixing cause a dense cake?
- Can you use the reverse creaming method on any cake recipe?
- How do you use the reverse creaming method to make moist pound cake?
- Does reverse creaming work with all-purpose flour?
- Conclusion
What You Need
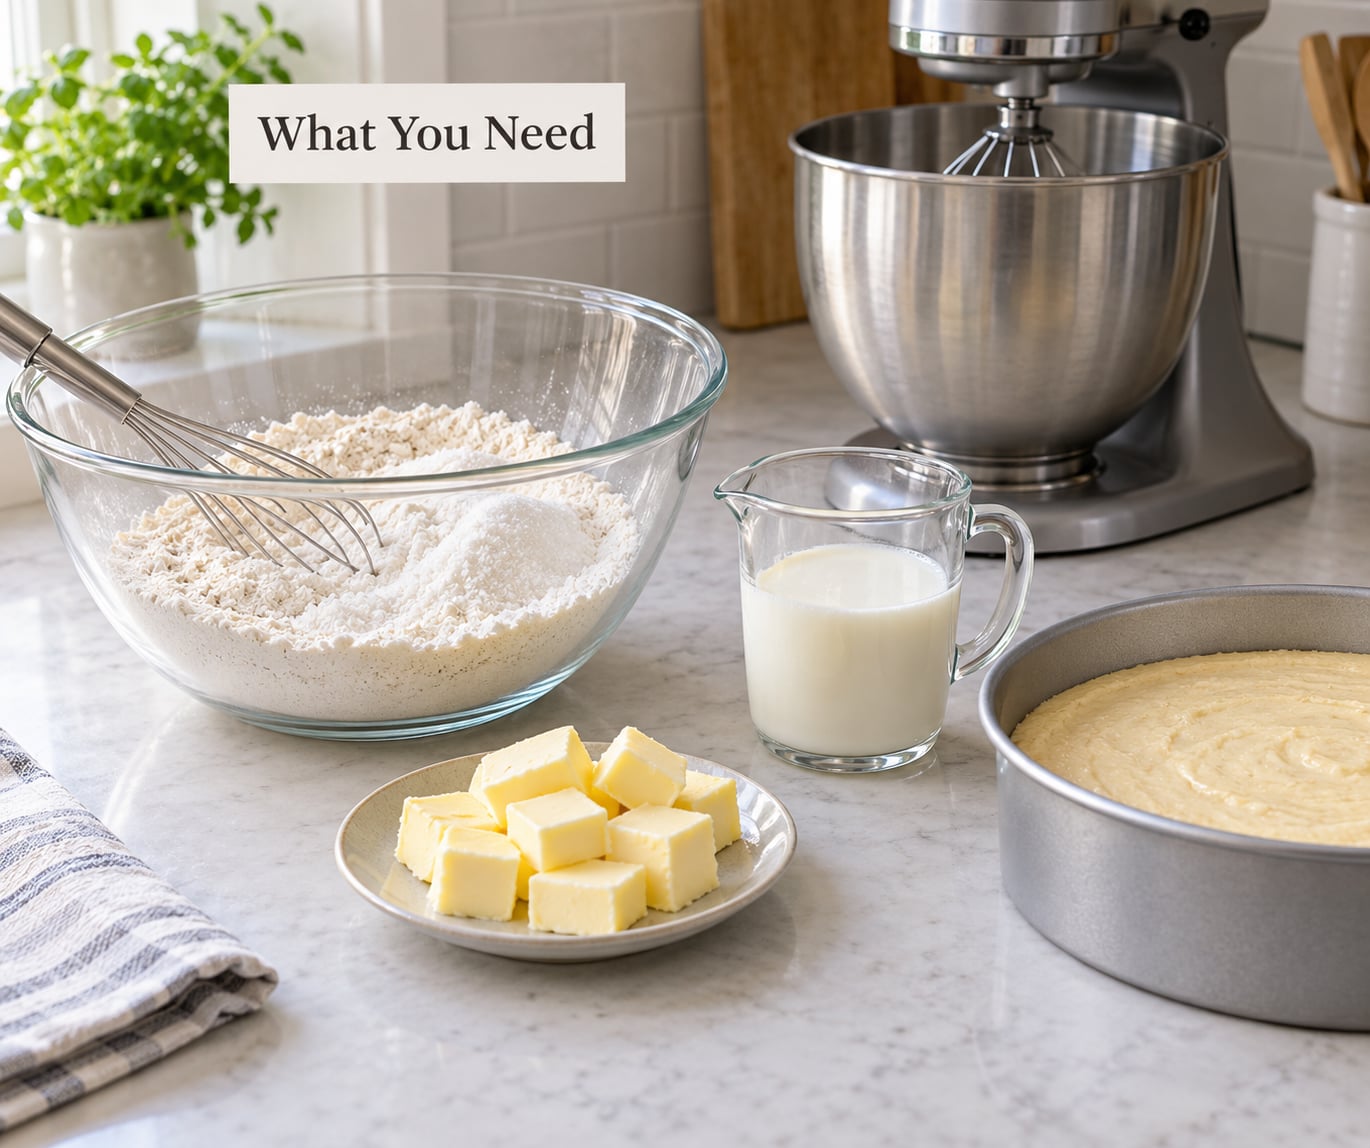
You need almost nothing exotic: a bowl, a whisk or fork, a mixer with a paddle attachment if you have one, and the ingredients already in your cupboard. The important part is temperature, because butter that is too cold will not coat anything and butter that is too soft will smear instead of forming crumbs.
Butter at the right temperature
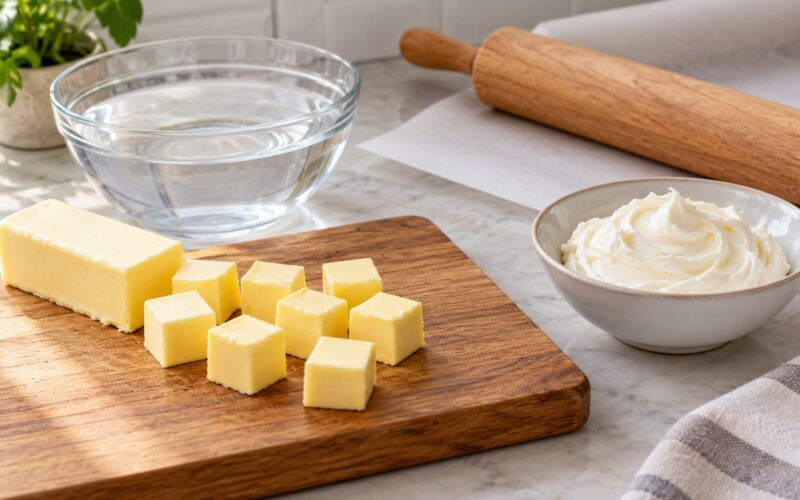
Aim for butter at 65 to 68F, which is 18 to 20C. That is genuinely room temperature in most kitchens, so it usually means leaving it out on the counter for an hour or two rather than heating anything.
No thermometer? Press a fingertip firmly into the stick. If it dents easily and leaves no resistance but is not shiny or leaking, you are there. Warm butter leaves a greasy fingerprint with no shape at all, and cold butter splits the batter into dry pockets with cold butter chunks hiding in them.
Flour and sugar
Cake flour gives the lightest result, and all-purpose flour works fine as long as you expect a slightly denser crumb. The fat is what holds gluten back, not the flour, so the method survives the swap even though the texture tightens up a little.
If you are substituting all-purpose flour for cake flour, blend one cup of all-purpose flour with two tablespoons of cornstarch and treat that as your one cup of cake flour. Because there is no later whipping stage to lighten the batter, drop about a quarter cup of the measured flour when you go straight to all-purpose instead. Sift the dry ingredients two or three times if you can, because lumps that survive the whisk will show up as white streaks in the finished crumb.
Eggs, dairy, and leavening
Bring eggs, milk, buttermilk, and sour cream to room temperature too. Cold liquid hitting warm flour drops the temperature of the whole batter, which stiffens the butter and leaves you mixing against a wall. Set them out when you take the butter out, and use baking powder or soda that is still fresh, because stale leavening is the quiet cause of a lot of flat, dense cakes.
Equipment and measuring
A stand mixer with the flat paddle makes this easier, and a handheld mixer works. Some people use the flat beater, which is slower; a wire whisk can over-aerate the butter if you are not careful, and you want very little air at this stage. Pure hand mixing also works, though the butter step takes longer.
Use a kitchen scale if you have one. Cups vary enough to shift a cake by a full ounce, and reverse-creamed batter has less air to hide measurement error. Weigh the flour and sugar in grams, and write them down, because once you know what the batter should weigh at the sand stage you will recognize it every time.
Before you start, grease and line your pans, preheat the oven, and clear about 20 minutes. Once the eggs go in, the batter moves fast and does not like to sit.
Step-by-Step: How to Use the Reverse Creaming Method
The whole method rests on one stopping point. Mix the butter into the dry ingredients until it looks like damp sand and feels like it holds together when you squeeze it, then stop and add the liquids. Push past that point and you develop the gluten you spent the whole method avoiding.
Step 1: Soften the Butter and Whisk the Dry Ingredients
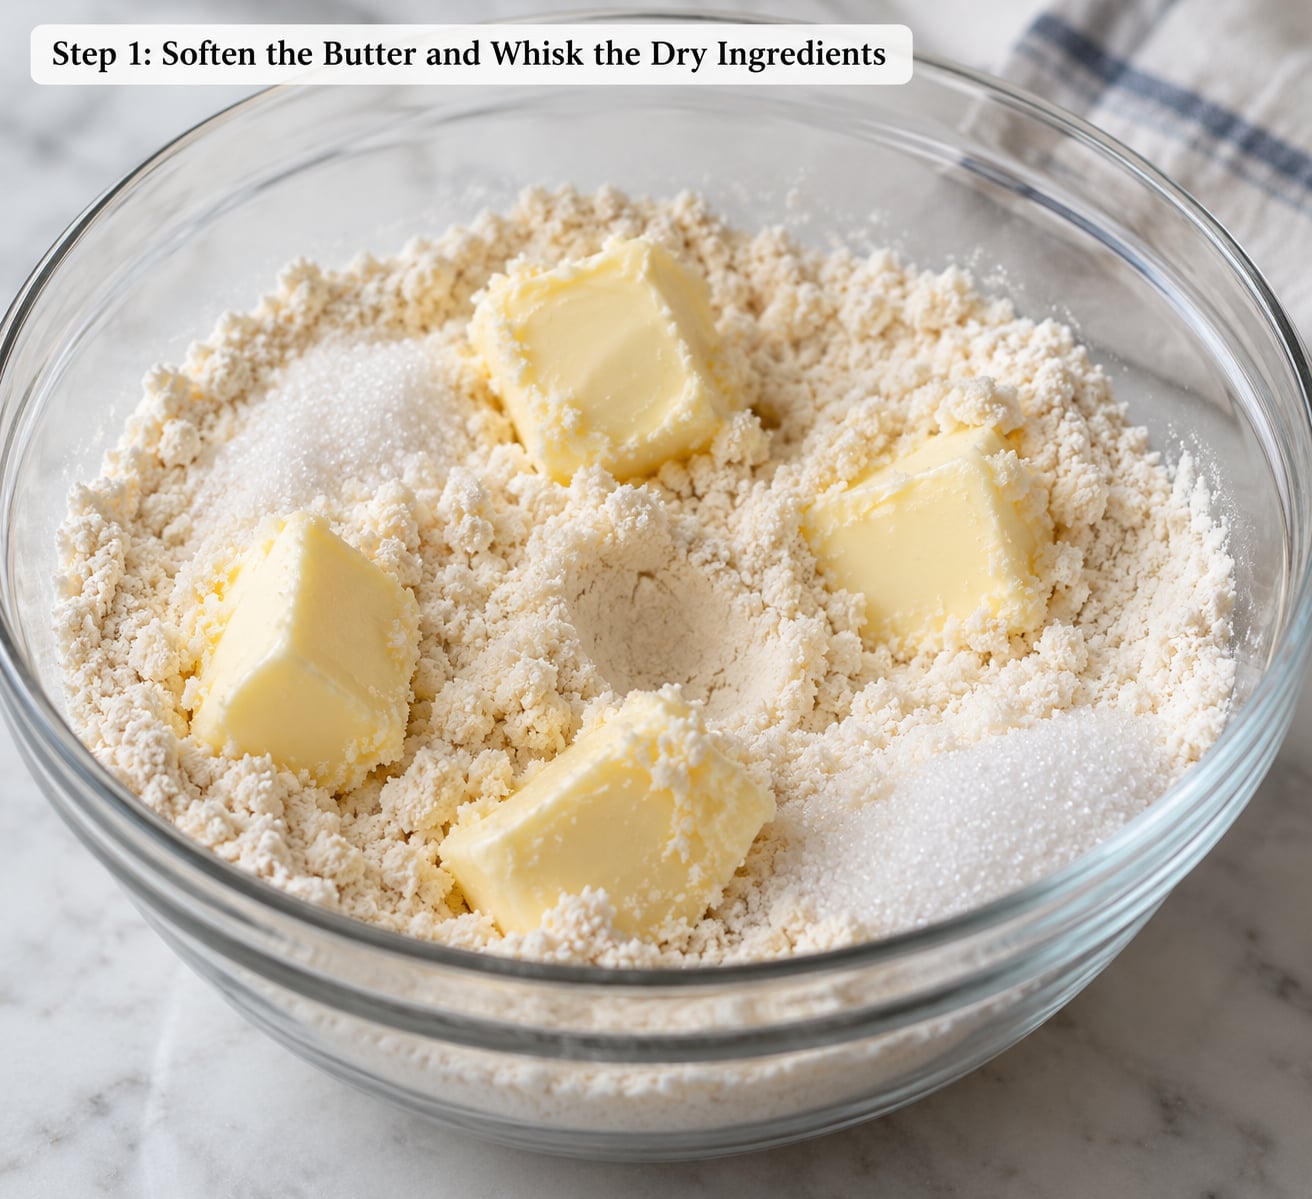
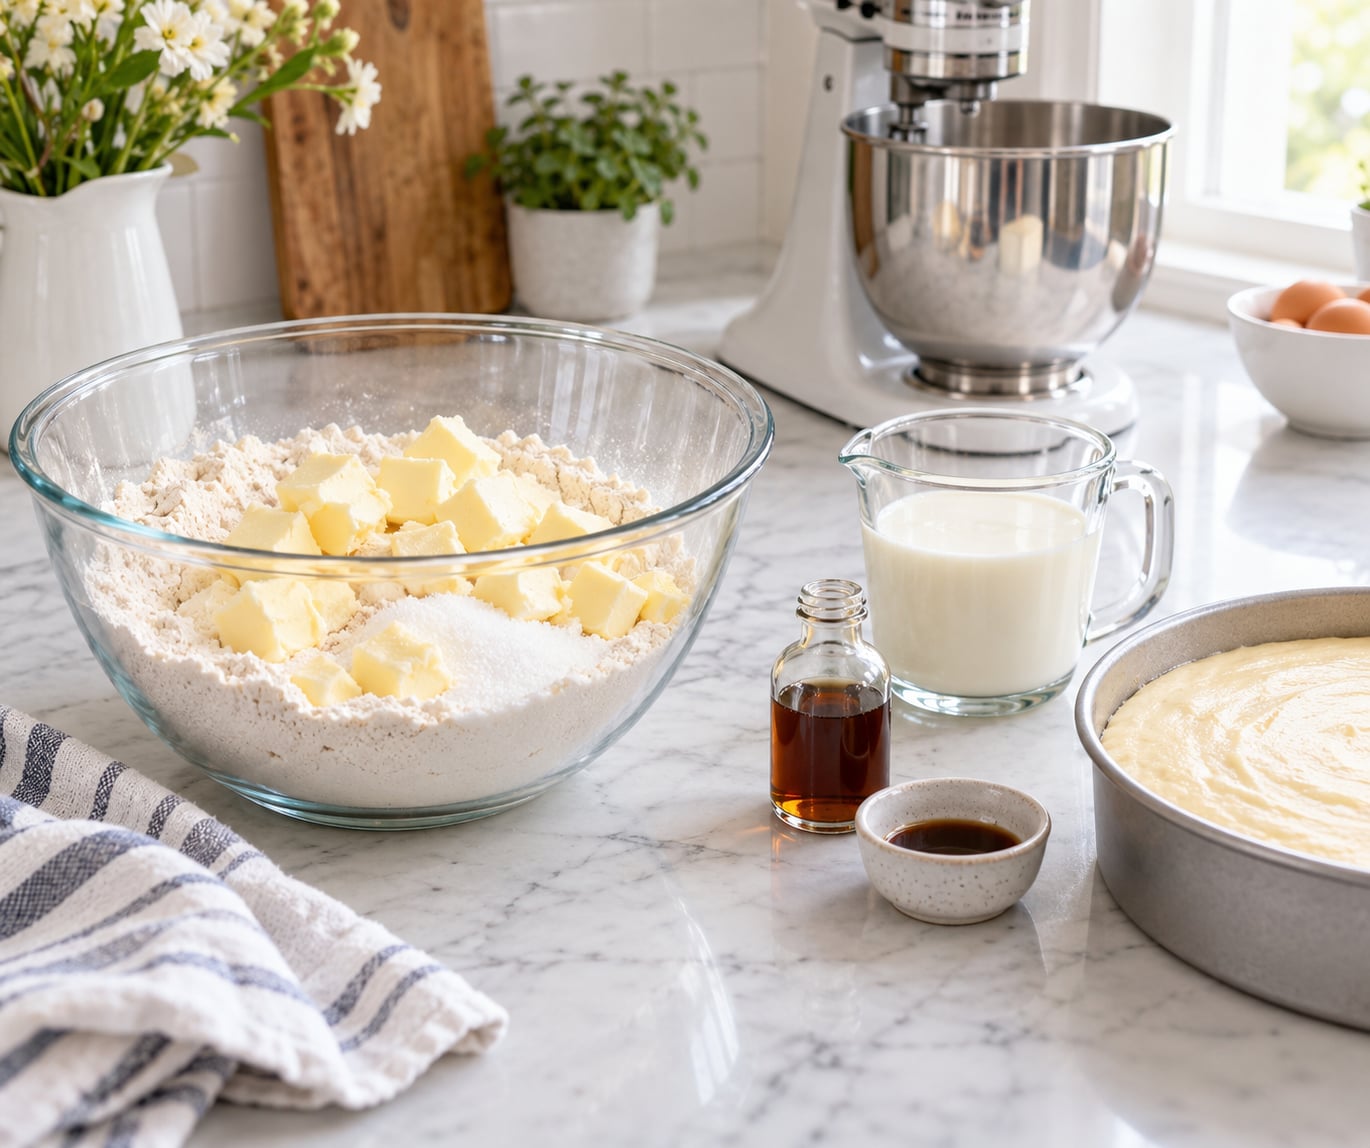
Whisk the flour, sugar, baking powder or soda, and salt together in a large bowl until there is no streak of sugar left in the flour. Sifting or whisking matters more here than it does in a creamed batter, because nothing gets smoothed out later. If your recipe calls for cocoa or matcha, whisk that in at this point too.
Cut the softened butter into small cubes and drop them into the dry mix. Larger pieces take too long to break down, and the last lump always hides somewhere. Pastry chefs would roll the butter through the flour with a rolling pin, and that works at home too: cube, chill briefly, and grate or roll it so it coats more surface area on the first pass.
Step 2: Cut the Butter Into the Dry Ingredients Until It Looks Like Wet Sand
Start on the lowest mixer speed and let the paddle walk the butter through the flour. Scrape down the bowl twice so nothing sits untouched against the sides. Two full minutes of slow mixing is a good target for most home stand mixers, though a powerful one may need less and a hand mixer will need closer to four.
Watch the texture rather than the clock. You are looking for coarse, damp crumbs that look like wet sand or coarse sandcastle dampness, not paste and not dry powder. Squeeze a handful: it should clump into a loose shape and then crumble apart when you squeeze again. If it stays as a smooth ribbon, you have mixed too far.
Scrape a little of the mixture out onto a plate and rub it between your fingers. You want soft sandy crumbs that hold warmth and moisture, not a paste that smears under pressure.
For a pound cake or other high-ratio batter where the sugar outweighs the flour, stop as soon as the dry ingredients disappear. Those batters have little structural flour to spare, and they are the ones that turn gummy first when overmixed.
Step 3: Add the Eggs, Milk, and Flavoring in Stages
Add the eggs in two or three additions rather than all at once, mixing on low until each disappears into the crumbs before the next goes in. This keeps the emulsion tight and stops the batter from breaking into oily streaks. Vanilla, almond extract, and any other liquid flavoring go in now, with the last of the milk, so the flavor is distributed instead of sitting in one puddle.
Add about half the liquid, mix until the batter looks streaky and thick, then add the rest. A reverse-creamed batter will be noticeably thicker than what you are used to, and thick is correct. If yours looks like pancake batter you have almost certainly added too much liquid and the crumb will be dense and cakelike in the bad way.
The cake test from bakers who use the method is simple: stir the batter and drag a spoon through it, and the trench you make should fill in slowly rather than snap shut instantly.
Step 4: Know Where the Reverse Creaming Stop Point Is
Once the liquids are in, mix on low and scrape often until no dry flour streaks remain at the bottom of the bowl. That is done. No flour streaks, no whisk of dry sugar at the edges, and you stop.
Overmixed batter has a smooth, glossy, almost putty-like surface with no visible crumbs, and it often turns tacky and sticks to the paddle. It spreads slowly in the pan and bakes up dense and rubbery. There is no way to repair it once it happens; the gluten has already formed and the only fix is for next time.
If you are using a stand mixer with a bowl lift, a quick test is to lift the paddle and watch the batter fall. A ribbon that lands stiff and holds a peak for a second is right. One that slides off flat and fast is too loose.
Step 5: Fix the Batter and Get It Into the Pan
Thick and pasty after the liquids go in means the butter was too cold. Beat in a tablespoon of milk or cream at a time and check again. Loose and fast-running means you went too far with the liquid, and a spoonful of sifted flour worked into the batter will bring it back without undoing the coating step.
Scrape the batter into the pan and smooth the top with an offset spatula. Tap the pan once or twice on the counter to release big air pockets, then bake immediately. A reverse-creamed batter has far less trapped air than a creamed one, so it rarely needs much leveling.
Do not let the batter sit once the eggs are in. An hour is usually fine if the room is cool, but beyond that the leavening loses punch and the crumb tightens. If you must wait, mix only up to the sand stage, cover it, and refrigerate; finish it the next day.
Cool layers in the pan for 10 to 12 minutes, then turn out onto a rack. Fully cool layers stack and frost far better than warm ones, and a cake with cream cheese or whipped cream frosting keeps about three to four days refrigerated, covered. Plain cakes with buttercream are fine at cool room temperature for a day or two.
Common Mistakes
Almost every failure with this method traces back to one of five things: cold butter, too much liquid, mixing past the sand stage, no leavening, or expecting an airy batter when the method does not make one. Work down the list and you will usually find the culprit.
- Cold or melted butter. Cold butter leaves hard lumps and patches of dry flour that never coat evenly. Melted butter coats everything but turns the batter greasy and helps the cake bake up heavy. Fix the butter first and nothing else needs to change.
- Thinning the batter because it looks thick. The batter is supposed to look pastier than creamed batter. If you add milk to lighten it, you are diluting a recipe that was already balanced. Add liquid only when the batter is stiff after the eggs, a tablespoon at a time.
- Mixing past the sand stage. This is the single most common way to get a gummy, dense, or rubbery crumb. More mixing after the crumbs form develops gluten, which is exactly what the method is designed to prevent. Stop when the crumbs look like damp sand.
- Cold eggs and milk, or stale baking powder. Cold liquids chill the fat and stiffen the batter, and old leavening simply does not work. Bring dairy and eggs out with the butter and replace your baking powder if the container has been open more than six months.
- Using it for the wrong cake. Reverse creaming is not something to do to every batter. It is wrong for chiffon, sponge, angel food, and meringue-based cakes, because those need whipped egg white for lift, and for delicate cookies that rely on creaming for their texture. Forum bakers use it constantly on layer cakes, pound cake, and sheet cake, and skip it for anything meant to be light and airy.
Reverse creaming versus traditional creaming
Neither method is better in the abstract. They make different cakes, and picking the wrong one for the cake you want is the actual mistake.
- Order of operations: Traditional creaming beats sugar into butter first, then alternates flour and milk. Reverse creaming beats butter into all the dry ingredients first, then adds wet ingredients in stages.
- Air incorporated: Traditional creaming whips a great deal of air into the fat. Reverse creaming adds almost none.
- Gluten development: Low in both, since fat coats the flour, but reverse creaming keeps it lower because there is no long wet mixing stage.
- Crumb: Traditional creaming gives an ultrafine, downy, airy crumb. Reverse creaming gives a fine, velvety, slightly denser crumb that feels tender.
- Rise and doming: Traditional creaming rises more and domes more. Reverse creaming rises a little less and bakes flatter.
- Best suited to: Stacked and filled layer cakes, pound cake, sheet cake, jam- or fruit-filled cakes, and make-ahead cakes for traditional creaming. Pound cake, chocolate bundt, and cakes that must stay tall and strong under frosting for reverse creaming.
What a dense result usually means
| Symptom | Likely cause | What to change next time |
|---|---|---|
| Dense and gummy crumb | Mixed past the wet sand stage | Stop the butter step at damp sand; scrape twice, mix no longer than needed |
| Dense and cakelike | Too much milk, cream, or thinning | Hold the recipe liquid; adjust one tablespoon at a time only if stiff |
| Dense with dry patches | Cold butter or cold eggs | 65 to 68F butter and room temperature dairy, checked with a fingertip |
| Dense and flat, low rise | Inactive leavening | Replace baking powder; add it after the dry whisk, not after liquid |
| Peaked, domed, cracked top | Oven too hot or too little liquid | Check oven temperature with an oven thermometer and use cake strips |
| Tough and chewy | Overmixed, usually during the liquid stage | Add liquids in stages and stop the moment streaks vanish |
| Greasy or shiny surface | Butter was melted, or batter sat too long | Use softened butter and bake within the hour |
One last note people often miss: dry, crunchy edges are usually an oven issue, not a mixing issue. Baking too hot or too long dries the rim of a cake long before the center catches up. If your layers look right in the middle and burnt at the edges, drop the temperature about 15 degrees and check that your oven is actually holding it.
Frequently Asked Questions
How long should I mix the batter when reverse creaming?
Roughly two full minutes on the lowest speed for the butter and dry ingredient stage, then just until no streaks remain after the liquids go in. The clock is only a guide. Trust the texture instead: the butter stage is done at damp, wet-sand crumbs that hold a shape when squeezed, and the liquid stage is done the moment the last white streak of flour disappears.
What does overmixed cake batter look like?
Overmixed batter turns smooth, glossy, and paste-like, with no visible crumbs left, and it often turns tacky so it clings to the paddle instead of sliding off. Undermixed batter still shows dry flour and coarse powdery patches. The in-between stage, with even damp crumbs and no loose powder, is the target.
Does overmixing cause a dense cake?
Yes, and it is the most common reason a reverse creamed cake turns out dense and rubbery. Each extra minute after the wet sand stage lets the flour hydrate further and build more gluten, which tightens the crumb and reduces rise. Stop at the sand stage and the problem disappears.
Can you use the reverse creaming method on any cake recipe?
Not on any. It suits layer cakes, pound cake, sheet cake, and fruit or jam-filled cakes. Avoid it for chiffon, sponge, angel food, and meringue cakes, which depend on whipped egg white for lift, and for delicate cookies that need traditional creaming for their texture.
How do you use the reverse creaming method to make moist pound cake?
Pound cake is a high ratio batter with more sugar than flour by weight, so stop at the wet sand stage as soon as the dry ingredients disappear and add liquids in small stages. Adding extra liquid thins the batter and costs you the density that makes a pound cake moist in the first place. Watch bake time closely, since the crumb sets faster without whipped air.
Does reverse creaming work with all-purpose flour?
Yes. The fat coating the flour is what limits gluten, not the flour variety, so all-purpose works well. The crumb will be a little tighter than with cake flour, so if you are substituting all-purpose for cake flour in a recipe that also has butter, drop about a quarter cup of the flour.
Conclusion
Reverse creaming is a swap of order, not a new recipe: butter and dry ingredients first until you reach damp wet-sand crumbs, then eggs and milk in stages until nothing is left dry. The batter will look thicker than you expect, and that thickness is the whole point. Start by getting the butter right at 65 to 68F, check your butter with a fingertip before it goes in the bowl, and keep the paddle at low speed. If you stop at the sand stage on your next layer cake and then stop again at the first sign of a smooth streak, you have the method down.