To calibrate your oven for baking, put an oven thermometer on the center rack, heat the oven to 350°F, wait 20 to 30 minutes past the preheat signal, and compare the reading to the dial. That difference is your offset, and you either enter it into the oven’s calibration setting or simply bake 20 degrees lower from then on.
Most home ovens land somewhere between 25 and 50 degrees away from the number on the display, and nobody notices until a cake comes out domed with a raw middle or a tray of sugar cookies bakes into one flat sheet. Knowing how to calibrate your oven for baking takes about half an hour, costs almost nothing, and gives you a fixed number you can trust instead of a guess you make every time.
Two things make the job easier than it sounds. First, you are not adjusting anything mechanical, just deciding what number to trust. Second, the result is measurable, so you will know within one test bake whether it worked.
Table of Contents
- What You Need
- Step-by-Step
- 1. Check the oven and let it stabilize
- 2. Place the oven thermometer in the center
- 3. Set the oven to 350°F
- 4. Compare the dial with the thermometer reading
- 5. Adjust the oven control
- 6. Confirm the correction with a test bake
- 7. Record and recheck the result
- Common Mistakes
- Frequently Asked Questions
- Where should I put the oven thermometer when calibrating an oven?
- How often should I calibrate my oven for baking?
- Why does my oven run hotter or colder than the temperature I set?
- Should I calibrate a convection oven differently?
- Do I need to change recipe temperatures after calibrating my oven?
- A Reliable Starting Point for Your Next Bake
What You Need
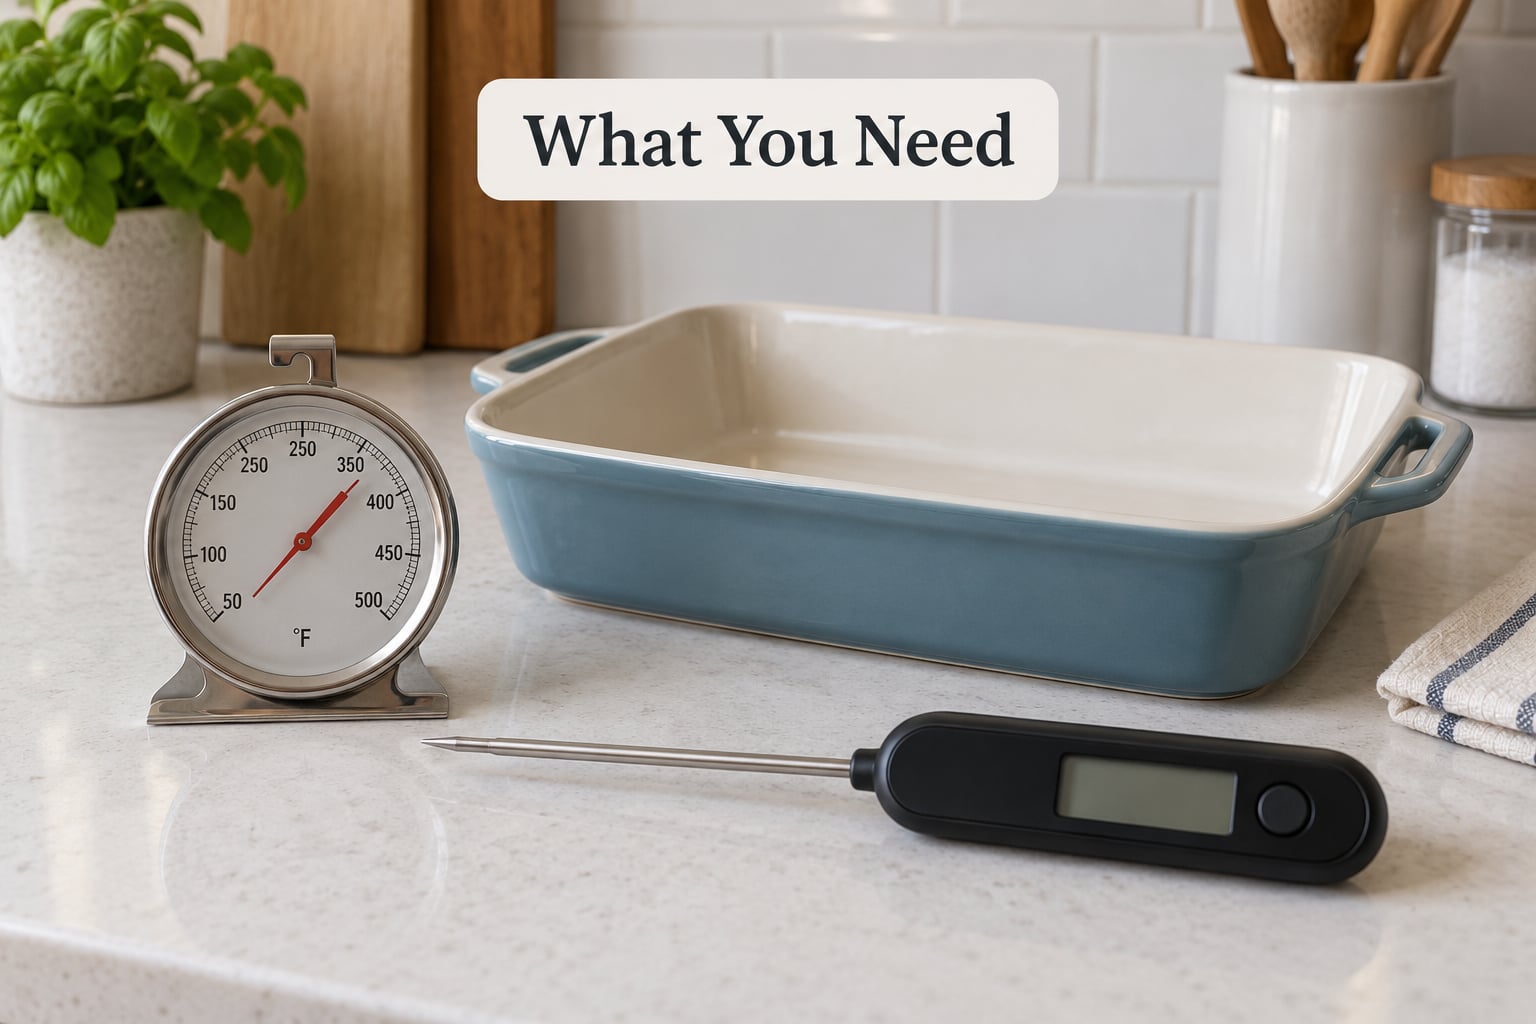
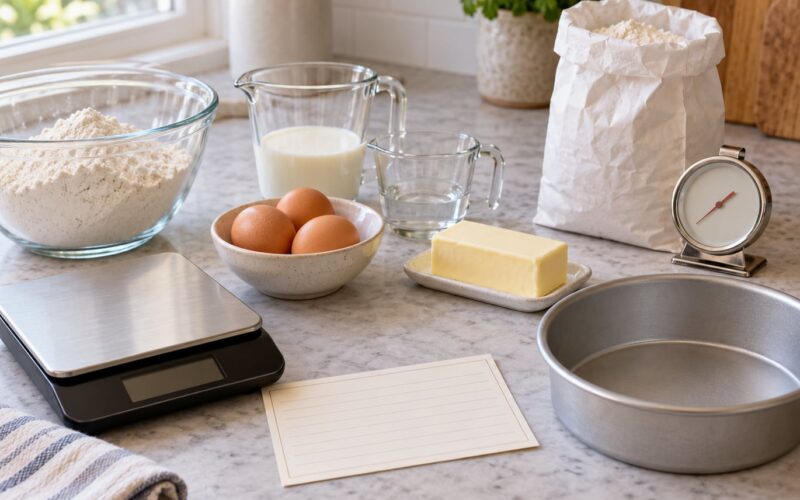
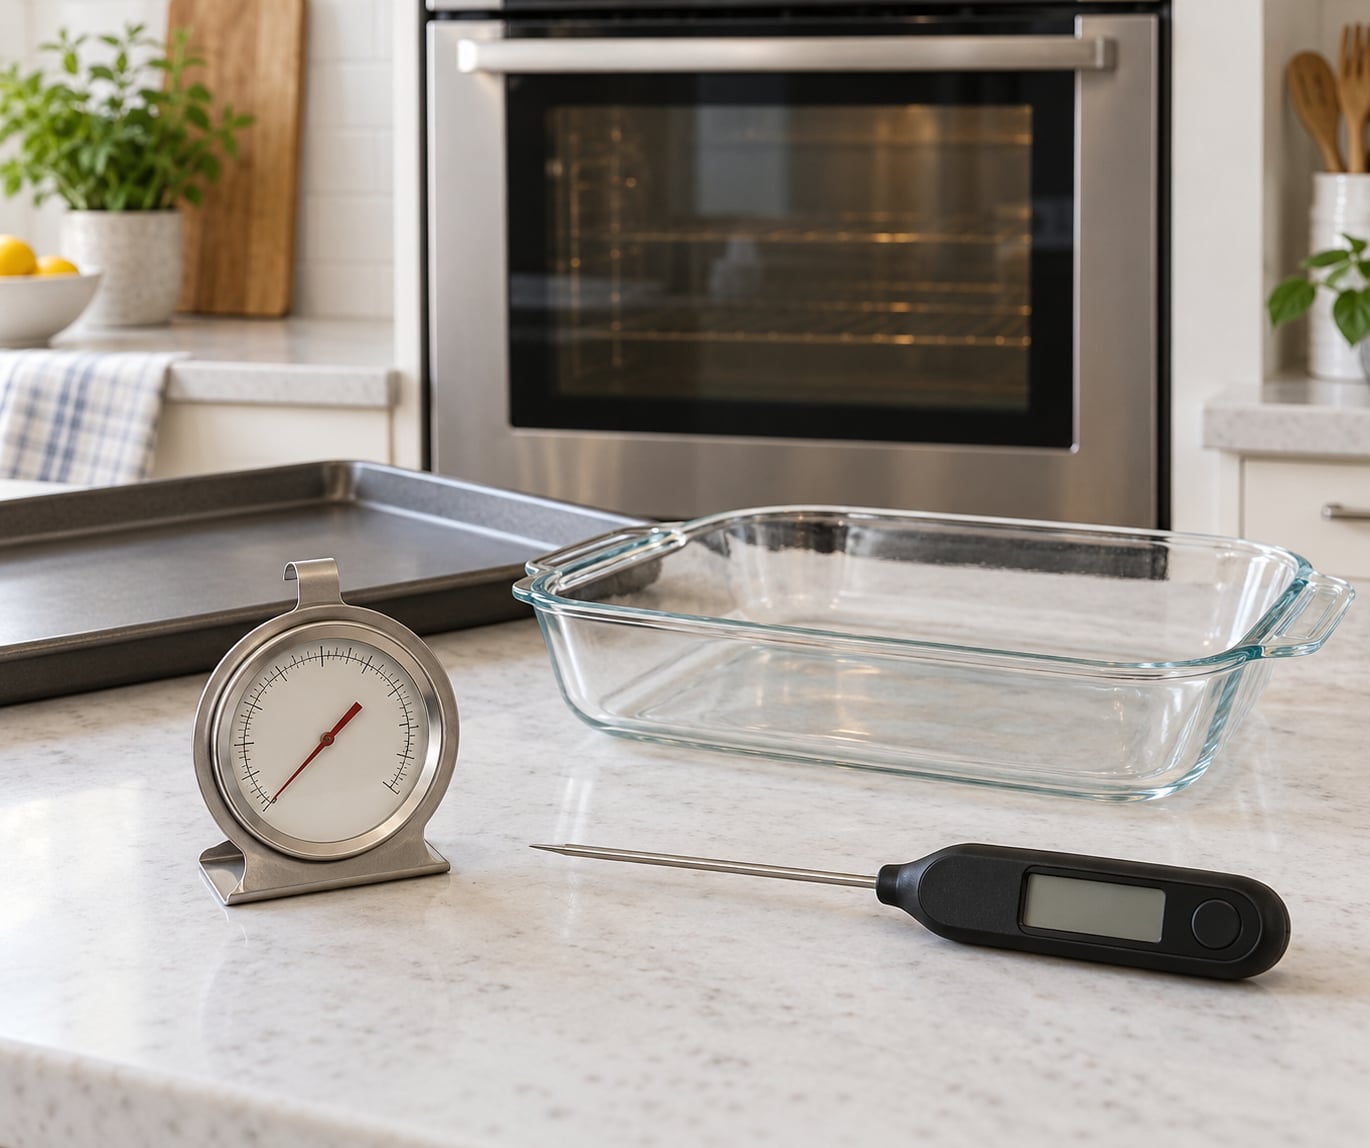
The core tool is an oven thermometer, and the inexpensive dial type is genuinely fine for this. It is a small metal box with a thermometer inside that you hang or set on a rack, and it reports the temperature in the cavity rather than the temperature the oven’s sensor believes it is at.
Alongside it, gather a few items:
- An oven thermometer (dial or digital, either reads fine for a home oven).
- An instant-read probe thermometer for checking the inside of a bake and for testing your oven thermometer itself.
- An oven-safe dish such as a small glass bowl or a foil-lined tray, for the sugar test.
- A sugar cookie sheet or a slice of stale sandwich bread, for the hot-spot test.
- A pen and something to write on, because the offset is a number you will want to remember.
- The oven manual, or at least the model number on the door frame, so you can look up the calibration mode.
Before you start, let the oven cool completely and put the racks back in the positions you normally use for baking, usually the middle rack. Calibrating with a rearranged cavity gives you a number that does not match real baking conditions.
Step-by-Step
The whole process comes down to one measurement repeated carefully. Work through these seven steps in order.
1. Check the oven and let it stabilize
Look at the oven before you trust it. Check that the heating elements or burner cover are in place, that nothing is blocking a vent, and that the door seal closes without a gap. A cracked seal or a blocked vent shows up as a stubborn temperature difference that no amount of offset setting will fix.
Empty the oven completely. Food left inside changes the reading, absorbs heat and takes longer to come back up after the burner cycles off, which is exactly the behavior you are trying to measure.
2. Place the oven thermometer in the center
Set the thermometer in the middle of the middle rack, centered side to side and front to back. This is the spot that matters, because that is where your cake pan and your cookie sheet sit. Contact with a heating element, a rack rail or the oven door adds or steals heat and skews everything.
Give the tool itself a check once a year. Fill a bowl with ice and add cold water until the ice is mostly submerged, stir, and press the probe into the center without touching the sides or bottom. A thermometer that reads within 2 degrees of 32°F is good. For a second reference point, put the probe in simmering water at sea level; around 212°F is the expected reading. Many cheap dial oven thermometers are already close, and this step is what tells you which one you own.
3. Set the oven to 350°F
350°F is the baseline because most recipes on the site sit near it, and it is low enough that an overshooting oven will not scorch the oven while you wait. Set the dial or enter 350 on the control panel, then start the timer when you set it, not when the beep sounds.
Wait a full 15 to 20 minutes after the preheat signal. The beep means the sensor says it has reached temperature, which is not the same as the cavity holding temperature. Ovens routinely overshoot above the target by 20 to 30 degrees right after preheat and then cycle down, so an early reading looks too hot and sends you in the wrong direction.
For a convection oven, turn the fan on and cut the temperature you set by 25 degrees, since that is the standard conversion. Bake the calibration test at 325°F convection so you are measuring a familiar temperature.
4. Compare the dial with the thermometer reading
Read the oven thermometer at the 20 to 30 minute mark without opening the door more than once, and note both numbers. If the dial says 350°F and the thermometer reads 325°F, your oven runs 25 degrees cold and you should bake 25 degrees hotter than the recipe states.
A difference within 10 to 15 degrees is normal and usually worth leaving alone, because adjusting for it adds a step to every bake. Beyond that, write down the exact number. A 50-degree error is common in older ovens and is worth correcting, not a sign that something is broken.
5. Adjust the oven control
On a digital oven with a calibration mode, the offset you measured goes straight into the settings menu. Most brands hide it under a control like Settings, Options, Help or General Setup, then a Calibration or Temperature Offset entry that takes a plus or minus number. You enter the difference you measured as a correction and the oven applies it from then on.
On a knob-style oven with a temperature dial, hold the button next to the dial for several seconds until the display flashes, turn the knob to the offset, and press to confirm. The exact sequence varies, so the manual matters here more than any other step.
On a gas oven, many models have no user-accessible calibration mode at all. That is normal. Leave the controls alone and bake with a mental offset instead, which is a legitimate fix rather than a workaround. Never remove a panel to reach the thermostat or the temperature sensor; on gas appliances that work belongs to a technician.
6. Confirm the correction with a test bake
The thermometer reading tells you the average temperature. The test bake tells you whether the heat is even, which is a separate problem and the one that ruins cakes.
For a pure temperature check with no equipment beyond what you own, put a spoonful of sugar in an oven-safe glass bowl and set the corrected temperature. At 350°F the sugar should still be powdery after an hour. If it melts into a puddle, the oven is far too hot for that setting. If you want a second reference point, use 375°F, where the sugar should clump slightly and lightly toast without melting.
For hot-spot mapping, bake a single tray of plain sugar cookie dough at the corrected 350°F for 10 minutes and compare the pieces. Cookies that brown while their neighbors stay pale are telling you where the heat concentrates, and you can rotate the tray a half turn or switch rack positions to compensate. A row of biscuits or a thick slice of stale bread across one tray shows the same pattern more clearly.
Look for the usual pass criteria: even browning across the tray, cookies that spread a little rather than merging, and cake layers that rise evenly without a dome. Push an instant-read probe into the center of a cake layer and you should be near 200 to 210°F when a toothpick comes out clean.
7. Record and recheck the result
Tape the offset to the inside of a cabinet door or note it in your phone. The habit matters more than the one-time measurement, because your next decision, six months from now, is whether to trust the display or your memory.
Recheck whenever you suspect drift: before a large bake such as a tiered cake or a holiday cookie batch, after a repair or an element replacement, after the oven moves to a new house or a different circuit, and after a stretch of not using it. Some ovens also drift a few degrees between a cold summer morning and a cold winter one, which is normal and worth a seasonal note.
Common Mistakes
Almost every bad calibration comes from one of a handful of avoidable errors.
Reading too early. The preheat beep fires while the oven is still overshooting, so a reading at minute five can read 25 to 30 degrees high. Wait 20 to 30 minutes at the set temperature before you read anything.
Testing with the oven thermometer next to an element. A thermometer on the upper rack or against a side wall reports the heating element, not your baking space. Center it on the middle rack.
Leaving food inside. A casserole or a loaf of bread changes the load, the recovery time and the reading. Empty cavity, every time.
Changing the rack layout mid-test. If you calibrate with racks pulled out or rearranged, then bake with them back where the recipe expects, your number no longer applies.
Reading Fahrenheit as Celsius. If the display is set to the wrong unit, every setting you make is off by a factor you did not intend. Check the unit before you start, not after.
Ignoring the convection setting. A fan oven at 350°F behaves like a conventional oven at about 325°F. Testing the fan oven at 350 tells you nothing useful about a recipe written for a conventional oven.
Treating uneven browning as a temperature error. Hot spots and a wrong average temperature are different faults. Uneven browning with correct probe readings means you need to rotate pans and adjust rack position. Even browning with a raw center in the middle points at the temperature sensor or thermostat, which is a repair job.
Two habits fix more problems than any tool. Start every bake with a full 15 to 20 minute preheat after the signal, and avoid opening the door in the first two thirds of a bake. A baking stone or pizza stone on the floor of the oven adds thermal mass and shortens the recovery time after a door opening, which helps with cakes that dome.
The rule of thumb for safety and for scope: calibrating means choosing a number, never opening the appliance. If the reading will not hold steady, the element is visibly damaged, or a gas burner behaves erratically, stop there and call an appliance technician.
Frequently Asked Questions
Where should I put the oven thermometer when calibrating an oven?
Place it in the center of the middle rack, side to side and front to back, matching where your pans sit during a normal bake. Keep it clear of the heating elements, the walls, the door and the rack rails, since contact with any of them skews the reading. If you want to know where the heat concentrates, test a second position later when mapping hot spots.
How often should I calibrate my oven for baking?
Once a year is a sensible baseline for an oven in regular use, and check it again whenever the results start drifting. Recalibrate after a repair, an element replacement, a move to a new home or a change in where the oven is plugged in. Also verify before a big bake, like a tiered cake or a holiday cookie batch, so you are not surprised by a dozen wrong results at once.
Why does my oven run hotter or colder than the temperature I set?
Two things are usually going on. The first is sensor drift: the thermostat reads the set point but the cavity settles somewhere else, often 25 to 50 degrees away. The second is overshoot right after preheat, where the oven climbs well past the target and cycles back down. Reading 20 to 30 minutes after the signal separates the second effect from the first.
Should I calibrate a convection oven differently?
Use the same procedure but set the fan oven 25 degrees below the conventional temperature, so test at 325°F with the fan running. The fan evens out hot spots and shortens cooking time, which is why the usual convention is to drop the number rather than raise it. Check your manual, because some manufacturers recommend leaving the temperature alone and lowering it in the recipe instead.
Do I need to change recipe temperatures after calibrating my oven?
Once you have measured an offset and either entered it into the oven or noted it, keep following recipe temperatures as written and adjust in one place only. Changing recipe numbers every time you bake makes it impossible to tell which temperature is working. If you would rather bake accurately, measure your offset once, then track it as a single number you apply mentally or through the oven setting.
A Reliable Starting Point for Your Next Bake
Do one thing this week: heat the oven to 350°F, park the thermometer in the center of the middle rack, and read it 25 minutes in. Write the difference on a sticky note and put it on the oven handle.
From there, trust the thermometer over the display, and start from the temperature the recipe states rather than adjusting the recipe to fit a guess. One number, applied consistently, is what turns a reliable bake into a repeatable one, and it holds up for 2026 holiday batches and every ordinary Tuesday in between.