If you want to learn how to make a sculpted cake for beginners, the whole process comes down to four moves: bake something firm, freeze it so it slices cleanly, stack and fill it, then carve the shape while it is cold and seal it with a crumb coat before you cover it. Give yourself a full day the first time. The carving is the quick part; the waiting is what eats the hours.
A sculpted cake is a cake that has been carved, stacked and shaped into a three-dimensional form — a cube, a ball, a car, a teapot — before being coated and decorated, instead of being left as a flat round or square layer. Most beginners get a clean result on their first try once they follow the freeze, settle, crumb coat sequence in order.
Here is the short version before the detail:
- Bake a dense, low-moisture cake and let it cool for 5 to 10 minutes.
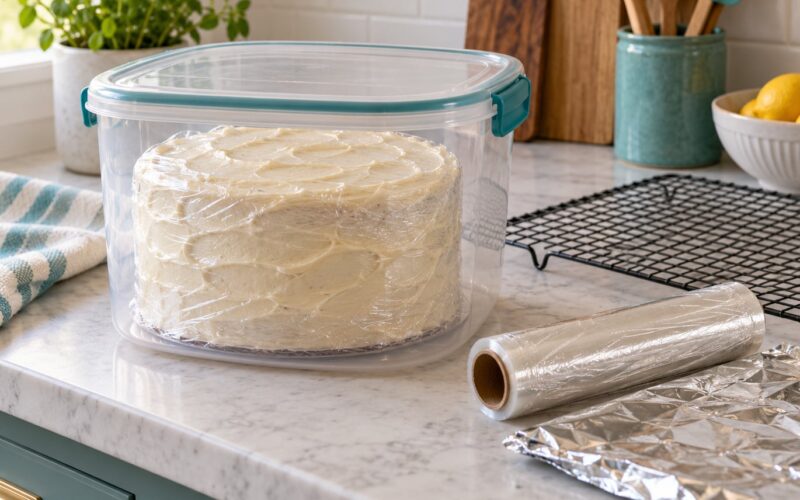
- Wrap it while still slightly warm and freeze it for at least a few hours.
- Thaw it overnight in the fridge under a 1 to 2 pound weight so it settles flat.
- Torte and fill the layers, then settle the filled cake under weight again.
- Trim the footprint and carve the rough form with a small serrated knife.
- Support tall or narrow forms with a dowel or straws sized to the cake diameter.
- Seal the carve with a thin crumb coat and chill until firm.
- Finish with fondant, ganache or buttercream and add your details.
One more thing before you commit to a design. Beginners do best with a simple geometric form — a cube, a stacked-round tower, a rounded dome or a sports ball. Staircases, human busts and multi-angle characters are advanced, and a Cake Central thread from years back shows decorators with far more experience still asking for help carving stairs into a cake. Those are a second or third project, not a first one.
Table of Contents
- What You Need Before You Start
- Choosing a cake recipe that will hold its shape
- Which finish to use on a carved cake
- How to Make a Sculpted Cake Step by Step
- Plan and prepare the cake
- Stack and shape the cake
- Apply a crumb coat
- Finish and decorate the cake
- Common Mistakes and How to Fix Them
- Frequently Asked Questions
- What type of cake is best for sculpting?
- Do sculpted cakes need dowels or internal support?
- Why is my fondant sticking or going sticky on a carved cake?
- Can I make a sculpted cake the day before the event?
- How long does a first sculpted cake take to make?
- What are the most common reasons cake sculpting fails?
- Conclusion
What You Need Before You Start
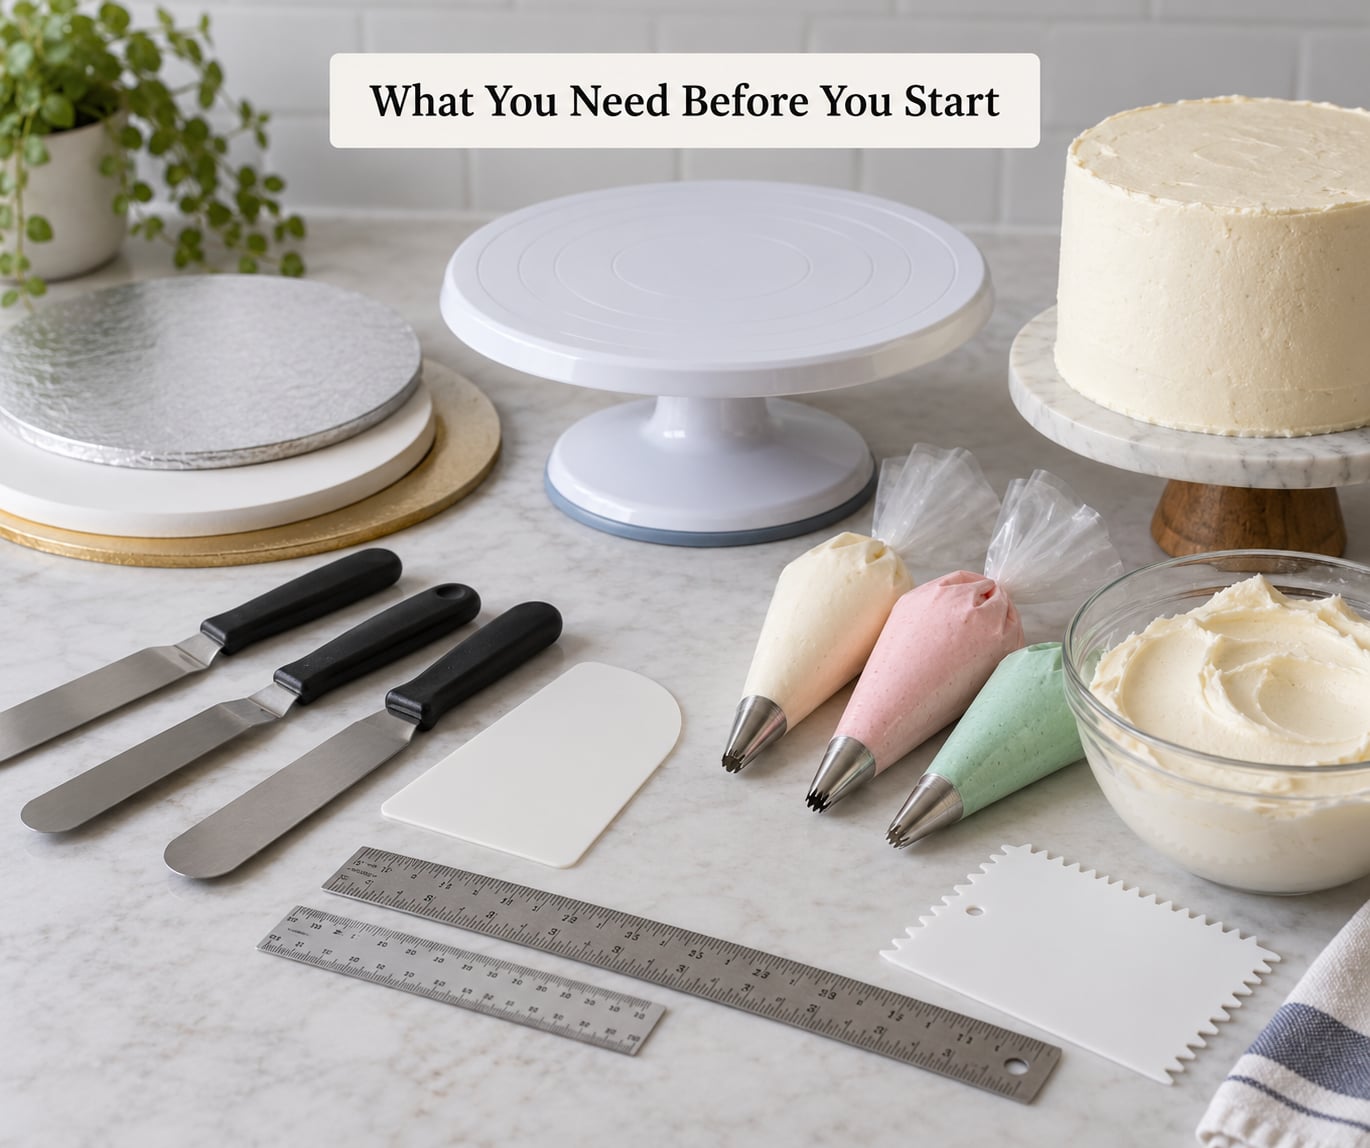
You do not need a professional kit. For a first sculpt, the carving and stacking tools matter far more than the baking equipment, and most beginners already own something that works.
For carving, you want a small serrated knife for bulk waste and a sharp paring knife or small non-serrated knife for detail passes. A long serrated knife feels wrong for this job — it is a slicing tool, and it will crush crumb when you try to shape with it. Keep a second damp cloth within reach; wiping the blade between cuts stops crumbs dragging across the surface.
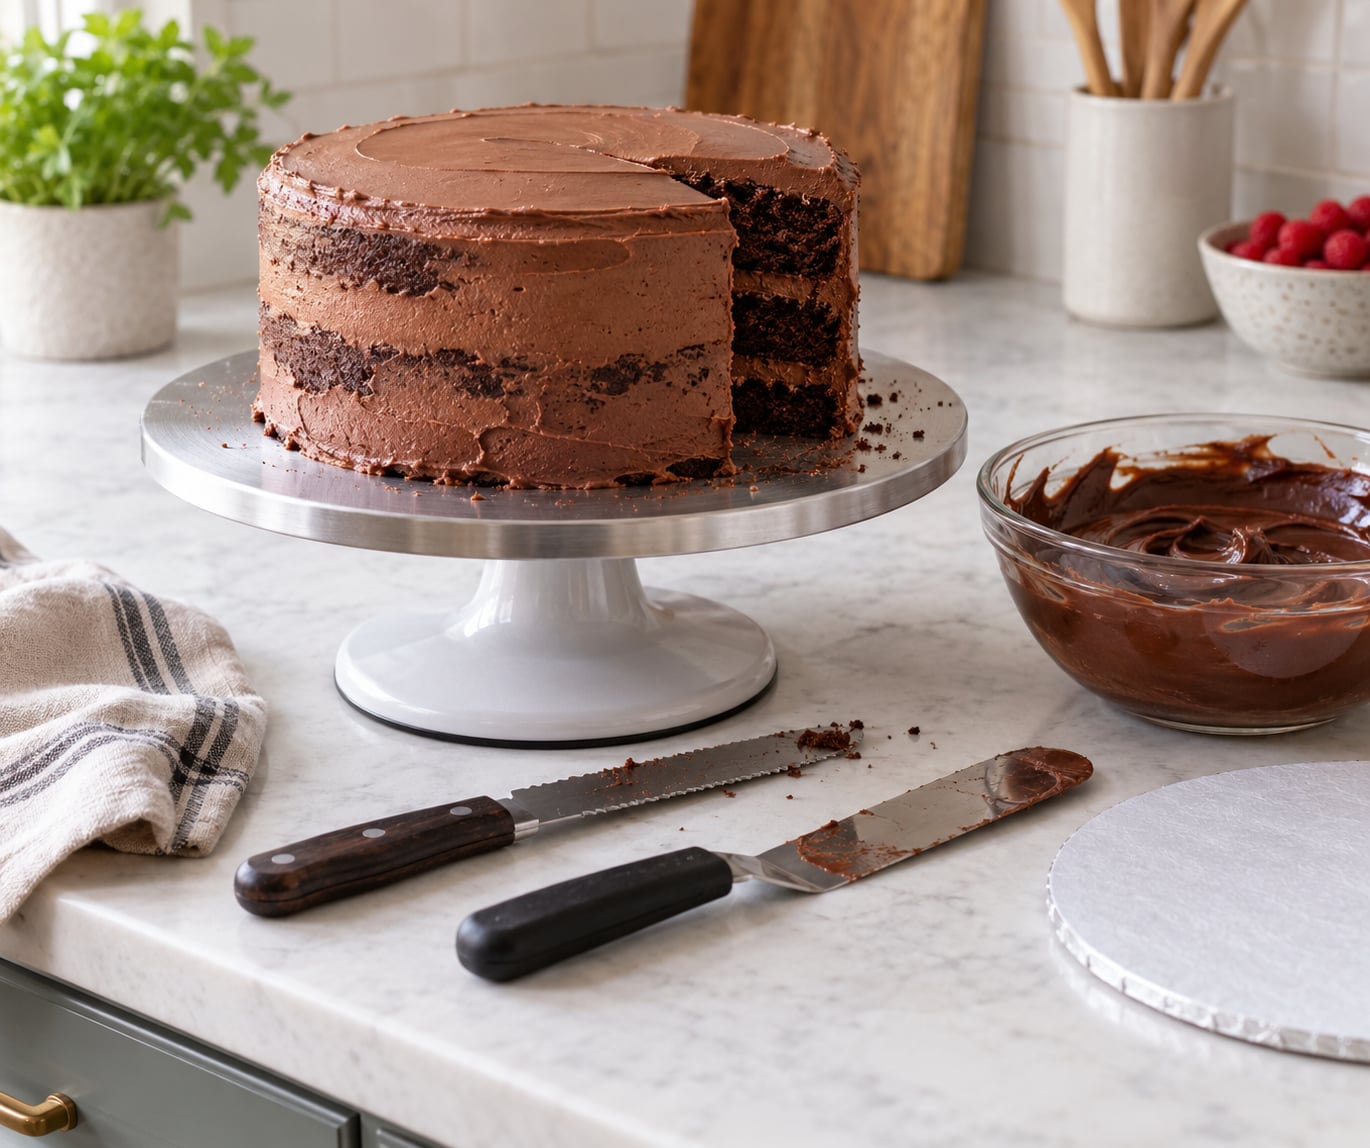
For stacking and shaping, you need a turntable of any size with a non-slip base, two or three offset spatulas in different widths, and a small set-square ruler for checking heights and setbacks. A wire sieve is useful because you can rest a cake on it and settle it without flattening the top.
For finishing, you want a proper cake board matched to the final footprint, a small sieve for sifting cornstarch over fondant as you roll it, and an acetate smoother — a strip of stiff plastic from a craft store — to sharpen top and bottom edges. Acetate is the single cheapest upgrade to a finished cake. It costs almost nothing and it is the difference between a rounded, soft-looking surface and a crisp one.
Also useful but not essential: a food-safe temperature gun to check the cake is fully cool before you frost it, toothpicks to mark levels before you cut, and a printed or phone-displayed reference photo taped beside the turntable. Carving against a photo you can glance at beats carving from memory every time.
Choosing a cake recipe that will hold its shape
Pick something dense, firm and low-moisture. A light sponge is the wrong choice because it compresses under the knife and tears as you lift carved pieces away. Dense cakes slice cleanly and crumble far less.
Good options include a pound cake, a moist-but-firm yellow or butter cake, a carrot cake, a chocolate fudge cake, or an almond or olive oil cake. Nearly all of them benefit from the old add-a-pound-of-eggs trick: add one extra egg per cup of flour to the batter. That tightens the crumb and makes torting and levelling noticeably easier.
Skip anything with a streusel, a fruit filling you have to cut through, or a whipped filling between layers. Whipped filling does not compress evenly, so the layers settle unevenly and the whole form leans once it is stacked.
Which finish to use on a carved cake
The finish matters less than the crumb coat underneath, but different media suit different tasks and beginners should pick based on how confident they are with smoothing.
| Finish | Best use on a sculpted cake | Handling notes | Beginner fit |
|---|---|---|---|
| Ganache | Sealing the carve and producing a smooth, glossy surface | Two parts chocolate to one part cream, applied warm, sets firm and matte-cool | Best first choice |
| Fondant | Crisp edges, sharp corners, colour blocking | Roll thin, work at room temperature, dust with cornstarch not sugar | Good once you have sealed the carve |
| Buttercream | Soft shapes, flowers, rustic finishes | Crumb coat with a stiff recipe first, cover with a softer one | Forgiving of small dents |
| Modeling chocolate | Small three-dimensional details and figures | Warm between palms before shaping, chill before it cracks | Great for small parts only |
Ganache earns its spot as the beginner’s best friend because it does two jobs at once: it seals every crumb the carving exposed, and it can be smoothed at room temperature without the condensation problems that make fondant stick to a chilled cake.
How to Make a Sculpted Cake Step by Step
Plan and prepare the cake
Plan the design before you bake, and pick the simplest silhouette your event allows. Draw it side-on, note the height and the footprint, and count layers against the board size. Baking more than you need matters less than baking too little, because a sculpt you cannot extend is a sculpt you have to restart.
Cool the layers for only 5 to 10 minutes, then wrap them. Leaving a cake out longer dries the surface, and a dry surface cracks when you torte it. Freezing wrapped layers for a few hours to a week is not a compromise — it is what makes the next stages predictable.
Thaw the frozen layers in the fridge for 10 to 12 hours under a weight of 1 to 2 pounds. The weight flattens any dome and puffiness into a level slab, which saves you a large amount of trimming later. Thaw to fridge-cold, never to room temperature, because cold is what you want for the carving step.
Stack and shape the cake
Torte the cold layers with a sharp serrated knife using shallow, sawing strokes at the centre and steeper strokes at the edge. Fill each layer with an equal weight of buttercream or ganache, spread it to the edge, and press the next layer down and straight. Fillings of similar density to the cake itself settle more evenly than a much softer filling.
Once filled, settle the cake under that same 1 to 2 pound weight in the fridge for a few hours or overnight. Skipping this is the most common reason a sculpted cake develops a bulge or an air pocket a day later — the crumb is still releasing air and the layers are still compressing.
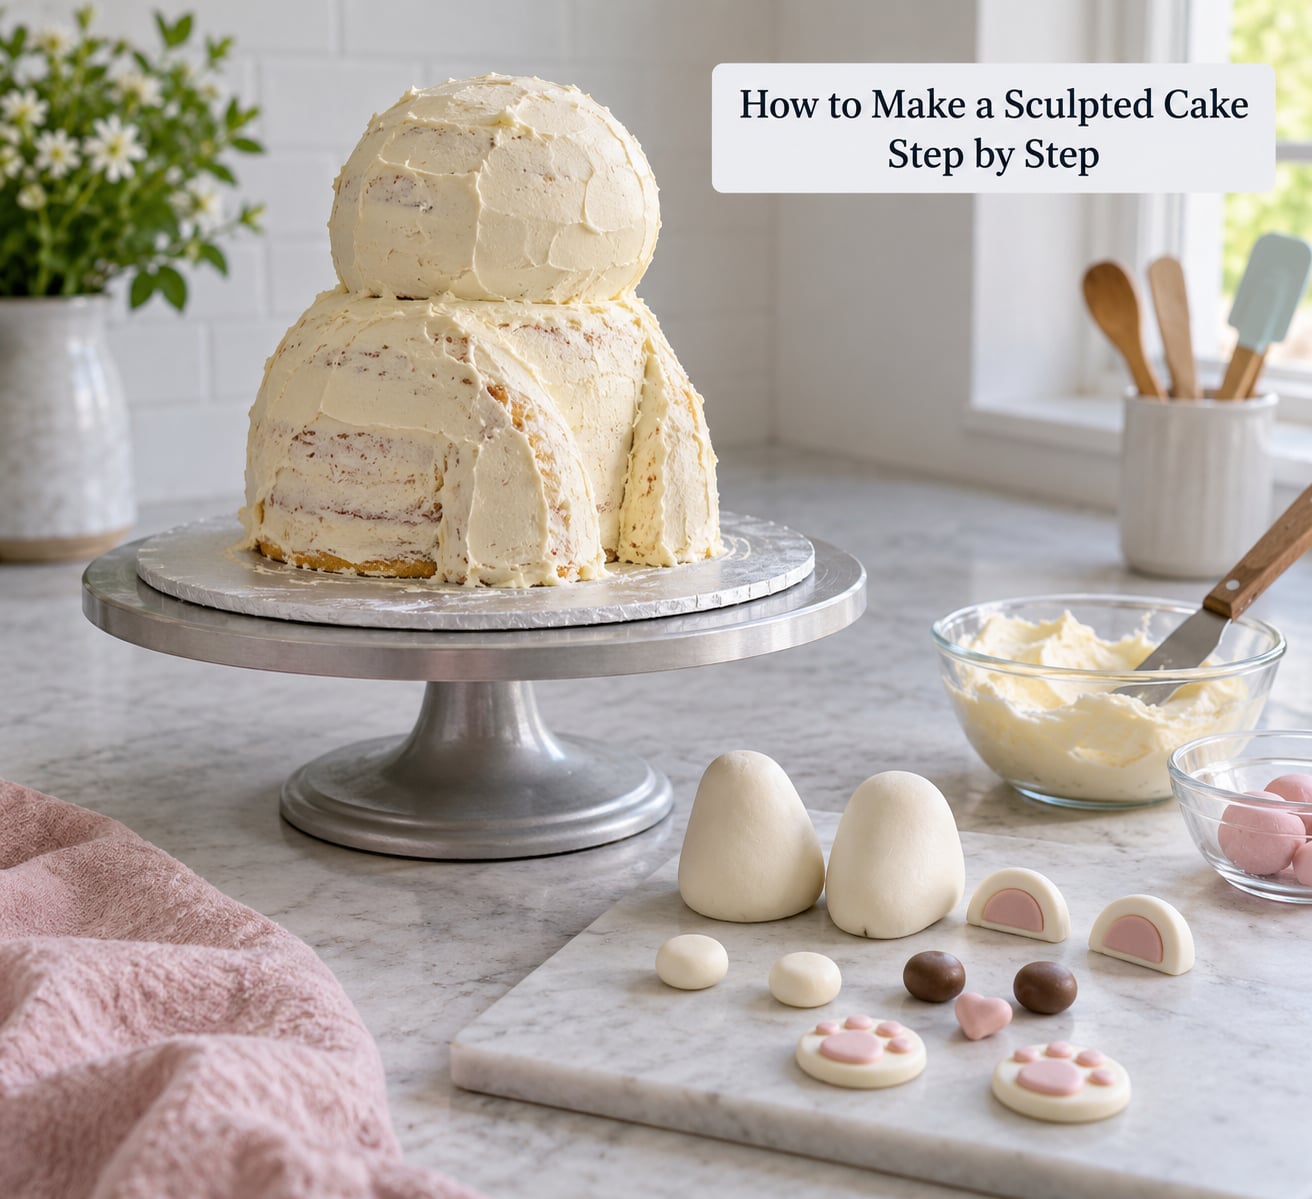
Trim the top flat after settling, then trim the sides until the footprint is even. Leave the cake inset about 1/8 inch from the board edge rather than flush with it. That small setback keeps frosting from hanging over the board and gives the finished cover something to grip.
Now carve, and change your approach from slicing to shaping. Take off the bulk waste first with the small serrated knife, using large confident cuts. Then switch to the paring knife for detail and refinement, using small controlled strokes. Rotate the turntable instead of pushing the knife across the cake — sawing forward tears crumb and pushes it into bulges, while a rotating cut keeps the blade travelling in the direction it is sharpest.
Check symmetry constantly by stepping back and comparing against your reference photo, and also rotating the cake a full 360 degrees. What looks even from the front is often badly off from the side, and the side is what guests photograph.
If the carve goes wrong, do not panic and do not throw the cake out. Trim back to the last sound section, add a fresh cake layer if you cut into the filling, and patch the exposed crumb with a thin layer of ganache. Sculpted cakes are rebuilt constantly, including by people who do this professionally.
Add internal support whenever the form is tall, narrow or top-heavy. The rule of thumb is one bubble straw per inch of cake diameter, and a centre dowel plus a support board underneath is the standard setup for stacked or overhanging forms. Bubble straws are usually preferred over wooden dowels because they do not splinter, they cut easily to length, and they do not displace the crumb when pushed in.
Apply a crumb coat
The crumb coat is a very thin seal of ganache or stiff buttercream over the entire carved surface, and it is not optional. Every carve exposes raw crumb, and without a seal that crumb shows through whatever you put on top.
Warm the ganache slightly so it spreads without dragging, and push it into every crevice rather than skimming over it. Then chill until firm, roughly 20 to 30 minutes. Once the shell is set you can shave off any lumps with a hot knife and find imperfections you could not see before.
Finish and decorate the cake
Apply your final coat over the set crumb coat. Fondant goes on at room temperature, never straight from the fridge — a cold cake plus cold fondant is exactly the pairing that produces condensation and sticky, tearing fondant. Work in small sections from the back of the cake to the front so you are not reaching over finished areas.
Smooth with an offset spatula for a soft look or an acetate strip for sharp top and bottom edges. For colour, thin gel colour with a clear alcohol such as vodka or lemon extract — never water, which makes fondant sticky and dull. Brush or airbrush from light to dark in thin passes.
Chill the finished cake before moving it, and transport it on a non-slip mat on a flat car floor rather than a seat. Never refrigerate the cake after fondant goes on and then re-cover it; condensation forms under the fondant and the surface dulls within hours.
Common Mistakes and How to Fix Them
Almost every beginner failure on this list has a simple cause and a fix you can apply mid-process, not just next time.
| Problem | Why it happens | Fix |
|---|---|---|
| Carve crumbles or sheds crumbs | Cake is too light or too warm, or the knife is sawing forward | Bake a denser cake, work fridge-cold, and rotate the turntable instead of pushing the blade |
| Cake bulges after finishing | Layers were not settled under weight, or air was trapped in the filling | Settle the filled cake for several hours, and press filling out to the edges before adding the next layer |
| Surface tears when a bulge is found | A hidden air pocket was popped late in the process | Patch with ganache while the coat is still soft, then chill and re-smooth |
| Fondant goes sticky or wet | Cake came straight from the fridge and condensed against the fondant | Let the cake reach room temperature, then cover. While working, dust cornstarch on tacky spots or use a fan to dry it |
| Crumbs show through the finish | Crumb coat was too thin or applied over crumbs left by the knife | Push ganache into the crumb with a small spatula, chill, then shave the surface level |
| Stacked form leans or sags | No internal support, or the filling compressed under load | Add a centre dowel plus a support board sized to the footprint, or bubble straws on the diameter rule |
| Modeling chocolate cracks when rolled | It is too cold, or you rolled it too thin | Warm it between your palms and roll it thicker; work in small pieces |
| Ganache slides off and will not re-stick | The layer beneath was disturbed or too cold | Warm the cake surface briefly, then reapply the ganache and chill to set |
Two habits prevent most of this list. Carve cold, and seal immediately. Everything above gets easier when those two stay fixed.
Budget your time honestly. A first sculpted cake realistically takes 12 to 15 hours across several days: baking in one block, freezing and settling overnight, carving and finishing in another. Decorators consistently say the first one takes roughly twice as long as the tenth, and that expectation is usually the thing that catches beginners out.
If you want to practise without the risk, build the design once on a cake dummy — a foam core cut to your stacked layers. You can carve the whole silhouette, check the support placement and take reference photos for the real bake. Some decorators prototype every complex structure this way so they never waste baked cake on a difficult carve.
Frequently Asked Questions
What type of cake is best for sculpting?
A dense, firm, low-moisture cake holds its shape best. Pound cake, a butter or yellow cake, carrot, chocolate fudge and almond or olive oil cakes all carve cleanly. Avoid light sponges and anything with whipped filling between layers, because both compress unevenly. Adding one extra egg per cup of flour tightens the crumb and makes torting easier.
Do sculpted cakes need dowels or internal support?
Any form that is tall, narrow, overhanging or carrying a heavy top element needs support. The usual rule is one bubble straw per inch of cake diameter, and stacked or overhanging shapes usually need a centre dowel plus a support board underneath sized to the footprint. Short, wide, single-level forms often need nothing at all.
Why is my fondant sticking or going sticky on a carved cake?
Condensation is almost always the cause. Fondant applied straight from the fridge meets a cold, damp surface and turns wet. Let the crumb-coated cake come to room temperature before covering, work in small sections, and dust cornstarch onto any spot that turns tacky while you work. A fan pointed at the cake also dries a sticky patch in seconds.
Can I make a sculpted cake the day before the event?
Yes, and for a first attempt you should. Bake and fill the cake up to three days ahead, then refrigerate it covered. Freeze a carved, crumb-coated cake for up to a month. Never refrigerate or freeze a cake once fondant is on, because condensation forms underneath and dulls the finish within hours. Cover and finish on the day itself.
How long does a first sculpted cake take to make?
Plan on 12 to 15 hours spread over two or three days. Baking takes one block, freezing and settling take overnight, and carving, coating and decorating take most of a full day. Experienced decorators take roughly half that. Many beginners underestimate because they forget the chilling and settling time is passive rather than hands-on.
What are the most common reasons cake sculpting fails?
Almost every failure traces back to four things: a cake that is too light or too warm to carve, layers that were never settled under weight, exposed crumb that was not properly sealed with a crumb coat, and a tall form with no internal support. Each has a direct fix, and the troubleshooting table earlier in this guide covers them one by one.
Conclusion
Master one thing first: the freeze, settle, crumb coat sequence. Get a plain square or round cake through those three stages and you have already solved the part that makes beginners quit. Then practice a simple form — a cube, a dome, a stacked round — until carving feels boring, and only then attempt stairs, curves or a character. Sculpting is a skill that compounds, and the second cake is always easier than the first.