Tempering chocolate means melting it, cooling it back down, then reheating it to a specific working temperature so only the stable Form V (beta) crystals form. Knowing how to temper chocolate for cake decorations is the difference between a shard that snaps clean and one that goes dull and smears on the board. The seed method over barely simmering water takes about 20 minutes and needs one bowl, one spatula and an instant-read thermometer. Get that temperature right and your shards, curls, moulded toppers and cake pops come off the mold glossy, hard and snapping clean.
Tempering is the step people skip and then wonder why. Untempered chocolate decorations go dull and streaky, stay soft in the hand, crack when they come off a mold, and start melting into a puddle if the cake table gets warm. Properly tempered chocolate does none of that.
This guide covers the temperature targets for dark, milk and white chocolate, the full seed method, what to do when you have no thermometer, how to hold workable chocolate through a 45-minute decorating session, and how to rescue seized chocolate. All temperatures are given in Celsius and Fahrenheit.
Table of Contents
- What You Need Before You Start
- Step-by-Step: How to Temper Chocolate for Cake Decorations
- How to temper chocolate with the seed method
- How to temper white or milk chocolate
- How to use a cocoa-butter method for more control
- How to test tempered chocolate
- Common Mistakes
- Frequently Asked Questions
- What temperature should chocolate be tempered to for cake decorations?
- Can I use milk chocolate or white chocolate for cake decorations?
- How do I know when chocolate is properly tempered?
- What should I do if tempered chocolate becomes seized?
- Can I use tempered chocolate directly on a cake?
- How should tempered chocolate decorations be stored?
- Ready to Temper Your First Decoration
What You Need Before You Start
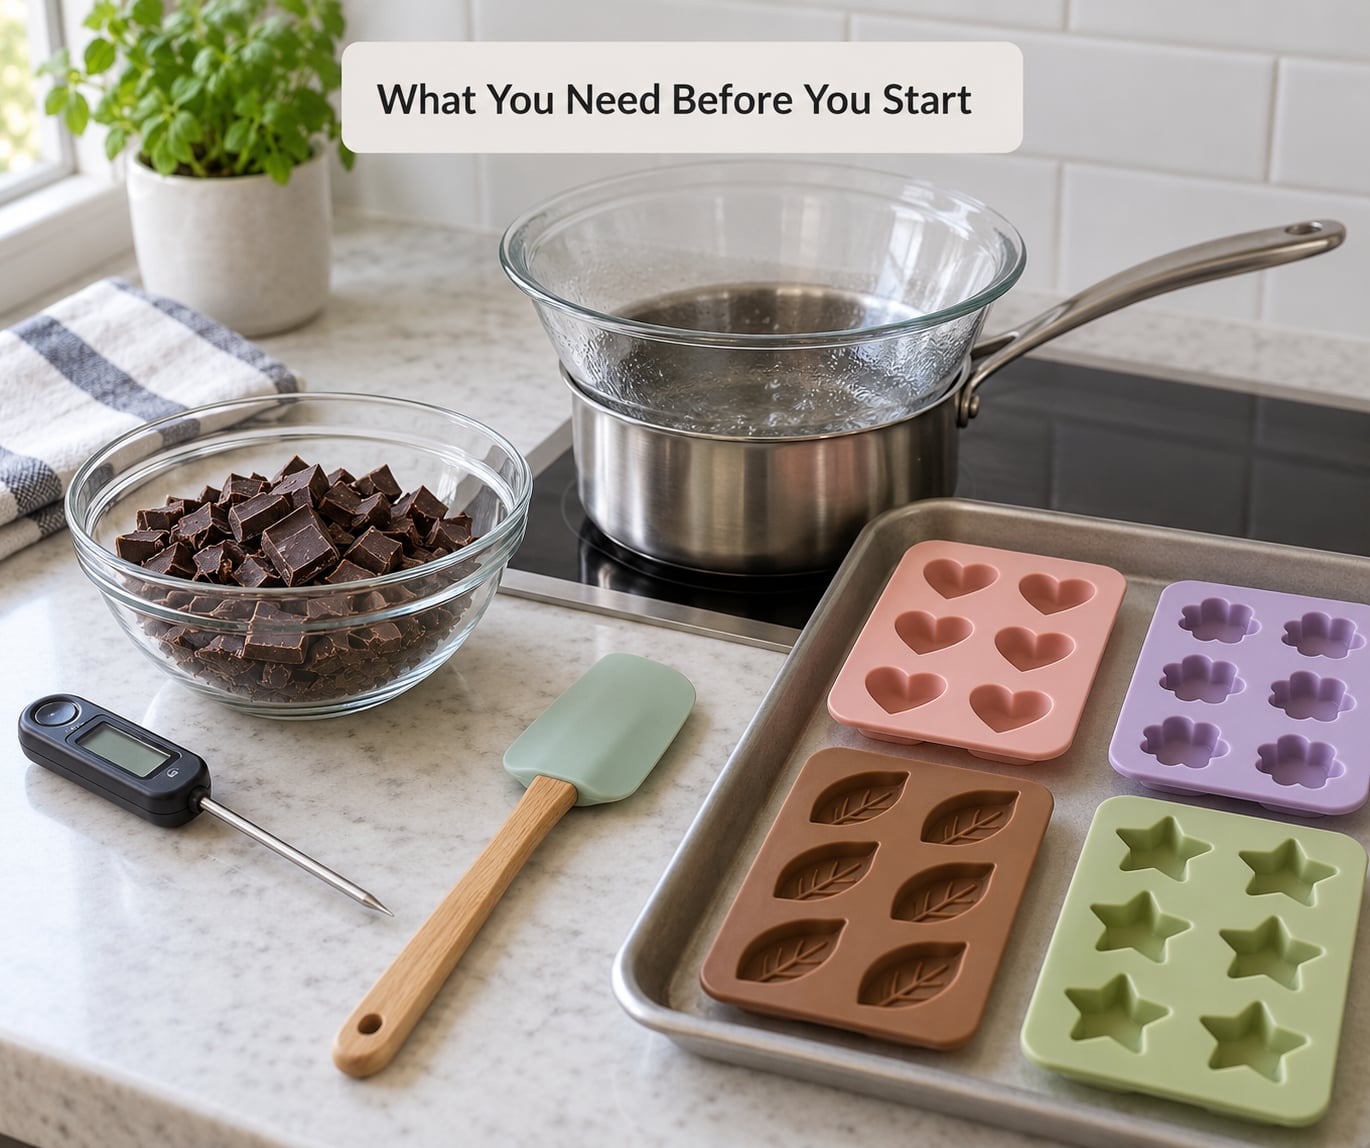
Chocolate choice matters more than any other variable here, so it goes first.
| Chocolate type | Can you temper it for decoration? | What happens |
|---|---|---|
| Couverture (bakers chocolate, pistoles or buttons) | Yes, the best choice | Real cocoa butter, high cocoa solids, holds a wide working temperature window |
| Baking bar or semisweet bar | Yes, usually | Most supermarket baking bars temper well enough for shards and moulds |
| Regular eating bar | Sometimes | Many are already tempered from factory moulding, so you may not need to re-temper it at all |
| Compound chocolate | Poorly | Uses vegetable fat instead of cocoa butter, so it sets soft and never snaps |
| Chocolate chips | No | Deliberately made to stay melted and resist setting. Do not use them for shards or moulds |
Compound chocolate and chips are the two that trip people up. Compound chocolate contains palm or other vegetable fat, which has different crystal behaviour and gives you a waxy, soft finish instead of a glassy one. Chocolate chips contain lecithin and extra fat for exactly the opposite reason to decoration: they are meant to stay fluid.
Manufacturers of couverture usually print a working temperature on the wrapper. Follow it when it is printed, because cocoa butter content and added cocoa butter vary between makers. The chart below is the widely used industry range, and it is a good starting point when nothing is printed.
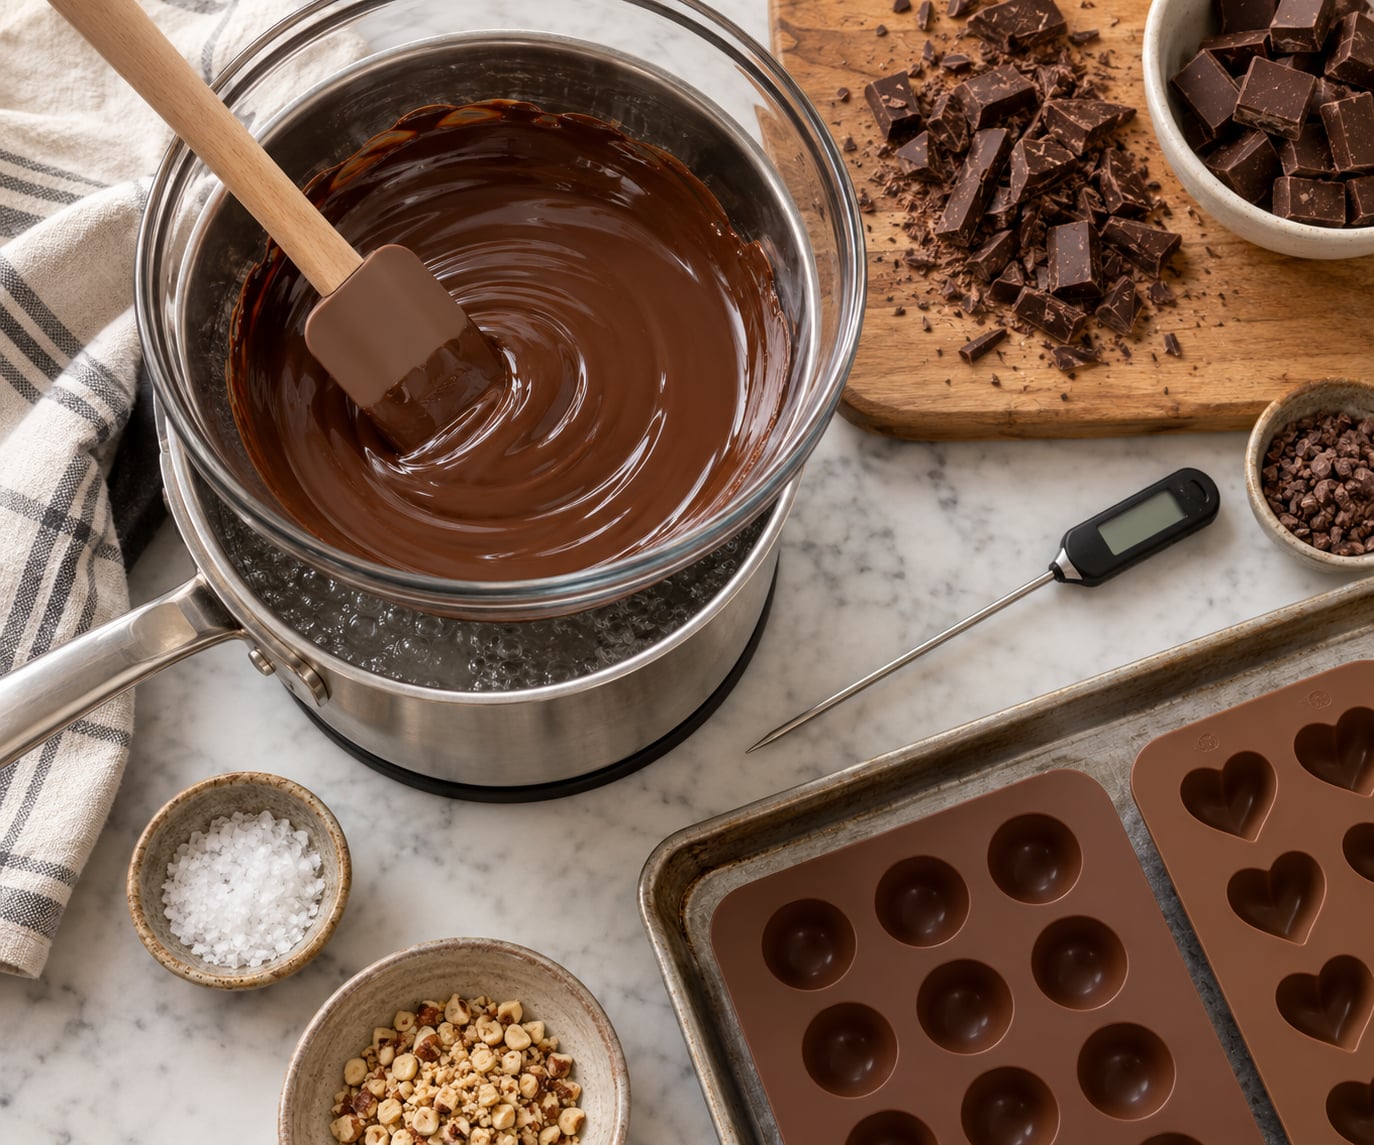
For equipment, you need an instant-read thermometer with a degree mark you can actually read, a heatproof bowl that is wider than your oven mitt, a silicone spatula, a sharp knife or food processor to chop the chocolate fine, and something to work on.
A baking sheet of water you can shake to feel the heat, a clean dry pastry brush, and a plastic acetate sheet or marble slab for the finished pieces all help. Skip the fancy equipment and you can still do this with a bowl, a whisk and a spoon.
The workspace has to be dry. One drop of water, or steam from a kettle or a wet sponge, is enough to seize a whole bowl of chocolate. Wipe the bench, dry your hands, and give the chocolate a wipe too if it sat near the sink.
Step-by-Step: How to Temper Chocolate for Cake Decorations
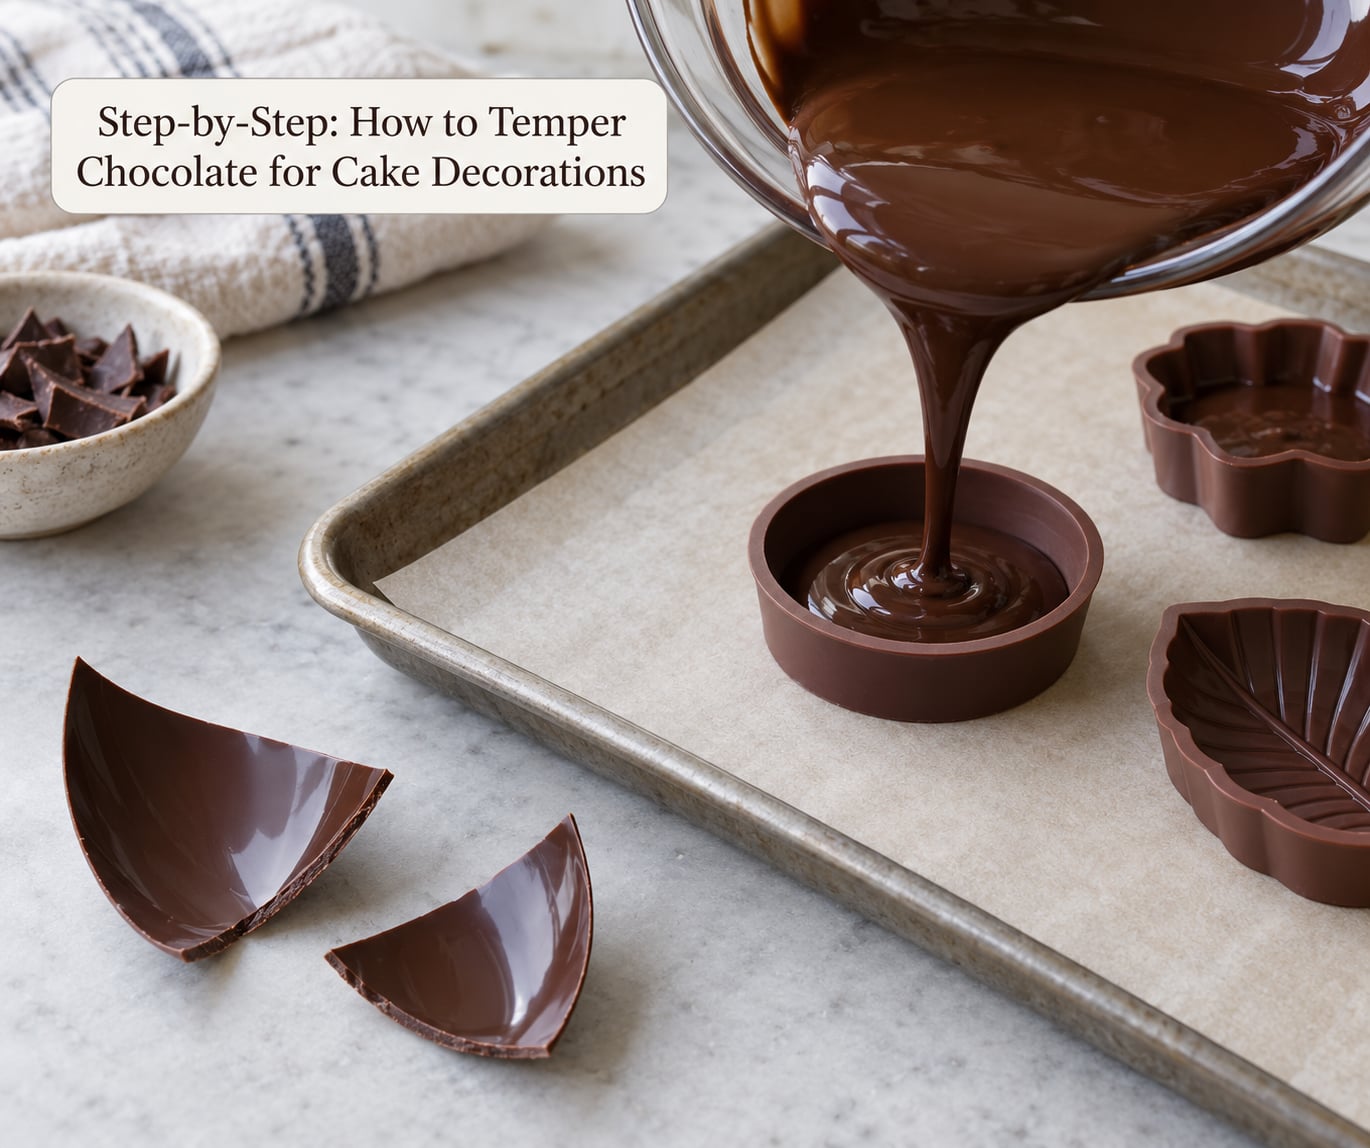
Tempering is a temperature journey, not a guess. The chart gives you the four checkpoints for each chocolate type.
| Chocolate type | Melt to | Cool to | Work at |
|---|---|---|---|
| Dark | 45-50°C / 113-122°F | 31-32°C / 88-90°F | 31-32°C / 88-90°F |
| Milk | 45°C / 113°F | 27-28°C / 81-82°F | 29-30°C / 84-86°F |
| White | 45°C / 113°F (short, gentle) | 26-27°C / 79-81°F | 28-29°C / 82-84°F |
Dark chocolate tolerates the most heat, so it gets the widest window and the most forgiving path. Milk and white chocolate have milk fat and milk solids that burn quickly and dull if you push them.
How to temper chocolate with the seed method
This is the method most home decorators trust, and the one I use. It needs no guessing because the seed chocolate tells you when the crystals are right.
- Chop or measure your chocolate. Cut a block into small pieces with a sharp knife, or pulse it in a food processor until it looks like coarse gravel. Small pieces melt evenly and stop you scorching the outside while the middle stays solid. Set aside about a quarter of it as seed chocolate.
- Fill a saucepan with an inch or two of water and bring it to a bare simmer. Bubbles should break the surface but never roll. This is a bain-marie, and gentle heat is the whole point.
- Set a heatproof bowl on the steam so the bottom touches the water. Drop in about three quarters of the chocolate and stir with a dry silicone spatula until most of the pieces melt.
- Check the temperature. Dark chocolate goes to 45-50°C (113-122°F); milk and white stop at about 45°C (113°F). Take the bowl off the heat at that point, because carryover heat keeps cooking it.
- Cool it back down. Wipe the outside of the bowl with a towel so no water runs in, then stir in the reserved seed chocolate a piece at a time. Keep the chocolate off the heat and keep moving.
- Bring it back up. Once the last seed piece dissolves, put the bowl back over the simmering water for a few seconds at a time. Watch the thermometer and pull it off at the working temperature from the chart: 31-32°C (88-90°F) for dark, 29-30°C (84-86°F) for milk, 28-29°C (82-84°F) for white.
- Test it. Drag a small amount across the back of a cold knife blade. It should set within a minute or two, come away in a clean sheet, and hold a shine.
- Use it straight away. Pour or pipe into molds, or spread on the acetate sheet for shards and curls.
Two details make the difference between a clean temper and a grainy one. First, take a tiny smear of the melted chocolate on the tip of your spatula and let it cool on the counter while the rest melts, then stir it back in as an extra seed. Second, never let a drop of water near the bowl, including from the condensation that forms on a cold bowl moved into steam.
A kitchen towel wrapped around the base of the bowl is a genuinely useful trick. It insulates the bowl so the chocolate sitting on the sides cannot climb past your target temperature while you stir the middle.
How to temper white or milk chocolate
Milk and white chocolate need gentler heating than dark, because the milk fat and milk solids darken and separate quickly. Melt them to about 45°C (113°F), no higher, and hold them over the steam in short intervals rather than leaving the bowl sitting there.
Their working temperatures are lower too: 29-30°C (84-86°F) for milk and 28-29°C (82-84°F) for white. That means the seed chocolate does more of the work, because there is less heat energy in the bowl to crystallise it. Expect the seed pieces to take a little longer to melt in, and stir constantly while they go.
If your white chocolate smells sharply of dairy once it is melted, it has been held at heat too long and will never recover. Start again with fresh chocolate and shorter bursts.
How to use a cocoa-butter method for more control
Advanced decorators sometimes add pure cocoa butter, sold as silk screen cocoa butter or in solid little blocks, to loosen the process. It raises the amount of cocoa butter solids in the mix, which widens the window between the melt temperature and the working temperature.
The basic approach is to melt the chocolate as normal, then stir in a small amount of cocoa butter at around 40°C (104°F). A common starting point is one part cocoa butter to twenty parts chocolate by weight, but the right amount depends entirely on the chocolate you started with.
Check the maker’s instructions before you start, because the recommended ratio depends on the cocoa solids in the bar, and adding too much cocoa butter will leave you with a soft, greasy decoration that never hardens. Verify your final working temperature with the knife test every time, whatever ratio you use.
How to test tempered chocolate
Testing is the part people skip and the part that saves them. Run all four checks before you start decorating.
- The knife smear test. Smear a small amount on the back of a cold knife. Within a minute it should firm, dull slightly and lift off in one clean piece. If it stays glossy and smears, it needs more seed and more stirring.
- The snap. Let a teaspoon drip onto parchment and cool it. A properly tempered drop shrinks slightly as it sets, hardens within five minutes at room temperature, and snaps cleanly when you break it.
- The gloss. Look at the surface of the drip. Bright and reflective is right. Grey and streaky means the crystals are the wrong form.
- The hand test. Touch the piece once. Tempered chocolate at working temperature feels firm and slightly tacky and leaves almost nothing on your finger. Untempered chocolate smears.
Tempered chocolate sets at room temperature in about five to ten minutes for a thin piece, longer for a moulded shell. It does not need the fridge, and putting it there can create condensation and dull the finish.
Common Mistakes
Almost every failed batch falls into one of these. Match your symptom to the cause, then fix it.
| Symptom | Likely cause | Fix |
|---|---|---|
| Thick, clumpy, seized mass | Water, steam or a wet utensil touched the chocolate | Add a tablespoon of warm water and stir. It will loosen into a stiff paste. Add more water a little at a time |
| Dull grey streaks | Not enough seed, or it was not stirred in fully | Add more finely chopped chocolate at working temperature and stir until fully melted |
| Will not set, stays soft | Working temperature too low, or untempered water-free chocolate from a poor source | Warm gently to the working temperature for that type, stir, and retest with the knife |
| Never hardened at all | Chocolate chips, compound chocolate, or water ruined the structure | Not fixable as decoration. Start again with couverture, a baking bar or couverture callets |
| Burnt, sharp smell, very dark colour | Held over heat too long | Discard and start over. There is no way back once the milk solids or cocoa solids scorch |
| Drippy decorations on the cake | Room too warm, or the cake was not chilled | Chill the cake and work in the coolest part of the day |
| White film or grey haze after a day | Fat bloom from heat, or sugar bloom from condensation | Neither is mould and both are harmless. Hold the piece over a warm bowl so the fat crystals melt back in |
Water is the big one. Chocolate seizes because cocoa butter and water repel each other, so a single drop turns the whole bowl into a stiff paste in seconds. Pour in a tablespoon of warm water, beat it with the spatula, and keep adding until you get a thick, spreadable consistency. That recovered chocolate is fine for filling, glazing or spreading on a cake, but no longer for moulds or snaps.
Overheating is the other common failure, and the frustrating part is that passing your target temperature by even a degree or two means starting again. Once cocoa butter crystals melt into unstable forms, seeding cannot rescue them because the seed has nothing to grow on.
Avoid condensation completely. Do not cover your bowl while it cools, do not put it in the fridge, and do not work over a surface that has been chilled. Any of those reintroduce water as you were trying to keep it out.
Now the problem nobody warns you about: how to hold chocolate through a long session. Working temperature is a moving target, and your kitchen will move it. What works is to set the bowl over barely simmering water with the heat off, so you are holding it rather than cooking it.
When the chocolate thickens as you work, lift it and give it two or three seconds of steam, stir well, then pull it straight off. Repeat. Small repeated bursts keep you at working temperature; one long blast is how you lose the temper. If it has seized solid on the side of the bowl, stir the soft middle first and let the heat from the spatula loosen the rest.
Cracking cake pop shells is a different problem from bad tempering, and it shows up constantly on decorating forums. It usually means the shell cooled too far before dipping, or the coating was too thick. Bring your chilled pops to fridge-cold rather than freezer-cold, and dip in thinner coats than you think you need.
Frequently Asked Questions
What temperature should chocolate be tempered to for cake decorations?
Dark chocolate works at 31-32°C (88-90°F), milk chocolate at 29-30°C (84-86°F) and white chocolate at 28-29°C (82-84°F). You melt all of them to about 45-50°C first to destroy existing crystals, cool them, then seed and bring them back up to the working temperature for their type. Always check the wrapper, since makers print their own target.
Can I use milk chocolate or white chocolate for cake decorations?
Yes, both work well once tempered, and their lower working temperatures make them forgiving. Heat them gently to about 45°C (113°F), because milk fat darkens quickly and dulls the colour if you push the heat. Dark chocolate is the easier starting point for beginners because it forgives a few extra degrees.
How do I know when chocolate is properly tempered?
Smear a little on the back of a cold knife and leave it for a minute. Properly tempered chocolate sets, dulls very slightly, and lifts off in one clean sheet with a bright shine. A drip on parchment should shrink a little as it cools, harden within five minutes and snap cleanly when broken.
What should I do if tempered chocolate becomes seized?
Seizing means water got in. Stir in a tablespoon of warm water and beat it until the chocolate loosens into a stiff paste, adding water a little at a time. That recovered chocolate works for spreading and glazing on a cake. It will not snap or mould properly, so temper fresh chocolate for moulds, shards and curls.
Can I use tempered chocolate directly on a cake?
Yes, and this is where tempering pays off. Properly tempered chocolate sets hard and glossy, releases cleanly from a mold and holds its shape at room temperature instead of melting in your hand. Chill the cake first and work on an acetate sheet or marble slab, then place the decorations once they are fully firm.
How should tempered chocolate decorations be stored?
Store them somewhere cool, dry and out of sunlight, in an airtight container so they do not pick up moisture or kitchen smells. Tempered chocolate keeps its snap and shine for weeks at a cool room temperature and much longer in the fridge. Bring them back to room temperature before serving so they are not too hard to bite.
Ready to Temper Your First Decoration
Start tonight with 200g of dark couverture and a thermometer. Chop it fine, melt three quarters of it over barely simmering water to 45-50°C (113-122°F), cool it, seed with the rest, and work it to 31-32°C (88-90°F). Run the knife test before it goes anywhere near a mold.
Make one small decoration first, not the full set. Pour a few drops onto parchment, let it cool, and break it. If it snaps and shines, your temper is good and you can move on to shards, curls or a molded topper with confidence. Keep the bowl over the switched-off simmering water while you work, and give it two or three second bursts whenever it thickens.
Once your first batch comes out of the mold with a clean release and a crisp break, every one after it gets faster.