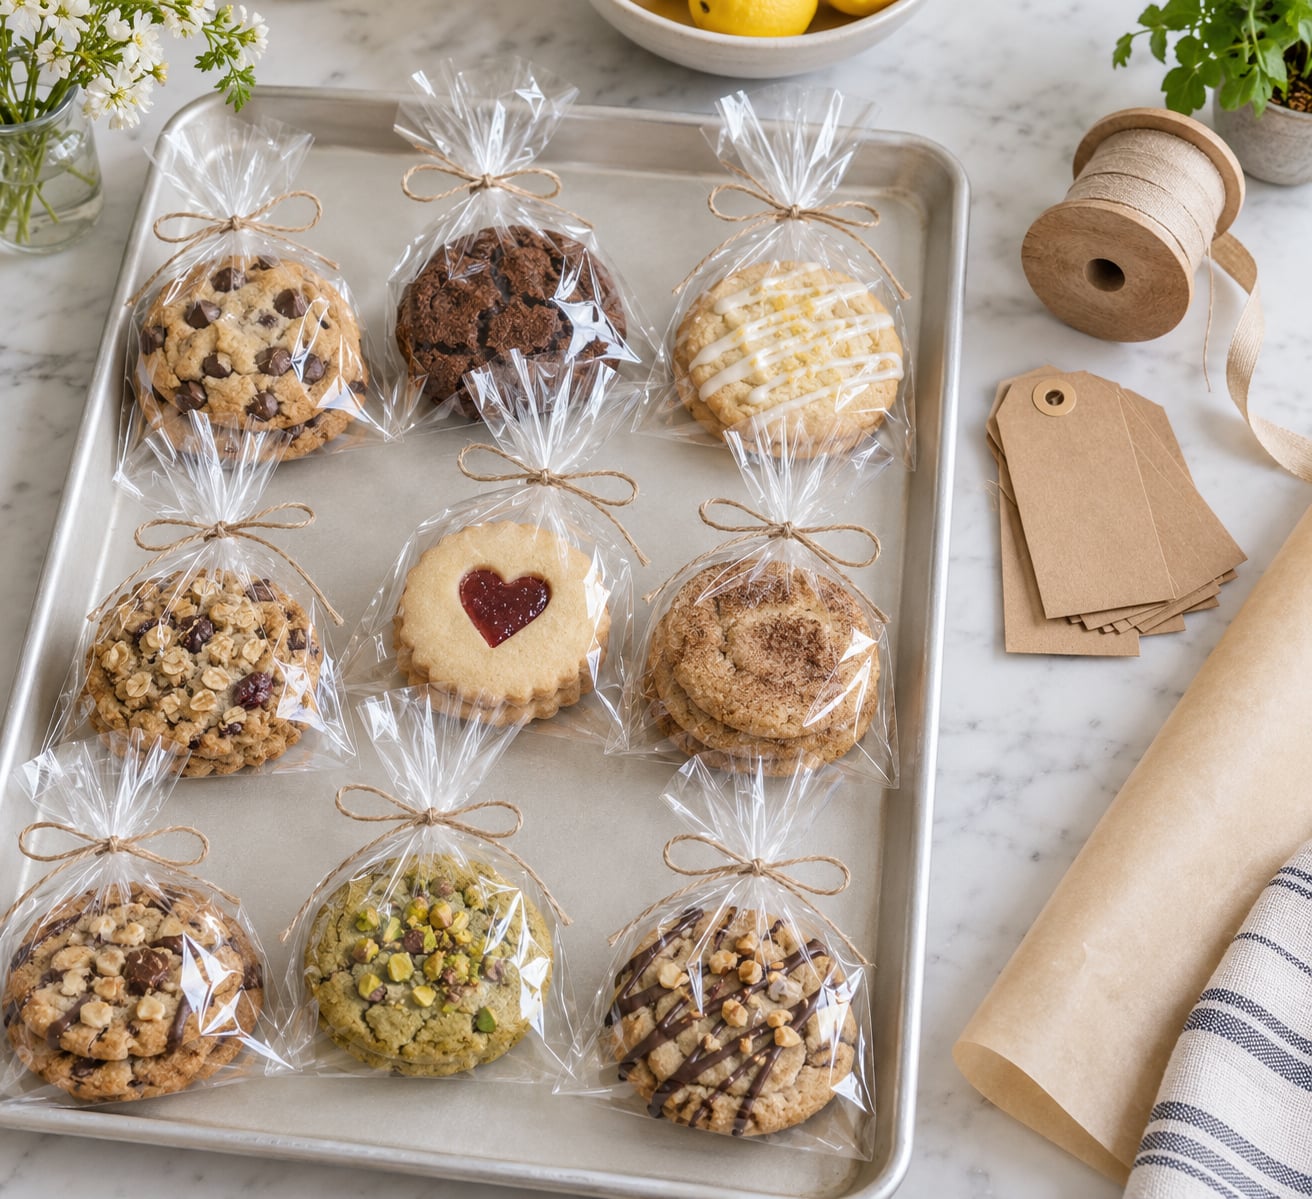
Wrapping cookies individually is mostly about protecting the decoration. The cookie goes inside a food-safe barrier first, then the package gets sealed with twine, a sticker or a tag so each guest can carry one home without a bowl of crumbs. For a frosted or iced cookie, a clear cellophane treat bag tied with thin baker’s twine is the quickest option that still shows off the design.
The trick is matching the wrapper to the cookie rather than doing the same wrap for everything. A thin cut-out sugar cookie and a thick iced square cookie need opposite handling, and a cookie that sits on a table for three hours needs different protection from one that gets boxed and driven home. Here is how to wrap individual cookies for a party without smudging a single thing you spent an afternoon decorating.
Table of Contents
- What You Need
- Step-by-Step
- How to Choose the Right Wrapper
- How to Protect the Cookie
- How to Arrange and Label the Wrapped Cookies
- Common Mistakes
- Frequently Asked Questions
- What is the best way to wrap frosted cookies for a party?
- Can I wrap decorated cookies the day before the party?
- How should I transport wrapped cookies without damaging them?
- Should individually wrapped cookies be labeled for allergies?
- What packaging works best for stackable cookies?
- Conclusion
What You Need
Most people over-buy. Pick one or two wrapper styles and commit, because mixing four kinds of packaging on one table looks accidental.
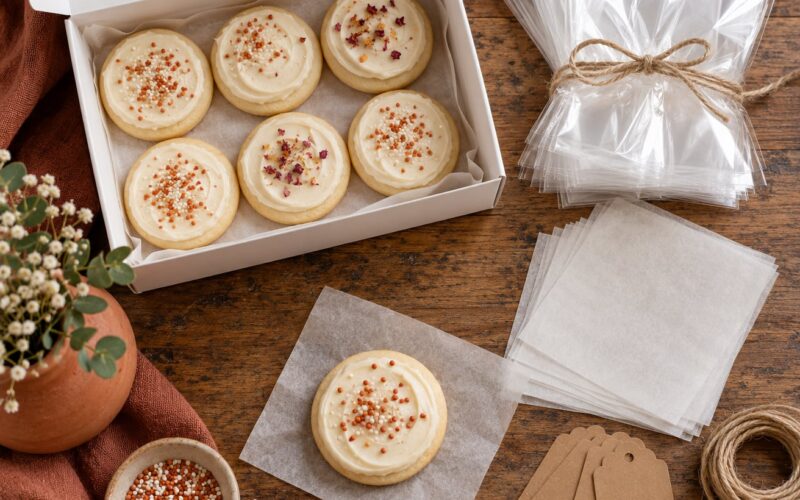
- Individual bags: clear cellophane treat bags or glassine bags in a size that leaves an inch of headroom above the cookie. Too tight and the frosting marks the plastic.
- Parchment or wax paper: cut into squares roughly 4 inches for a 3-inch cookie. This is your grease barrier and the layer that stops cookies sticking together.
- Mini boxes or trays: flat bakery boxes or compartmented muffin tins for cookies that are stacked, heavy, or going to travel in a car.
- Cupcake liners: plain uncoated paper liners work as pouches, folded. Skip the ones printed with ink on the inside if the cookie touches the paper.
- Ribbon or twine: thin baker’s twine or narrow ribbon. Anything thicker is a knot guests will fight.
- Labels or tags: small round stickers, manila tags, or printed cardstock squares, plus a fine-tip marker.
- Scissors and a ruler: for cutting consistent paper squares. Eyeballed squares are the reason a stack looks sloppy.
- Optional: food-safe cellophane for sealing, an airtight container if the package sits unattended, or a food-grade desiccant packet for cookies that will be displayed for hours.
Match quantities to cookie shape and party length. Round cookies about 3 inches wide need a 4-inch paper square. Long biscotti or sandwich cookies need a sleeve rather than a bag because they cannot sit flat without breaking.
Step-by-Step
Wrapping takes about 30 to 45 seconds per cookie once you get into a rhythm, so 24 cookies is roughly 20 minutes. Set everything up before you start, not between batches.
How to Choose the Right Wrapper
Choose the wrapper that fits the decoration. Cellophane or glassine bags show off a design and seal out humidity, which is right for royal icing, glaze, or a heavy chocolate-dipped cookie. Wax paper sleeves are quieter and softer on a table, and they are the safer pick for a cookie with sprinkles that might still be a little loose. Parchment pockets suit plain cookies, especially ones you will stack, because the paper adds a rigid layer between them.
For frosted cookies, skip anything that presses on the top surface. A bag or a sleeve that wraps the sides and folds away from the face of the cookie keeps a thick buttercream edge intact. Iced cookies that travel best in a small box with a window lid, standing on edge so the design faces out and nothing rests on the icing. Thin cut-out sugar cookies are the opposite case: they crack when you bend them, so give them two parchment squares sandwiched flat and skip the bag entirely.
One more fork worth deciding early. If guests eat the cookies at the party, skip individual wrapping altogether and use platters or a favor basket with a label. Individual wraps are for take-home favors, goodie bag fillers, classroom treats, and bake sale orders.
How to Protect the Cookie
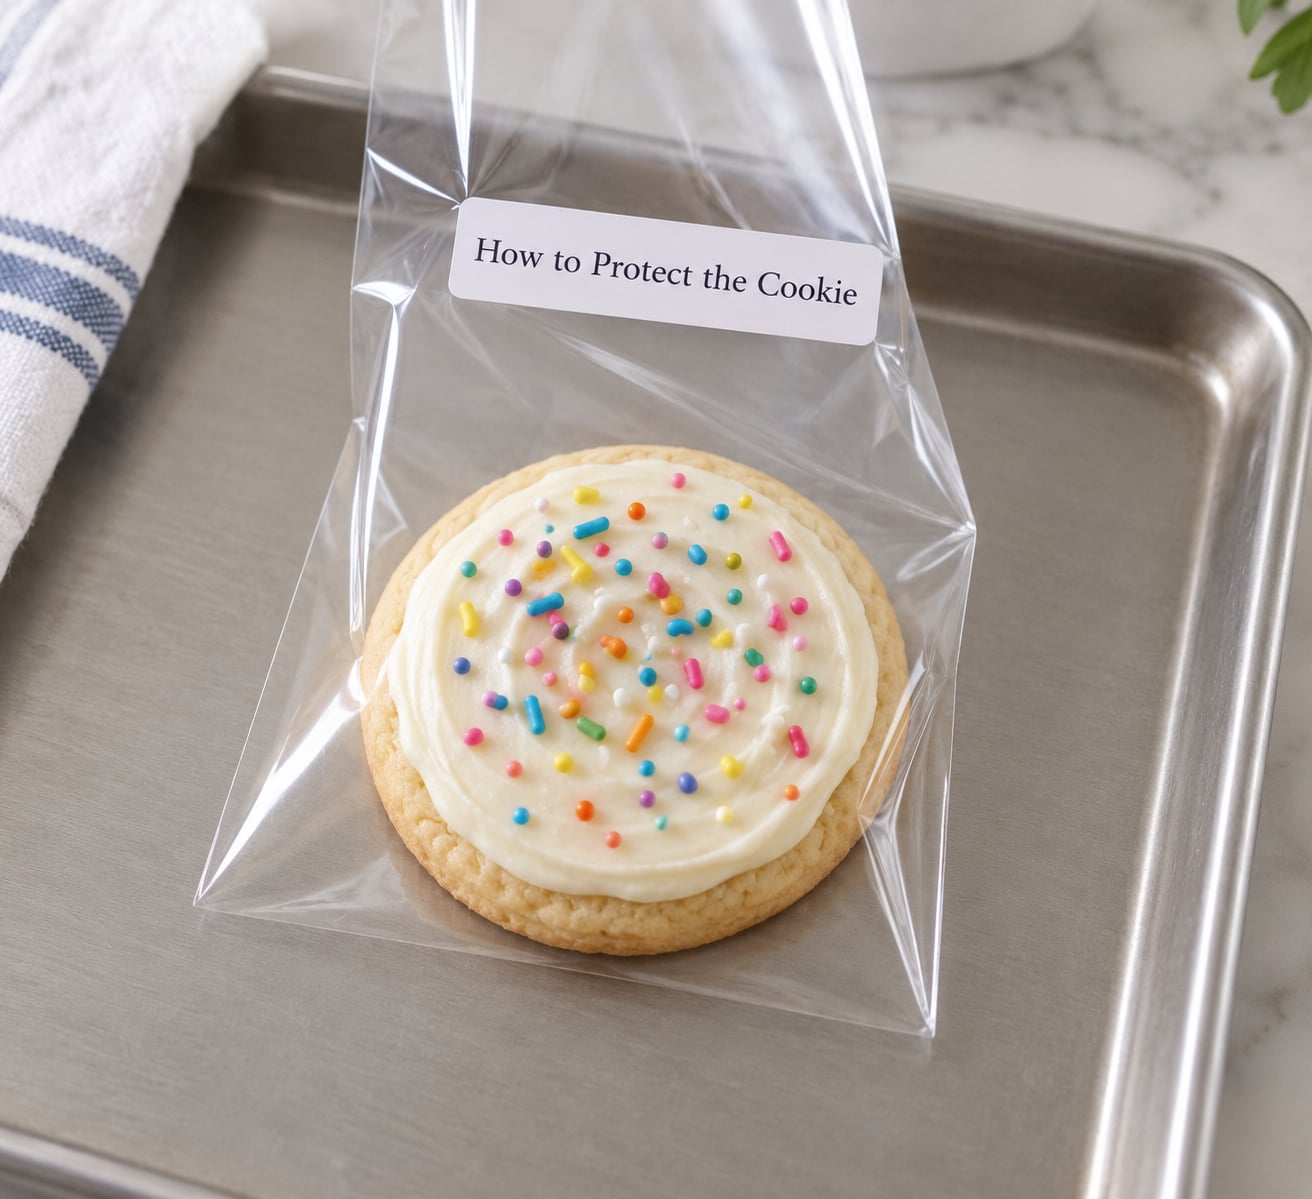
Cool every cookie completely on a rack first. At least an hour, and longer for thick ones. Wrapping while a cookie is warm traps condensation inside the package, and that is the single biggest reason individually wrapped cookies turn soft and spotted by the next morning.
- Lay a parchment or wax paper square flat and put the cookie in the middle, decorated side up.
- Fold the corners in to meet in the centre, like wrapping a present, without pressing down on the top.
- Slide the cookie into its bag or sleeve, or set it directly into a box slot.
- Seal the package. Peel and press a self-sealing strip, tie thin twine in one quick knot, or close a sticker seal.
How do you know it worked? Lift the finished package and give it one small shake. If the cookie shifts, the bag is too loose or the paper was cut small. Squeeze gently on two sides. If icing flattens or transfers, you have too much pressure in the seal. Check the wrapper for grease marks too; an oil slick means the cookie needed a barrier layer it did not get.
For cookies that sit out on a table for more than a couple of hours, drop a small food-grade desiccant packet into the container. It pulls excess moisture out of the air inside the box, which is why cookies stay crisp for hours instead of going dull.
How to Arrange and Label the Wrapped Cookies
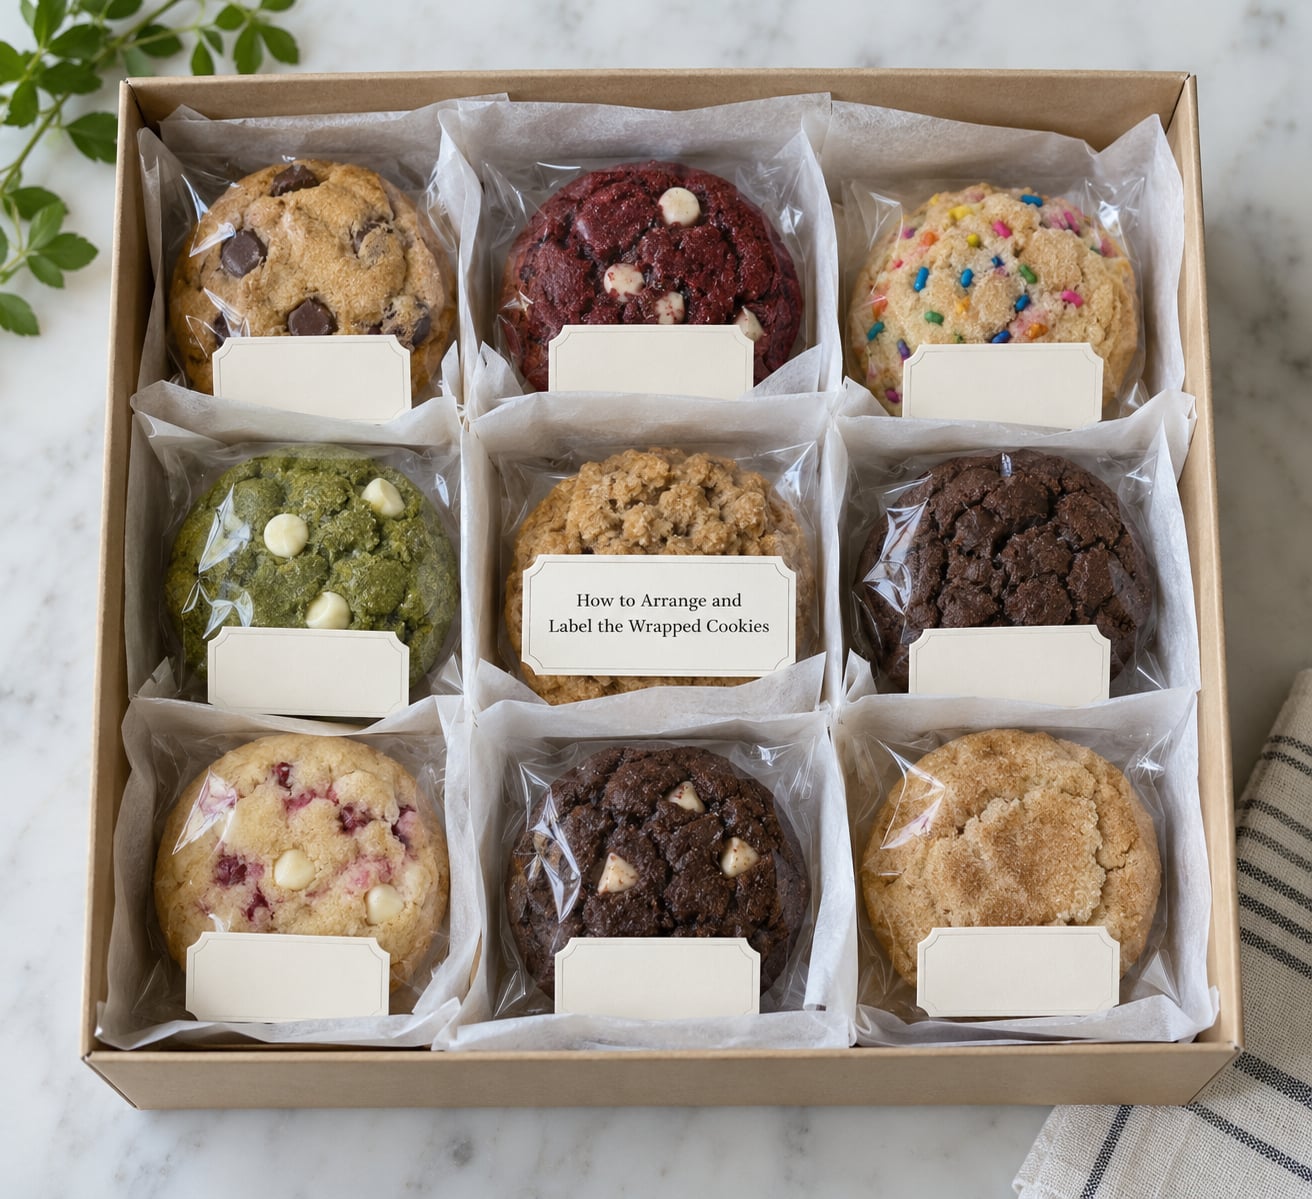
Stand the wrapped cookies upright in a shallow box or muffin tin so each design faces forward, or lay them in a single layer if the box is flat. Either way, keep flavours apart. A lemon cookie touching a chocolate one in the same compartment gives you both flavours at once, and sugar cookies with strong lemon or spice will do the same to everything nearby.
When you stack, put a layer of parchment or a paper cup between each row and never stack iced cookies directly on each other. The weight of the one above is enough to leave a print on the icing below.
A simple label does three jobs at once. Write the flavour, the date baked, and anything a guest needs to know before eating. For a school or an allergy-aware group, add a full ingredient list.
A plain label example: Brown Butter Chocolate Chip. Baked October 1. Contains wheat, milk, egg, peanuts. Best within 5 days.
Print the labels ahead if you can. Handwritten ones charm but take three times as long at volume, and handwritten allergen lists are where mistakes happen. Tie or sticker them on only after the package is sealed, so the tag never catches while you are still closing it.
Common Mistakes
Almost every failed package traces back to one of these.
- Wrapping warm cookies. Condensation forms inside and softens everything. Fix it with a full hour on a rack, no shortcuts.
- Putting a bare cookie in a paper pouch. Grease soaks straight through and leaves you with a stained, fragile package. Slip a wax paper or parchment layer in first.
- Oversized bags. The cookie rattles, the design gets scratched by the plastic, and the package looks unconsidered. Bag size should be one inch wider than the cookie, no more.
- Trapping moisture. Sealing a soft or chewy cookie airtight makes it gummy by morning. Wrap those in a breathable layer and eat them the same day.
- Crushing decorations. Squeezing the seal of a bag over piped royal icing leaves a dent. Seal the sides only.
- Stacking with no support. A rigid cardboard divider or a muffin tin slot prevents the pile at the bottom from turning to crumbs.
- Non-food-safe decorative paper. Tissue, crinkle paper, newspaper, colored craft paper, and office paper can transfer dye and ink straight onto a cookie. Use wax paper, parchment, glassine, or food-grade cellophane instead.
- Skipping allergen disclosure. If the wrap leaves your hands and goes into a school bag or a shared table, write down what is in it.
Prevention is mostly a work surface and a habit. Lay out every supply before the first cookie goes in, keep paper squares a consistent size with a ruler, and keep a small stack of blanks on the right so labeling never becomes the step you run out of time for.
Frequently Asked Questions
What is the best way to wrap frosted cookies for a party?
Use a clear cellophane or glassine treat bag with about an inch of headroom, and seal it by pinching the sides rather than pressing the top. Piped buttercream or royal icing keeps its shape best in a rigid bag that does not flex. For cookies that will travel, a small bakery box with a window lid lets them stand upright so nothing rests on the icing.
Can I wrap decorated cookies the day before the party?
Yes, as long as every cookie is completely cool before you wrap it. Store the finished packages in a single layer in an airtight container at room temperature. Wrapping a still-warm cookie traps condensation, which softens the crumb and spots the icing. Skip the fridge, since it picks up odors and ruins crisp edges.
How should I transport wrapped cookies without damaging them?
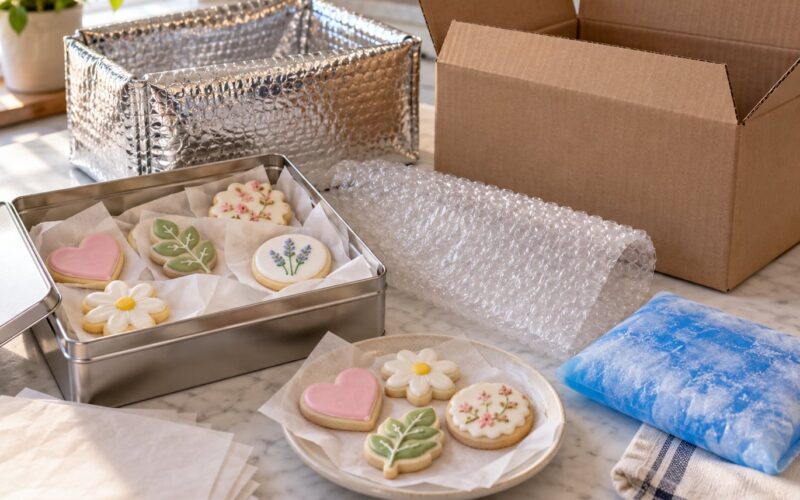
Carry the box level, supported from underneath, rather than by the sides. Wrap the whole box in a towel or place it in a larger tote so it cannot slide in the car. Do not put it on a seat where a passenger might lean on it. Keep the container closed the entire trip so frosting does not press against the window or box lid.
Should individually wrapped cookies be labeled for allergies?
Yes, whenever cookies go somewhere other than your own table. A school treat, a bake sale, or a shared party table needs the main allergens on each wrap: wheat, milk, egg, peanuts, tree nuts, and soy are the usual list. A short label naming the flavour, the date baked, and those allergens takes about ten seconds per cookie and removes the guesswork.
What packaging works best for stackable cookies?
A rigid box with dividers, a muffin tin, or a bakery box with a window lid gives you layers that hold their shape. Put a sheet of parchment or a paper cup between every row. For loose cookies you are boxing without dividers, a cellophane or glassine bag per cookie stops the bottom layer from being crushed by the weight above it.
Conclusion
Start by picking your wrapper based on what is on the cookie: a bag or sleeve for anything frosted, flat parchment squares for plain cookies you plan to stack, and a windowed box for designs worth seeing. Then cool the cookies fully, add a grease barrier, seal the package without touching the decoration, and label it with the flavour and allergens.
Carry the finished box level, and you will arrive with the same cookies you baked. That is the whole method, and honestly it takes less time than the decorating did.