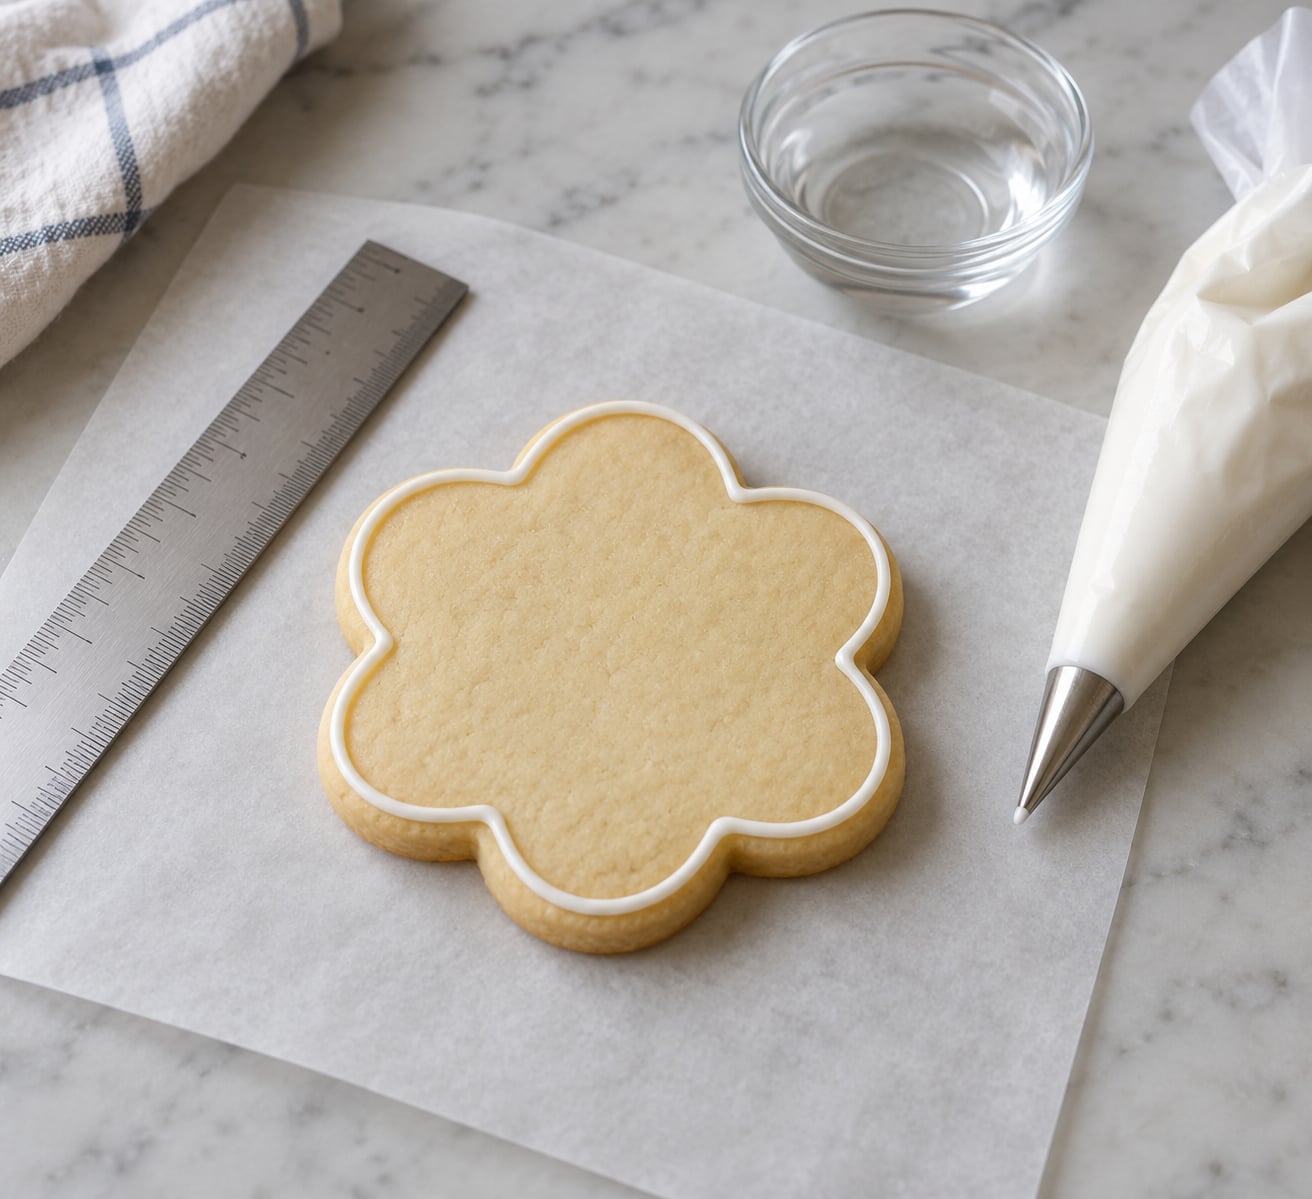
Crisp cookie outlines come down to three things: royal icing at outline consistency, a piping bag set up so the tip rests on the cookie rather than dragging, and steady squeeze-and-lift pressure. Get those three right and the line holds a clean bead that dries hard and sharp.
Most wavy borders are not an icing problem at all. They are a hand position problem, and it usually takes about a dozen cookies before the wobble starts settling down on its own.
This guide walks through the whole sequence, from testing consistency to the moment you can safely pick the cookie up. It takes roughly ten minutes of prep per batch, and the piping itself is slower than it looks the first few times.
Table of Contents
- What You Need
- Step-by-Step
- How to Get Crisp Lines When Outlining Cookies: Choose the Right Icing Consistency
- Fill the Piping Bag and Test the Tip
- Outline the First Side and Keep the Line Even
- Make Corners and Curves Without Lumps
- Let Each Section Dry and Finish the Outline
- Common Mistakes
- Frequently Asked Questions
- Can beginners outline cookies without a piping bag?
- What icing gives the cleanest lines when outlining cookies?
- How do I fix a wobbly or uneven cookie outline?
- Should I chill the cookies before piping royal icing?
- How long should royal icing outlines dry before filling?
- Conclusion
What You Need
You do not need a shelf full of specialty tools. You need six things, and two of them matter far more than the rest for beginners.
- Royal icing mixed to outline (piping) consistency, roughly a 20 to 25 second count.
- A piping bag, or a clean squeeze bottle with a narrow nozzle if you only have one hand free.
- A piping tip, most often a #1 or #2 round tip. A #3 works if you want a heavier border.
- A small cup of water and an eye dropper for thinning icing a little at a time.
- Unbleached toothpicks or a scribe tool for fixing a pooling line while it is still wet.
- A small ruler and a clean sheet of parchment for practising straight lines.
The bag and the tip are the two tools beginners underspend attention on. A bag with a hole cut too small will puff air into the icing and force it out of the back, and that shows up as inconsistent pressure and sudden gaps mid-line.
Also worth having: a fan pointed at your drying tray, a dehydrator if you have one, gel food colour rather than liquid, and a clean damp cloth for wiping the tip between cookies.
Cookie surface state matters more than most guides admit. Cookies should be completely cool, dry, and free of grease before anything goes on them, and grease is the usual reason a dry outline peels off later.
Step-by-Step
How to Get Crisp Lines When Outlining Cookies: Choose the Right Icing Consistency
Outline consistency is firm enough to hold a shape and soft enough to flow without stalling. It sits at soft peak: when you lift the spoon, the peak folds over on itself but keeps its outline for a second before dropping.
The most reliable way to judge it is the count test. Drag a line through the icing with the back of a spoon, then count the seconds until the line disappears back into itself. Twenty to 25 seconds is the outline range, and the number matters more than any description you will read.
For reference, thick flood icing that fills a large background sits near 10 seconds, stiff detail icing that holds a petal or a shell is 30 seconds and up, and middle icing that does both jobs runs around 15 seconds.
| Consistency | Count (seconds) | Everyday reference | Best use |
|---|---|---|---|
| Stiff peak | 30 and up | Soft-serve ice cream | Flowers, shells, lettering |
| Outline / piping | 20 to 25 | Toothpaste | Borders, outlines, writing |
| Medium | 15 to 18 | Thick shampoo | Outlining and flooding together |
| Flood | 8 to 12 | Pancake batter | Filling large backgrounds |
Adjust one direction at a time. Add a drop of water with an eye dropper for thin icing and stir gently, then count again. A spray bottle overshoots in a single press and is the reason people thin royal icing into a puddle. To thicken, fold in powdered sugar a teaspoon at a time.
Then run the ribbon test. Pipe a short line onto parchment or onto the back of a chilled cookie. A good outline line sits slightly rounded with a defined edge and does not flatten out on its own within about a minute. If it slumps into a puddle, it is flood consistency. If it breaks and skips, it is too stiff.
Beating royal icing too long is worth avoiding for outline work. Over-mixed icing loses its gloss and is widely cited as a cause of outlines that flake off the cookie once dry.
Fill the Piping Bag and Test the Tip
Fill the bag about two-thirds full, twist the top closed, and clip or secure it. An over-full bag gives your squeezing hand nowhere to travel, and that pressure jump is what makes a line thicken and thin.
If you are cutting the corner off a homemade bag, cut it with scissors and take a small test squeeze first. A snip that is too small traps air, and that pocket then pushes icing out of the twisted end mid-border. Scissors give a cleaner opening than a knife and are the easier fix for the air pockets that beginners hit with snipped bags.
Coupler tips go inside the bag, inside the coupler. A disposable tip sits in the bag with the coupler clamping over both. Either way, the tip should point straight down with no twist in the bag above it, because a spiral bag makes a spiral line.
Tip size sets your line weight. A #1 gives a fine border around 2mm, a #2 sits near 3mm, and a #3 comes out closer to 4mm. Small cookies want the fine end of that range because the border has to stay on the cookie and inside the edge you are tracing.
Outline the First Side and Keep the Line Even
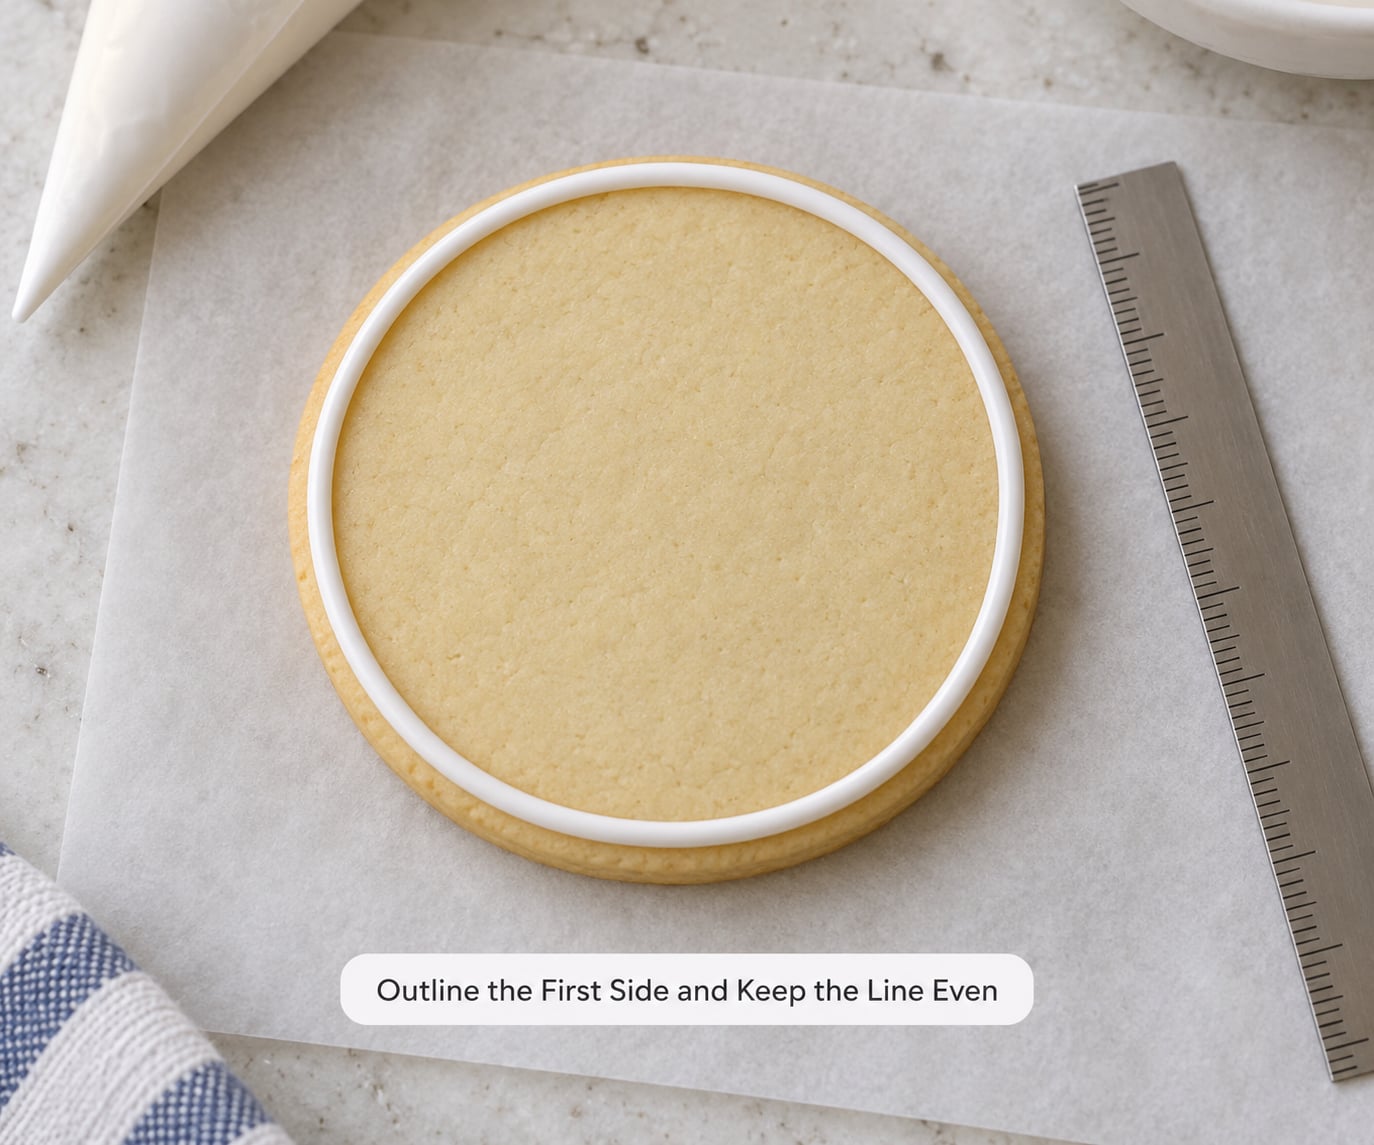
This is the part that fixes most wavy borders, and it is the opposite of what most people do instinctively. Place the tip down on the cookie first, squeeze, and let the icing push out as you lift the hand slightly. You are not dragging the tip across the surface.
Keep your hand higher than feels natural. A low hand has nowhere to go when a line needs to speed up, so it drags and the tip catches. Raise the hand, rest your little finger or your forearm lightly on the counter for stability, and let the squeeze do the work.
Drive it with your wrist and forearm rather than your fingers. Finger pressure runs out quickly; wrist movement gives you the small, steady changes in speed that keep a line even over a long straight edge.
Start at a stable point. The middle of a straight side, near a corner, and the centre of a curve are all bad starting spots. Pick the flattest part of the edge, squeeze a small anchor blob, then lift and begin. That anchor is what keeps the line from slipping when you restart pressure.
Release the squeeze before you lift away. That is what sharpens the end of the line and stops the little tail that makes an outline look chewed. If the tip drags or the line beads behind the nozzle, the bag is too full or the hole is too small.
For straighter edges, rest the ruler lightly against the cookie as a guide and keep it as a visual reference rather than a physical rail. Chilling the cookies for 10 to 15 minutes first firms them up and gives you something solid to push against without the surface denting.
Make Corners and Curves Without Lumps
Corners go wrong when the hand keeps moving at full speed and the squeeze keeps running. Slow down on the turn, reduce pressure slightly, and let the icing build through the corner on its own.
A useful habit is to pause for half a beat at the corner itself. That pause is what makes a sharp 90-degree turn instead of a rounded-off arc, and it costs almost no time.
On wide curves, keep moving and keep squeezing. Holding still on a curve is what creates a fat lump, and squeezing harder to catch up is what creates a thin spot right after it. Constant motion, constant pressure.
Where the line closes on itself, overlap the end by about 1cm and press down gently with a fingertip or a toothpick. Overlapping at 25-second consistency merges into a single ridge with no seam. Overlap too early and the icing has already started to skin and the join shows.
While the icing is still wet, a scribe tool or an unbleached toothpick dragged lightly along the inside edge of the bead will pull the icing into an even ribbon and erase any wobble. Fixing a small dip this way takes seconds; patching it after drying means sanding the whole border down.
Let Each Section Dry and Finish the Outline
Outline icing is dry to the touch in about 20 to 30 minutes and hard enough to handle in roughly an hour at room temperature. Flood icing on top of an outline needs at least that first hour, longer in a humid kitchen.
A fan pointed at the tray speeds things up and gives a cleaner edge than leaving cookies in still air. A dehydrator at a low setting dries faster again and is the option if you are working in a warm or humid room.
Watch for the surface turning matte and slightly translucent rather than glossy. That is the point where the icing has formed a skin and will not pick up fingerprints. Handle the cookie by the edges from there.
Before you flood, check the whole outline for thin spots and one thin spot is the one that bleeds. Touch any weak section up with a little outline icing and give it 15 minutes to set. Flooding over a fresh outline will drag it sideways.
Once everything is dry, store the cookies in a single layer or with parchment between layers, in a box that does not let in moisture. Royal icing goes off if you leave it somewhere with condensation, and the crumbly edges are not fixable after the fact.
Common Mistakes
Almost every outline problem has an observable symptom, and each one traces back to a specific cause. Work down the table until the symptom matches, then fix that cause rather than changing everything at once.
| What you see | Likely cause | Fix |
|---|---|---|
| Wavy, snake-like line | Dragging the tip along the cookie with pressure applied the whole way | Touch down, squeeze, lift slightly while moving. Raise your hand above the cookie |
| Line breaks mid-squeeze | Icing too stiff, or bag too full | Add water a drop at a time to a 20 to 25 second count. Fill the bag only two-thirds |
| Line flattens and spreads | Icing too thin for the job | Fold in powdered sugar until the count reaches 20 to 25 |
| Icing pools and runs off the edge | Outline is flood consistency instead of piping consistency | Stiffen the icing and pipe a fresh border inside the cookie edge |
| Air pocket, icing forces out of the bag top | Snipped hole too small | Recut the corner with scissors and test-squeeze before piping |
| Outline flakes off once dry | Over-beaten icing, or a greasy cookie surface | Beat icing only until smooth, wipe cookies with a little oil before baking, and cool fully before piping |
| Colour bleeds between cookies | Outlines too thin, or cookies stacked while wet | Use a firmer count, dry fully on a single layer, and keep cookies apart until hardened |
| Line has visible seam at the join | Started and stopped too abruptly | Overlap the closing point about 1cm and press with a fingertip |
Two habits prevent most of that list. Practise on parchment before you touch a real cookie, and stop while your bag is still workable rather than squeezing out whatever is left at the end.
The other habit is checking consistency before you colour. Uncoloured icing shows its flow clearly; once gel colour goes in, the visual cues get harder to read and people pipe on faith.
Frequently Asked Questions
Can beginners outline cookies without a piping bag?
Yes, and a squeeze bottle is a reasonable substitute. Fill it partway, use the narrow nozzle, and touch the nozzle to the cookie before squeezing so the icing lands rather than being dragged. The nozzle hole is usually wider than a #1 tip, so expect a heavier line and steady your hand on the counter. Practise on parchment first, because the control problem is identical either way.
What icing gives the cleanest lines when outlining cookies?
Royal icing at outline consistency, which is a 20 to 25 second count, gives the cleanest lines. It holds a rounded bead that keeps a defined edge and dries hard enough to work as a dam for flood icing. Buttercream stays soft and smudges, and glaze spreads. Thin royal icing that floods will run straight off the cookie edge instead of holding a border.
How do I fix a wobbly or uneven cookie outline?
Work on it while the icing is still wet. Drag a scribe tool or an unbleached toothpick lightly along the inside edge of the bead to pull the icing into an even ribbon and level the low spots. For a badly uneven section, lift it off with a small knife while it is soft, wipe the cookie clean, and pipe it again at a slightly firmer consistency. Do not sand a dried outline; it cracks.
Should I chill the cookies before piping royal icing?
Chilling helps for about ten minutes and is optional. A cool, firm cookie gives you a stable surface to push against so the tip does not dent the dough, and the icing sets on contact instead of sinking into a soft crumb. Cookies must still be completely dry and grease-free. Leave them out afterwards, because piping onto a freezing-cold cookie can make the icing grab and tear.
How long should royal icing outlines dry before filling?
Give the outline a full hour at room temperature before flooding, and two hours if your kitchen is warm or humid. A fan pointed at the tray shortens that. Test by touching the back of the cookie; if the outline is cool and firm to the touch it is ready. Flooding too early drags the outline sideways and drags crumbs into the wet icing.
Conclusion
Start by counting your icing. Draw a line, aim for 20 to 25 seconds, and adjust with water or powdered sugar until it hits that number.
Then fill the bag two-thirds full, secure the twist, and test-squeeze for air pockets. Piping on the real cookie, touch the tip down first, squeeze while you lift, and keep your hand higher than it feels natural.
Release pressure before you lift away, overlap the closing point by about a centimetre, and give the outline a full hour before anything goes on top of it.
The part that actually makes you faster is practising. Ten minutes of parallel straight lines on parchment does more for your hand control than another batch of decorated cookies.