Royal icing colors bleed when pigment from one color migrates into its neighbour while the icing is still wet inside, and that happens because of excess moisture, excess pigment, or both. Once you fix the consistency, the color load and the drying setup, the bleeding stops on most sets. It is not luck, and it is not a technique you have to be born knowing.
I have watched people lose a whole weekend of work to a set that looked perfect at bedtime and had soft pink edges by morning. Every one of those sets traced back to the same handful of habits, so here they are before the long version. If you only have a minute, this is the short list:
- Use a thick flood consistency, never a thin or runny one, and keep every colour in the set at the same consistency.
- Add white gel to your uncoloured base icing so plain white does not drink up pigment from next door.
- Use gel or powder color instead of liquid drops, and stop adding gel the moment the colour looks right in the bowl.
- Let each colour sit overnight before you flood, because gel colour darkens as it settles and you will always need less than you think.
- Wait 20 to 40 minutes for a crust before adding any adjacent detail, and give the full set 12 to 24 hours to cure before you touch or package it.
- Flood your dark sections first, then move to mid tones, and save white for last.
If you want the reasoning behind each of those, keep reading. I have also included the timings, a symptom lookup table and the fixes that get repeated on decorating forums but never in blog posts.
Table of Contents
- What You Need
- Step-by-Step
- How to Prepare Royal Icing for Clean Color Boundaries
- How to Apply Color Without Starting a Bleed
- How to Dry Each Color Before Adding the Next
- How to Layer Royal Icing Colors Without Blending
- Common Mistakes
- Frequently Asked Questions
- Does vinegar prevent royal icing color bleed?
- Why does red royal icing bleed more than other colours?
- How long should royal icing dry before adding details?
- Does humidity affect cookie decorating?
- Should I refrigerate royal icing cookies to dry faster?
- How far in advance can I mix colored royal icing?
- Conclusion
What You Need
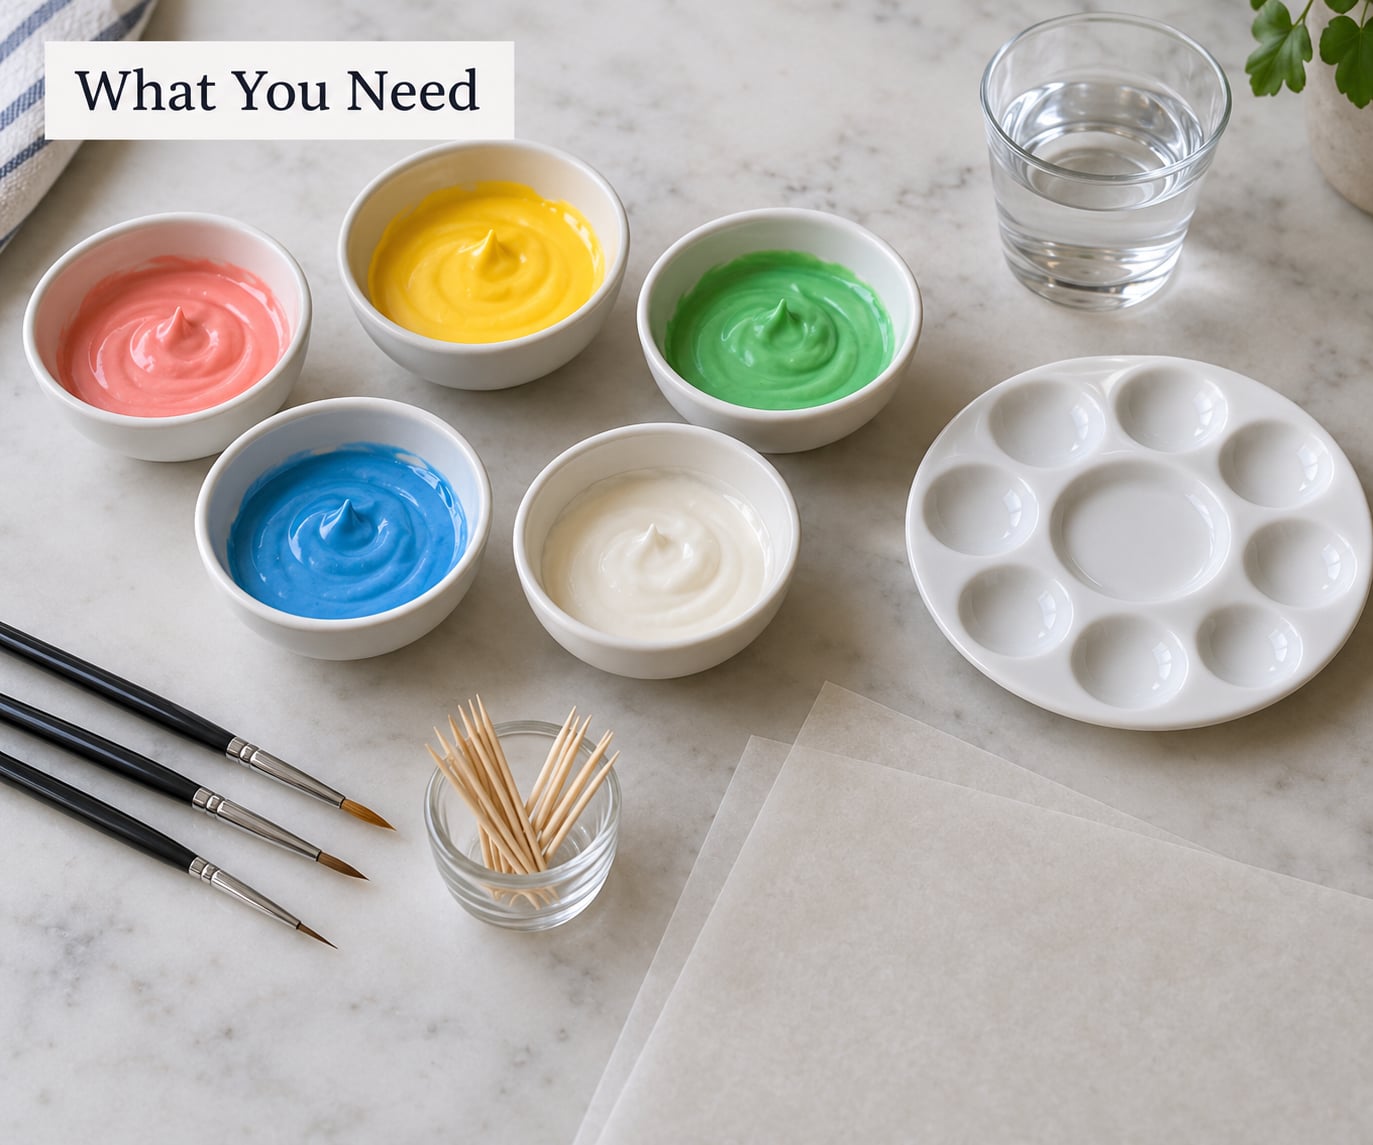
The list is short and most of it is already in your kitchen. Working out how to prevent royal icing colors from bleeding starts long before you pipe anything, and half of the tools below only manage moisture.
- Royal icing base: powdered sugar with egg whites or meringue powder. Meringue powder gives you a more stable structure and a longer working window, which matters when a set takes several sessions.
- White gel colouring: a plain base icing has a faint off-white tint from the sugar and it absorbs neighbouring pigment more readily than bright white does.
- Gel or powder colour: highly pigmented gel like Americolor or Chefmaster, or a dry powder colour. Liquid drops are mostly water and they are the weakest tool for this job.
- Small bowls and a palette: one bowl per colour so you are not dragging a loaded brush through a shared puddle.
- Clean water and a fine detail brush: water for cleaning the brush, not for thinning the icing.
- Toothpicks: better than a brush for pulling a line back to a crisp corner without touching wet icing.
- Parchment-lined trays: parchment releases cleanly and lets you move cookies without a spatula dragging the edge.
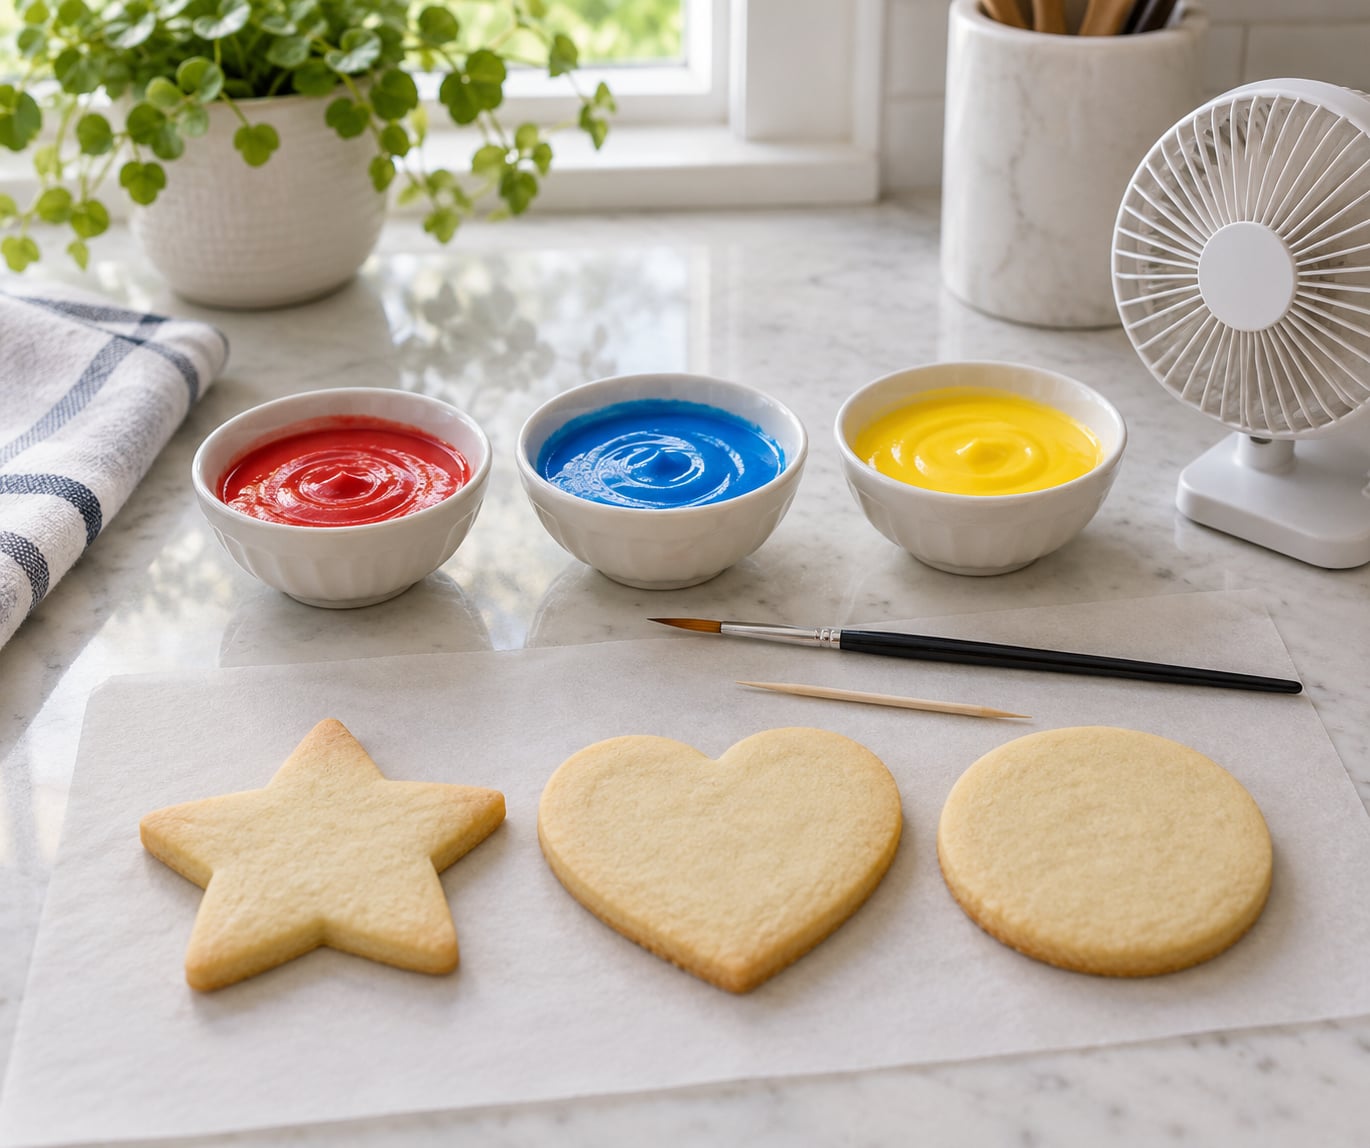
- A table fan, or a food dehydrator on its lowest setting: airflow is the cheapest way to pull water out of royal icing faster.
- Air conditioning or a dehumidifier: if you decorate in a humid season, this is the single most effective item on the list.
- Airtight container and parchment layers: for storing cookies once they are completely dry.
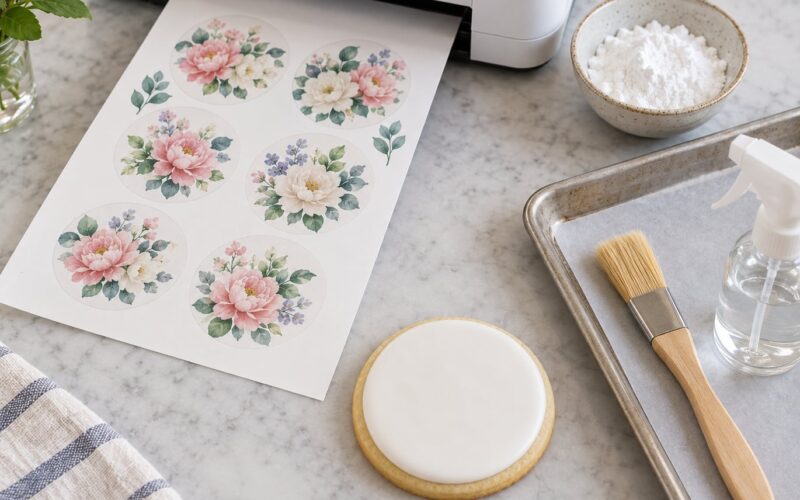
One optional piece of gear changes the game for hard designs: royal icing transfers. They go on once the icing is fully dry, so there is no second colour to bleed into anything.
Step-by-Step
Work in this order and the bleed problem mostly solves itself. Rushing any single step tends to push the failure further down the line, usually overnight.
How to Prepare Royal Icing for Clean Color Boundaries
Consistency is the foundation. If your icing holds a soft peak when you lift the spoon and slowly slumps off the edge, that is about right for a flood. If it runs off the spoon and pools, it is too thin and it will bleed no matter what you do next.
Thin royal icing takes far longer to dry, so water stays mobile inside it for hours after the surface looks fine. That moving water is what carries pigment across a border.
Mix every colour for a single set at the same consistency. Decorators who flood a red panel from one bowl and a white panel from a thinner leftover bowl get bleed at the join, and they usually blame the colour instead of the mix.
Before you colour anything, tint the base icing with white gel. Two or three drops in the whole batch is usually plenty. Bright white is less porous, so pigment has nothing to grab onto when a dark colour sits next to it.
Then mix each colour two shades lighter than the result you want. Gel colour keeps darkening for several hours as it settles into the sugar, and the tint you see straight away is always about one step behind the finished colour. Over-colouring is the most common cause of bleeding, and it also makes the icing taste bitter and crumbly once dry.
A useful rule of thumb: if the icing in the bowl is already the exact shade you want, you have added too much. Put the bowl aside overnight, covered, and judge it again in the morning. That single habit removes a surprising amount of bleed from a batch.
How to Apply Color Without Starting a Bleed
Add gel colour drop by drop and stir until it is fully dispersed. Streaky icing means pigment is sitting in pockets, and those pockets are exactly where bleeding starts.
Use the outline-then-flood method. Pipe the border first, let it set for about a minute so the outline is no longer wet, then flood inside it and gently tap the tray on the counter to level the surface. The border is your dam, and it works far better than trying to be perfectly exact with colour alone.
Flood in order from darkest to lightest. Black and dark navy first, then red, purple and the mid tones, with white last. A dark colour laid onto a wet white section bleeds visibly; the same dark colour laid onto a white section that has only just skinned over is much safer.
Do not let a light section dry completely before its dark neighbour arrives. Dry white icing pulls water out of whatever touches it, which drags colour with it and causes the cratered, sucked-in edges people complain about on forums. Twenty to forty minutes is the useful window, not twenty minutes and not four hours.
Keep overlap minimal and keep water out of the icing itself. Use a barely damp brush to tidy an edge, then dry the brush fully before it goes back into a colour. If you flood over an outline, leave a hair of the outline colour showing rather than covering it completely.
How to Dry Each Color Before Adding the Next
Royal icing dries by evaporation, and water keeps moving inside it long after the surface looks dry. That is why bleed sometimes shows up hours later instead of while you are working.
Here is the timing that works most often:
| Stage | How long | What it should look like |
|---|---|---|
| Crusted | 20 to 40 minutes | Surface loses its wet shine and turns matte, still soft underneath |
| Dry to the touch | 2 to 4 hours on a tray | No tack at all when you press the back of a fingernail lightly |
| Firm enough for details | 4 to 6 hours | Handles a detail brush without denting |
| Fully cured | 12 to 24 hours | Hard all the way through, no cool or damp feeling in the centre |
Thicker icing and larger cookies take longer across the board, so treat those numbers as the low end.
Move the air. A table fan pointed across the trays, a dehydrator on its lowest heat setting held at a distance, or simply running the air conditioning in a closed room all speed up evaporation. Keep cookies out of direct sun, and never stack them while they are still warm.
Humidity matters more than most people expect. In a damp summer kitchen the air already holds plenty of water, so the icing dries slowly and the wet window stays open for much longer. A dehumidifier under the drying rack is the fix that decorating forums keep coming back to, and it works even in a small flat.
That resolves the argument you will find everywhere online. Wait until fully dry for adjacent colours, and do not wait until bone dry for layered details on top of a wet flood.
How to Layer Royal Icing Colors Without Blending
Borders, cells and stripes are all about leaving a physical gap. When you pipe two colours into adjacent cells, leave a thin ridge of the base icing between them so there is no shared wet surface. Tap the tray to settle the icing rather than dragging it with the tip.
For stripes, flood the whole area in the first colour, let it crust, then pipe the second colour in bands. The second colour is applied to a surface that has stopped moving, so it has nowhere to bleed.
For touch-ups, use a damp brush to soften the edge first and a completely dry brush to set the colour afterwards. Two passes always beat one heavy pass, because pigment carried by a wet brush has to travel further.
If a design will never stop bleeding, change the method rather than fighting it. Royal icing transfers and stencils give you sharp edges with zero contact between colours, and edible markers handle small details that would otherwise need a second flood.
Sometimes a soft edge is exactly what you want. Wet-on-wet decorating deliberately lets colours run into each other for gradients and blended florals, and you control the result by how much water is in the second colour and how long you let it sit before dragging through with a clean brush. Just know that on a humid day even intentional blending travels further than you planned.
Common Mistakes
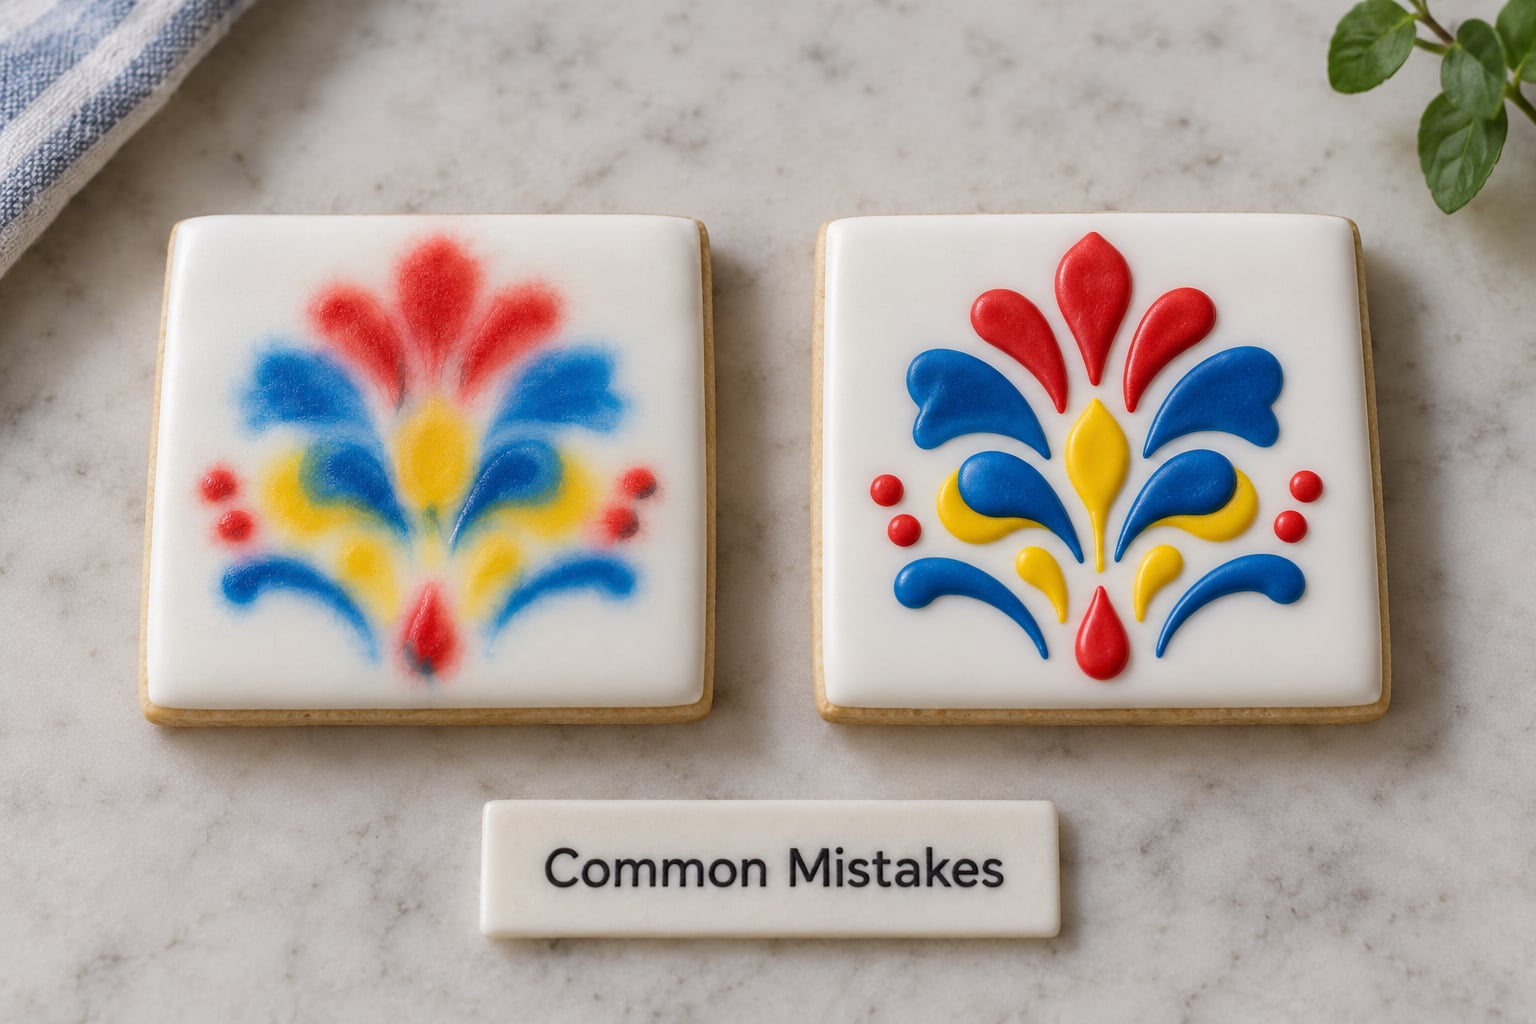
Nearly every bleed I have seen came down to one of the rows below. Find your symptom first, because the cause is usually obvious once you see it side by side.
| Symptom | Likely cause | Fix |
|---|---|---|
| Dark colour feathers into white a few hours later | Over-coloured icing, or white without white gel | Remix two shades lighter, let it develop overnight, add white gel to the base |
| Everything bleeds, including light into light | Icing too thin for the cookie size | Thicken to a soft-peak flood consistency and match it across all colours |
| Bleed shows up overnight, not while decorating | Cookies stored warm, or stacked before curing | Cool fully, then store in a single layer with parchment between |
| Bleed appears after the cookies came out of the freezer | Condensation on defrost | Seal cookies from the freezer, thaw sealed in the fridge, open only once fully cold |
| Edges crumble and sink, colour looks bruised | Base dried completely before the detail colour went on | Add the next colour at 20 to 40 minutes, while the base is crusted not cured |
| Bleed on a humid day only | Slow evaporation from high humidity | Run air conditioning or a dehumidifier, add a fan, decorate earlier in the day |
| Black icing bleeds no matter what | Black needs more pigment than the sugar can hold | Use dark grey or navy, or use powder colour, which carries more pigment per drop |
| Flaky, bitter icing that also bleeds | Too much colour and not enough meringue powder | Cut the colour back and raise the meringue powder ratio in the base recipe |
Now the three fixes that do not work, because all three show up regularly in advice threads.
Vinegar does nothing useful. A drop of vinegar will not hold pigment in place, and it will not dry royal icing any faster. It can thin the icing slightly, which makes things worse. Same answer for alcohol: it changes the flavour and evaporates long before the icing has hardened.
Cornstarch is not a fix. It thickens a runny icing in the bowl, but it has no effect on pigment movement once the icing is on the cookie.
More white is not always the answer. Adding more white gel does help on a bare base, but past a point you are fighting the symptom. If you already use meringue powder and white gel and still get bleed, the problem is nearly always pigment load, thin consistency or a dry base, in that order.
Two more myths worth clearing up. Refrigerating royal icing cookies to dry them faster does the opposite: the fridge holds humidity, so they dry more slowly and can pick up kitchen smells. And packaging or gifting cookies before they are fully cured traps moisture inside the box, which pushes pigment outward right where the detail edges are.
If a set has already bled, you have a couple of options. A soft bleed on a white section can often be disguised with a fresh layer of bright white icing on top once everything is dry. If the bleed has gone all the way through to the cookie, there is no fixing that section, and the honest move is to repurpose those cookies or accept a blurred background with a royal icing transfer on top.
Frequently Asked Questions
Does vinegar prevent royal icing color bleed?
No. Vinegar does not stop pigment from migrating and it does not speed up drying. If anything, a small amount thins the icing, which lengthens the wet window and makes bleeding more likely. Fix the cause instead: thicker flood consistency, less colour, white gel in the base, and moving air across the cookies while they dry.
Why does red royal icing bleed more than other colours?
Red and black are the most pigment-hungry colours in the box, so reaching the shade you want usually means adding far more gel than any other colour needs. That extra pigment sits close together in the sugar and migrates easily. Mix red two shades lighter and let it develop overnight, or use a powder colour, which carries more pigment per amount added.
How long should royal icing dry before adding details?
Give the surface 20 to 40 minutes to crust before adding any colour next to it, then two to four hours to reach touch-dry before fine details go on. Full curing takes 12 to 24 hours. If the base goes completely hard before the next colour is added, it can pull water out of that new colour and cause the sunken, cratered edges people mistake for bleeding.
Does humidity affect cookie decorating?
Yes, and it is one of the biggest factors you can control. Royal icing dries by evaporation, so humid air slows that process and keeps pigment mobile for much longer. Run air conditioning or a dehumidifier in the room where cookies dry, add a table fan across the trays, and avoid decorating early in the morning when the house is still damp.
Should I refrigerate royal icing cookies to dry faster?
No. A refrigerator holds humidity inside the cabinet, so cookies dry more slowly in the fridge than on a rack at room temperature, and they can absorb kitchen smells. Let cookies cool fully on a rack, then store them in an airtight container at room temperature once they are completely hard. For longer storage, seal them from the freezer and thaw in the fridge still sealed so no condensation forms.
How far in advance can I mix colored royal icing?
Most coloured royal icing keeps well for several days sealed airtight at room temperature, and many decorators mix a batch two or three days ahead. Cover each bowl tightly so no skin forms and press plastic onto the surface. Airtight, it will stay usable for about a week, and the colour will keep deepening for the first day or two, so judge it again before adding more gel.
Conclusion
Learning how to prevent royal icing colors from bleeding comes down to four habits: keep every colour at the same thick flood consistency, use less colour than looks right in the bowl, put white gel in the base, and give each section 20 to 40 minutes to crust before anything touches its edge.
If you change only one thing, stop adding colour the moment the bowl looks the shade you want. Overnight development means you use less pigment, less pigment means less bleed, and the icing also tastes better and snaps harder. Everything else on this list makes the job easier; that one habit is what keeps your colors separated.
Keep this guide bookmarked for 2026, and run a single practice tile in your riskiest colour combination before you commit to the full set.