Allergy friendly party treats for a classroom come down to three things: a treat that avoids the nine major allergens, a kitchen where nothing crosses over, and a written ingredient list for the teacher. Start with the school policy, not the recipe.
About one in thirteen children in the United States has a food allergy, which in a class of 25 means two kids at the table. Peanut and tree nut reactions move fast, so a treat that looks harmless can send someone to the nurse. The goal is one plate every child can share from.
Plan on an hour of prep plus baking time. If your school only accepts commercially packaged food, step 3 has the shortcut that skips the kitchen entirely.
Table of Contents
- What You Need: How to Make Allergy Friendly Party Treats for a Classroom
- The supply kit
- Step-by-Step
- 1. How to Make Allergy Friendly Party Treats for a Classroom Without Cross-Contact
- 2. Check Every Ingredient and Package
- 3. Choose Classroom-Friendly Treats
- 4. Prepare the Treats in a Controlled Area
- 5. Label Each Serving for Allergens and the Event
- 6. Transport, Store and Serve the Treats
- 7. Plan for Mixed-Diet Classmates
- Common Mistakes
- Storage and serving tips
- Frequently Asked Questions
- What treats are usually best for a classroom with food allergies?
- How can I tell whether a packaged snack is safe for an allergic child?
- Can I bring homemade treats if the school has an allergy policy?
- How should allergy-friendly classroom treats be labeled?
- Which classroom treats do not need refrigeration?
- Conclusion: Start With the School’s Rules
What You Need: How to Make Allergy Friendly Party Treats for a Classroom
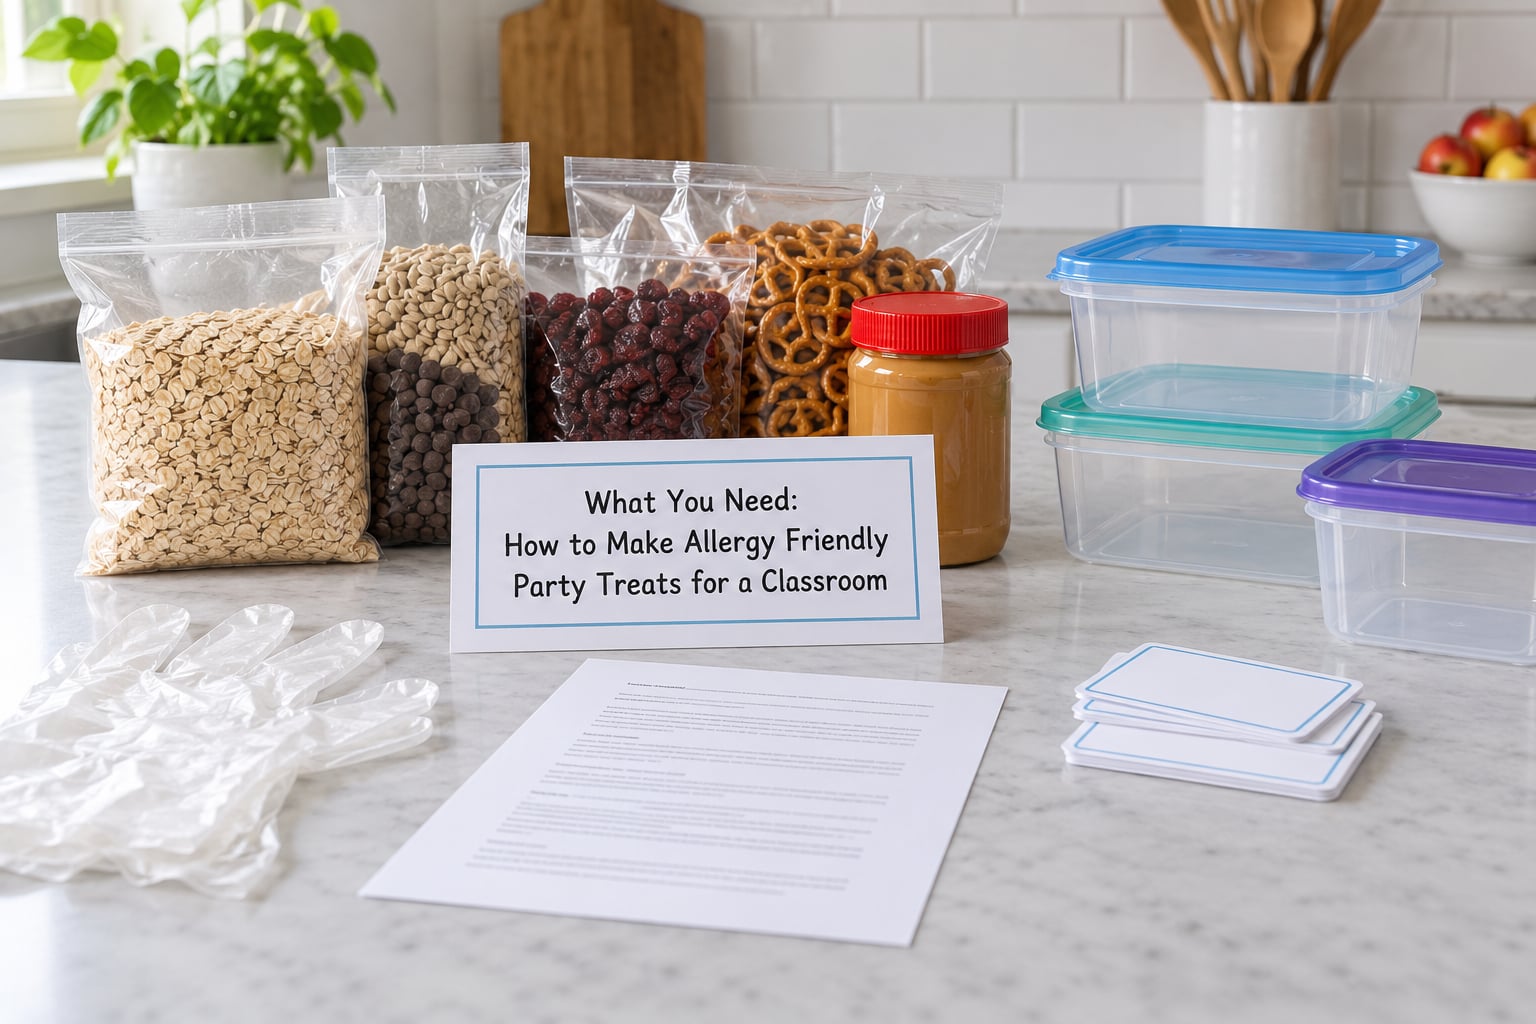
The first thing you need is not an ingredient. It is your school’s written outside-food policy and the classroom allergy list, which usually lives with the teacher or the school nurse. Ask for both in writing so you are working from the same page everyone else is.
The nine major allergens named on US food labels are milk, egg, peanut, tree nuts, wheat, soy, sesame, fish and shellfish. Sesame joined the list under the FASTER Act, which surprises a lot of parents who baked allergy-free treats for years without thinking about tahini or sesame oil. A classroom treat is safest when it dodges all nine at once rather than just the one your child reacts to.
The supply kit
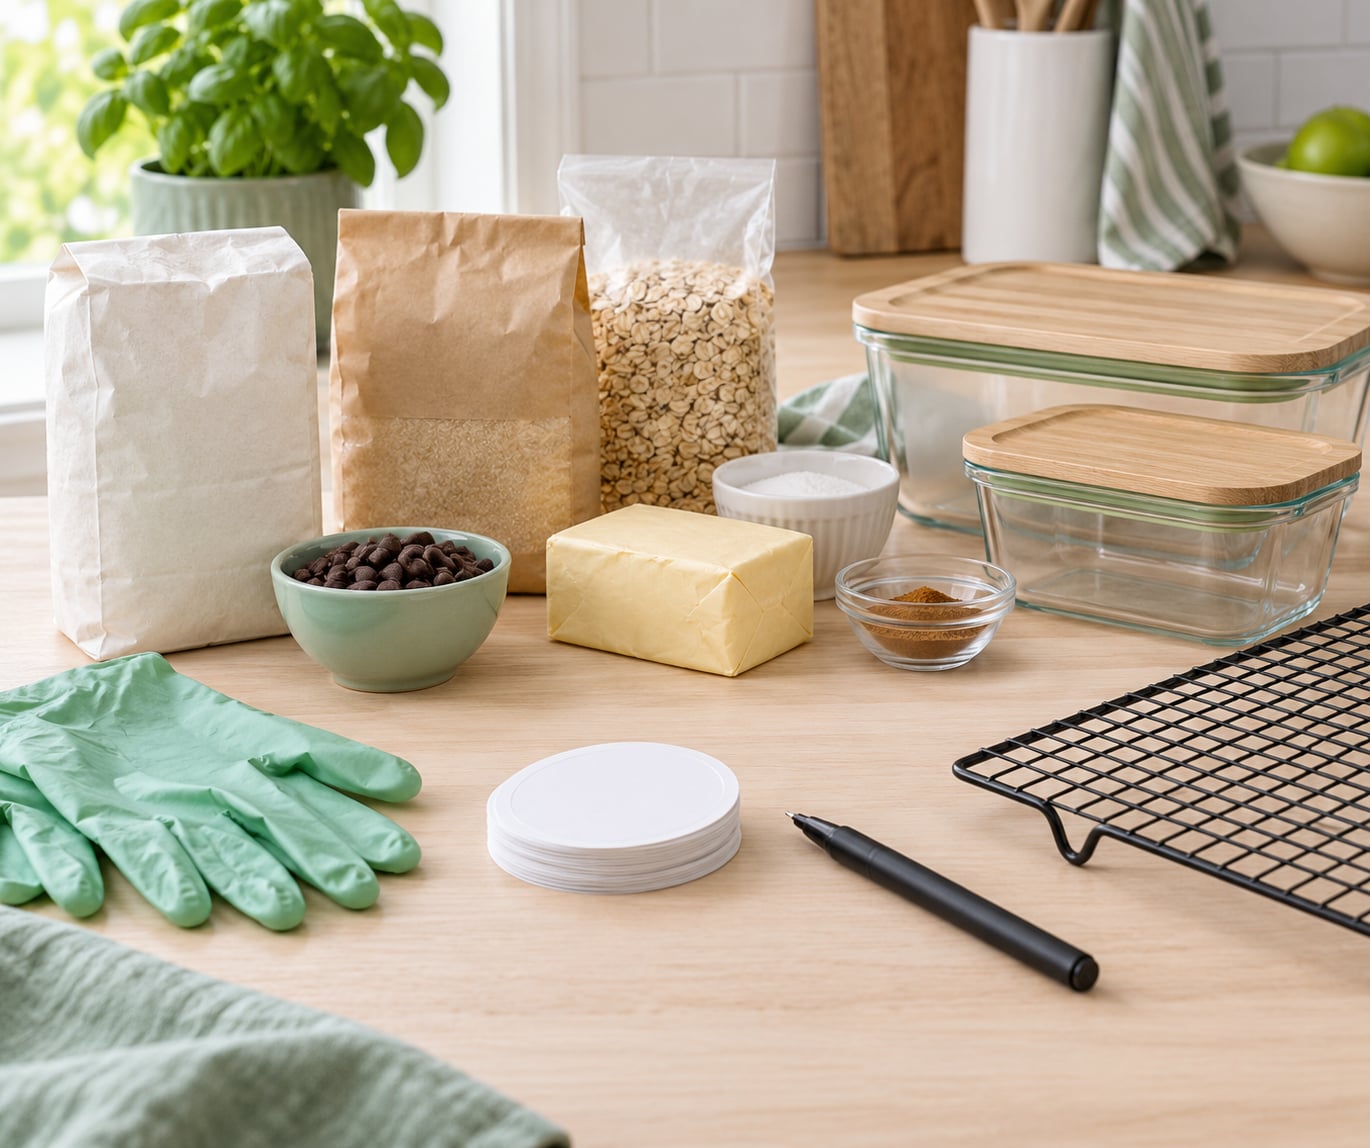
- A printed copy of the school policy and the classroom allergen list
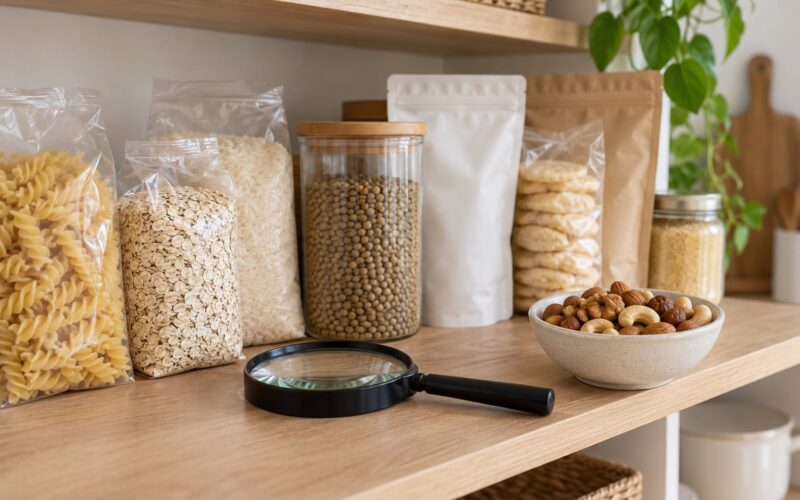
- A folder of current ingredient packages, kept in the order you plan to use them
- Blank labels or small sticker tags, plus a fine-tip marker
- Separate storage containers with tight lids, one per treat type
- Disposable gloves and a dedicated set of utensils, bowls and spatulas
- A cooling rack for anything that comes out of the oven
- A cooler bag and ice packs if the treat needs to stay cold
- A list of every allergen being avoided, written where you can see it while baking
Keep the original packaging for the whole session. It is faster than searching a website, and it shows the teacher exactly what the box said on the day you made it.
Step-by-Step
1. How to Make Allergy Friendly Party Treats for a Classroom Without Cross-Contact
Confirm the school rules, ask which allergies in the room are severe and whether the classroom shares equipment, then choose a treat you can prepare away from nuts and other major allergens.
Ask the teacher three specific questions: how many children are in the class, which allergens are on the list, and does the classroom have a toaster, microwave or popcorn machine that other food has already touched. That last question catches more problems than anything on the ingredient label.
One honest note. Allergy-friendly does not mean guaranteed safe. A treat baked in a kitchen where peanut butter has been used carries a real risk of cross-contact through flour dust, utensils and surfaces, and a label you write yourself cannot certify that away. If the child at risk has anaphylaxis, individually wrapped commercial treats from a dedicated facility are the safer default, and parents on r/FoodAllergies and the peanutallergy.com Schools board reach the same conclusion repeatedly.
2. Check Every Ingredient and Package
Read every ingredient list for the nine major allergens, then read it a second time for the words that hide them.
Formulas change. A brand you used last year is not a promise about this year, so verify each package rather than trusting memory. Sprinkles, chocolate coatings, frosting powders and granola clusters are the usual surprises, and a shared-facility line at the bottom of the panel is a warning that the same line handles the allergen you are avoiding.
| Allergen | Names to look for on a label |
|---|---|
| Milk | Casein, whey, lactose, cream, milk solids, butter, ghee |
| Egg | Albumin, egg white, egg yolk, ovalbumin, lysozyme, meringue |
| Peanut | Peanuts, peanut oil, arachis, peanut flour |
| Tree nuts | Almond, cashew, walnut, pecan, pistachio, hazelnut, macadamia, nut butter, marzipan |
| Wheat | Wheat, semolina, spelt, farro, durum, wheat germ, couscous, seitan |
| Soy | Soy, edamame, tamari, tofu, textured vegetable protein, soybean oil |
| Sesame | Sesame, tahini, benne, gingelly, sesame oil, sesame flour |
| Fish and shellfish | Anchovy, fish sauce, worcestershire, shrimp, crab, lobster, clam, oyster, surimi |
Two label phrases deserve a pause. A may contain line means the manufacturer cannot rule out cross-contact, which is exactly what an allergic child cannot tolerate. A made in a facility that also processes line says the same thing with different words. Neither is a dealbreaker for most classrooms, but both are nonstarters for a child with a severe allergy, and neither is ever something to leave off your own list.
3. Choose Classroom-Friendly Treats
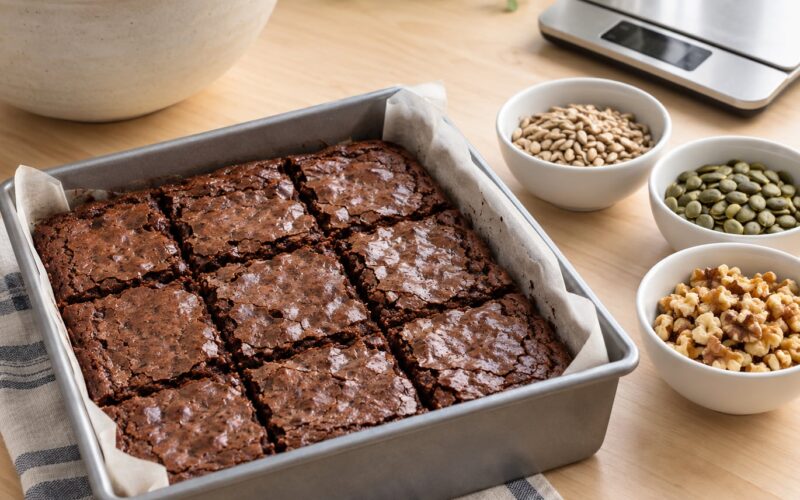
Favor simple, individually portioned food that travels at room temperature: fruit-and-granola cups made with a verified granola, rice cereal treats pressed in a mini muffin pan, allergy-conscious cookies in a mini size, fruit skewers assembled the morning of, or small bags of popcorn popped in a clean pot.
Store-bought is not a compromise. Individually wrapped commercial snacks with a full allergen panel are the most widely recommended classroom default among parents dealing with food allergies, because the packaging removes the kitchen from the equation entirely. If you go that route, check the packaging still meets the classroom restrictions before buying, and buy more than you planned; parents on allergy forums routinely mention the extras staying behind in the classroom for a month.
Watch the difference between peanut-free and tree nut-free. A peanut-free classroom may still have a child allergic to almond or cashew, and a label claiming only one says nothing about the other. Products made with cocoa often carry a nut cross-contact warning because of shared chocolate lines, and nut butters are better swapped for sunflower seed butter, which most nut-free classrooms accept without a fight.
When a recipe calls for egg, the tested swaps are a flax egg, one tablespoon of ground flaxseed plus three tablespoons of water, or one tablespoon of vinegar with one teaspoon of baking soda added to the batter. For milk, oat milk is the mildest swap in baking. Wheat takes a one-to-one gluten-free flour blend, and a cup of applesauce replaces some of the oil in a muffin without changing the texture much.
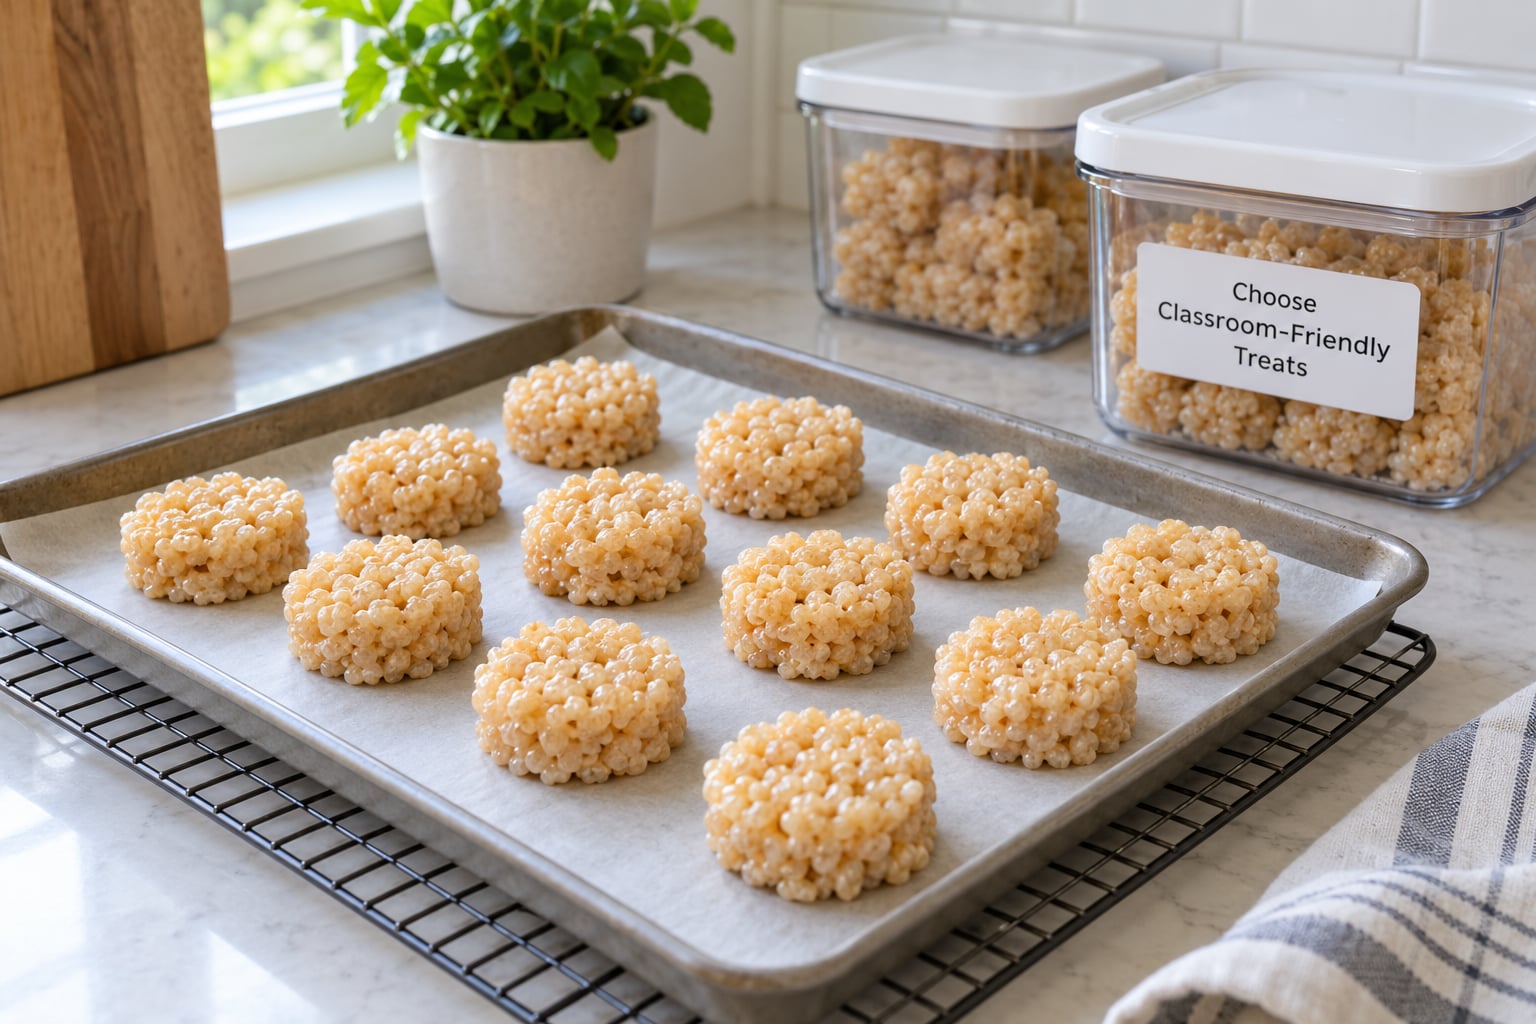
4. Prepare the Treats in a Controlled Area
Clean hands, wiped surfaces, dedicated utensils, one batch at a time, baked goods cooled on a clean rack, finished treats in labeled containers.
Wash and dry your work area before anything comes out of a package. Use the utensils you set aside earlier rather than the ones you cooked dinner with, and keep flour dust in mind, since airborne flour is a known route for nut protein to travel. If you are working from scratch in a kitchen where nuts are regularly used, wipe down the worktop and let your oven and utensils be used for nothing else that day.
Make one treat type at a time and put the finished batch straight into its container before starting the next. If you are doing no-bake treats, measure everything first, including the sticky binder, and avoid the usual habit of tasting straight from the bowl with a used spoon.
Cool baked items fully on a rack. Warm treats sweat inside a sealed container, which softens the texture and shortens how long they will keep.
5. Label Each Serving for Allergens and the Event
Every container and every individually packed serving gets a label with the treat name, the date, the full ingredient list, the declared allergens, your cross-contact statement, the school or classroom, and your name with a contact number.
A useful label looks like this:
- Mini apple cinnamon muffins, made October 3
- Ingredients: apple puree, gluten-free flour blend, oat milk, cinnamon, baking soda, salt
- Contains no milk, egg, peanut, tree nuts, wheat, soy, sesame, fish or shellfish
- Made in a home kitchen not used for nuts; prepared separately from other food
- Room 12, Ms. Alvarez, October 3
Write the ingredient list exactly as the packages read, including the shared-facility warnings. Leave off the words safe, nut-free and allergy-free unless a verified claim supports them, because a homemade label that overstates what you did is worse than no label. Print the list for the teacher as well, so there is a copy that does not depend on a container being read correctly.
6. Transport, Store and Serve the Treats
Match the transport to the treat. Anything that needs refrigeration travels in a cooler with ice packs, kept separate from the room-temperature treats so nothing gets wet or warm.
Plan the timing around how long the food sits before it is served. Perishable food should not stay in the warm danger zone between 40 and 140 degrees Fahrenheit for more than two hours, and a morning drop-off for an afternoon party is often longer than that, which is a good reason to bring shelf-stable treats instead.
Ask the teacher how and when leftovers come back. Many classrooms collect food within about thirty minutes, and anything left in a room overnight is usually thrown away, so bring a container you can collect yourself. Bring your own clean serving utensil, portion the treats into small individual amounts before you leave, and never hand out or re-plate food yourself once it has been on the table in a room you do not control.
7. Plan for Mixed-Diet Classmates
Give the class one treat everyone can eat rather than a special plate for one child, and you remove the social sting that parents describe more often than the allergy itself.
When a child has a 504 plan or IEP that restricts food to home only, that accommodation outranks anything in this guide. The teacher and the family handle that case, and the safest classroom contribution is a treat for the group that leaves the arrangement alone.
Otherwise, give the teacher an accurate written ingredient list, ask how the teacher prefers treats to be distributed, and follow the school’s procedure for seating, serving and disposal without improvising. If another parent questions the treat, answer with the label and hand the conversation to the teacher, whose call on classroom food is the one that holds.
Common Mistakes
Assuming last year’s recipe is still safe. Brands change suppliers and formulations, and an ingredient that was fine before may carry a new warning. Re-read every package each time, and date your printed list.
Overlooking shared equipment. A toaster, a microwave or a popcorn machine already used for other snacks is a cross-contact route nobody sees. Ask what the classroom uses before you pick a treat that needs it.
Writing a vague label. Allergen-free tells a teacher nothing. Name the allergens, list the ingredients, state where and when it was made, and sign it with a contact number.
Bringing an oversized package. A bulk bag of cookies becomes a loose snack in a classroom and a cross-contact risk by dessert time. Bring serving-sized portions that can be handed out one per child.
Picking highly perishable treats. Cream cheese frosting, custard-based puddings and anything needing ice are hard to serve in a normal classroom period. Choose shelf-stable food and save the frozen treats for home.
Decorating with loose sprinkles and glitter. Small decorations scatter, land in other lunchboxes and often arrive in a shared bag with no allergen panel at all. Use a certified product if you decorate, or skip the decoration and use colored parchment cups instead.
Forgetting advance approval. Send the teacher the treat plan and the ingredient list a few days ahead. A teacher who hears about it Monday morning can say yes, and the same teacher hearing it at 8am on party day usually cannot.
Skipping the storage plan. Decide before you bake whether anything needs a cooler, how long it will sit and who collects the container. A treat that spoils in a cubby is a wasted afternoon.
Storage and serving tips
- Keep treats in sealed, labeled containers at room temperature, out of sunlight, and check them before serving.
- Hold chilled treats below 40 degrees Fahrenheit with ice packs until the moment they are served, and toss anything that sat out past two hours.
- Baked goods freeze well and thaw in about an hour at room temperature, so a treat made two days ahead still tastes fresh.
- Portion everything at home. One treat per child, plus two spares, is the usual planning number for a class of 25.
- Use parchment cups or small paper bags instead of loose wrapping, and keep the packaging clean and dry.
Frequently Asked Questions
What treats are usually best for a classroom with food allergies?
Simple, individually portioned food works best: fruit skewers, rice cereal treats pressed in a mini pan, yogurt-free fruit and granola cups, allergy-conscious cookies or cupcakes in mini sizes, and small bags of popcorn. The treats that cause the least trouble are the ones that need no refrigeration, no frosting and no utensils, and that can be handed out one per child from a sealed container.
How can I tell whether a packaged snack is safe for an allergic child?
Turn the box over and read the ingredient list for the nine major allergens, then read the bottom for a may contain or shared facility statement. Check whether the claim covers the specific restriction, because peanut-free says nothing about tree nuts. When you can, pick products made in a dedicated facility rather than ones that share equipment with the allergen you are avoiding.
Can I bring homemade treats if the school has an allergy policy?
Only if that policy allows them. Many districts require commercially packaged food with an intact label, and some classrooms have moved to food-free celebrations altogether. Ask the teacher or office in writing before you bake, and send the ingredient list in advance for approval. If homemade is not permitted, individually wrapped commercial treats with a full allergen panel are the substitute that works.
How should allergy-friendly classroom treats be labeled?
Include the treat name, the date, the full ingredient list, every allergen the recipe excludes, a plain statement about how and where it was made, the classroom and teacher, and your name with a contact number. Give the teacher a printed copy too. Avoid writing safe or nut-free on the label unless a verified claim supports it, since an overstated homemade label creates false confidence.
Which classroom treats do not need refrigeration?
Rice cereal treats, fruit skewers made fresh that morning, dry cereal and pretzel snacks, allergy-conscious cookies and crackers, undecorated cupcakes made without perishable frosting, and small bags of popcorn all hold safely at room temperature. Fruit, yogurt cups, anything with custard or cream cheese frosting, and cut melon should be kept cold in a cooler until serving and used within about two hours.
Conclusion: Start With the School’s Rules
Here is the whole plan in five moves. Read the school policy and the classroom allergy list. Write down the allergens that must be avoided. Choose one simple, individually portioned treat. Verify every ingredient against its current package. Label and hand it to the teacher with a printed ingredient list.
Working out how to make allergy friendly party treats for a classroom is mostly paperwork done ahead of time, and the baking is the easy part. Get the teacher’s answer early, and if it is not a clear yes, bring the individually wrapped option instead of gambling on a homemade batch.
Then let the teacher and the school have the last word. Their rules, the school nurse’s advice and any accommodation on a child’s plan outrank every suggestion here, and a treat that gets approved is worth more than a better one that sits in a cubby until June.