Cupcake liners stick when warm, oily batter soaks into thin paper and welds itself to the surface as steam escapes. To make cupcake liners not stick, use a stiff greaseproof or foil liner, give it the faintest mist of nonstick spray, fill it only two-thirds full, and wait until the cupcake is completely cool before you peel. Ten minutes of prep, no special equipment.
The baking itself is not the hard part. It is the combination of a flimsy liner, a filled-to-the-rim cup, and peeling while the cake is still warm.
Table of Contents
- What You Need
- Step-by-Step
- Choose a Rigid Liner
- Prepare the Pan and Liners
- Fill Without Spreading Batter
- Bake Until the Cupcakes Release Naturally
- Cool Before Removing the Liners
- Common Mistakes
- Frequently Asked Questions
- How can I prevent cake from sticking to cupcake liners?
- Should you spray Pam on paper cupcake liners?
- Can you bake directly in foil cupcake liners?
- Why are my muffins sticking to the paper liners?
- How do you get a stuck cupcake liner off?
- Can parchment paper cupcake liners go in the oven?
- Conclusion
What You Need
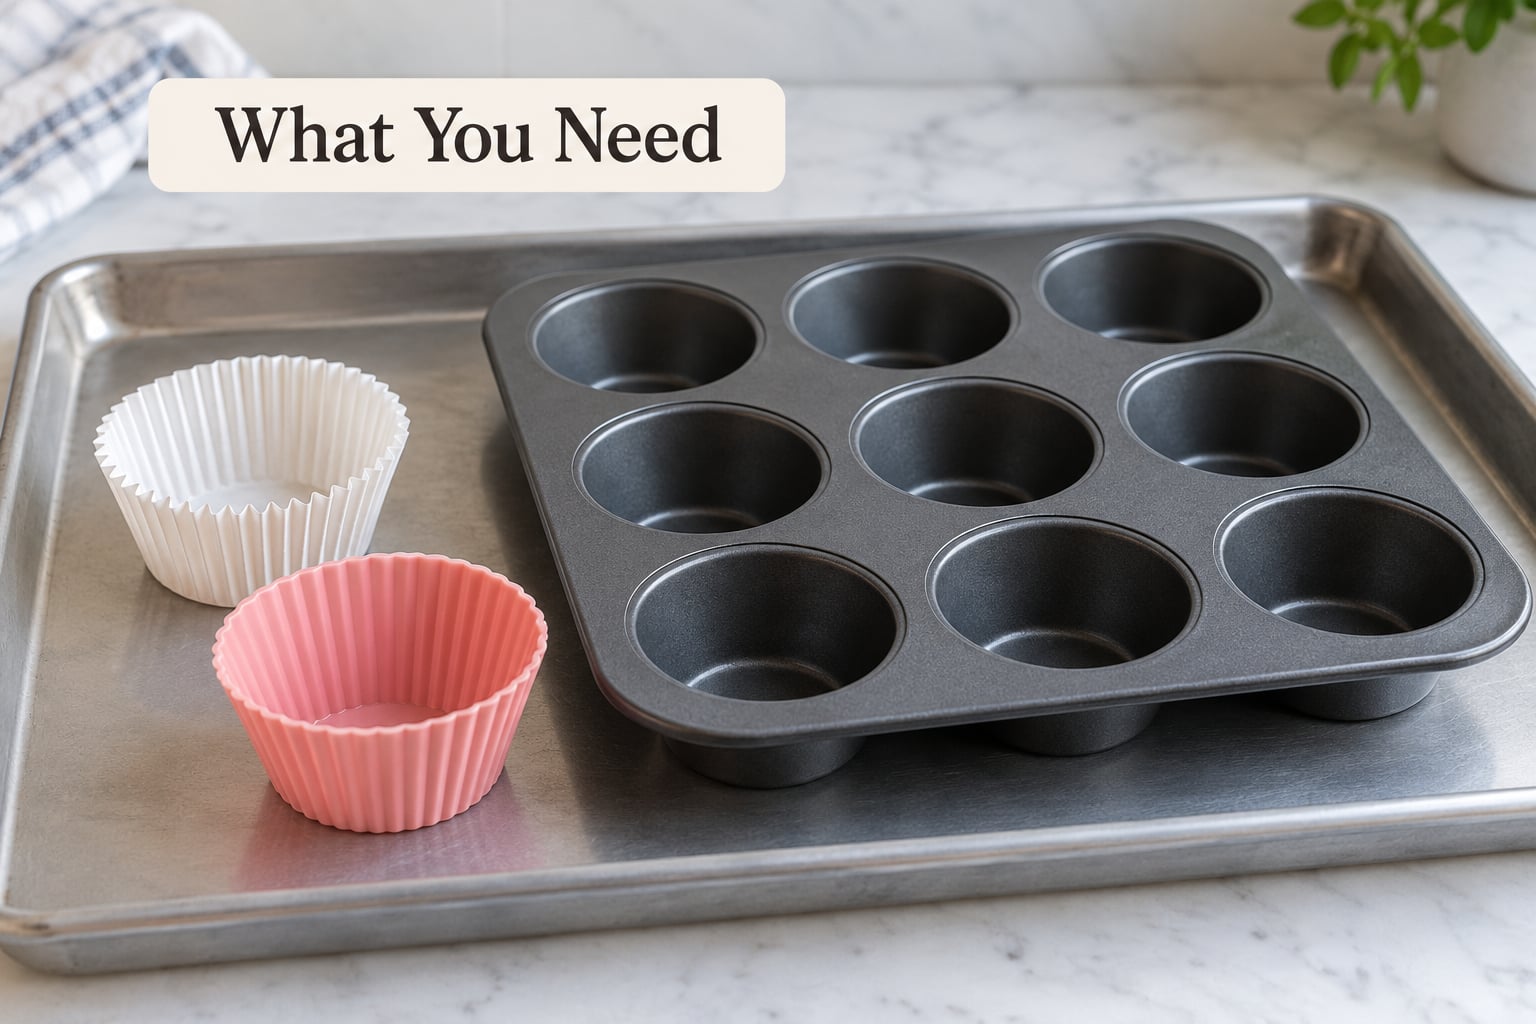
The supplies are ordinary, and most kitchens already have them. The only item worth thinking about is the liner itself.
- Rigid paper liners in a heavier paper weight rather than thin fluted ones, or greaseproof liners that are treated to resist fat.
- Foil or silicone baking cups if you bake rich, oily batters often or want liners you can reuse.
- An ovenproof muffin pan that is heavy enough not to flex in a hot oven.
- Cupcake batter and a cooling rack set over a flat tray.
- Nonstick cooking spray or a neutral oil for the liner, used lightly rather than generously.
A small dish of water that goes on the oven floor is optional, and it costs you nothing to try on a rich batch.
Step-by-Step
Choose a Rigid Liner
Stiff liners are the fix most bakers skip. Thin, fluted paper wrinkles the moment you press it into the well, and those wrinkles become grab points for the baked edge. A heavier-weight liner holds its shape, so the cake rises against a smooth wall instead of a creased one.
Cheap liners stick more often because of what they are made from, not because of anything you did. On r/Baking, bakers describe plain grocery-store liners tearing into the bottom of the cupcake within minutes, while premium sleeves held together. If your liners shred or go fuzzy at the rim, that is a paper quality problem, and no amount of spray fixes it.
Silicone baking cups are the other option. They release almost anything and wash out clean, so they suit a kitchen that bakes often. They also run hotter than paper, which means you pull the cupcake a shade earlier.
Prepare the Pan and Liners
Seat each liner so it stands upright with no wrinkles at the bottom. Press the sides down until the paper touches metal all the way around, and flatten the top rim with your fingertips. A liner that springs back leaves a gap, and batter runs into that gap and welds the paper to itself.
Mist the inside of the liner from about 10 inches away and stop the moment the paper looks faintly damp. A wet or pooled coating turns the liner soggy, and soggy paper tears instead of releasing. King Arthur Baking makes the point that greasing can work against tearing: a greased liner gives the crumb a surface it can slide off.
Set the oven rack in the middle and put a shallow dish of water on the floor below. A little extra humidity slows the crust from setting hard against the paper, which helps release.
Fill Without Spreading Batter
Stop at two-thirds full, and no more. Batter that rides above the liner edge forms a thin baked rim that welds straight to the paper, and it is the first thing to tear away when you peel.
If a cup overflows during the pour, wipe the rim clean before it goes in the oven. Even a smear of batter on that exposed edge dries into a hard collar that has nothing to bond to except paper.
Bake Until the Cupcakes Release Naturally
Check your oven with an oven thermometer if you bake often, because an oven running 25 degrees hot bakes the outside of the cupcake harder against the liner. Bake until the top springs back and a tester or toothpick comes out with a few moist crumbs, not wet ones. Internal temperature lands around 205 to 210 F.
Underbaked cupcakes stick far more often than overbaked ones. A raw or damp crumb stays tacky, and tacky crumb plus paper is glue.
Cool Before Removing the Liners
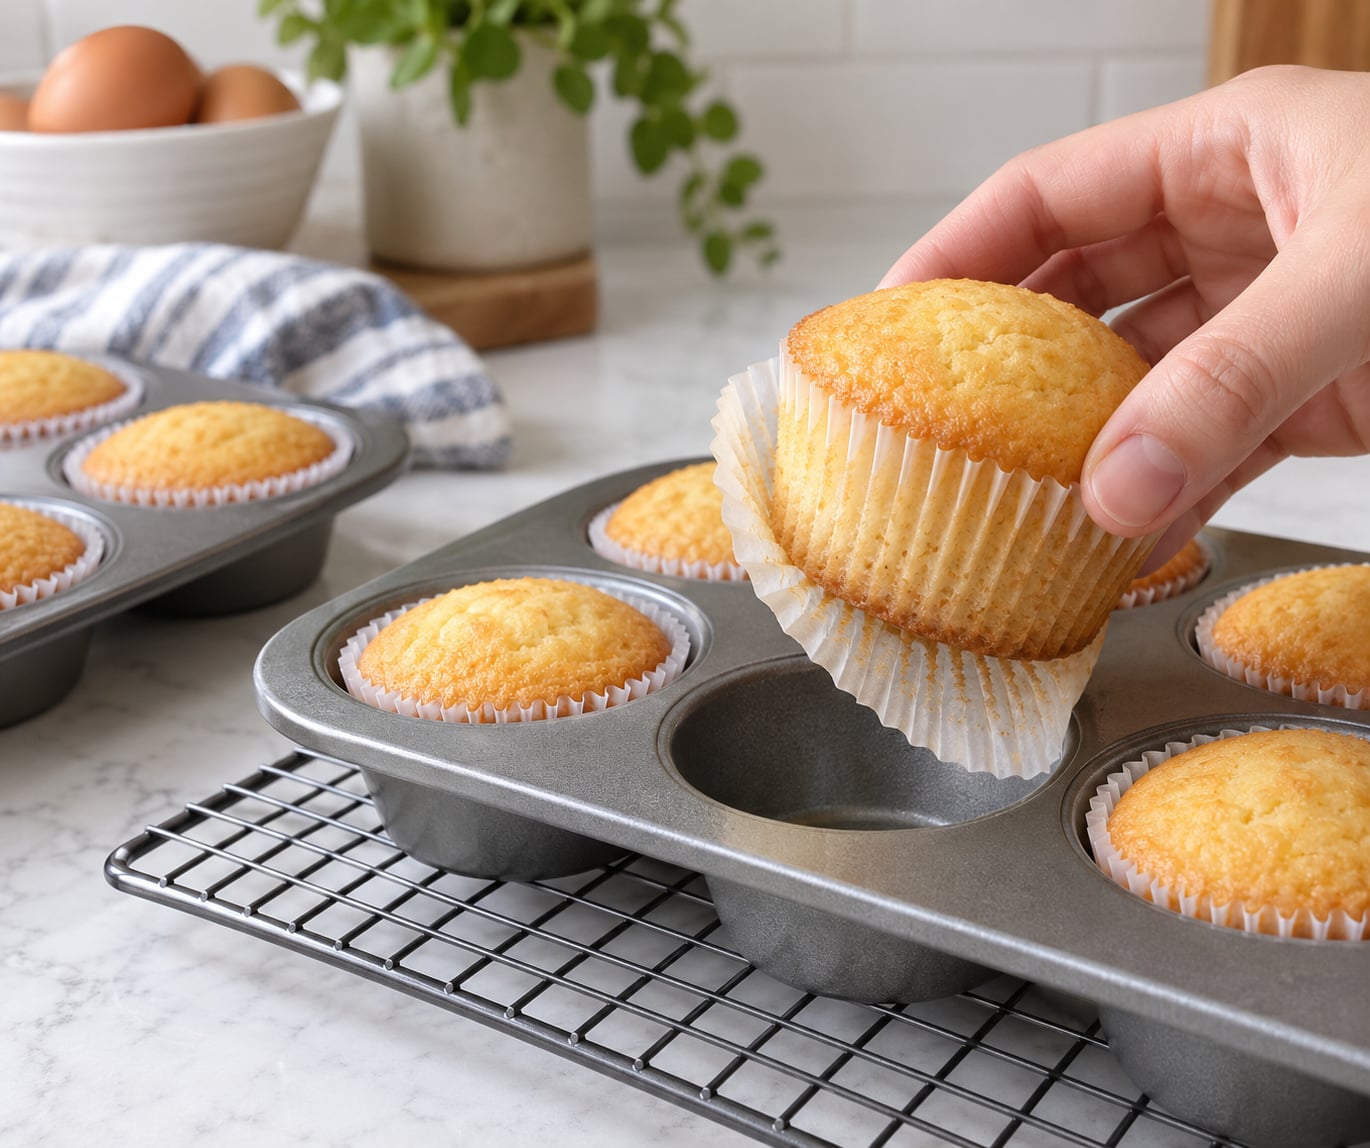
Give the pan about 5 minutes on the rack, then lift each cupcake out onto the wire rack and let it cool fully. Most cupcakes firm up within 5 to 10 minutes, and the rest of the cooling happens on the rack with air moving all around.
Warm cake tears. Peel a cupcake too early and you will take a piece of the bottom with the liner, which is the exact problem you set out to avoid. Wait until the cupcake no longer feels warm to the touch, even if that means an extra 20 minutes.
Common Mistakes
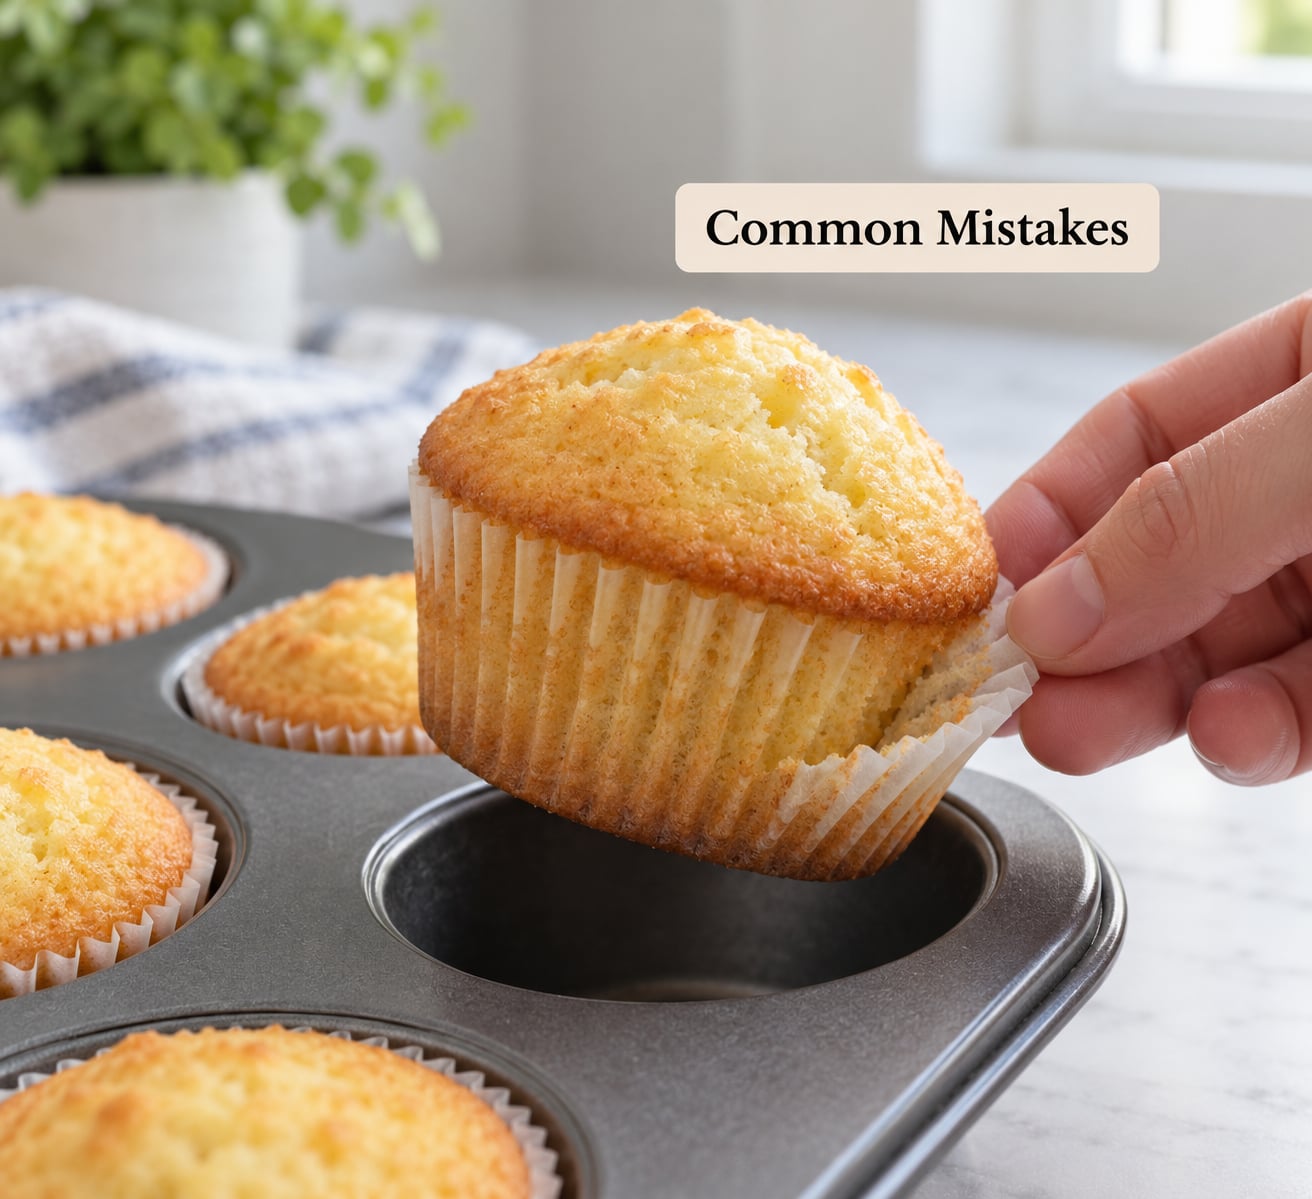
Almost every sticking problem traces back to one of six habits. Here is what goes wrong and what replaces it.
Wrinkled liners. Fix: press each liner firmly into the well and flatten the rim before adding batter. If the liner keeps springing up, it is too thin for that well.
Filling past two-thirds. Fix: level the batter with a spoon and scrape the rim clean. That baked collar is what sticks.
Underbaking. Fix: test doneness before pulling the tray. A wet crumb will not release from paper at any temperature.
Cooling in the pan too long. Fix: 5 minutes in the pan, then out onto the rack. Residual heat keeps steam trapped against the paper.
Peeling too early. Fix: cool to room temperature. Warm cake tears, and torn liners are what bakers call losing the bottom of a cupcake.
Heavy spray. Fix: a barely visible film is enough. A thick layer soaks the paper and softens it into tears.
Two opposite problems get mixed up in the same conversation. If the liner peels away from the cupcake while the cupcake stays in the pan, nothing is sticking and nothing needs fixing. If the liner drops out of the pan during pouring, press it back down against the metal before you fill it.
Frequently Asked Questions
How can I prevent cake from sticking to cupcake liners?
Use a heavier-weight greaseproof or foil liner, give it the faintest mist of nonstick spray, fill it about two-thirds full, and let the cupcake cool completely on a rack before peeling. Thin, cheap liners wrinkle and shred, and a warm cake tears instead of releasing cleanly.
Should you spray Pam on paper cupcake liners?
You can, but keep it to the faintest coating. Hold the can about 10 inches away and mist until the paper looks slightly damp, not wet. A pooled layer turns the liner soggy and it tears. A wipe of neutral oil gives similar release without the overspray.
Can you bake directly in foil cupcake liners?
Yes. Foil cups are oven-safe on their own and handle rich, oily batters better than paper. Press them firmly into the muffin well because a rising cake can flatten the sides outward. They are single-use, so keep a stack on hand if you bake foil cups often.
Why are my muffins sticking to the paper liners?
Three causes account for most cases: the muffin came out underbaked so the crumb stayed tacky, the liner was thin enough for batter to soak through, or it peeled while still warm. Rich chocolate, brownie and cheese batters weld faster than plain ones because of the extra fat and sugar.
How do you get a stuck cupcake liner off?
Set the cupcake upside down on a damp paper towel and microwave it for about 15 seconds. The steam softens the baked-on paper enough to peel away. If that fails, chill the cupcake in the fridge for an hour; the firmer crumb releases the liner without tearing.
Can parchment paper cupcake liners go in the oven?
Regular parchment works, but the thin edges curl and scorch at normal baking temperatures. Use unbleached parchment, which is heavier and more oil-resistant, and cut circles with a little extra room. Keep every edge below the pan rim so direct oven heat never reaches the paper.
Conclusion
Start with the liner. Buy a heavier-weight greaseproof paper or go with foil cups for anything rich, press the liner flat into the well so there are no wrinkles, mist it once and only once, fill to two-thirds, and let the cupcake cool all the way before you touch the paper.
That sequence solves most sticking. What is left is usually one underbaked tray pulled ten minutes too soon, and both are fixed by waiting.