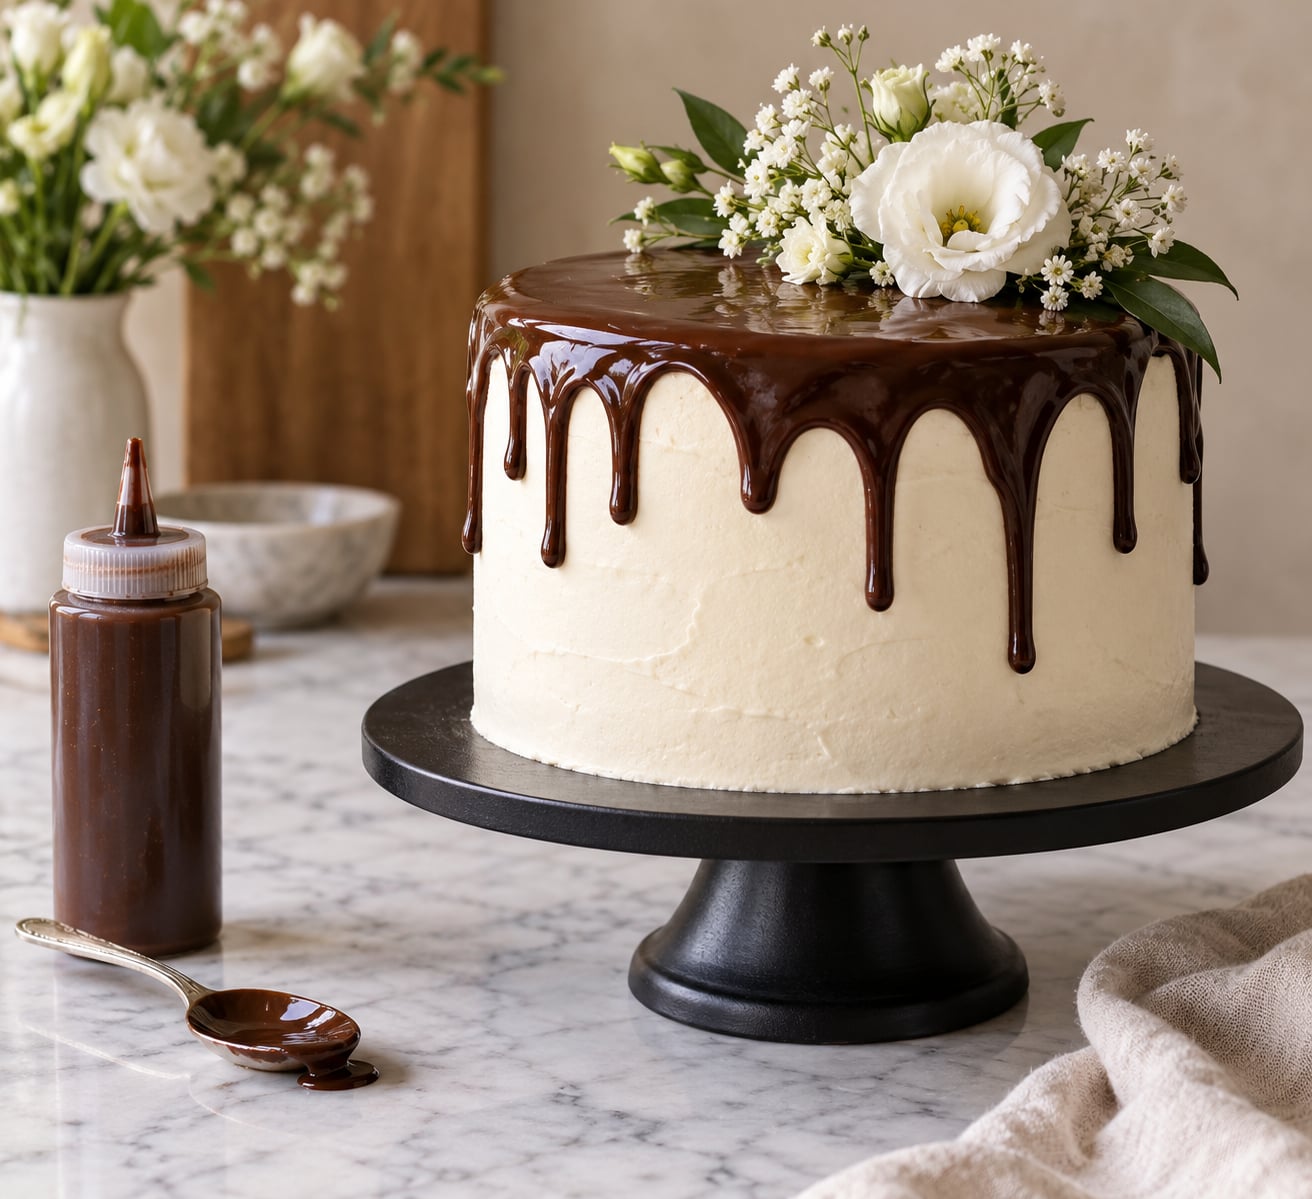
A drip cake is a frosted cake with a warm chocolate glaze poured along the top edge, allowed to run partway down the sides in uneven drips. To make one at home, frost the cake, chill it until firm, then pour a slightly warm ganache onto the edge — a 1:1 chocolate-to-cream ratio is the usual starting point.
That last part is where most first attempts go wrong, and the fix is simpler than it sounds. The glaze should move like slow honey, not like milk and not like warm peanut butter. Get that consistency right and the drips set on contact instead of sliding to the board.
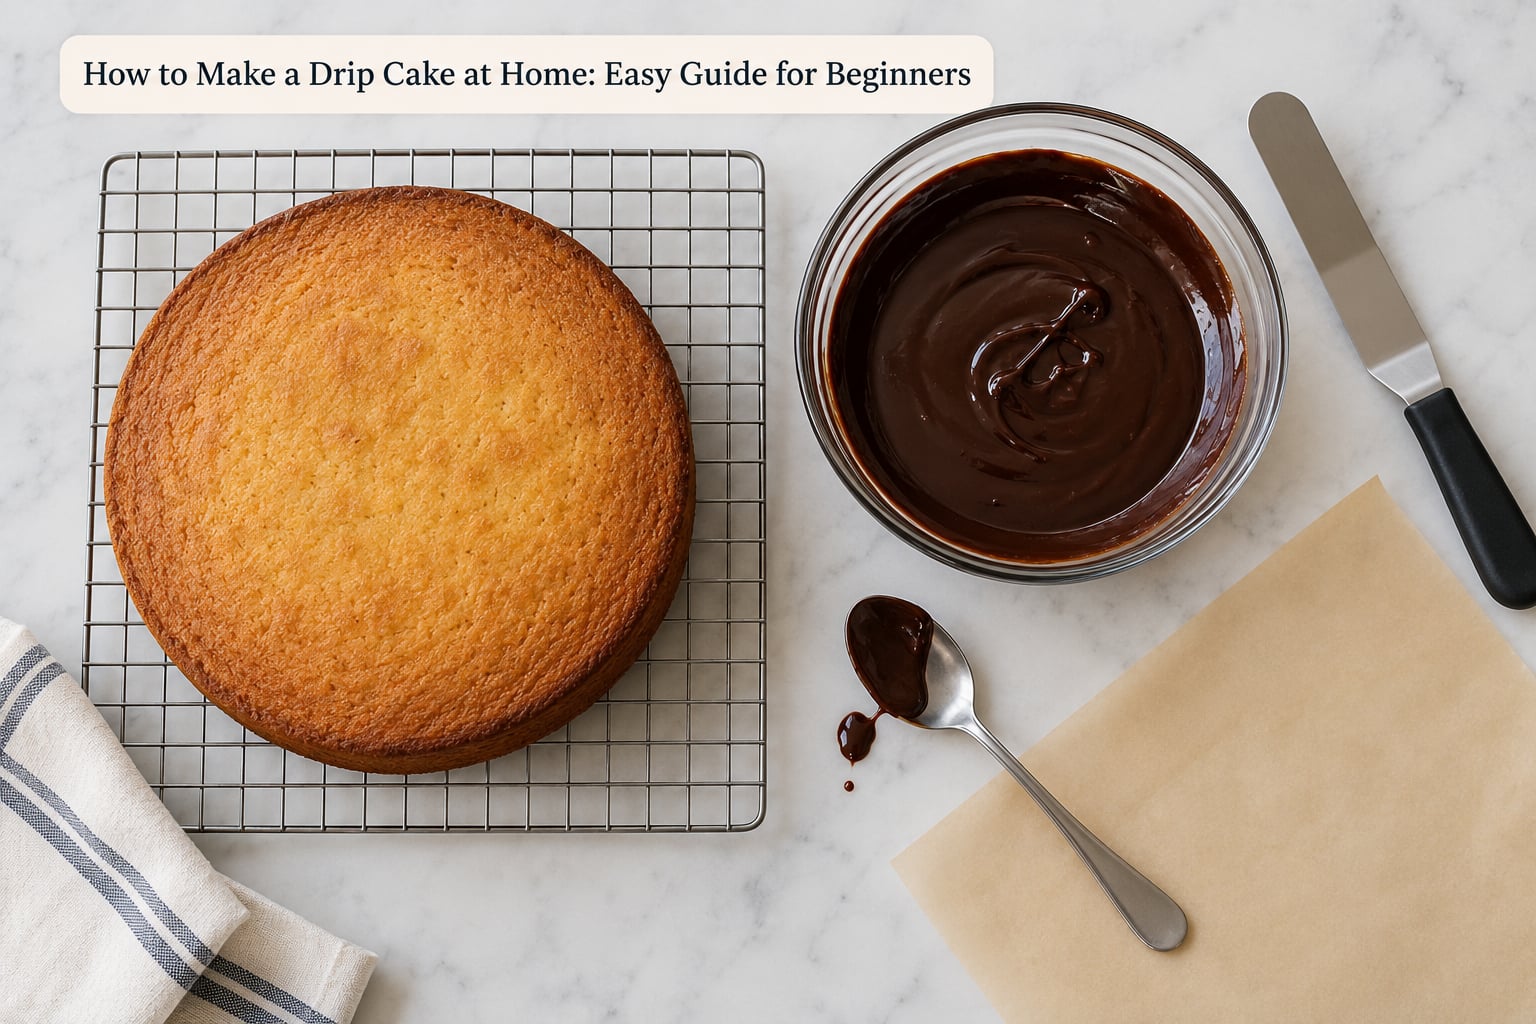
Table of Contents
- What You Need
- Step-by-Step
- How to Make the Drip Glaze
- How to Add the Drip Without Making a Mess
- Common Mistakes
- Frequently Asked Questions
- What frosting is best for a drip cake?
- How do I make the drip effect on a cake?
- Should the cake be chilled before adding the drip glaze?
- Why is my drip glaze running too far down the cake?
- Can I make a drip cake ahead of time?
- How do I decorate the top after adding the drips?
- Conclusion
What You Need
The short version: a cake, frosting, a drip glaze, one small tool for pouring it, and somewhere cold to put the cake. That is the whole shopping list.
- Two or three cake layers — any flavour that pairs with chocolate. Vanilla and chocolate are the safe bets.
- Buttercream — enough for a crumb coat plus a final layer, roughly 4 to 5 cups for an 8 inch cake.
- Chocolate and heavy whipping cream for the glaze — 120g chocolate to 120ml cream for a 1:1 dark or milk drip, or 90g white chocolate to 270ml cream for a pale 3:1.
- A teaspoon or small offset spatula — this is the pouring tool. A squeeze bottle or a piping bag fitted with a parchment cone works too, but a spoon gives the most natural-looking result.
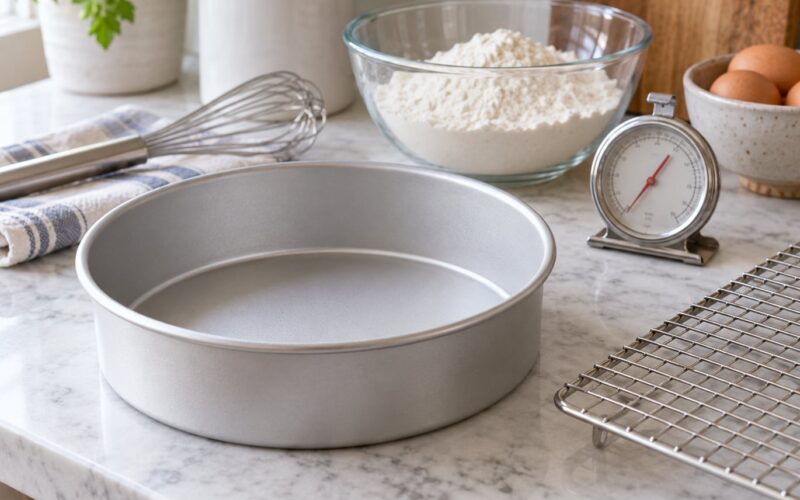
- Cooling racks — so layers cool flat instead of doming.
- A turntable — useful, not required. A large flat board on a damp cloth works in a pinch.
- Parchment paper and a cake board — for catching drips that run further than you wanted and for moving the cake without touching the frosting.
One note on frosting. Buttercream gives the cleanest result because it holds its shape when cold and the drip grips it. Fondant is a different story — the glaze slides straight off. Royal icing works but needs a much thinner glaze, closer to icing you can pour.
Step-by-Step
Six stages, and only one of them is difficult. Take them in order and the drip becomes almost automatic.
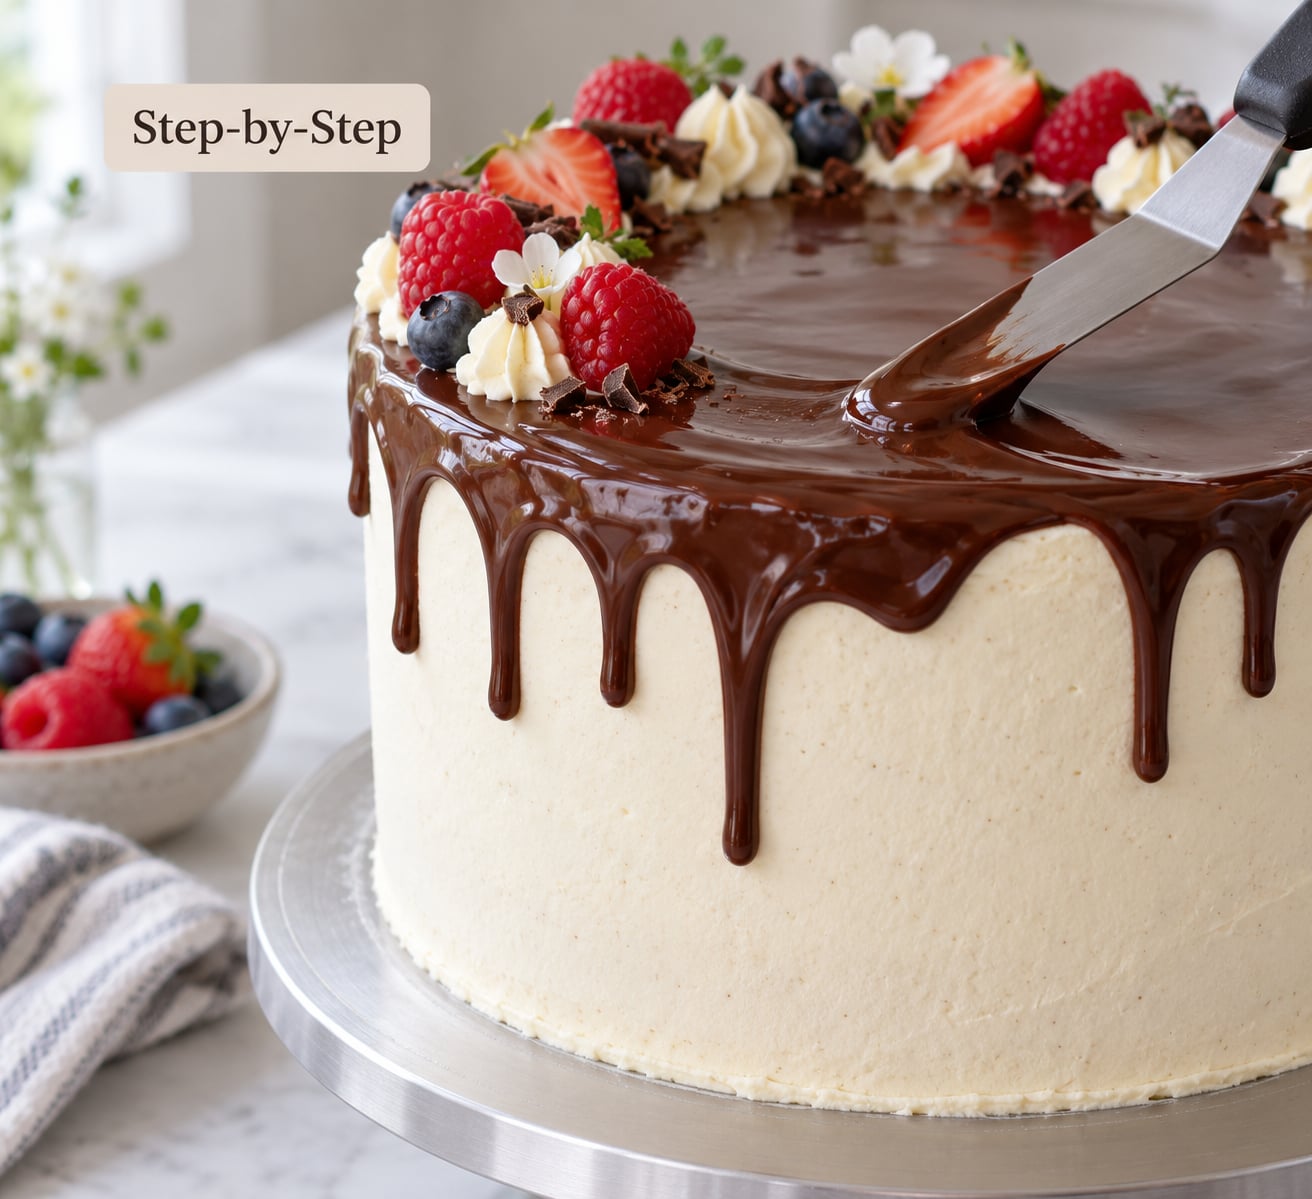
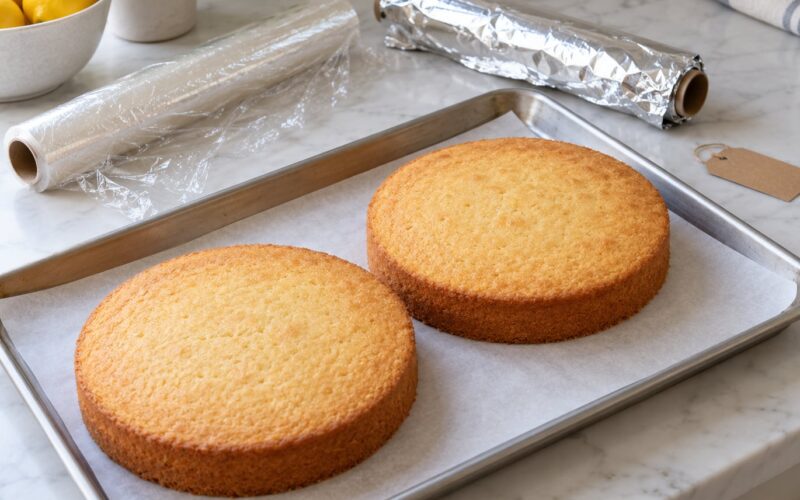
- Bake and cool the layers completely. Cool them in their tins for 10 minutes, turn out, then cool on a rack to room temperature. A warm layer will melt the buttercream straight through it.
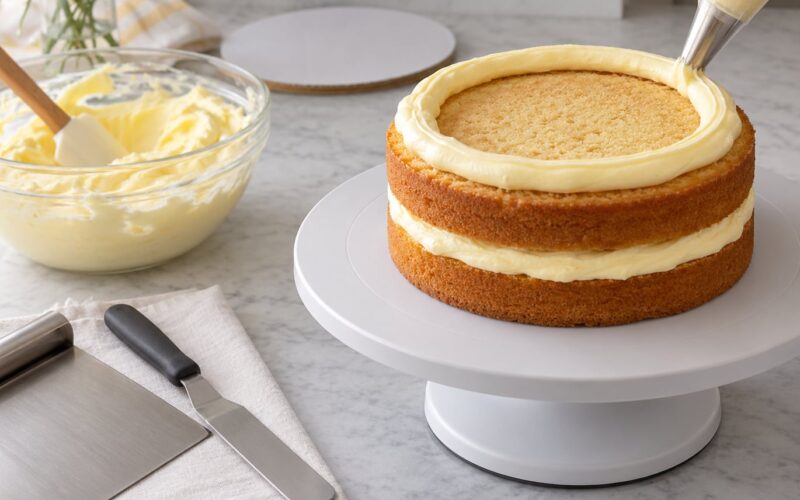
- Fill and crumb coat. Level the layers, add a filling, then apply a thin coat of frosting that seals every crumb. Chill 20 minutes in the fridge.
- Apply the final frosting. Cover the crumb coat with a thicker layer, smoothing the sides with a bench scraper. The top edge should be crisp, because that edge is where the drip hangs from.
- Chill until firm. Fridge 20 to 30 minutes, or freezer 10 minutes. The frosting should feel set to the touch and hold a fingerprint-free finish. This is the step people skip and then wonder why the drip ran.
- Make and test the glaze. Warm it until pourable, then do one drip on the back of the cake before you touch the rest.
- Pour in small sections and set. Work around the cake in four or five sections, then leave it at room temperature for 20 to 30 minutes before moving it.
Scale the glaze with the cake. An 8 inch round needs roughly 120g of chocolate; a 6 inch round needs about 80g; a 12 inch sheet cake wants 250g or so. Too little glaze and you run out halfway round, which leaves one sad bare patch. Too much and the excess runs off and puddles on the board.
How to Make the Drip Glaze
The right consistency is slightly thicker than pouring cream — think slow honey or warm maple syrup — and you test it with one drip on the back of the chilled cake before going any further.
For a 1:1 dark or milk chocolate glaze, heat 120ml heavy cream until it just steams, pour it over 120g chopped chocolate, wait two minutes, then stir from the centre outwards until the emulsion comes together. For a white chocolate version you need three parts cream to one part chocolate, because white chocolate is so much thinner and less stable.
If the glaze is too thick, warm it in 5 second microwave bursts, stirring between each one. If it is too runny, let it stand until it cools and thickens, or stir in a spoonful of extra chocolate.
Three looks to recognise on the back of the cake. A smooth drip sets within a minute or two and stops on contact. A slightly irregular drip with a lumpy edge is normal and looks handmade. A glaze that keeps travelling down the side means it is too warm, too thin, or the cake underneath is not cold enough — chill the cake another 10 minutes or thicken the glaze.
Glaze that sits on the top edge and forms a fat blob with no run at all is too thick. Warm it and test again.
How to Add the Drip Without Making a Mess
Use a scoop-and-release motion: dip a teaspoon in the glaze, hover it just above the top edge, and let the glaze fall off on its own. Do not touch the frosting with the spoon, and do not drag the glaze sideways.
Work around the cake in small sections of four or five drips, then stop. Turn the turntable, move on, and come back to that section once it has started to set before adding more.
The chilled cake is what keeps the frosting firm enough to hold a clean line. If yours is soft, the drips will drag and smear instead of hanging.
Natural variation is the point. Make the drips slightly different lengths, let some stop a third of the way down and let one or two go further, and do not try to make them match. Beginners post photos of uneven drips asking whether they succeeded — they did. Perfectly identical drips look machine-made.
If a drip travels too far down the side, do not chase it. While it is still soft, use a paper towel to lift the end of it gently and nudge it back up, or leave it and trim it at the board line once everything has set.
Pour the centre of the top last, from a height, so it spreads to meet the drips instead of flooding past them.
Common Mistakes
Almost every failed drip cake is one of six problems, and every one of them has a fix you can apply mid-process.
The cake was not cold enough. Warm frosting melts on contact and the glaze follows it down. Chill the finished cake 20 to 30 minutes in the fridge, and confirm the surface is firm before you start.
The glaze ran all the way to the board. Three causes: too thin, too warm, or a warm cake. Thicken it, let it cool to barely warm, and retest on the back.
The glaze blobs instead of running. It is too thick. Add a 5 second microwave burst and stir well.
The glaze will not set. It is sitting on a warm cake or on fondant. Move the cake to the fridge for 15 minutes; if it still resists, the chocolate-to-cream ratio is too loose for the chocolate you used, so use a higher chocolate ratio next time.
The drip bled into the frosting and muddied the colour. The cake sat out too long before drizzling or the glaze was poured too hot. Work faster, use a cooler glaze, and put the finished cake somewhere cool straight away.
The glaze seized into grains. Water got into the chocolate. Use dry bowls and utensils, and if it happens, stir in a tablespoon of warm cream to bring it back.
Two habits make cleanup almost free. Put the chilled cake on a sheet of parchment over a board, so any stray drip lands on paper you can bin. And measure everything by weight — a kitchen scale takes out the guessing that makes drips unpredictable between batches.
Frequently Asked Questions
What frosting is best for a drip cake?
Swiss meringue or American buttercream both work well because they stay firm when cold and give the glaze something to grip. The glaze will slide off fondant, and whipped cream or cream cheese frosting is too soft to hold a drip for more than an hour. If you are using a softer frosting, refrigerate the finished cake until close to serving.
How do I make the drip effect on a cake?
Frost and chill the cake first, warm a chocolate and cream ganache until pourable, then scoop a little onto a spoon and hold it just above the top edge. Let the glaze fall rather than pushing it off. Work in small sections around the cake, leaving the centre of the top to pour last.
Should the cake be chilled before adding the drip glaze?
Yes, for almost every case. A cold, firm frosting surface shocks the warm glaze so it sets on contact instead of running down to the board. Fridge the finished cake for 20 to 30 minutes, or 10 minutes in the freezer. The exception is a very thin glaze on royal icing, where a cool rather than ice-cold cake works better.
Why is my drip glaze running too far down the cake?
It is too thin, too warm, or the cake was not properly chilled. Let the glaze cool until it is barely warm, add a spoonful of extra chocolate if it still runs, and test with a single drip on the back of the cake. A good drip stops within a couple of minutes. If it is still sliding, chill the cake for another 10 minutes before you retry.
Can I make a drip cake ahead of time?
Yes, and it often looks better the next day. Frost the cake, add the drip, and refrigerate it for up to three days before serving. Bring it out about 30 minutes before you cut into it so the buttercream softens. Leftover ganache keeps for weeks in the fridge; warm it in 5 second microwave bursts and stir before reusing.
How do I decorate the top after adding the drips?
Let the drips set for 20 to 30 minutes first so you do not drag frosting through them. Fill the centre of the top with a second pour of glaze, then add your decorations: piped borders, sprinkles, fresh fruit, or a border of piped buttercream shells around the base. Keep heavy decorations off the edge where the drips hang.
Conclusion
If you only remember four things, make them these: frost the cake properly, chill it until the surface is firm, warm the glaze to a slow-moving honey consistency, and pour in small sections with a scoop-and-release motion rather than pushing the glaze off the spoon.
Do your first test drip on the back of the cake. Once you have watched one drip set in under a minute, the rest of the circle is easy. Practice on a spare chilled layer if you can, then add your own finishing touches once the basic technique feels automatic.