To fill and crumb coat a cake, level your cooled layers, stack them with a measured amount of filling, spread a very thin first coat of frosting over the top and sides, then chill it until firm before applying the final coat. That first thin coat traps loose crumbs so they never show up in your finished frosting.
The whole process takes about 45 minutes of active work plus chilling time, and it is far easier than it looks once you know the three checkpoints: the layers are cold and level, the filling is firm enough to hold its shape, and the crumb coat is set to the touch. Skip any one of those and you get bulging filling, sliding layers or a gritty final coat.
Updated for 2026.
Table of Contents
- What You Need Before You Start
- How to Fill and Crumb Coat a Cake, Step by Step
- 1. Chill the Cake Layers Before Filling
- 2. Level and Prepare the Layers
- 3. Thin the Filling to the Right Consistency
- 4. Fill the Cake with Even Layers
- 5. Apply the First Crumb Coat
- 6. Chill, Refinish, and Check the Finish
- Common Mistakes and How to Fix Them
- Frequently Asked Questions
- Should I fill a cake before or after the crumb coat?
- What filling is best for a layer cake?
- How long should a cake chill before filling and crumb coating?
- Why is my crumb coat pulling up large crumbs?
- How thick should the first crumb coat be?
- Can I crumb coat a cake the day before?
- Conclusion
What You Need Before You Start
You can get through this with a spatula and a fridge, but a few tools make the difference between a good cake and a clean one.
- Cooled cake layers — two or three, baked a day ahead if you can. Firm, cold layers are far easier to handle than warm ones.
- Filling — roughly 1 cup for an 8-inch two-layer cake, 1 to 1.5 cups for a three-layer cake. Firm buttercream, curd or a thick ganache all work.
- Frosting for the coat — about 1.5 cups for a crumb coat and final coat on a small cake. American buttercream sets hard; whipped cream needs more chilling.
- Offset spatula — the thin, long blade that gets frosting onto the top of the cake without shoving crumbs around. A regular spatula works but pushes more filling out from the edges.
- Bench scraper or cake smoother — a straight-edged plastic card or a steel scraper that turns the cake while you scrape. This is what makes the sides flat.
- Turntable — even a lazy Susan works. Spinning the cake takes 15 seconds; turning it by hand takes a minute and causes the stack to twist.
- Piping bag and a small round tip — lets you pipe a dam around the edge and measure filling in even rings instead of eyeballing it.
- Cake leveler — optional. A long serrated knife does the same job if you steady the top with one hand.
- Cake board and a dab of frosting — a board keeps the bottom flat and stops the finished cake from sitting in melted buttercream on the table.
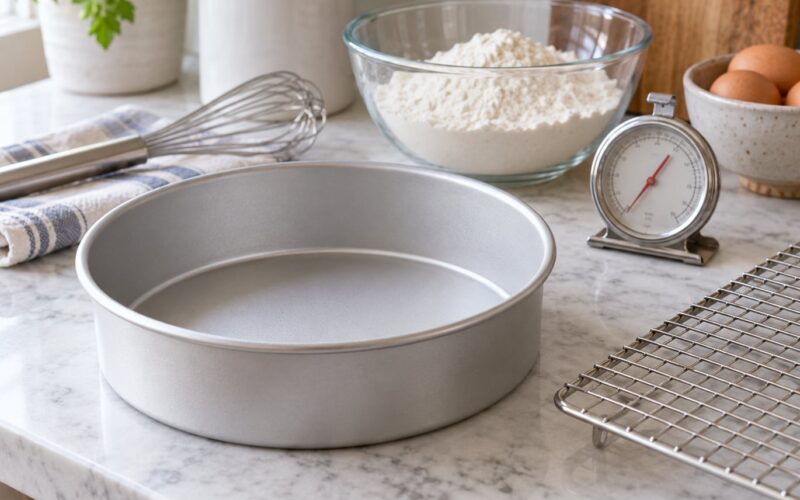
- Cooling rack — layers cool faster and flatter on a rack than in the pan.
Before you unwrap anything, set the filling and frosting out for 20 to 30 minutes. Cold frosting straight from the fridge spreads like glue and tears the top layer.
How to Fill and Crumb Coat a Cake, Step by Step
1. Chill the Cake Layers Before Filling
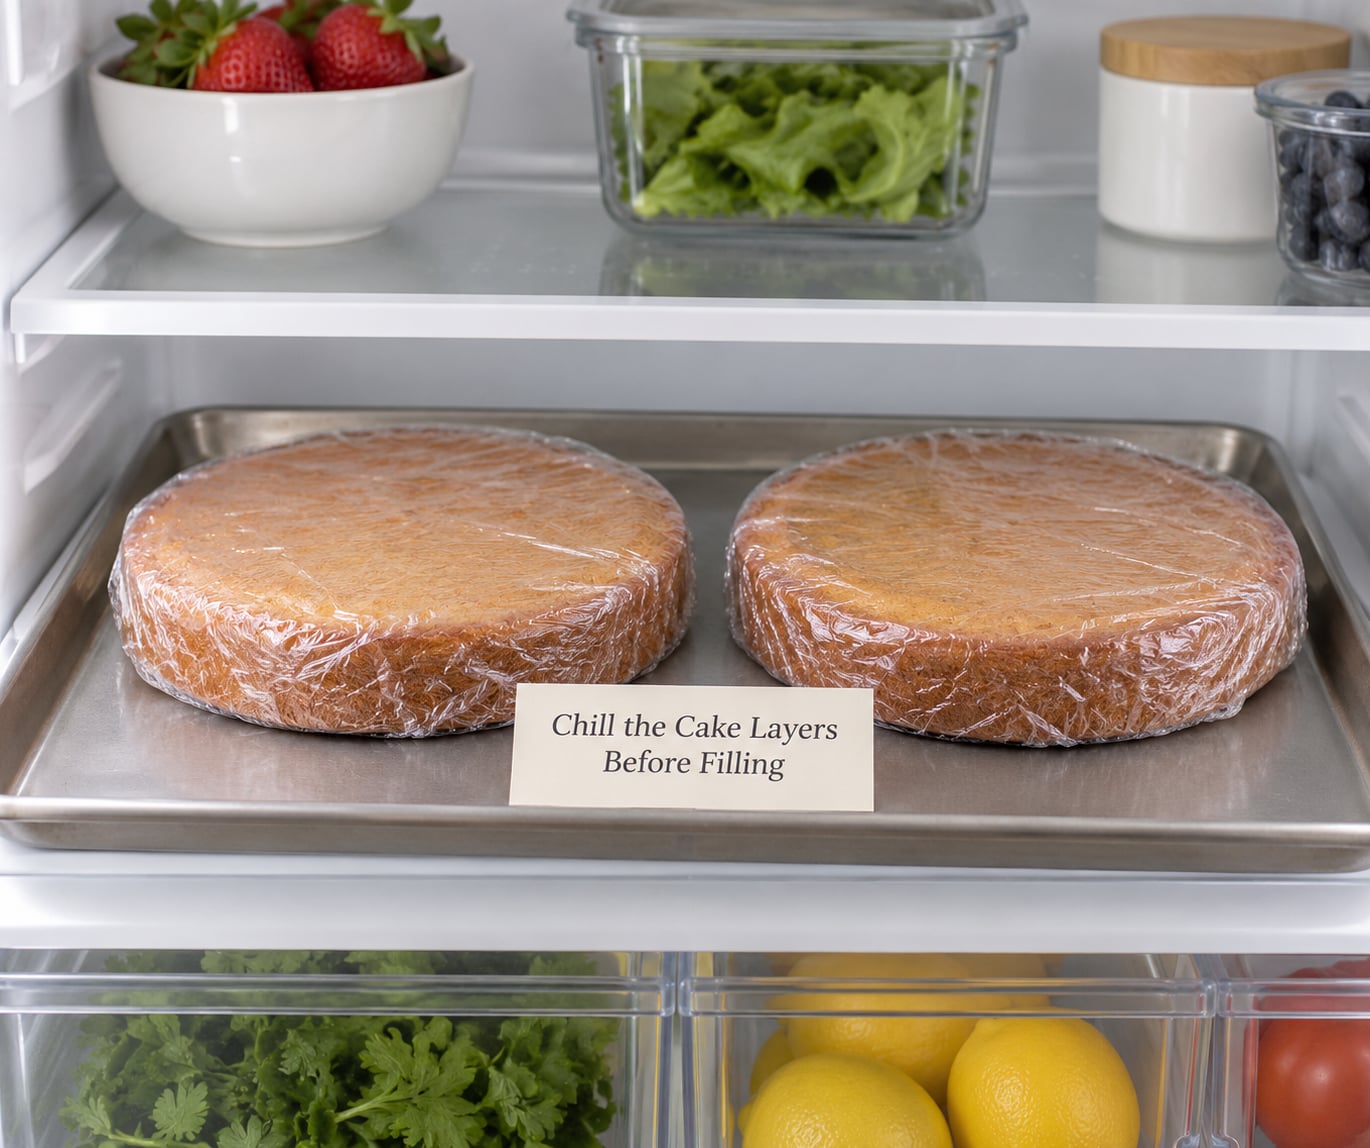
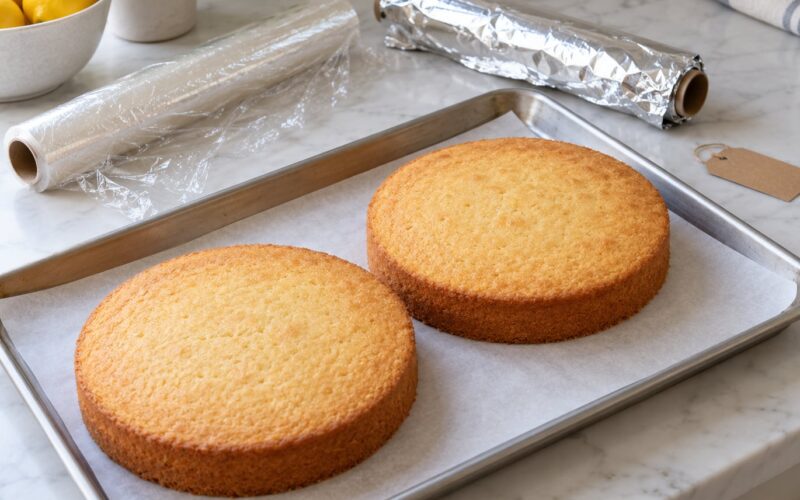
Cool the layers completely, wrap each one individually, and refrigerate them for at least 30 minutes. Dense or high-moisture cakes like carrot or almond need about an hour; light sponge layers only need 30.
The success cue is firmness. A cold layer holds its weight when you lift it and does not dent when you press the top with a fingertip. If it flexes or leaves a mark, it needs more time.
You can freeze layers wrapped tightly for up to a month and thaw them in the fridge overnight. Many decorators bake two days ahead so the layers have time to settle before assembly.
2. Level and Prepare the Layers
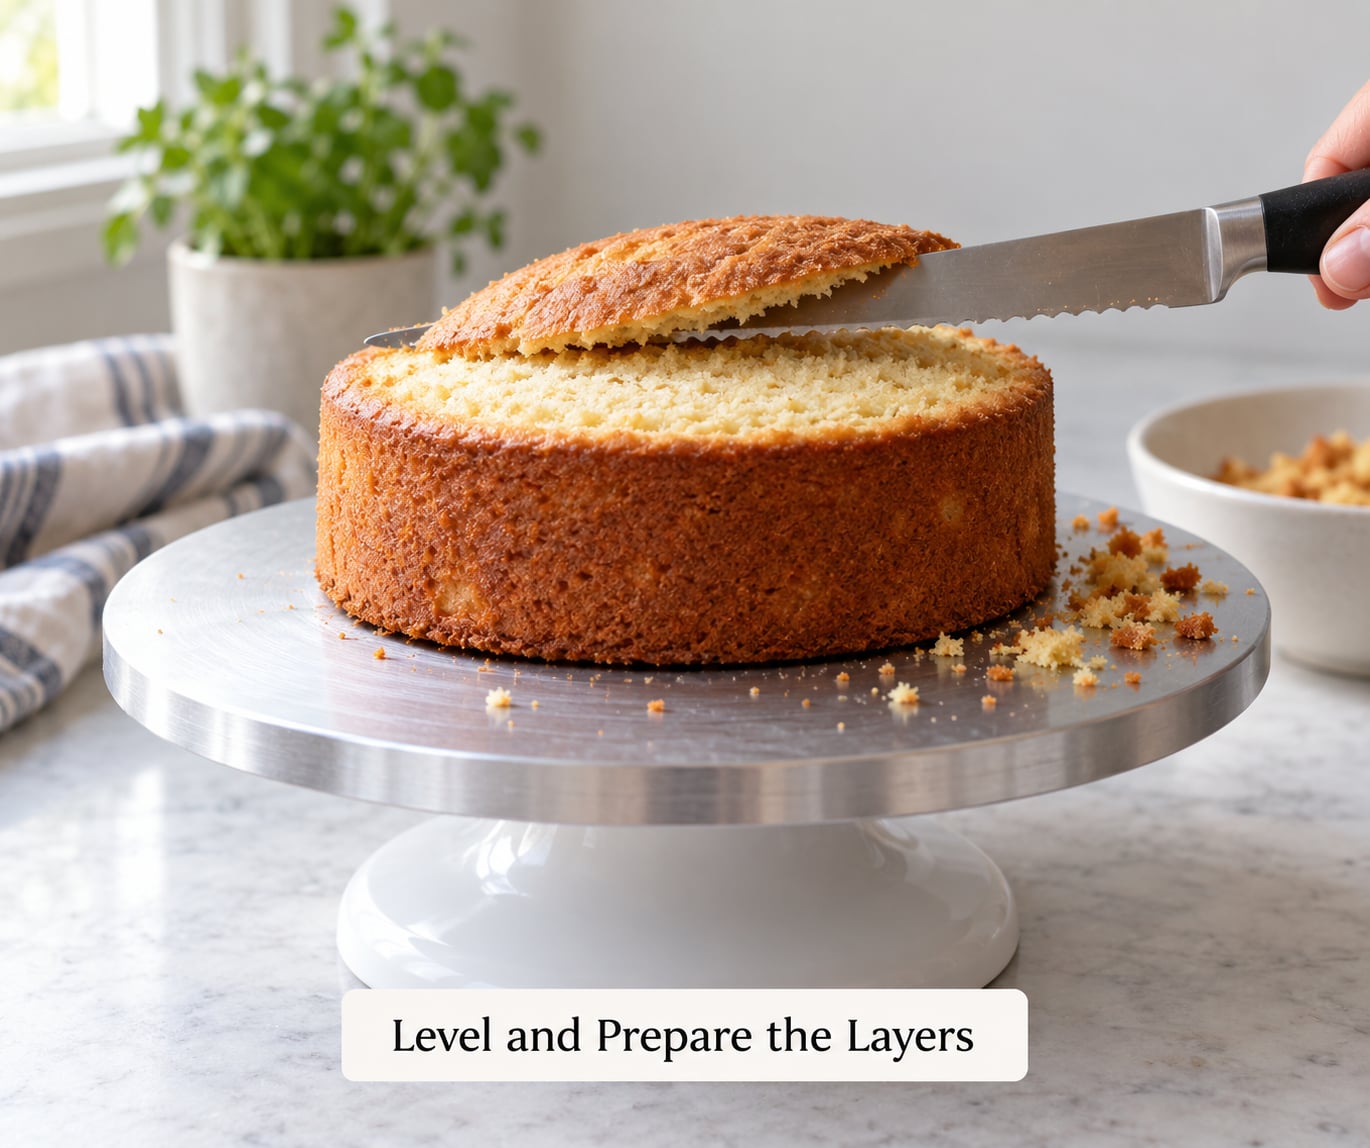
Trim the dome off the top of each layer with a long serrated knife, holding the blade level and sawing gently from the outside toward the centre. Crumbs collect fast, so brush the layer with a soft pastry brush or your hands before you go near any frosting.
A domed layer is the single biggest cause of a bulging, lopsided stack, and no amount of crumb coating will hide it. If a layer is fragile or too soft to trim without tearing, chill it another 20 minutes rather than pressing on.
Turn each layer so its flattest, most even side faces up. On a thin layer, that often means flipping it over, since the bottom of the pan left a flatter surface than the top.
3. Thin the Filling to the Right Consistency
The filling should hold a soft peak and stay where you put it. If it slumps before you can spread it, stiffen it with more powdered sugar, chill it briefly, or add a spoonful of firm buttercream.
For whipped filling, whip the cream to medium peaks so it will not weep into the sponge overnight. Buttercream that is too stiff will split the layer; buttercream that is too soft will squeeze out the side.
If you are microwaving buttercream to soften it, go in 5 to 10 second bursts and stir between each one. A stiff buttercream that has not been warmed will tear the top layer as you spread it.
Perishable fillings such as curd, custard, whipped cream or cream cheese filling should stay refrigerated while you work, and a filled cake with them needs to stay cold until you serve it.
4. Fill the Cake with Even Layers
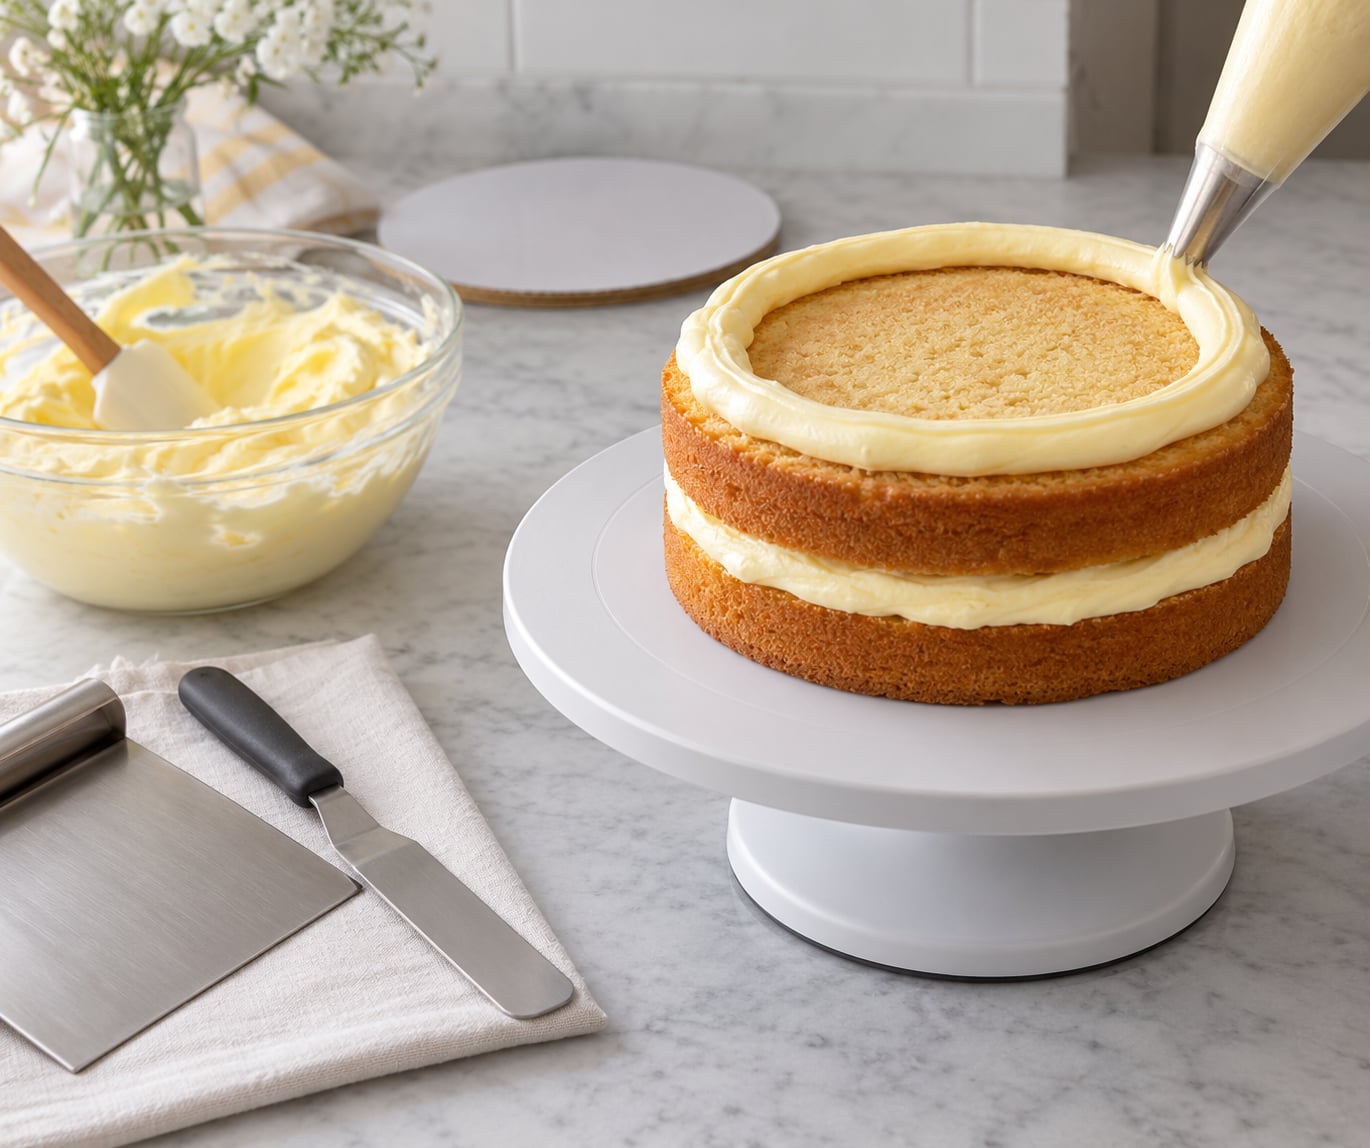
Set the first layer on the board or turntable with a dab of frosting underneath so it cannot slide. Then pipe a dam around the edge, one to two inches in from the outside, and fill the middle.
The dam is the difference between a filling that stays in place and one that bulges out of the sides a few hours later. Without a rim of frosting to contain it, soft filling migrates outward under its own weight.
Alternatively, pipe rings of buttercream in the centre of the layer, then pipe a second ring around the outside of the first. Fill the gaps and add a thin top layer to bring the filling within about half an inch of the layer’s edge.
Check the level by crouching down to cake height and looking across the top. Keep the filling below the top of the layer so the upper layer sits flat instead of tilting, then press gently on the whole stack to settle it.
5. Apply the First Crumb Coat
Crumb coat the top first, then the sides. Put a thin layer of frosting on the flat top with the offset spatula, then carry that frosting down over the edges in a single turn of the cake so the sides are coated evenly.
The coat should be thin enough that you can still see the cake’s colour and crumb through it. If it looks fully white, scrape some off. That is exactly the mistake the crumb coat is meant to avoid.
Build a sharp top edge by clearing excess frosting from the rim with the bench scraper, then holding the scraper vertical against the side and turning the turntable until the frosting forms a clean edge. Scrape the excess into a bowl each pass rather than back onto the cake.
6. Chill, Refinish, and Check the Finish
Refrigerate the crumb-coated cake for 15 minutes, or freeze it for 10 minutes. Set means the surface is firm and slightly tacky, and a light tap leaves a dent rather than a smear.
| Chill method | Time | Best for |
|---|---|---|
| Refrigerator | 15 minutes | Most buttercreams and standard layer cakes |
| Freezer | 10 minutes | Whipped cream, soft fillings, or a short timeline |
| Both | 10 minutes freezer, then 15 minutes fridge | Very soft fillings that need to firm without going cold and hard |
After chilling, scrape the coat smooth again with the hot-water trick: run the bench scraper under hot water and wipe it dry before each pass. The warm blade melts the frosting just enough to fill in ridges.
Now apply the final coat, thicker than the crumb coat, working from the top down the sides in overlapping turns. Fill any gaps where the crumb shows by pressing a thin patch of frosting into that spot rather than laying thick frosting over it, and scrape again to true the surface.
If the cake bulges or leans after filling, leave it under a flat weight overnight before decorating. That settling time is what stops a stacked cake from leaning on the cake plate.
Common Mistakes and How to Fix Them
Most problems trace back to one of four things: the cake was too warm, the filling was too soft, the coat was too thick, or the layers were never leveled.
Filling leaks or bulges out of the sides. The filling was softer than the layer can support, or there was no dam. Use less filling, pipe a frosting dam first, and pick a sturdier filling such as a thick curd or firm American buttercream.
Layers slide apart while stacking. Cold, level layers sitting on a wet board are the usual cause. Dry the board, add a dab of frosting as glue, and chill the layers longer. Chilled layers also keep the filling firm, which is what stops the shift.
The crumb coat tears the cake or pulls up big chunks of crumb. The frosting is too stiff or too thick, or the layer is too fragile. Warm the buttercream briefly, and use a light hand with the offset spatula held almost flat, sweeping rather than pressing.
Crumbs still show in the final coat. The crumb coat was too thick, applied too loosely, or cut into the cake later. A thick coat never seals properly because it tears. Apply a genuinely thin coat, chill it, then scrape it smooth before adding the final layer.
The finished cake looks wavy or lumpy. Uneven filling or an off-level stack, both of which a smooth coat only highlights. Crouch to cake level and check before the final coat goes on.
The cake leans or develops heavy “puffy feet.” Filling that squeezed out and set like a collar, or domed layers that were never trimmed. Level everything before stacking and settle the filled cake under weight overnight.
The final coat went on too soon. Warm cake and soft frosting drag each other. If the crumb coat still dents under a light touch, give it more chill time.
Frequently Asked Questions
Should I fill a cake before or after the crumb coat?
Always fill first. A crumb coat goes on only after the layers are stacked with filling, because its job is to seal the finished cake and trap crumbs. If you coat an unfilled layer, the filling added later pushes the frosting out and you end up with bulges and exposed crumb. The order is always level, fill, stack, crumb coat, chill, final coat.
What filling is best for a layer cake?
A firm, spreadable filling that holds its shape: American buttercream, a thick lemon or fruit curd, or a ganache that has chilled to spreading consistency. Whipped cream works but is the least stable, so pipe a dam and keep the finished cake cold until serving. What you avoid is anything runny, because it finds the seam and pushes out the sides.
How long should a cake chill before filling and crumb coating?
Wrap the cooled layers and chill them for 30 minutes minimum, or an hour if the recipe is dense or high-moisture. Layers wrapped and frozen for a few weeks work well too, thawed overnight in the fridge. The test is firmness: the layer should not dent under a fingertip and should hold its shape when lifted.
Why is my crumb coat pulling up large crumbs?
Usually the frosting is too stiff or the coat is too thick, so the spatula is catching the sponge instead of gliding over it. Warm stiff buttercream in 5 to 10 second microwave bursts, stir, and try again. Also press more gently, holding the offset spatula nearly flat and sweeping rather than pushing. Cold, firm layers tear far less than soft ones.
How thick should the first crumb coat be?
Thin enough that you can still see the cake colour and crumb through the frosting. It is a seal, not a finish. If the cake looks fully white after spreading, scrape some off with the bench scraper, then chill for 15 minutes. A too-thick coat tears, and torn areas never seal properly, which is why crumbs still show up later.
Can I crumb coat a cake the day before?
Yes, and for celebration cakes it is often the better plan. Crumb coat, refrigerate overnight, then bring the cake back to a workable temperature and add the final coat the next day. Keep it covered so it does not absorb fridge smells, and skip the shortcut if the filling is perishable and the cake will sit out for hours.
Conclusion
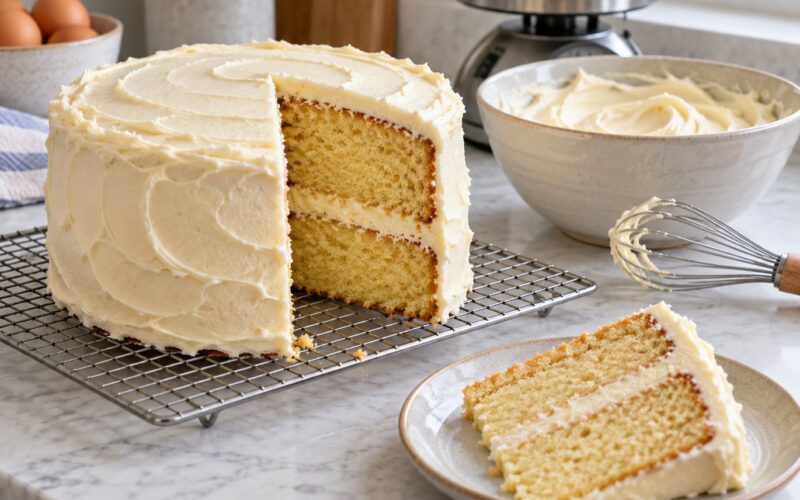
The whole job comes down to a fixed sequence: cool and level the layers, make the filling firm enough to hold its shape, measure it evenly with a dam around the edge, spread a deliberately thin first coat, then chill 15 minutes before the final coat. Get that order right and the finish takes care of itself.
Start with the least glamorous part, trimming and chilling the layers properly. It fixes more problems than any other five minutes you will spend, and it is where I would put the effort before anything else.