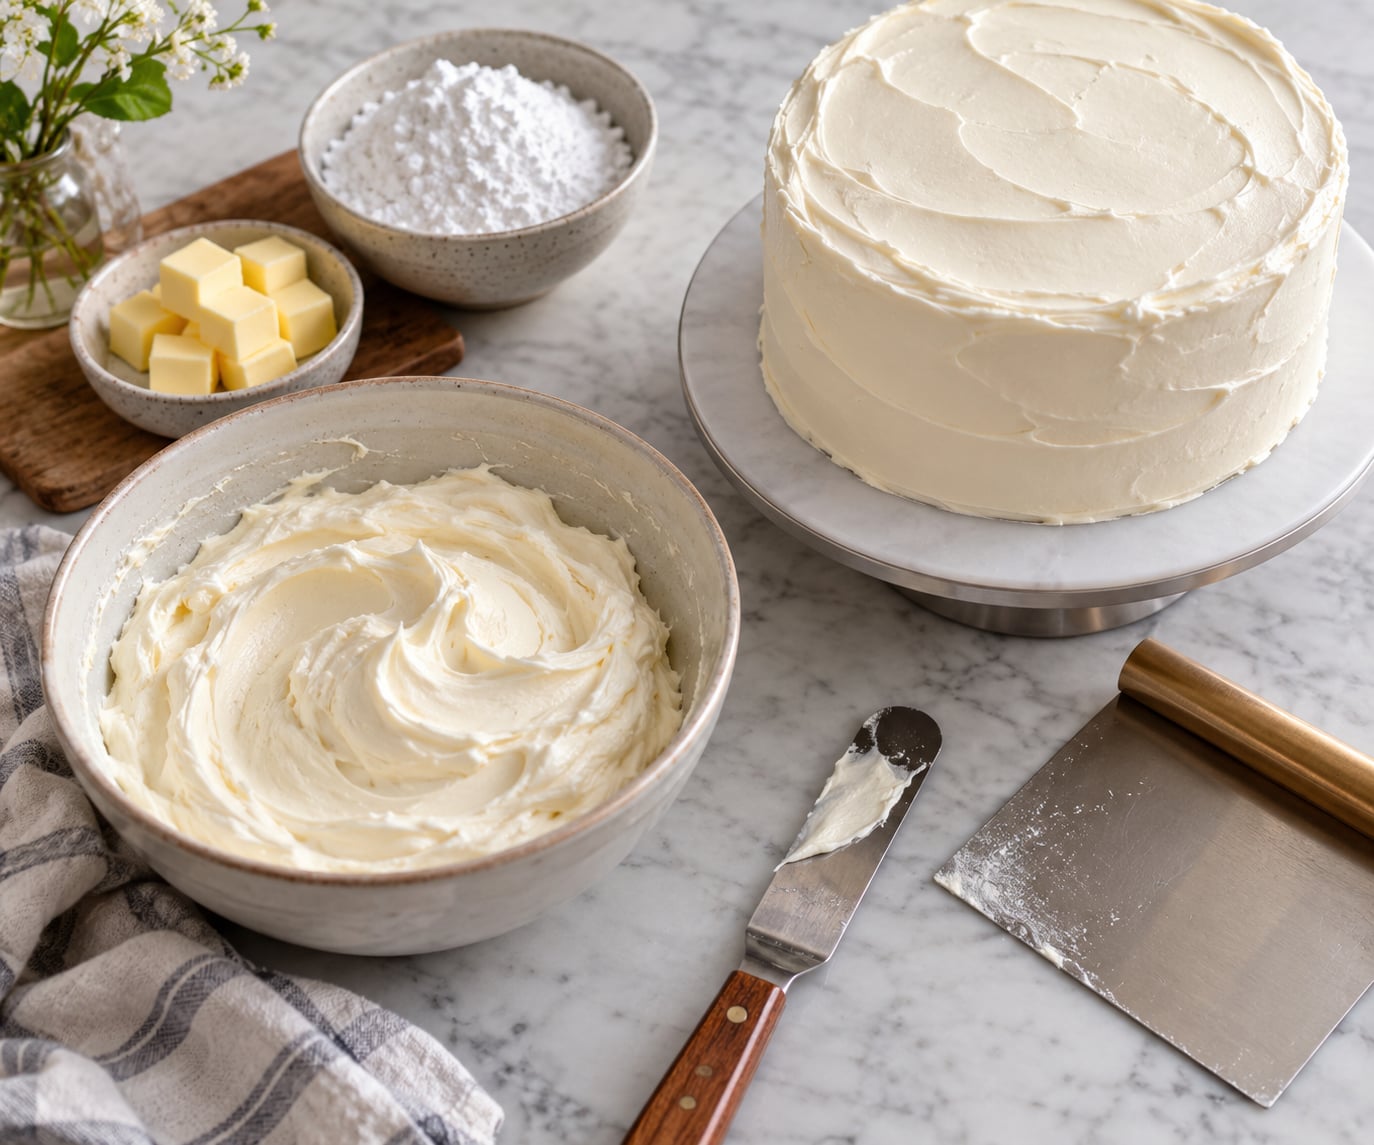
Smooth buttercream comes down to two things: getting the air and lumps out of the frosting in the bowl, then sealing the cake with a thin chilled crumb coat before you run a warm metal bench scraper over it while the turntable spins. That is the whole method, and the rest of this guide is the detail that makes it work on a home kitchen counter rather than in a bakery.
If you have been fighting grainy icing that will not mix out, or sides that stay streaky no matter how many passes you make with a spatula, the problem is nearly always temperature or air, not technique. Learning how to make buttercream frosting smooth means controlling those two things, and everything after that is repetition.
I will walk through the whole process, the tools that matter, and a troubleshooting table for every symptom you are probably seeing. It works for American buttercream, Swiss meringue buttercream and the store-bought tub you opened last week.
Table of Contents
- What You Need
- Step-by-Step: How to Make Buttercream Frosting Smooth
- Common Mistakes and How to Fix Them
- Frequently Asked Questions
- Why is my buttercream frosting not smooth?
- Can I make buttercream frosting smooth without a stand mixer?
- Should I chill buttercream frosting before decorating a cake?
- How do I keep a cake from tearing when spreading frosting?
- Can I add food coloring to buttercream without making it grainy?
- What is the best spatula for smoothing buttercream frosting?
- What to Do First
What You Need
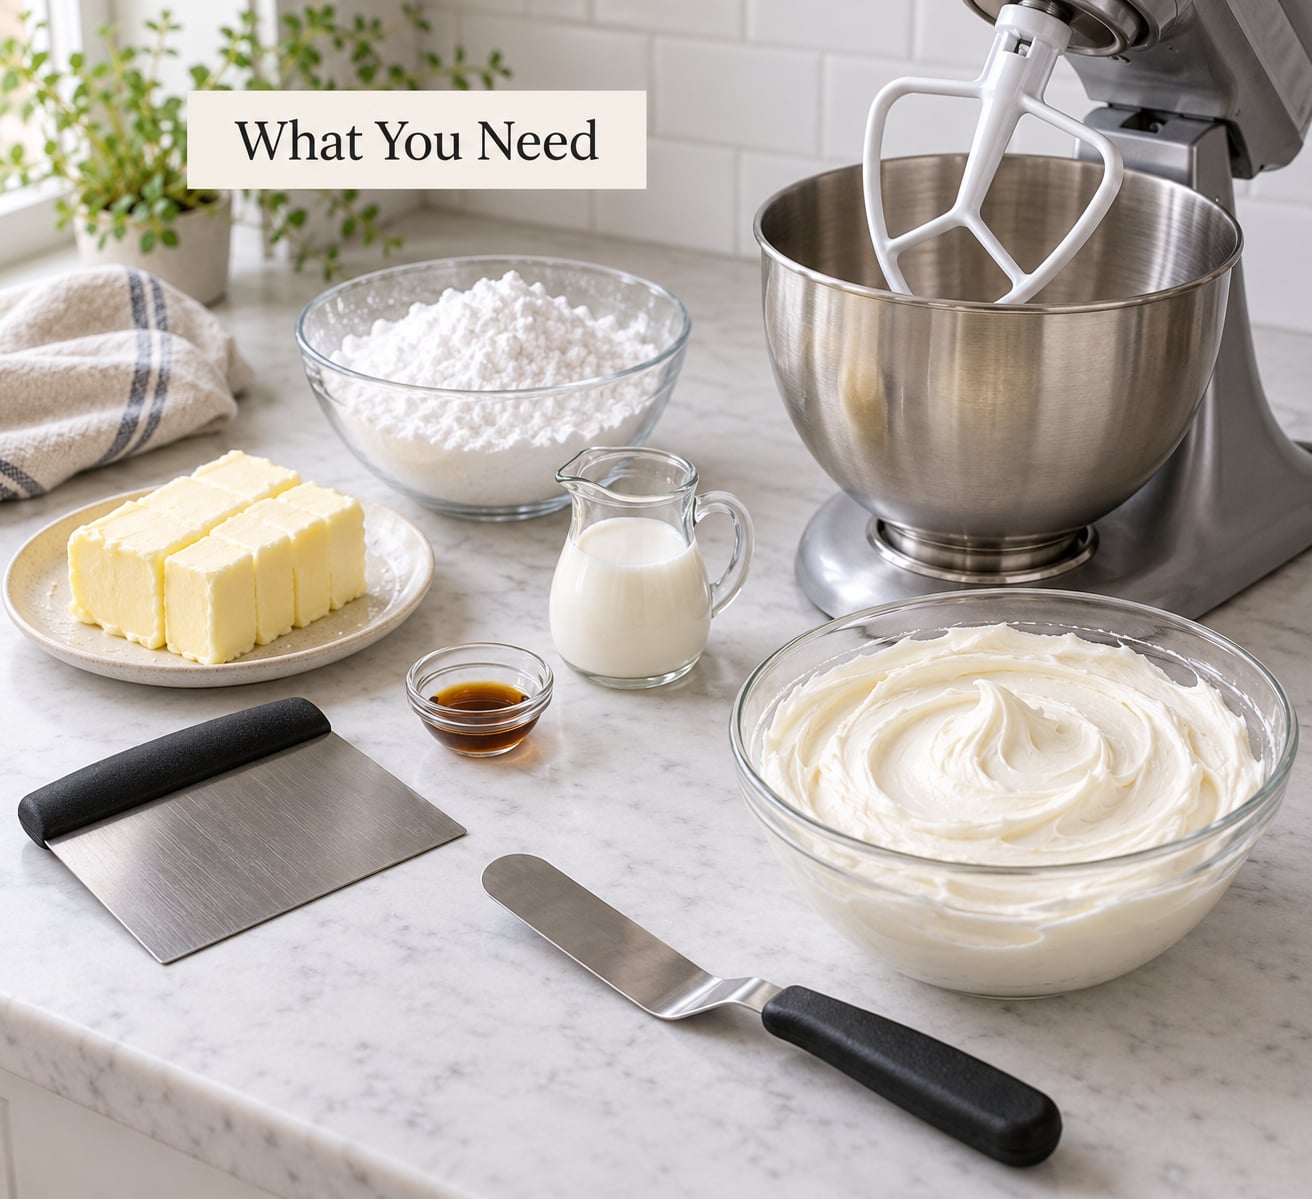
Unsalted butter at room temperature is the base of nearly every American buttercream, and salted butter works fine if that is what you have. Powdered sugar, sifted if you can manage it, does the sweetening and the structure.
A little liquid is what turns stiff butter into something you can spread. Milk, heavy whipping cream, water or even juice all work. Sugar does the opposite job, so the two balance each other out.
For flavor, vanilla extract goes in at the end so the alcohol has time to cook off, and vanilla bean paste gives you those little flecks if you want them.
Then the tools. The short list is a stand mixer with a flat paddle attachment, a metal bench scraper with a straight edge, an offset spatula, a cake turntable, and a small bowl of hot water and a towel. That is genuinely it. A hair dryer or blowtorch is optional but it warms the scraper faster than dipping does.
Which items actually change the outcome? Temperature items do: butter temperature and a scraper dipped in hot water. Air control does too, which is why the paddle beats the whisk. The turntable is not cosmetic. Hand-spinning a cake while holding a scraper steady is genuinely hard, and the turntable makes the scraper do the planing instead of your arm.
A bench scraper alternative if you do not want to buy one: wrap a piece of acetate or a thin strip of plastic around a straight dowel with tape. It works. It is just fiddlier than metal.
Step-by-Step: How to Make Buttercream Frosting Smooth
1. Bring the Butter to the Right Temperature
Punch a finger into the butter. It should dent easily and bend without cracking, roughly 68 to 70 degrees. That is the stage where it will whip into a smooth, pale base instead of curdling.
Cold butter does not cream properly and leaves small lumps you cannot beat out later. Fully melted butter has no structure at all, so it turns the frosting grainy and then thin. Do not skip to either extreme.
If you cut the butter from the fridge too soon, give it 30 minutes at room temperature, or cut it into cubes and rest it for 20. If it went too soft and started to sweat, back it up 10 minutes in the fridge.
2. Whip the Butter Until Fluffy
Beat on medium speed for 3 to 5 minutes. You are looking for a noticeably lighter color and a texture that holds a soft peak when you lift the paddle.
Do this before any sugar goes in. Air whipped into plain butter is stable air trapped in fat, and that is what makes frosting light. Air beaten in after sugar is loose and turns into pinholes the scraper can never reach.
Scrape down the bowl and the paddle once halfway through. Butter hides against the bowl wall, and what looks finished from the top can still be lumpy underneath.
3. Add Powdered Sugar Gradually
Add sugar in four or five additions on low speed. Dump it all in at once and you will chase dry pockets around the bowl for the next ten minutes.
Low speed also keeps new air out. Once the last addition is mixed in, bump the speed up briefly to about 20 seconds on medium to blend out any sugar pockets, then drop straight back down.
If the frosting looks gritty at this point, it is usually fat breaking out of the emulsion rather than sugar. More mixing makes it worse. Move to step four instead.
4. Add Liquid and Flavor in Small Amounts
Add your milk, cream or water a teaspoon at a time, mixing on low until fully incorporated before the next. Each addition should disappear into the frosting within a few seconds.
Liquid is the most powerful lever you have. One extra teaspoon can take frosting from firm to glossy, and there is no putting it back except with more sugar.
Flavor goes in last, followed by any coloring. Gel color stirred in at the end stays vivid. Liquid color at the start is what makes frosting look washed out and slightly dull.
5. Adjust the Consistency for Your Use
For spreading on a cake, you want a soft, forgiving consistency that holds a ridge when you lift the spatula but slumps under pressure. For piping borders and flowers, it needs to hold its shape at room temperature for a minute or two without drooping.
If it is too loose to hold a scraper, resist adding more sugar. A small amount of meringue powder stiffens it without the graininess and without extra sweetness. If it is too stiff, add liquid a half teaspoon at a time.
Test it by turning the bowl upside down for two seconds over the sink. If it barely moves, you have a workable frosting. Scrape it back and go.
For Swiss meringue buttercream specifically, warmth is the fix that gets missed. If yours looks dull and slightly grainy, put the mixing bowl in a warm oven for a few minutes, then paddle it until it goes glossy. This trick comes up repeatedly over on r/AskBaking, and the bowl temperature matters as much as the butter does.
6. Chill, Rest, and Decorate
Apply a crumb coat: a thin layer of frosting that traps crumbs, applied everywhere, about an eighth of an inch. Then chill 20 to 30 minutes until it firms and looks slightly crusted rather than wet.
That chill is not optional. It is the difference between a clean surface and dragging half the cake’s crumbs into your frosting. Rushing it is the most common crumb coat mistake, and it is the one that ruins the finish no scraper technique can rescue.
Add the second coat over the chilled layer and build up to an even 1/4 inch all over, which is the standard the CakeCentral decorators use as their benchmark. Cold cake, slightly firm frosting, and steady pressure give the most control.
Now warm a metal bench scraper in hot water, wipe it completely dry with a towel, and hold it against the cake while you spin the turntable. The warmth melts the outer layer just enough to fill ridges and pinholes. Rewarm every few passes. A wet scraper is the one version of this that will genuinely damage the frosting.
Use the offset spatula to sharpen the top edge, and finish with a clean, dry scraper for the final pass. This is the step people skip most often when they wonder how to make buttercream frosting smooth. If the frosting is too loose to hold a scraper, chill the cake 10 more minutes rather than adding more sugar at that stage.
Common Mistakes and How to Fix Them
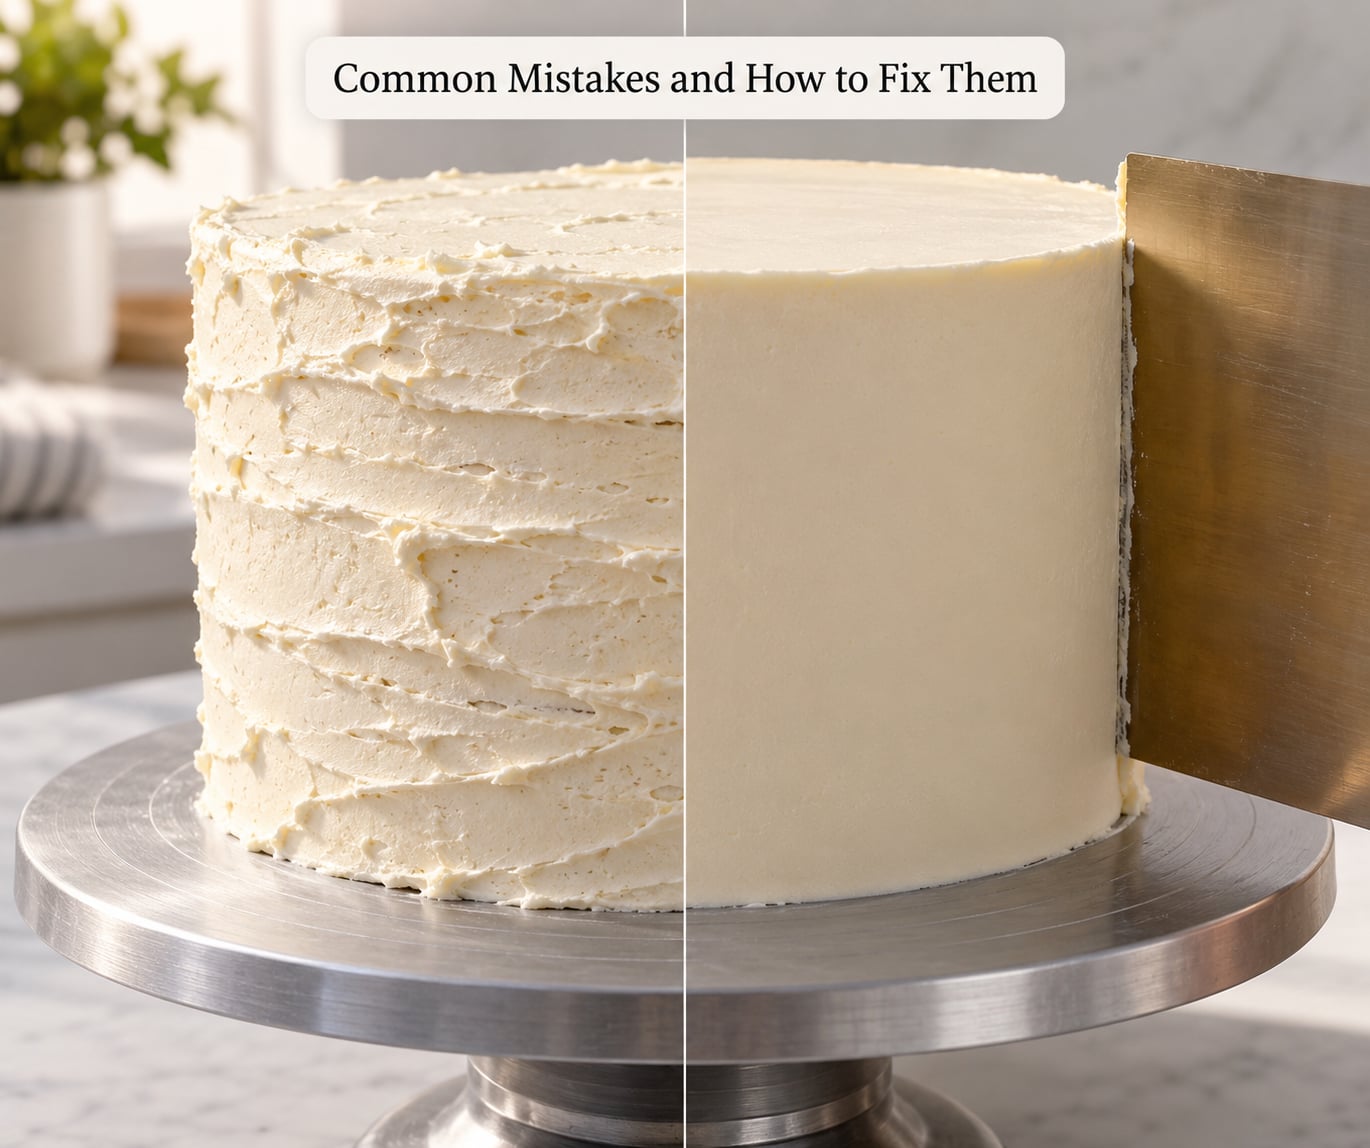
Most frosting problems trace back to one of three things: temperature, air, or a skipped chill. Find which one you have before you start changing the recipe.
Greasy or grainy frosting. This is an emulsion breaking, not sugar that failed to dissolve. The fat and water have separated, usually from butter that was too cold when the liquid went in, or from over-whipping. Warm the bowl for a few minutes and paddle slowly. If it is American buttercream, add a small splash of milk and mix gently. More mixing at high speed is the wrong fix.
Small lumps that will not beat out. The butter was under-tempered when you started, or the sugar went in too fast and dry pockets formed against the bowl. Scrape the bowl down fully, then give the paddle a minute at medium. If lumps remain, they are likely butter that never softened; straining the whole bowl is faster than chasing them.
Frosting that splits or curdles mid-whip. You added the milk or cream at a different temperature than the butter. Warm both to the same stage and restart the emulsion from scratch rather than trying to bring it back.
Frosting that is too loose for the scraper. Common with supermarket tubs, which are often softer than homemade. Meringue powder or a little extra butter beaten in will stiffen it. Thickening with more sugar alone makes it grainy and sweeter.
Streaky sides and a blunt top edge. Usually a scraper that was too cool and a cake that was too warm. The cake should be cool to the touch and the scraper warm and bone dry. Lift the scraper slightly at the top edge and spin faster.
Crumbs pulling into the frosting. The crumb coat was too thick, too warm, or not chilled long enough. Scrape the cake surface very lightly with a sharp knife first, and let the crumb coat go fully cold before the second coat.
Perfect finish, then wrinkles overnight. The frosting set too firmly in a cold room and shrank, or it was butter-heavy and firmed up in the fridge. A light mist of water on the surface and 20 minutes back at room temperature relaxes the skin; re-smooth with a warm scraper while it softens. Misting works better than a wet scraper for this.
| Symptom | Likely cause | Fix |
|---|---|---|
| Gritty or grainy | Emulsion broke, cold butter, or over-whipping | Warm the bowl a few minutes, paddle on low, add a splash of milk |
| Lumps | Butter too cold or sugar added too fast | Scrape bowl, mix 1 minute at medium, strain if needed |
| Split or curdled | Liquid and butter at different temperatures | Match temperatures and restart the emulsion |
| Too loose to hold a scraper | Low fat or too much liquid, common in store-bought frosting | Add meringue powder or a little butter, not more sugar |
| Too stiff and tearing | Overworked or under-hydrated | Add liquid half a teaspoon at a time and mix gently |
| Streaky sides | Cold scraper, warm cake, no turntable | Warm and dry the scraper, chill the cake, spin steadily |
| Crumbs in the frosting | Crumb coat too thick or not chilled | Thin seal coat, chill 20 to 30 minutes, level cake surface |
| Wrinkles overnight | Frosting firmed too hard in a cold room | Mist lightly, return to room temperature, re-smooth warm |
One more variable worth knowing: humidity. Below about 40 percent relative humidity, buttercream sets firm and smooths beautifully. Above 60 percent, it stays soft, refuses to hold an edge and picks up crumbs. On a humid day, chill the finished cake longer before you start smoothing.
Store-bought frosting deserves its own note. A supermarket tub is stiff and sometimes grainy from the outset. Beat it alone first, then soften with liquid a teaspoon at a time until it spreads easily. You cannot make it as light as homemade buttercream, but you can absolutely make it smooth.
And if you need a nut-free finish for an allergy-aware table, keep the buttercream itself nut-free and check that your bench scraper has not been used on a nut cake. Cross-contact is the part people forget.
Frequently Asked Questions
Why is my buttercream frosting not smooth?
Roughly one of three things: cold butter, air beaten in too fast, or a crumb coat that was never properly chilled. Pinholes and a torn-looking surface come from air, dull greasy patches from a broken emulsion, and crumbs dragged through the frosting from a warm or skipped crumb coat. Check the butter temperature first, then slow the mixer down, then give that first layer a full 20 to 30 minutes in the fridge.
Can I make buttercream frosting smooth without a stand mixer?
Yes, with a little more work. Use a hand mixer on low, or beat with a sturdy wooden spoon while someone else turns the bowl so you can scrape the sides often. The critical parts are the same: room-temperature butter, low speed until the sugar is fully blended, and a brief medium-speed hit at the end. Mixing by hand usually takes several extra minutes, so plan for that before you start.
Should I chill buttercream frosting before decorating a cake?
Chill the cake, not the frosting. The frosting itself is easiest to spread at room temperature, because cold frosting fights the spatula and turns crumbly. What needs chilling is the thin crumb coat, which should set and crust for 20 to 30 minutes before the second layer goes on. If your frosting is very soft or the room is humid, a short chill on the frosting helps too, but let it soften before you spread it.
How do I keep a cake from tearing when spreading frosting?
Start with a light, thin crumb coat that is just thick enough to seal, no more. Scrape the cake tops flat first with a sharp knife held at a low angle, then let the crumb coat chill fully. Warm cake plus warm room plus a thick first layer is the combination that lifts crumbs every time. An offset spatula held almost flat, with the frosting firmer than you think it needs to be, also reduces tearing.
Can I add food coloring to buttercream without making it grainy?
Add color after the sugar and liquid are fully mixed, and use gel color rather than liquid drops. Gel color is concentrated, so a tiny amount gives strong color without adding thinning liquid that can upset the consistency. Mix it in on low speed until the shade is even, then check the texture. If you have already added liquid coloring and it looks dull, a small amount of extra powdered sugar can bring the body back.
What is the best spatula for smoothing buttercream frosting?
A straight-edged metal bench scraper is the right tool for the sides and the flat top. Dip it in hot water, wipe it bone dry, and hold it against the cake while the turntable spins. An offset spatula is better for the top edge, the filling seams and any curved surfaces, because the bend lets you follow the contour. Use a plastic straight edge only as a backup, since it warms slowly and picks up buttercream.
What to Do First
If you only change one thing next time, press a finger into the butter before you start. Room-temperature butter that dents without cracking is the single biggest difference between gritty frosting and frosting that goes silky under the paddle.
After that, do not skip the crumb coat chill. Twenty to 30 minutes in the fridge, a warm bone-dry scraper, and a spinning turntable will give you an even 1/4 inch layer with no ridges and no crumbs. That is the whole finish.