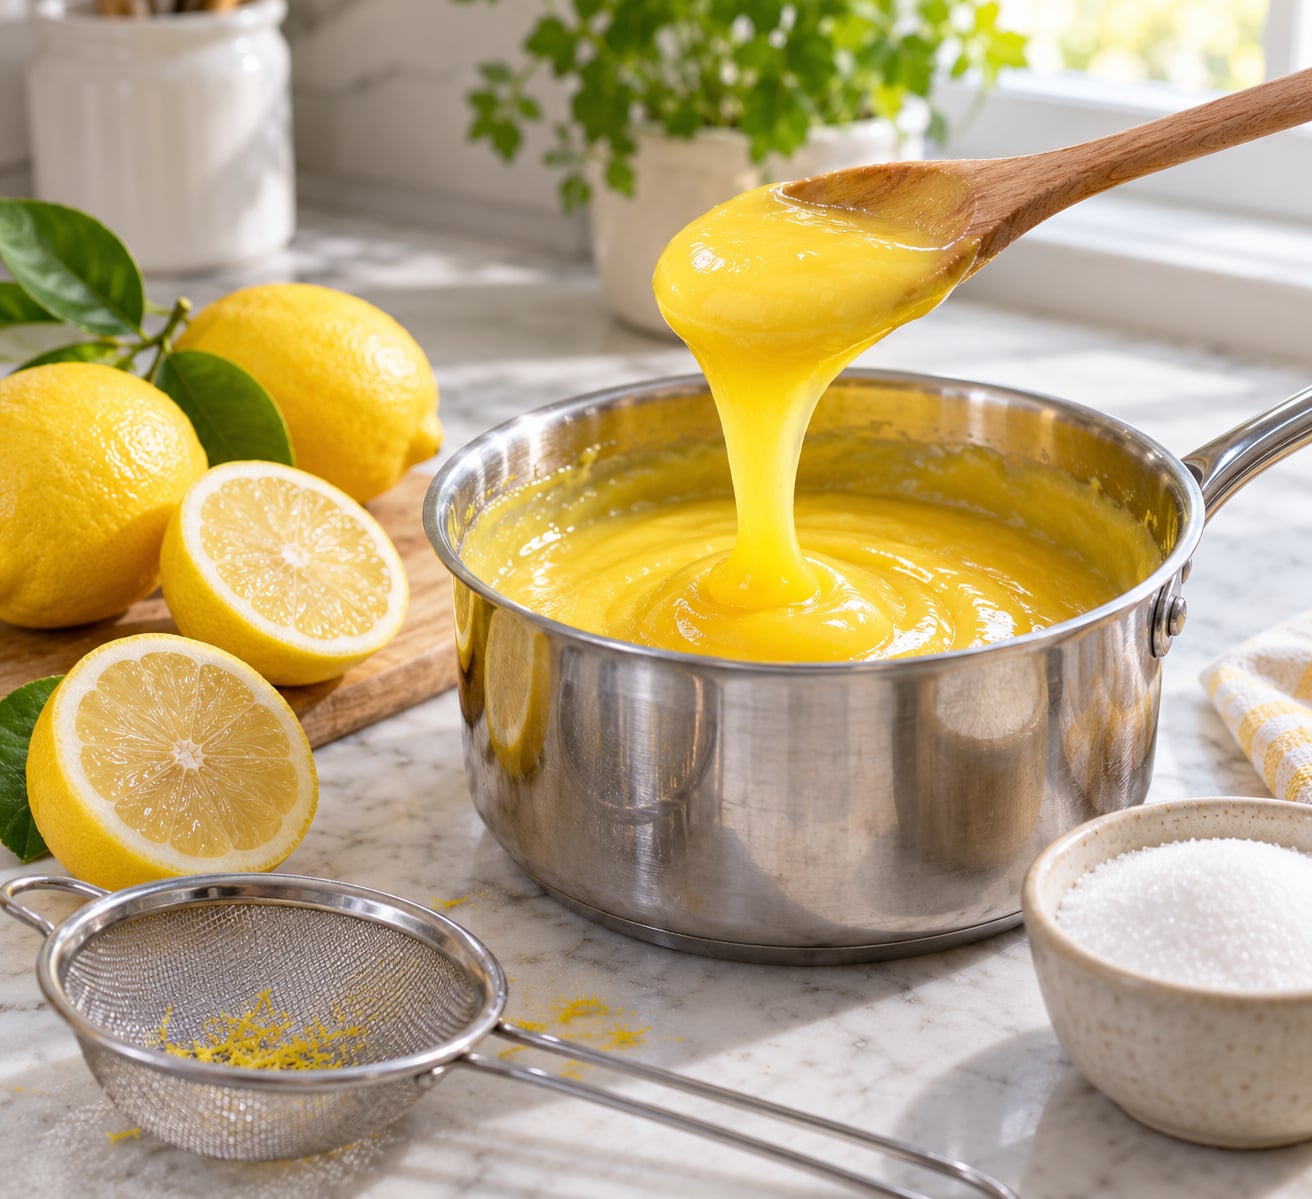
To make lemon curd for cake filling, whisk together lemon juice, zest, sugar and egg yolks, cook the mixture over medium-low heat while whisking constantly until it coats the back of a spoon at about 170°F, then stir in cold butter off the heat for a silky finish. It takes about 25 minutes and makes roughly 1.5 cups, enough for one 8-inch two-layer cake or 12 cupcakes.
The reason most homemade curd fails isn’t the recipe. It’s heat. Push the pan harder than you think you should and the yolks scramble into sweet, weedy curds; go too gentle and you get a syrup that leaks out of the cake the moment you assemble it. The window between those two outcomes is wider than it sounds once you know what to look for.
I’ve made this enough times that I judge it by the spoon, never the clock. A timer tells you roughly when to start paying attention. The line the spoon leaves behind tells you when to stop.
What You Need
This makes about 1.5 cups of finished curd, which is the right amount for one 8-inch round cake filled in two layers, or 12 cupcakes filled with a small offset spatula.
- Egg yolks — 6 large (about 180g of yolk). Three whole eggs plus three yolks gives the same volume and a lighter flavor.
- Granulated sugar — 3/4 cup (150g)
- Fresh lemon juice — 3/4 cup (180ml), from 3 to 4 lemons
- Fresh lemon zest — the zest of 2 lemons, finely grated
- Unsalted butter — 6 tablespoons (85g), cut into cubes and chilled
- Cornstarch — 1 tablespoon, for filling thickness
- Fine mesh sieve — for straining
- Non-reactive saucepan — stainless steel, enamel, or glass
- Whisk and heatproof bowl or a second saucepan for a double boiler
Substitutions and their limits
Bottled lemon juice works in a pinch, but it tastes flat and slightly harsh next to fresh zest, and the flavor gap is obvious next to buttercream. If you use it, cut it with a teaspoon of fresh zest.
Limes, grapefruit and Meyer lemons all work. Swap the juice and zest one for one and keep everything else identical, though grapefruit curd needs a tablespoon less sugar because it’s naturally more bitter. Meyer lemons are softer in flavor, so many people add a tablespoon more juice to compensate.
For an egg-free version, replace the yolks with 3 tablespoons of aquafaba or unsweetened apple butter and lean on the cornstarch, raising it to 2 tablespoons. The texture is closer to a lemon jam than a true curd, but it still holds between layers.
Allergy notes
This recipe contains egg, milk and butter. There is no simple swap for the butter emulsion that keeps the texture silky — dairy-free butter works but loses some gloss. For a fully dairy-free filling, use the egg-free base with plant butter and expect a slightly softer set.
Step-by-Step
The whole method takes about 25 minutes from start to finish, plus 2 hours of chilling before you touch a cake. Read the doneness cues below rather than the clock — heat level varies a lot by pan.
Step 1: Zest and juice the lemons. Zest the fruit before you cut it, working over a bowl so you catch the juice. Avoid the white pith; it turns the curd bitter, and that’s the single most common complaint I hear about homemade batches.
Step 2: Rub the zest into the sugar. Add the zest to the sugar and pinch it between your fingers for 30 seconds. The sugar pulls out the citrus oils trapped in the skin, and you’ll smell the difference immediately — this is where the “lemony” in lemon curd actually lives.
Step 3: Whisk the yolks, sugar, juice and cornstarch together. Do this in a separate bowl before any heat is applied. Cornstarch dispersed now has time to hydrate, which is what stops the finished curd from weeping.
Step 4: Cook gently and keep whisking. Set the bowl over barely simmering water, or put the pan on the lowest heat your stove offers. Whisk steadily, scraping the bottom every few passes, and keep the heat under medium-low throughout.
Step 5: Stop at the spoon-coating stage. The mixture is ready when a spoon drawn through the bottom leaves a clean line that stays put for a few seconds, and the curd coats the back of the spoon so thickly you could almost stand it up.
Step 6: Strain, then whisk in the cold butter. Pull the bowl off the heat, pass the curd through a fine mesh sieve, then whisk in the butter cubes one at a time until each disappears. The curd will look slightly separated and loose at first, then pull together into something glossy and thick as the fat emulsifies.
How to Make Lemon Curd for Cake Filling Without Lumps
Lumps come from three places: yolks hitting direct heat before they’re fully dispersed, a hot pan bottom scorching the mixture where you can’t see it, and adding the butter too fast at the end. Fix the first one by whisking everything together off the heat and letting it sit for two minutes so the sugar dissolves before the pan goes anywhere near a flame.
Whisking isn’t optional. Gentle heat thickens the yolks evenly, and a constant whisk keeps small cooked bits from forming and then getting folded into the rest. Keep the steam wisps coming but never a rolling boil — bubbles that break against the bottom of the pan are what scrape cooked yolk off the surface.
If you do end up with a few curds, push the whole batch through the sieve before the butter goes in. A fine mesh sieve catches almost everything, and a few small pieces pressed through the mesh with the back of a spoon come out invisible.
Cook the Lemon Curd to the Thick Stage
Watch the bubbles, not the clock. Early on you’ll see large, lazy bubbles that pop easily. As the curd thickens, the bubbles get smaller and slower to break, and the whisk leaves a visible trail that closes in slowly rather than snapping shut.
For a reading, aim for about 170°F on an instant-read thermometer, which is the temperature where egg proteins set. Under that and the curd stays loose; much over it and you trade silk for graininess. Don’t chase the number past 175°F — the visual cue is the more reliable one, and thermometers sitting in a small pan often read inaccurately anyway.
For cake filling specifically, err toward the thick end of the window. The curd firms up noticeably as it chills, but it never recovers from being too thin, and a thin filling is what soaks through a cake overnight and pushes out the sides.
Thicken the Curd If It Is Too Runny
Make a slurry of 1 teaspoon cornstarch with 2 teaspoons cold water, whisk it smooth, then stir it into the warm curd. Return the pan to low heat and cook for 2 to 3 minutes, whisking, until the spoon line holds again.
Use the cold water, not the lemon juice — citrus liquid doesn’t dissolve starch well and you’ll end up with grainy streaks. Add a teaspoon at a time and re-test, because it thickens fast in the last 30 seconds and it’s much easier to add more than to take it back.
Some people strain out any liquid that pools at the bottom of a curd that set unevenly, press the solids through the sieve, and stir the concentrate back into the drained liquid. That works too, and it’s a decent rescue for a batch that split while cooling.
Cool the Curd Without Ruining It
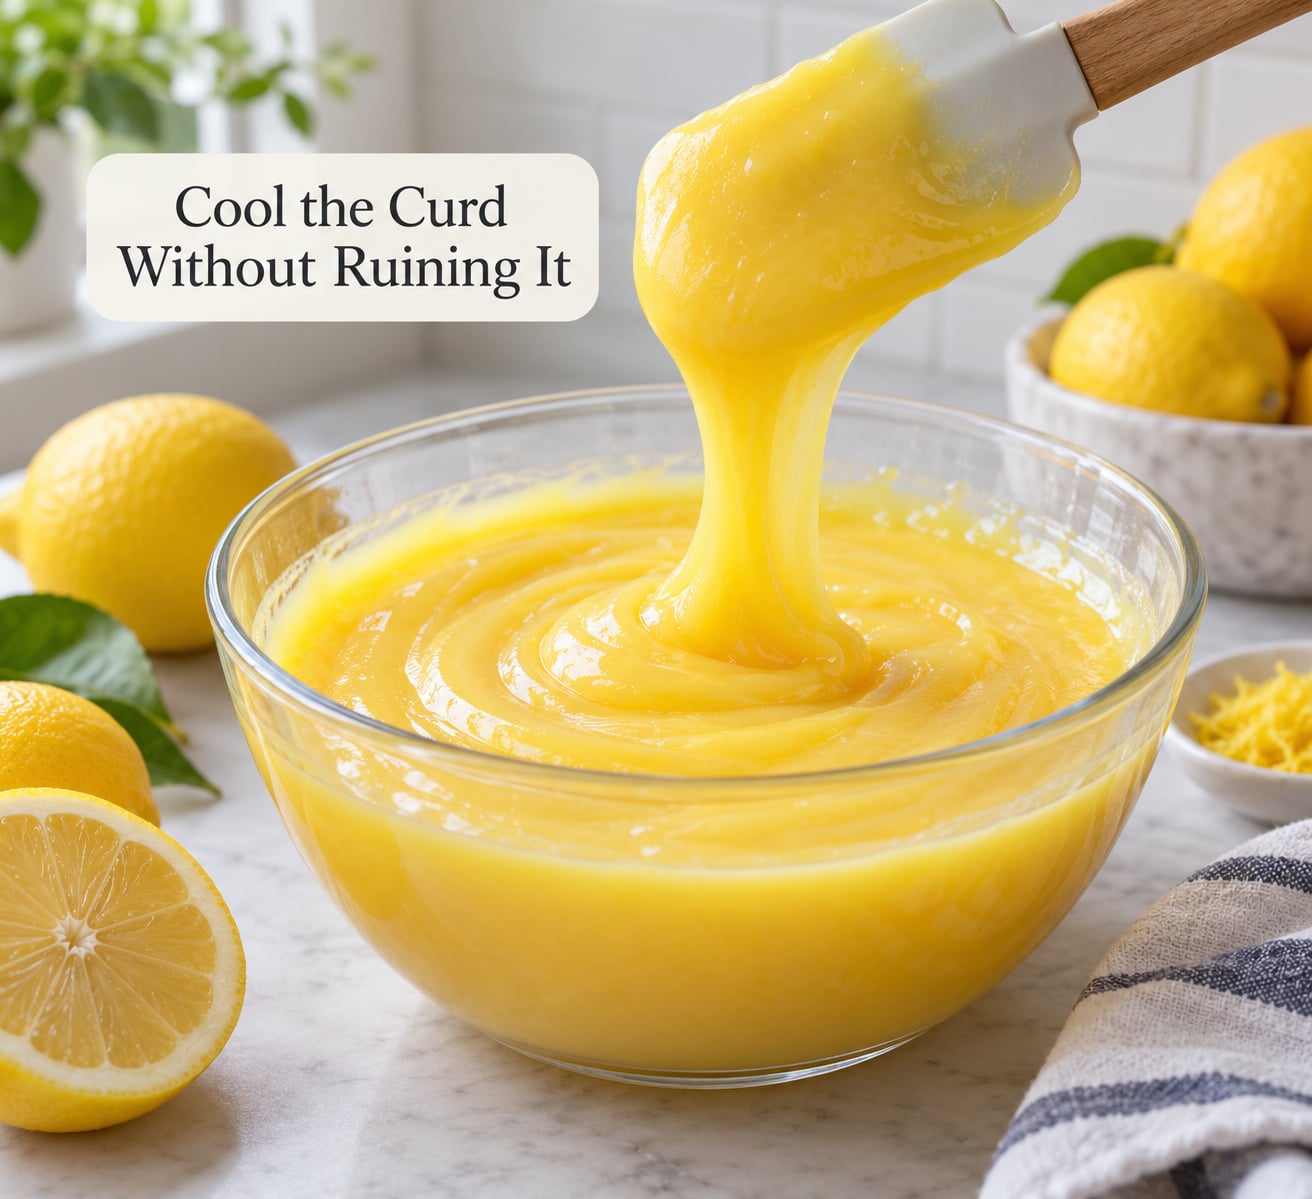
Strain first, then cool fast. Once the butter is in, press a sheet of plastic wrap straight down onto the surface and touch every corner, so the film sits on the curd instead of hovering above it. That contact is what stops a rubbery skin from forming.
Set the bowl in an ice bath for 15 to 20 minutes and stir once or twice — dropping the temperature quickly while the fat is still emulsified is what keeps the texture glossy rather than dull and set. Then move the bowl to the fridge for at least 2 hours, until it’s completely cold and firm enough to scoop.
A skin or film on top is also cosmetic. If it forms anyway, just skim it off; the curd underneath is fine.
Fill and Store the Cake
This is where a lot of good curd gets wasted. Use it cool but not straight-from-the-fridge cold, and spread it on a crumb coat rather than bare cake. A thin buttercream crumb coat seals the crumb so the filling doesn’t soak down into the sponge overnight.
Here’s the dam method. Pipe a ring of buttercream about half an inch in from the edge of the layer, then fill the center with 3/4 to 1 cup of lemon curd, about 1/3 inch deep. The buttercream wall is a moat — it keeps the soft filling from squeezing out when you set the top layer on and pressing down.
A firm cold curd spreads cleanly and won’t drag the crumb coat with it. A soft or room-temperature curd slumps and bulges the layer, which is why bakers ask so often whether to fill hot or cold. Chilled, but give it 10 minutes out of the fridge so it’s workable.
Whether the filling goes on cold or room temperature is the most repeated question on cake forums, and the honest answer is that the dam matters more than the temperature. Do both and you’re covered.
Refrigerate the assembled cake and eat it within four days. Keep the curd in an airtight jar in the fridge for up to four days as well. Freezing is genuinely fine for a baked cake, wrapped well, for up to a month — but freeze the finished cake rather than the curd on its own, since thawed curd goes grainy and weepy on its own.
Common Mistakes
Lumpy curd. Heat too high, or the yolks weren’t whisked smooth before cooking. Push it all through a fine mesh sieve and press the pieces through with a spoon.
Runny filling that leaks out of the layers. Undercooked, or not enough cornstarch. Add the slurry, cook two more minutes, and next time keep the heat lower. Also check your dam — a too-thin buttercream wall won’t hold a soft filling.
Overly gummy or rubbery texture. Overcooked past the spoon stage, or held at a boil. There’s no way back from this one; strain out what you can and use it for toast rather than cake.
Bitter curd. Too much white pith in the zest, or a bonus lemon squeezed so hard it gave up bitter oils. Zest before juicing and measure the juice by volume.
Curd that split or looks oily. The butter went in too fast, or the pan was too hot when it went in. Take it off the heat, whisk hard for another minute, then strain — it usually comes back together.
Metallic aftertaste. Reactive cookware. Lemon juice is highly acidic and will pick up aluminum or plain steel off the pan. Use stainless steel, enamel, or glass and never use a pot that’s been seasoned with metal.
Filling soaking through the cake. No crumb coat, or the cake was assembled while the layers were still warm. Cool the layers fully, seal them, and chill the finished cake rather than leaving it at room temperature overnight.
For planning, make the curd one to two days ahead and keep it sealed in the fridge. It firms up nicely overnight and takes about 20 minutes to soften enough to spread. Assemble the cake the day you plan to serve it, and give it at least an hour in the fridge before slicing so the filling stops moving.
Frequently Asked Questions
How much lemon juice do I need for a cake-filling lemon curd?
Three-quarters of a cup, which comes from about three to four medium lemons. That volume is paired with 6 egg yolks, three-quarters cup sugar and 6 tablespoons of butter to make roughly 1.5 cups of finished curd, which fills one 8-inch two-layer cake or 12 cupcakes. Zest the lemons first and juice them after, and measure by volume rather than by squeezing a whole extra lemon to be safe.
Can I use lemon curd that thickens like a jam as cake filling?
Yes, and that is exactly what you want. Curd that thickens to the point where it holds a spoon-drag line at 170°F is stable enough to sit between layers without sliding out. If the curd you have is softer or pourable, thicken it with a cornstarch slurry first. Jam-set curd spreads a little more stiffly, so let it soften at room temperature for ten minutes before spreading.
What cakes work best with lemon curd filling?
Light sponge and almond cakes are the classic pairing, since they are porous enough to take the flavor without fighting it. It also works well in vanilla or vanilla bean layer cakes, lemon poppy seed cake, and any berry cake where raspberry or blueberry share the plate. Swiss meringue buttercream is the most popular frosting alongside it. Rich chocolate cake also stands up well, since the bitterness plays against the citrus.
Can lemon curd be frozen for later use?
Freeze the finished cake rather than the curd on its own. Wrapped tightly, an assembled cake keeps for up to a month in the freezer and thaws in the refrigerator overnight. Curd frozen by itself tends to come back grainy and watery once thawed, which is fine for spreading on toast but not for filling layers. If you want to freeze just the curd, freeze it flat in a shallow container and expect a softer, less glossy texture after thawing.
How do I know when lemon curd is fully cooked?
Lift a spoon and drag a line through the bottom of the pan. When the line stays clean instead of flooding back in, and the curd coats the back of the spoon thickly enough to stand up, it’s done. Bubbles will also have slowed from large and lazy to small and slow to break. On a thermometer, that stage lands around 170°F, though the spoon test is the one I trust.
Conclusion
Start by whisking the zest into the sugar and the yolks into the juice, off the heat, before anything gets warm. From there it’s a steady hand and low heat: keep the whisk moving, keep the steam wisps coming, and stop the moment the spoon line holds instead of flooding back in.
Push the cold butter in one cube at a time once it’s off the heat, then press plastic wrap straight onto the surface and chill for two hours. Too thin? A teaspoon of cornstarch in two teaspoons of cold water brings it back to filling thickness in a couple of minutes. Then spread it on a crumb coat inside a buttercream dam, refrigerate the cake, and eat it inside four days.