To color buttercream dark black without turning gray, use concentrated black gel color added in small amounts to a smooth white base, and mix until every streak vanishes. Most gray frosting comes from too little pigment, uneven mixing, or judging the shade before the color has had time to fully disperse.
It takes about 15 minutes for a small test batch and almost no skill beyond patience. The whole thing rests overnight if you want the deepest black, so plan a day ahead for big cakes.
The trick nobody tells you at first: black is the hardest shade to hit because there is no black pigment in food. You are stacking a dark base and a concentrated dye, and both have to be right.
Table of Contents
- What You Need to Color Buttercream Dark Black
- How to Color Buttercream Dark Black: Step by Step
- How to color buttercream dark black in small batches
- Mix until the color is uniform
- Test, adjust, and finish
- Common Mistakes
- Frequently Asked Questions
- Why does my black buttercream turn gray?
- Should I use liquid food coloring or gel color for dark black buttercream?
- How do I make black buttercream darker without making it bitter?
- Can I make black buttercream ahead of time?
- Why is my black buttercream greasy after mixing?
- Can I add white food coloring to make black buttercream look less gray?
- Conclusion
What You Need to Color Buttercream Dark Black
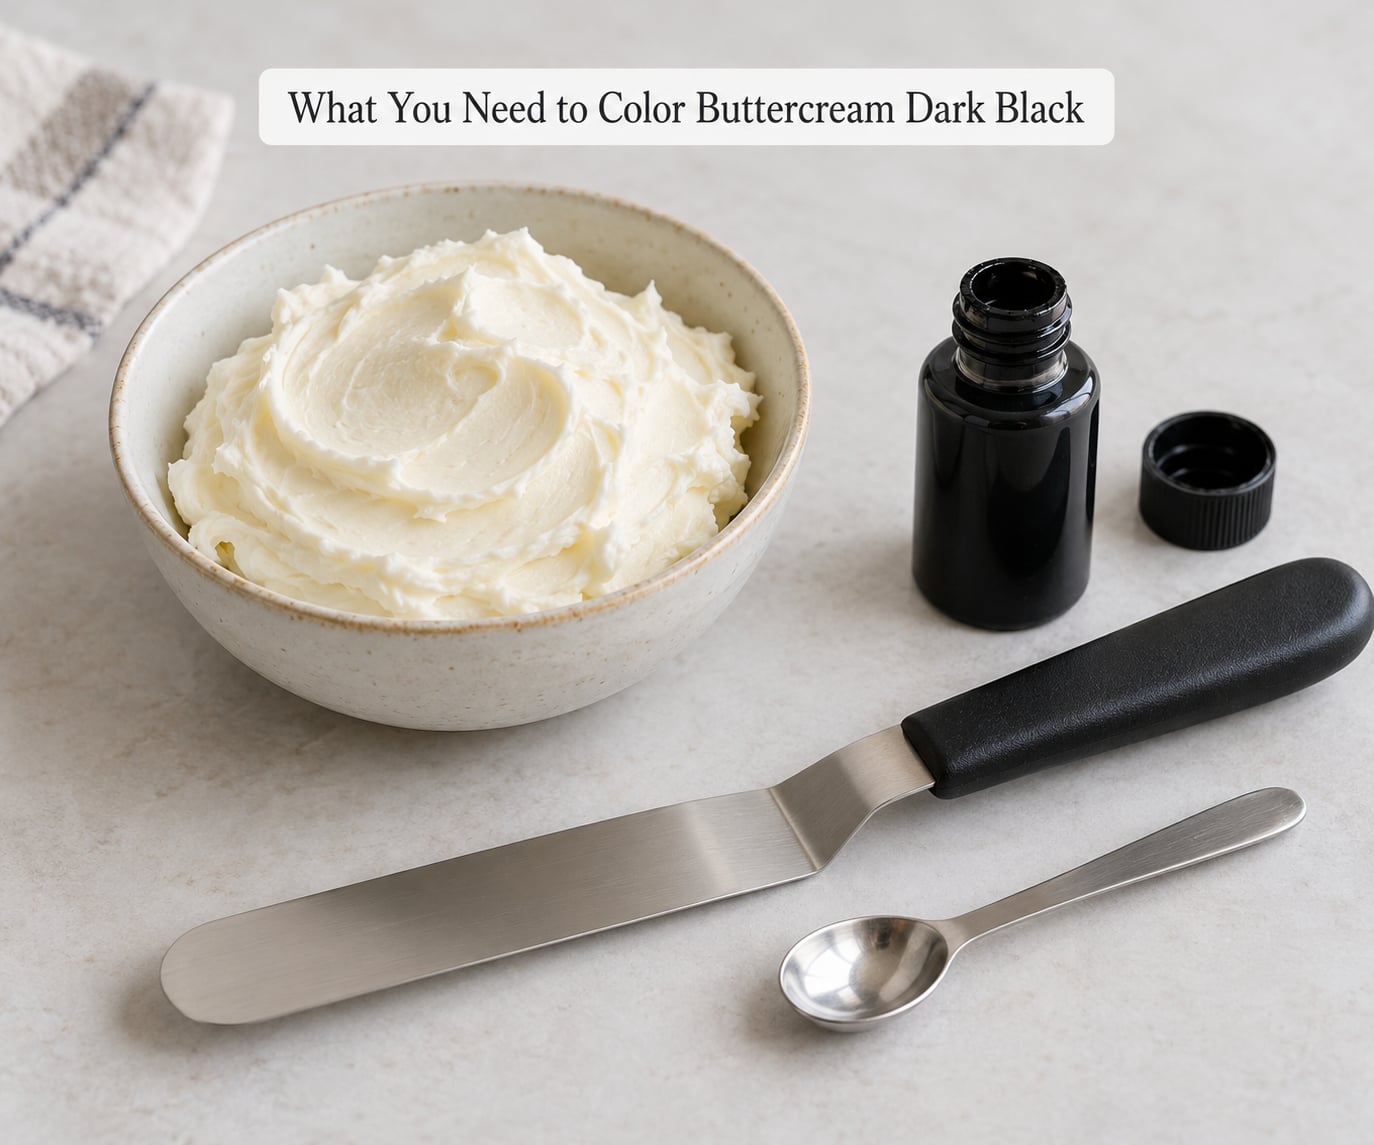
You need very little, and the list is short because the method matters more than the equipment.
- A smooth white base. American buttercream made from butter and powdered sugar is the easiest to color. Swiss meringue and ermine frostings work too. Plain whipped cream frosting cannot hold a true black, because it is mostly water.
- Concentrated black gel food coloring. Gel and gel paste carry far more pigment per drop than liquid grocery-store color. Aim for about one teaspoon per two cups of buttercream as a starting point.
- A small mixing bowl. A 2-cup bowl lets you test a mini batch before you commit the whole recipe.
- A spatula and a small spoon or toothpick for testing drops without dumping half a bottle in.
- White gel coloring, optional. A single drop cools down a harsh or bluish black cast.
- Black cocoa powder, optional. Extra dark or black cocoa builds a deep brown-black base that makes the gel color go further.
Skip the liquid dyes. They take so much liquid to reach black that the frosting turns thin, and you end up adding so much that it tastes bitter.
How to Color Buttercream Dark Black: Step by Step
- Scoop a small batch. Put two cups of finished white buttercream into a bowl. Keep the rest of the frosting in the fridge, covered.
- Add about one teaspoon of black gel. Drop it straight onto the buttercream and don’t stir yet.
- Fold from the bottom. Scrape the spatula down to the bowl, scoop from the bottom, and turn it over. Repeat until the color is a uniform matte black with no streaks.
- Scrape and rest for five minutes. Pigment settles and finishes dispersing during the rest, which is why color looks stronger after a short pause.
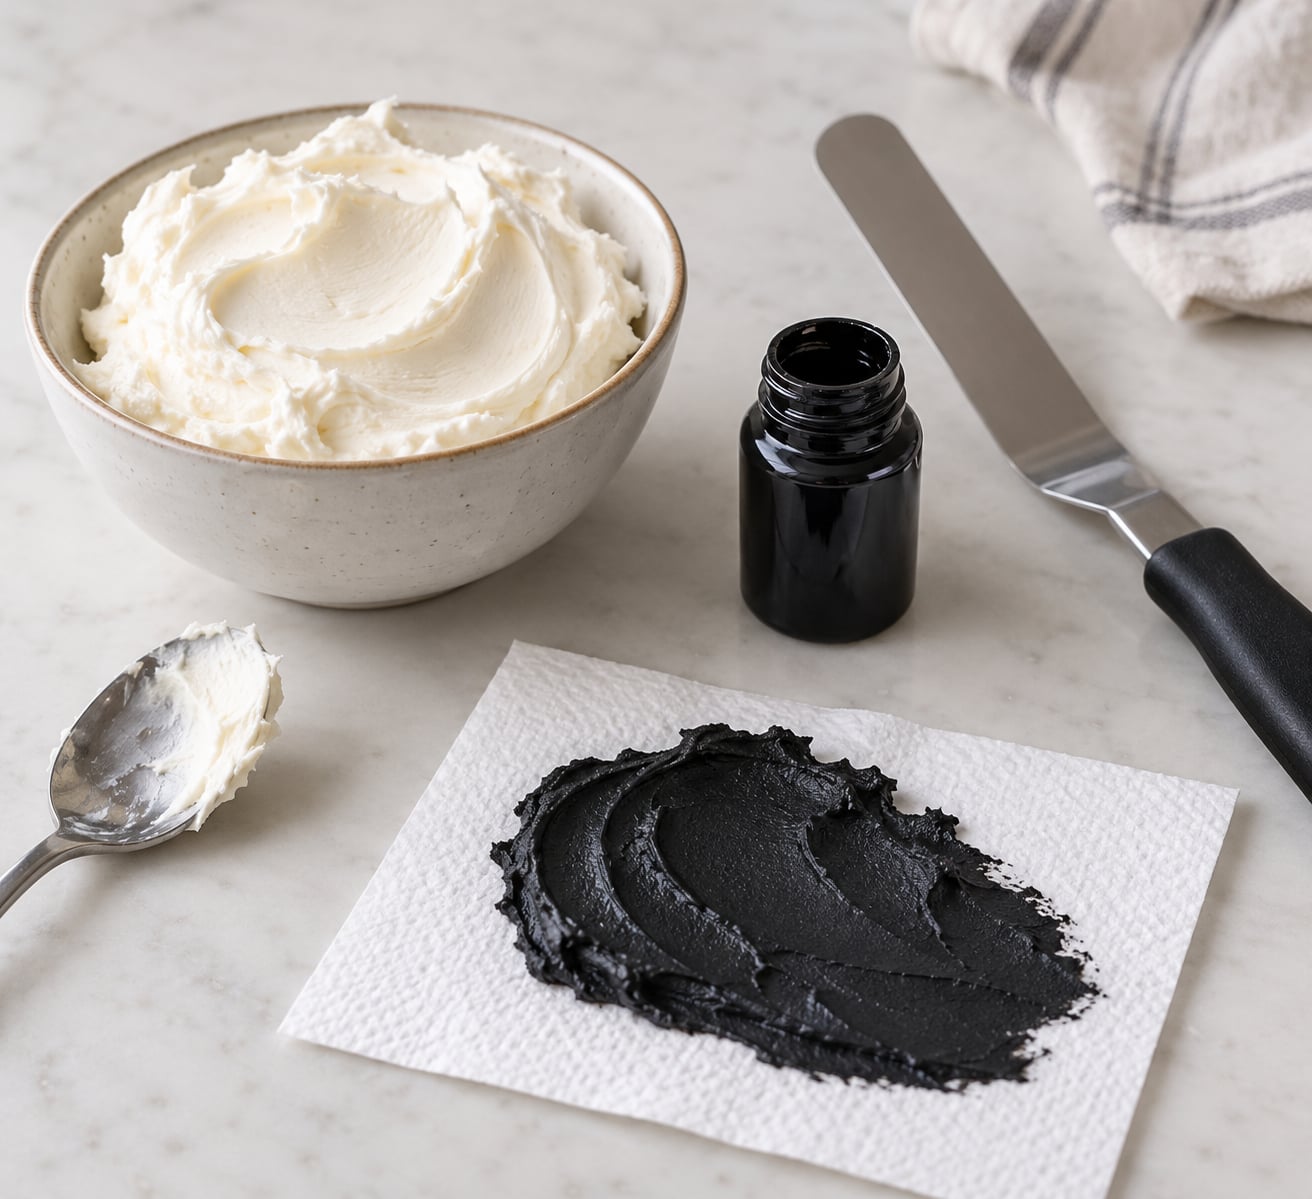
- Check the shade in daylight. Hold a smear next to a white paper towel. Kitchen bulbs add yellow and can make good black look green or brown.
- Adjust in tiny amounts. Add a toothpick-tip of gel for more depth, or one drop of white to cool a harsh cast. Repeat and recheck.
- Scale up and rest. When the test batch looks right, tint the remaining frosting to match it. The shade deepens further over 12 to 24 hours in a sealed container.
How to color buttercream dark black in small batches
Always test a small batch first. Two cups of buttercream is enough to judge a shade, and if it goes wrong you have lost almost nothing. Baking forums are full of people who tinted a full double batch and ended up with unusable gray frosting.
The working ratio is roughly one teaspoon of black gel per two cups of buttercream, but treat that as a starting point rather than a rule. Frosting with cocoa in it already has a dark base and needs less, while a plain vanilla buttercream usually needs closer to a teaspoon and a half.
Mix until the color is uniform
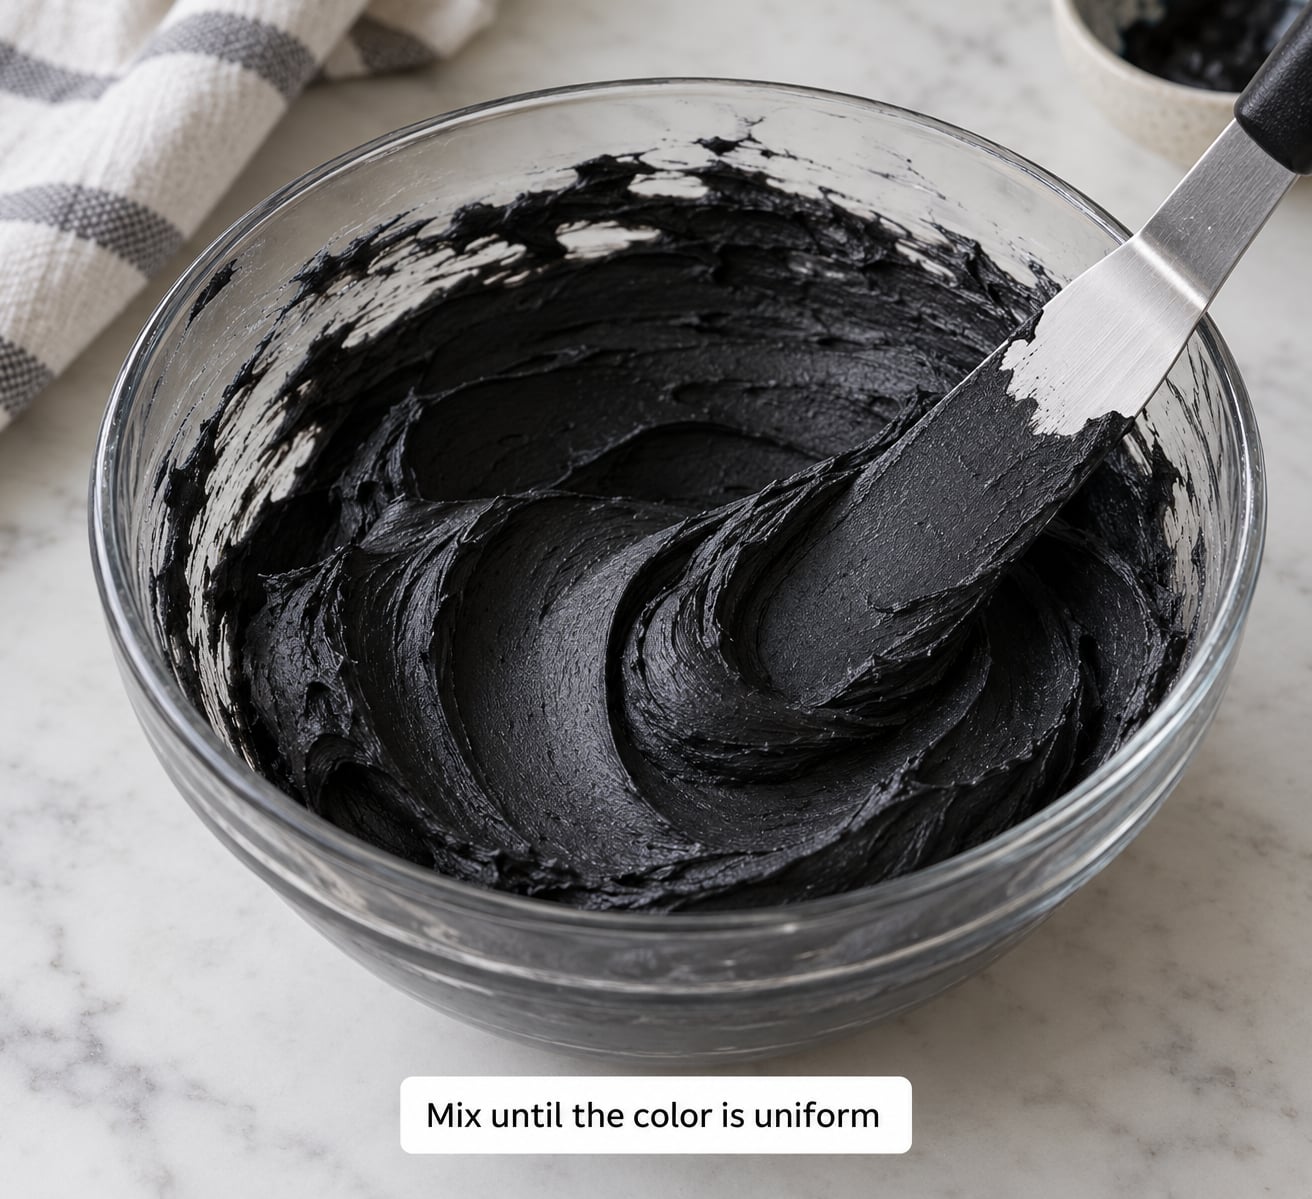
Streaks mean the color has not dispersed, and that is the single most common reason a batch reads gray in the bowl and black on the cake. Keep scraping down to the bottom and folding over, then switch to slow stirs with the spatula flat on the bowl wall.
Over-mixing is the other risk. Vigorous whipping at high speed can warm the butter and break the emulsion, which shows up as a greasy or oily frosting that leaks color. Mix at low speed until the streaks are gone, then stop.
A properly mixed batch looks matte, not shiny. Wet shine means the butter separated, and no amount of extra color will fix that.
Test, adjust, and finish
Scoop a small amount onto a white paper towel or a spare corner of a sheet pan and let it sit for a few minutes. The towel gives you a reference white to judge against, which your kitchen counter never will.
If it reads charcoal rather than black, add another toothpick-tip of gel and wait a minute before checking again. If it reads blue or greenish, add one drop of white gel and stir. That single drop is often the difference between a flat black and a black that looks like it has a color cast.
Black buttercream that has rested overnight in an airtight container is noticeably deeper. Rewhip it briefly before you pipe, and if it stiffened in the fridge, add a teaspoon of warm water or a splash of heavy cream and mix it in.
Common Mistakes
Almost every gray or broken batch traces back to one of these. Match your symptom to the fix.
| What you see | Why it happens | How to fix it |
|---|---|---|
| Frosting stays gray-brown | Not enough pigment, or cocoa was stirred in but the dye was skipped | Add gel a toothpick-tip at a time and rest five minutes between checks |
| Blue or greenish tint | Too much blue in the mix, or lighting under yellow bulbs | One drop of white gel, then judge the shade in daylight |
| Dark streaks in the bowl | Under-mixed, so the pigment has not dispersed | Fold from the bottom until the color is even, then stir slowly |
| Greasy, weeping frosting | Overbeating warmed the butter and broke the emulsion | Chill to firm, then rewhip on low, or return to the fridge briefly |
| Frosting tastes bitter | Too much coloring relative to the batch size | Add more fresh buttercream to dilute it, or use cocoa for depth instead |
| Color fades after frosting | Cocoa separates and settles while the cake sits | Rewhip the finished frosting, or apply a second thin coat after crumb setting |
A few habits that keep things on track. Keep your tools dry, because water thins the frosting and dilutes the dye. Sift cocoa before it goes in, or you get a grainy result you will blame on the color. And give the frosting time: bakers on Reddit report the same frosting reading gray-brown right after mixing and turning properly black after 24 hours.
If staining is a concern for you, black gel dye marks teeth, tongues, counters and clothing. A black cocoa powder base with minimal dye is gentler, and if you want no dye at all, that is a separate method worth using.
Frequently Asked Questions
Why does my black buttercream turn gray?
Usually the pigment is too thin, too little, or not fully dispersed. Gel color beats liquid color for reaching true black, and streaks need folding from the bottom until they disappear. Judge the shade next to a white paper towel in daylight, since warm kitchen bulbs push black toward green and brown. Letting the frosting rest 12 to 24 hours deepens it noticeably.
Should I use liquid food coloring or gel color for dark black buttercream?
Gel color, every time. It takes roughly one teaspoon per two cups of buttercream to reach a deep black, whereas liquid color needs so much liquid that it thins the frosting and you still may not get there. Liquid is fine for a pale wash or a splash detail. Save the bottled dye for small accents and keep the gel for the base coat.
How do I make black buttercream darker without making it bitter?
Add depth with black cocoa powder instead of more dye. Sift in a tablespoon of extra dark or black cocoa, mix until there are no lumps, then rest the frosting so the color deepens overnight. If you are mid-batch, add fresh white buttercream to dilute what you already have. Past roughly two tablespoons of gel color in a home batch, the bitterness usually shows up first.
Can I make black buttercream ahead of time?
Yes, and it is the better way to work. Color a small test batch first, scale up, then store the frosting in an airtight container in the fridge for up to a few days. The shade keeps deepening while it rests, so a batch that looks gray-brown tonight can be true black the next morning. Rewhip briefly before piping, loosening with a splash of heavy cream if it stiffened.
Why is my black buttercream greasy after mixing?
Greasy frosting usually means the emulsion broke, most often from overbeating or from adding too much liquid color at once. Chill the bowl for 10 to 15 minutes to firm the butter, then rewhip on low speed until smooth. If it is still oily, the cleanest fix is to start again with softened butter and add gel color gradually with a spatula instead of a mixer on high speed.
Can I add white food coloring to make black buttercream look less gray?
A single drop of white gel can help when your black reads blue or greenish, because white neutralizes those casts. It will not fix a gray batch that simply does not have enough black pigment in it. Use the white sparingly, since a little too much and you are back to a medium gray frosting that needs more gel color added all over again.
Conclusion
Start with two cups of your buttercream and about one teaspoon of black gel color, add it a little at a time, and confirm the shade is uniform and matte before you tint anything else. Test against a white paper towel in daylight rather than trusting your kitchen light.
Consistency beats quantity. The frosting that looks best is usually the one you built in small batches, checked repeatedly, and let rest overnight to deepen.