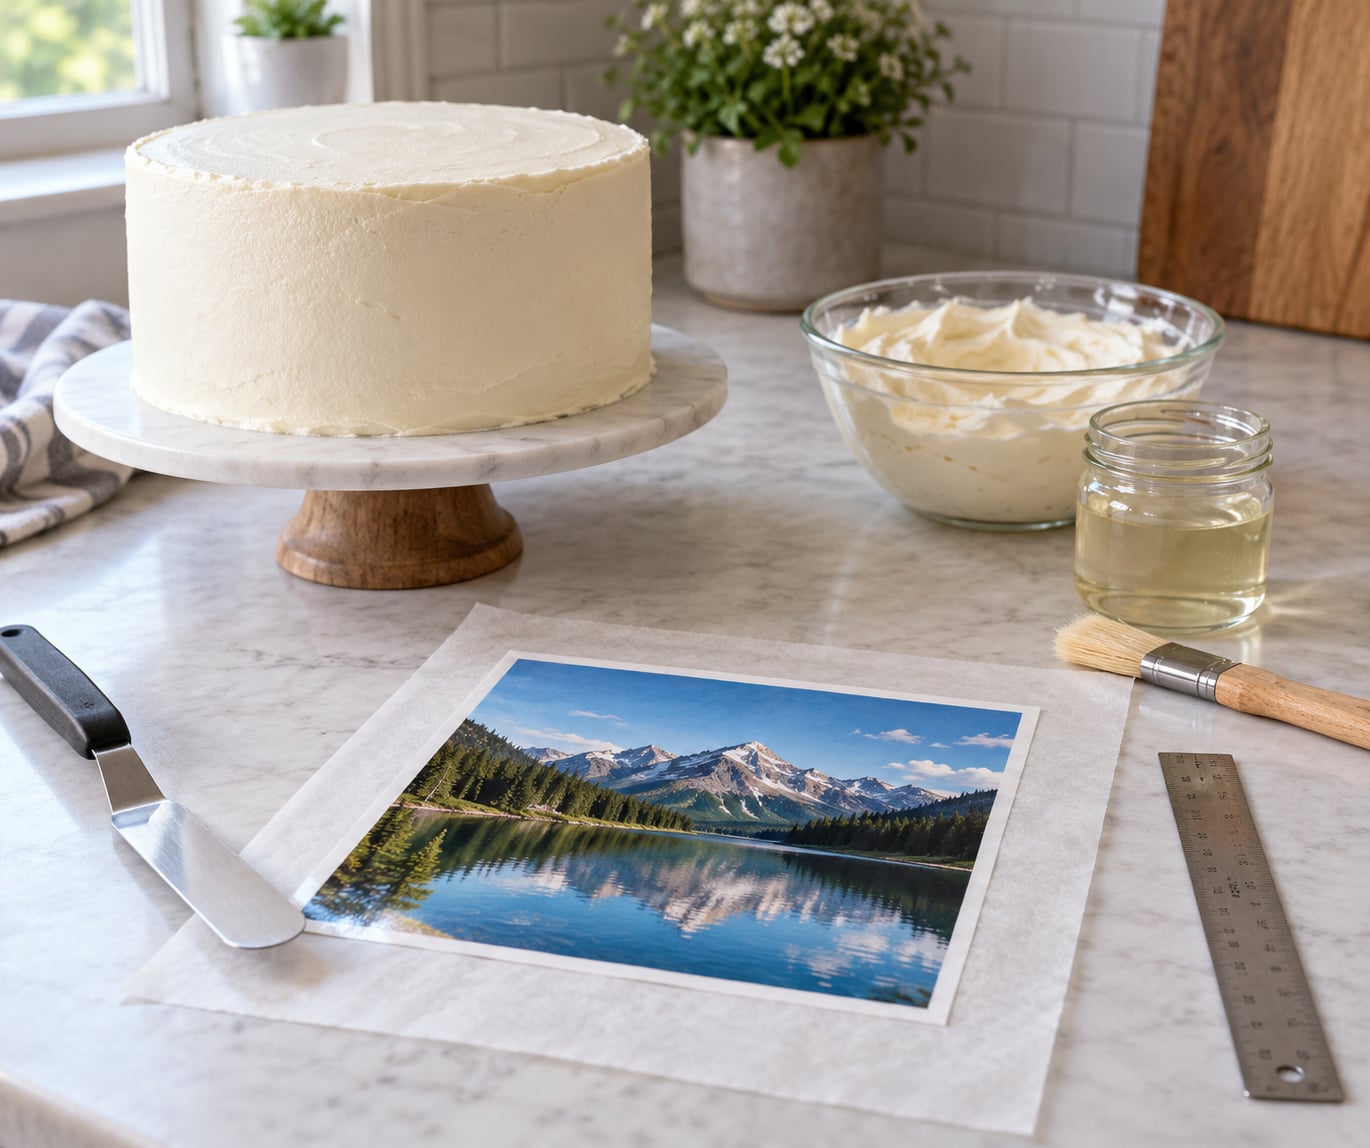
To put a photo on a cake at home, print or buy the picture on an edible icing sheet, chill the frosted cake until firm, brush the back of the sheet with corn syrup, and press it on from the centre outwards. The whole job takes about 15 minutes once the cake is cold.
The part beginners get wrong is not the printing. It is the pressing. Air bubbles, torn sheets and blurry, bleeding colour all trace back to how the image was placed and how wet the frosting was when it went on.
Before the steps, here is the vocabulary you will see everywhere. An edible image (also called an edible picture or edible photo) is a photograph printed with food-safe ink onto a thin sheet. That sheet has a confusing number of names: icing sheet, frosting sheet and sugar sheet are all the same product. Wafer paper is a slightly thicker, more brittle starch sheet that holds a shape when you cut it, which is why toppers use it. Rice paper is thin, soft and slightly translucent, and it is the easiest of the three to wrap but the worst for crisp detail. None of these are ordinary printer paper.
Table of Contents
- What You Need
- Step-by-Step
- How to Choose and Prepare the Photo
- How to Prepare the Cake Surface
- How to Put a Photo on a Cake at Home: The 6-Step Transfer
- How to Finish and Clean Up the Edges
- Common Mistakes and How to Fix Them
- Tips for a Professional-Looking Result
- Frequently Asked Questions
- Can I print a photo on edible paper and put it on a cake?
- What is the easiest frosting to use for a photo cake?
- Can I make a photo cake without a printer?
- How do I keep a photo from sliding or wrinkling on frosting?
- How long should a cake with a photo decoration be refrigerated?
- What if my printed photo is not marked food-safe?
- What to Do First
What You Need
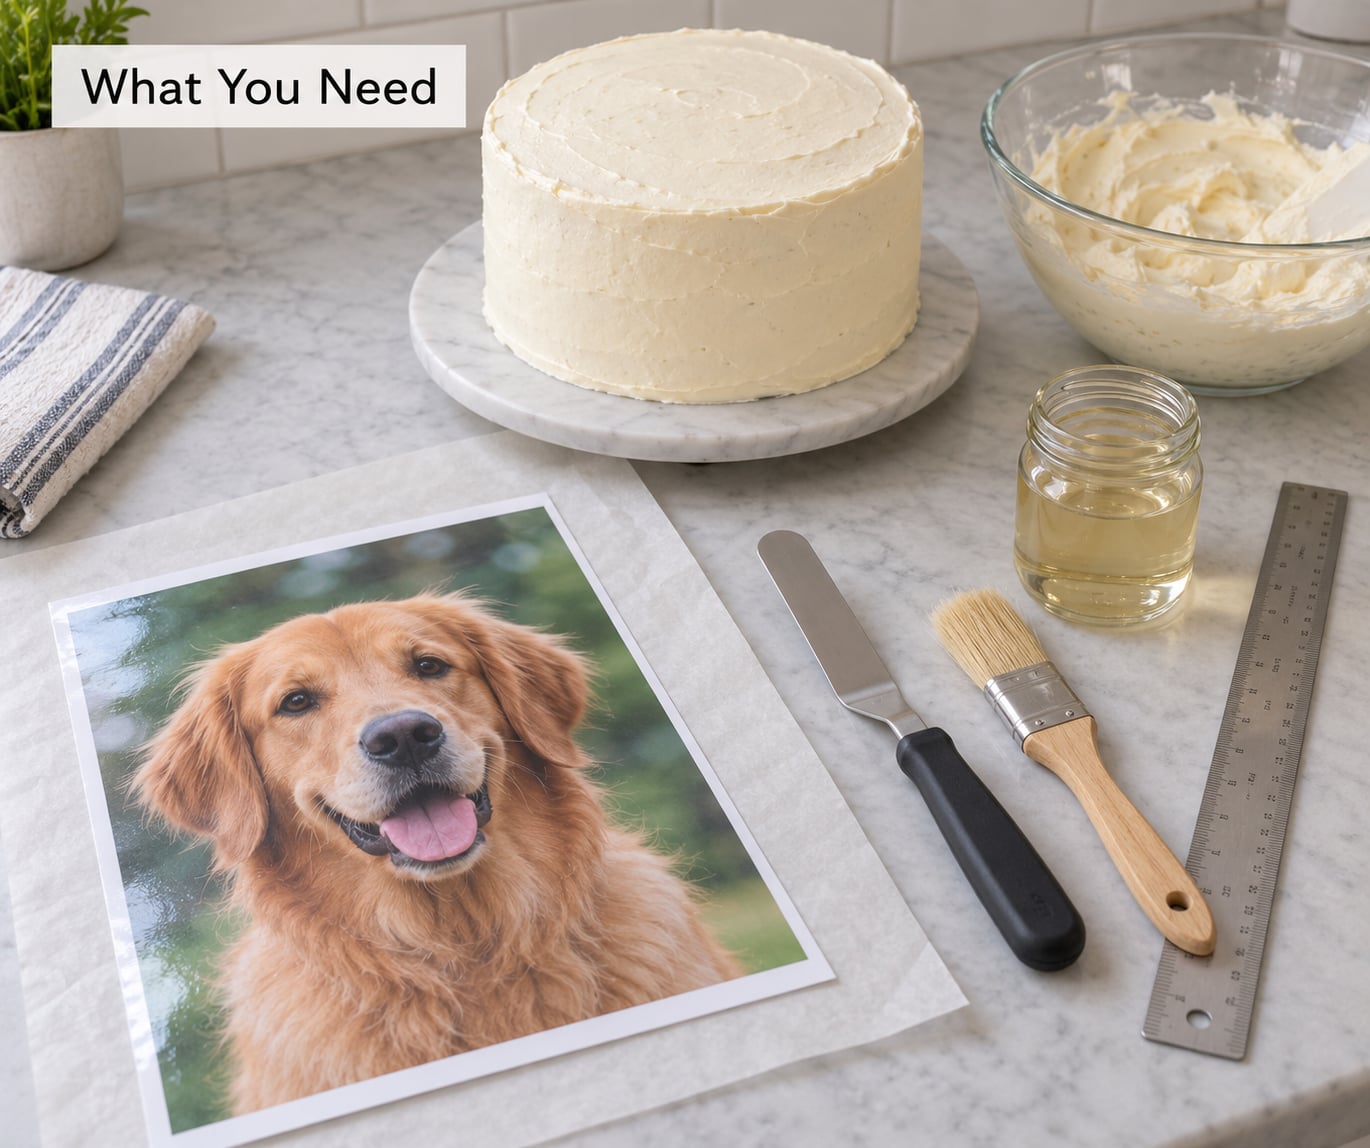
Here is the short list. The cake and frosting are whatever recipe you already like. Everything else is small, cheap and reusable.
- A finished cake, frosted and chilled
- An edible image on an icing sheet, wafer paper or rice paper
- Light corn syrup or a dedicated edible glue
- A pastry brush, or a small clean paintbrush
- A small offset spatula
- A ruler and a pencil for marking the centre
- A craft knife with a fresh blade, plus a cutting mat
- A straight pin or a few toothpicks
- Rolling pin and white fondant, only if your frosting is dark
How you get the image onto the sheet is the part most people do not have a plan for. You have three routes, and only one of them needs a printer in your kitchen.
Route one: order it printed. Online sellers take your file and post back a printed sheet, usually within a couple of days. This is the safest option and the one I use most, because it removes the ink question entirely.
Route two: use a store service. Grocery store bakery counters, craft stores and some office-supply print shops will print onto an edible sheet if you ask. Bring the file on a USB stick or your phone, plus a note of the size you need. Call ahead, because plenty of counters do not advertise it and some only do it on quieter days.
Route three: print it yourself. This needs a printer that has only ever run food-safe ink cartridges. Never use a printer that has printed anything else. Ink cartridges are not cleanable enough to guarantee, and the residue transfers to the sheet. A dedicated food-safe printer with edible ink cartridges is the only home setup that is genuinely safe.
There is a fourth route people find online: print on ordinary paper, then back it with wax paper and lay it on the cake. I am not going to walk you through it. Printer ink on regular paper is not food safe, and the method falls apart at about 95 °F, which is a real problem for a summer birthday. A cottage baker once told me it worked fine right up until the frosting softened in the heat and the whole sheet slid sideways.
Size the image to the cake before anything else. Most first attempts are oversized, which leaves no room for a border and is the reason people trim in a panic.
| Cake diameter | Good printed image size | Border left for decoration |
|---|---|---|
| 6 inch round | 4.5 x 4.5 inch | about 3/4 inch |
| 8 inch round | 6 x 6 inch | about 1 inch |
| 9 inch round | 7 x 7 inch | about 1 inch |
| 10 inch round | 8 x 8 inch | about 1 inch |
| 12 inch round | 9.5 x 9.5 inch | about 1 1/4 inch |
Those are the sizes that look right on a flat iced top. If you are wrapping an image around the side of a tier, print 3 to 4 inches wider than the circumference you want to cover and trim it after it is on.
Step-by-Step
How to Choose and Prepare the Photo
Pick the sharpest version of the photo you have, then crop it to a square before you send it anywhere. A crop is what separates a photo cake that looks designed from one that looks like a picture got dropped on top.
Face photos and group photos need different handling. For a face, crop close, around the eyes and mouth, so the detail survives being shrunk to six inches wide. For a group, back off far enough that every head is at least half an inch tall at final size, and pick a frame with a plain background so nothing gets lost behind the crowd.
Contrast is your friend. Pale, washed-out or hazy photos print as mush on a thin sheet because there is no depth in the ink. Bumping contrast and sharpening slightly before you hand the file over fixes more bad photo cakes than any other single step.
Once the image is prepared, confirm it is genuinely food safe. If you bought the sheet, the packaging should say edible or food safe. If a store printed it for you, ask them what ink they used. If anything is unclear, do not serve the cake with the image still on it.
For the file, send a JPG or PNG at 300 dpi if you have the choice, sized in inches rather than pixels. Ask the counter or seller to print at actual size, not fit-to-page, or you will spend your border time trimming back a sheet that came out an inch wider than the cake.
How to Prepare the Cake Surface
The cake top should be level, smooth and cold. Frost it the way you normally would, then use the ruler to check for high spots and shave them down with a serrated knife held at a low angle.
Chill the frosted cake until the frosting is firm to the touch, roughly 30 minutes in the fridge or 10 minutes in the freezer. You want a surface that holds a fingertip print rather than one that grabs it. A warm frosting surface is the single biggest cause of air bubbles, because the image sinks into it as you press.
Mark the centre with a light pencil cross before you touch the sheet. Once the image is sticky and hovering, you cannot measure anything, and an off-centre photo looks wrong immediately. Draw the cross on the parchment paper and on the cake so you can line them up.
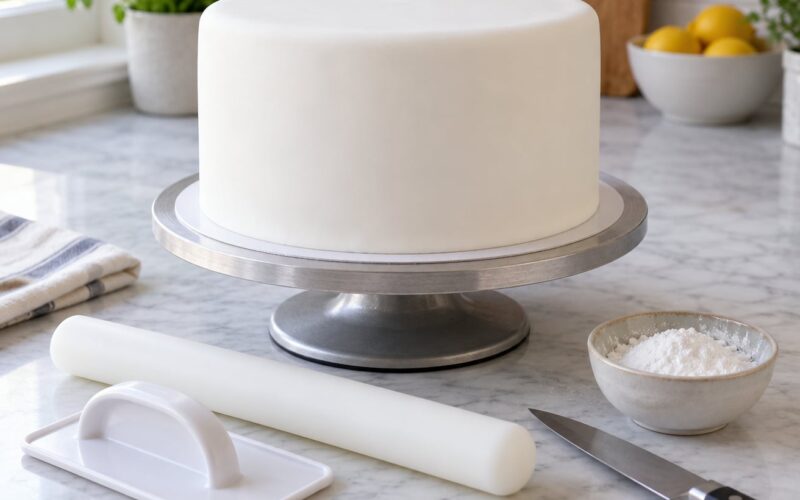
If your frosting is dark chocolate, midnight blue or anything else deep, stop before you go further. Colour shows through thin sheets and dark frosting bleeds up into the image, which is the most common complaint from anyone who has tried this once. Roll two or three sheets of white fondant, lay them over the top, and smooth them flat. The fondant gives you a clean white surface and a firmer one to press onto.
Do not spray the frosting with water or anything else. People reach for a mister when the frosting looks dull, and a fine mist will melt the sheet the moment it touches.
How to Put a Photo on a Cake at Home: The 6-Step Transfer
- Release the sheet from its backing. Most printed sheets come with a clear plastic or wax backing underneath. Do not peel it yet. Put the sheet face up in the freezer for 15 to 20 seconds, then lift one corner and peel the backing away in one slow, steady motion while the sheet is still cold and slightly flexible. If it tears, put it back on the cake-side-up, press flat with a clean sheet of baking paper, and peel again.
- Thin the adhesive. Light corn syrup straight from the bottle is too thick and will slide. Stir one part light corn syrup with one part water until it runs like thin honey. A dedicated edible glue needs no thinning. Either way, this is the adhesive that keeps the image from curling.
- Brush the back of the image. Lay the image face down on a clean flat surface and brush the adhesive across the back in long even strokes, right out to the edges. Thin and complete beats thick and patchy, because a thick layer takes longer to grab and pushes the sheet sideways.
- Lift it and place the centre first. Pick the sheet up by the edges, hold it level with both hands, and set the middle down on the pencil cross. Let the weight do the work for two seconds before you touch anything else.
- Press from the centre outwards. Using your fingertips or the smooth back of a spoon, press gently in small circles starting at the centre and moving out toward the edges. Never scrub or slide. If you see a bubble, stop, and press the sheet down flat over that spot from the middle of the bubble outward to push the air out sideways.
- Finish the edges and let it set. Press the last inch of the border down firmly with the edge of the offset spatula, then leave the cake at room temperature for 20 to 30 minutes so the adhesive sets. Do not move it to the fridge after this point.
That last instruction matters more than it sounds. Condensation from refrigeration settles on top of the image as the cake comes back to room temperature, and that moisture is what makes colours bleed and edges lift. If the cake needs to be stored cold, do it before the image goes on, and put it on display shortly before you serve it.
You can tell the image is properly seated when it no longer catches light in ripples and the edges feel bonded to the frosting. If you can slide a fingernail under a corner, keep pressing that corner for another ten seconds.
How to Finish and Clean Up the Edges
Trim any overhang with a very sharp craft knife on a cutting mat, holding the cake on a turntable and turning the cake rather than the knife. A slight overhang of about 1/8 inch looks deliberate and hides any uneven frosting line.
Finish with a piped border. A small star tip of the same buttercream along the photo edge hides the seam, and a royal icing dot in each corner covers the joins if you went with fondant. Then leave it alone.
If the image has shifted, do not peel it back up and start again. Press it down where it is, trim the overhang, and cover the crooked edge with the border. Small movements are invisible once the cake is decorated.
Common Mistakes and How to Fix Them
The photo looks blurry. The image was too small on the sheet, or it was scaled up from a small file. The fix happens before printing, not after. Use the largest original file you have and print at actual size.
The photo is crooked. It was placed from one corner instead of the centre. Mark the cross, place the middle, then check the gaps at all four sides before you press anything down.
Air bubbles under the sheet. The frosting was too soft or the sheet got pressed from the edges inward. Chill the cake longer and press from the centre out. Bubbles that already exist are fixable: press flat over the bubble and push the air outward.
The sheet tore while peeling. It was too warm or too dry. A short freezer rest before peeling makes the sheet pliable enough to release cleanly in one motion.
Colours bleeding or going fuzzy. The frosting was wet, the air was humid, or the image sat for hours before serving. Apply to a cold, firm surface, keep the room dry, and place the image as late as you reasonably can.
Colour shows through the photo. The frosting underneath is too dark. Cover it with white fondant before applying the image.
The image will not stick. The adhesive was too thick, or the frosting carried crumbs and oil. Thin the corn syrup, and skim any crumb patches off the surface before you start.
Tips for a Professional-Looking Result
Time the whole thing backwards from when you plan to serve. Frost and chill the cake first, print or collect the sheet the day before, and apply the image a few hours before guests arrive at most.
Choose your frosting with the photo in mind. American buttercream, ganache and firm fondant all hold an image well. Whipped cream and soft cream-cheese frostings are a poor surface, because the sheet sinks in and picks up crumbs. Royal icing on a cookie works nicely for smaller images, since it is bone dry before you press.
Test the sheet size before the real thing if you have time. Print a rough version, lay it on a spare iced biscuit or a cardboard cake dummy cut to your cake size, and check the margins. I would rather spend one test sheet than trim a finished cake.
For a standing topper instead of a flat image, print a portrait-orientation image, cut around the outline and mount it on food-safe cardboard with a little edible glue, then slot a lollipop stick or a small dowel into the top of the chilled cake.
One last tip from the decorating forums: keep the cake in a cool, dry room away from direct sun. A photo cake in a hot car on the way to a party is the quiet way to lose an afternoon’s work.
Frequently Asked Questions
Can I print a photo on edible paper and put it on a cake?
Yes, and that is the standard way photo cakes are made. Print the image on an edible icing sheet with food-safe ink, let it dry, peel it from the plastic backing and press it onto the frosted cake with thinned corn syrup. The sheet must be labelled edible, and the printer must have only ever used food-safe ink cartridges.
What is the easiest frosting to use for a photo cake?
American buttercream is the easiest choice because it sets firm and holds an edge. Ganache and firm fondant work well too. Avoid whipped cream, marshmallow and soft cream-cheese frostings, because they stay tacky and the image sinks in and gathers crumbs. Frost the cake first, chill it, and apply the photo to the cold surface.
Can I make a photo cake without a printer?
Yes. Order a printed edible sheet from an online seller, or take your image file to a grocery bakery counter, craft store or print shop that offers edible sheet printing. Bring the file on a USB stick or your phone at actual size, and ask what food-safe ink they use. Do not print on ordinary paper, because that ink is not food safe.
How do I keep a photo from sliding or wrinkling on frosting?
Chill the cake until the frosting is firm, use a thin coat of thinned corn syrup, place the image down by its centre first, and press outwards in small circles. Never scrub or slide the sheet. Keep the room cool and dry, and skip the fridge afterwards, since condensation is what lifts edges and blurs colour.
How long should a cake with a photo decoration be refrigerated?
Chill the cake before you apply the image, not after. Once the photo is on and the adhesive has set for 20 to 30 minutes, leave the cake at cool room temperature until serving. If it must be refrigerated, cover it well and bring it out about 30 minutes before cutting so condensation does not settle on the print.
What if my printed photo is not marked food-safe?
Do not put it on a cake that will be served. Regular printer paper and non-food-safe ink can transfer chemicals into frosting that people eat. Print the image again on a labelled edible sheet, or have a store print it with food-safe ink. If you have already applied it, lift the sheet off carefully and wipe the surface before serving.
What to Do First
Start tonight: pick the photo, crop it square, sharpen it, and send it to be printed on an edible icing sheet at the size that leaves a border. Tomorrow, frost and chill the cake, then apply the image last, to a cold firm surface, with thinned corn syrup pressed from the centre out.