If you’ve only ever seen photo cakes in a bakery window, the honest answer is simpler than it looks: you print your picture on a thin edible sheet with food-grade ink, peel the plastic backing off, and lay it onto a smooth iced cake. The whole job takes about 45 minutes of active work plus drying time, and beginners can do a clean version on their first try.
One thing to settle before you buy anything. You can use a home inkjet printer, but only a printer that has never run ordinary ink. Standard dye ink and edible ink are not interchangeable, and switching back and forth in the same machine is the single most common way beginners contaminate a whole batch of toppers. The community on r/cakedecorating is blunt about it: buy the printer first, the supplies second, and treat that printer as an edible-only machine from then on.
Everything below is the workflow I would follow, in the order that saves the most wasted sheets.
Table of Contents
- What You Need
- For preparing the image
- For printing
- For attaching the topper
- For building a cut-out topper that stands up
- Step-by-Step: How to Make Edible Image Cake Toppers at Home
- 1. Choose the Right Edible Method for How to Make Edible Image Cake Toppers at Home
- 2. Prepare and Size the Image
- 3. Transfer the Image to the Edible Surface
- 4. Cut, Dry, and Attach the Topper
- Common Mistakes
- Tips for a Professional Finish
- Frequently Asked Questions
- Can I make an edible image cake topper ahead of time?
- What is the easiest way to put a photo on a cake at home?
- Can I use fondant or modeling chocolate for an edible image topper?
- How do I stop fondant from sticking to the image or work surface?
- How thick should an edible cake topper be?
- How should I store an edible image topper before placing it on the cake?
- Conclusion
What You Need
The list is short once you know which job each item does. I group it by function so you can see what’s optional and what isn’t.
For preparing the image
- A photo or logo file, ideally 300 DPI at the finished print size
- Free design software such as Canva, or an image editor you already own
- A picture viewer or file browser to check the resolution before you upload
For printing
- A dedicated inkjet printer that has never run standard ink
- Food-grade edible ink cartridges matched to that printer model
- Edible sheets: frosting or sugar sheets, wafer paper, or rice paper
- A spare plain sheet of ordinary paper for test prints
For attaching the topper
- Edible glue or a dab of corn syrup, or vodka and a small clean brush
- Parchment paper, a clean cutting mat and a small sharp craft knife
- Tweezers for lifting a corner that will not release
- A small offset spatula or the back of a spoon to smooth bubbles
For building a cut-out topper that stands up
- Modeling chocolate or fondant for a support shape
- A small piece of tylose paste or gum paste to firm the edges
- Clear edible glaze or a thin corn syrup glaze for shine
Allow drying time in the plan. A printed sheet needs a few minutes before the backing will peel, and a cut-out topper usually firms up in a dry spot for a few hours before it goes near the cake.
Step-by-Step: How to Make Edible Image Cake Toppers at Home
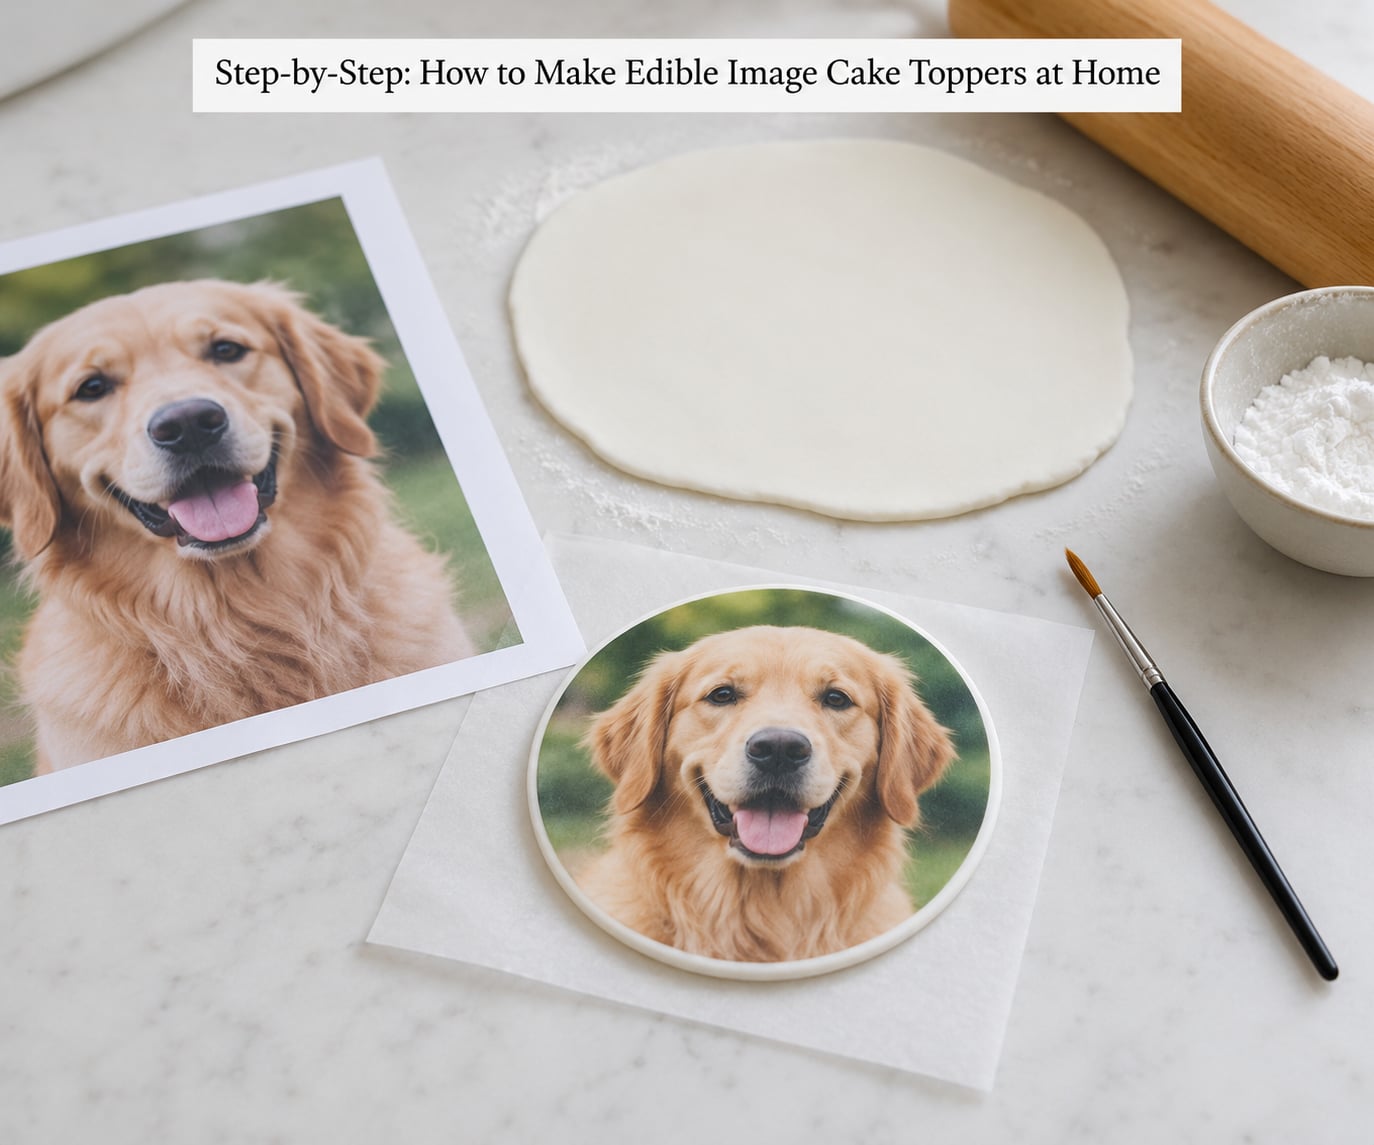
If you want the short version, this is the whole process.
- Pick one image and size it to your cake surface at 300 DPI.
- Print a test on plain paper to check color and scale.
- Load an edible sheet and print with media type set to plain and quality set to high.
- Let the print dry for a few minutes, then chill the sheet briefly so the backing releases.
- Peel the backing, trim the sheet to the cake, and cut out shapes if you want a topper rather than a full covering.
- Ice the cake smooth and let the icing set firmly.
- Brush a thin film of edible glue and lay the image down from one edge, smoothing as you go.
- Blot any gaps, trim edges with a sharp knife, and chill briefly to set.
1. Choose the Right Edible Method for How to Make Edible Image Cake Toppers at Home
There are four workable methods, and they differ more in difficulty and setting time than in the final look.
Printed edible sheet. A photograph is printed onto a frosting or sugar sheet, a wafer paper sheet or a rice paper sheet. This is the method with the most control over the image, and the only one that gives you a true photo finish. Difficulty is low once the printer is set up, and you can work the same sheet for cupcakes, cookies or a chocolate transfer.
Frosting and ganache transfer. You print on a special transfer sheet, then flip it face down onto a thin coat of melted ganache or buttercream. The color lifts off and the image stays edible, so there is no paper to chew through. It needs an unbroken glossy surface underneath, and it will not work on a crumb coat.
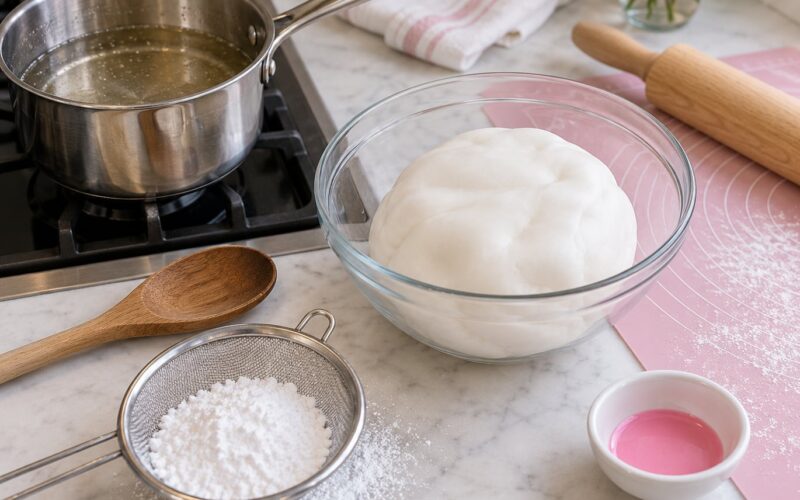
Fondant with edible ink or food coloring. Roll fondant to about 2 mm, press the image into it, then lift it with a piece of parchment and a rolling pin, or paint the design directly with gel color mixed with clear alcohol. This gives a fully handmade look with no printed sheet, and it takes roughly an hour of drying per layer before you can handle it.
Modeling chocolate. Melt colored chocolate, spread it thin, and stamp or paint the design. It sets fast and hard, snaps cleanly for a crisp cut edge, and is the best choice for a small topper meant to stand up on wires or sticks.
| Material | Taste and texture | Best surface | Watch out for |
|---|---|---|---|
| Frosting or sugar sheet | Very light sweetness, paper-thin, dissolves on the tongue | Buttercream, ganache, crumb coat | Brittle when dry, tears if handled warm |
| Wafer paper | Neutral, stiffer than a sugar sheet, very light crunch | Fondant plaques, cookies, cupcakes | Two sides, one smooth and one ruff; the smooth side faces the icing |
| Rice paper | Almost no taste, dissolves almost instantly | Very light cakes, delicate designs | Fragile and moisture-sensitive, tears while wet |
| Icing transfer sheet | No paper in the finished cake at all | A single thin glossy layer of ganache | Any matte or crumb-coated surface kills the transfer |
| Printed fondant | Sweet and soft, fully handmade finish | Any iced cake | Needs firming with tylose before it can be lifted |
For most home bakers, the printed edible sheet is the sane starting point. Reach for fondant painting when you want the design to look drawn rather than photographed.
2. Prepare and Size the Image
Size is where beginner projects go wrong, because a photo looks fine on screen and terrible at 8 inches across. Work out the finished print size first, then set the file up for that size.
A 7.5 by 10 inch sheet is the common size and covers a half sheet cake or the top of a large round cake with a margin to trim. At 300 DPI, that sheet needs about 2250 by 3000 pixels of image. Any source photo smaller than that will look soft once printed, and no printer setting will rescue it.
Keep the design simple. Two or three strong shapes read better from across a room than a face with a lot of small detail, and anything thinner than about 2 mm of printed line tends to disappear or fill in with ink. Contrast helps too: a light image on a dark background survives printing far better than a pale portrait on white.
In Canva or any editor, set the custom document size to 7.5 by 10 inches, turn off any compression, and export as PNG rather than a heavily compressed JPG. Add a small bleed of a few millimeters if your design runs to the edge of the sheet, so trimming does not clip a border.
One more check before you print: make sure you have permission to print the image. A celebrity photo, a team logo or a friend’s picture uploaded to a print shop is copyrighted, and the request can be refused.
3. Transfer the Image to the Edible Surface
How the image reaches the surface depends on which method you chose in step one.
Printing on an edible sheet. Load the sheet flat into the rear tray or on the glass, with the printable side facing the head. In your printer settings, set media type to plain paper, quality to high or maximum, and turn off borderless printing unless you specifically want to run ink off the edge. Scale to fit the sheet rather than to a fixed page size. Then print your test on ordinary paper first, which takes a minute and saves a sheet.
Let the real print sit for a few minutes so the ink sets. Then put the sheet in the freezer for a minute or two. Cold, the backing releases far more willingly, and you peel it while it is still chilled, working steadily rather than in jerks. Bakers in warm and humid climates report that the sheet starts to crack almost as soon as it warms, so keep it moving.
Cut the sheet with the plastic backing still attached if you can, using a ruler and a fresh blade for a straight edge. Trim as close to the image as you can manage; every millimeter of white border you leave behind is visible on the finished cake.
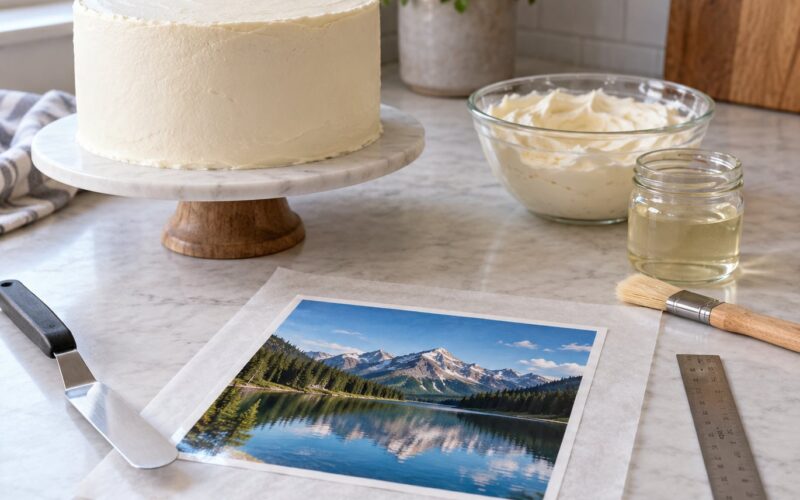
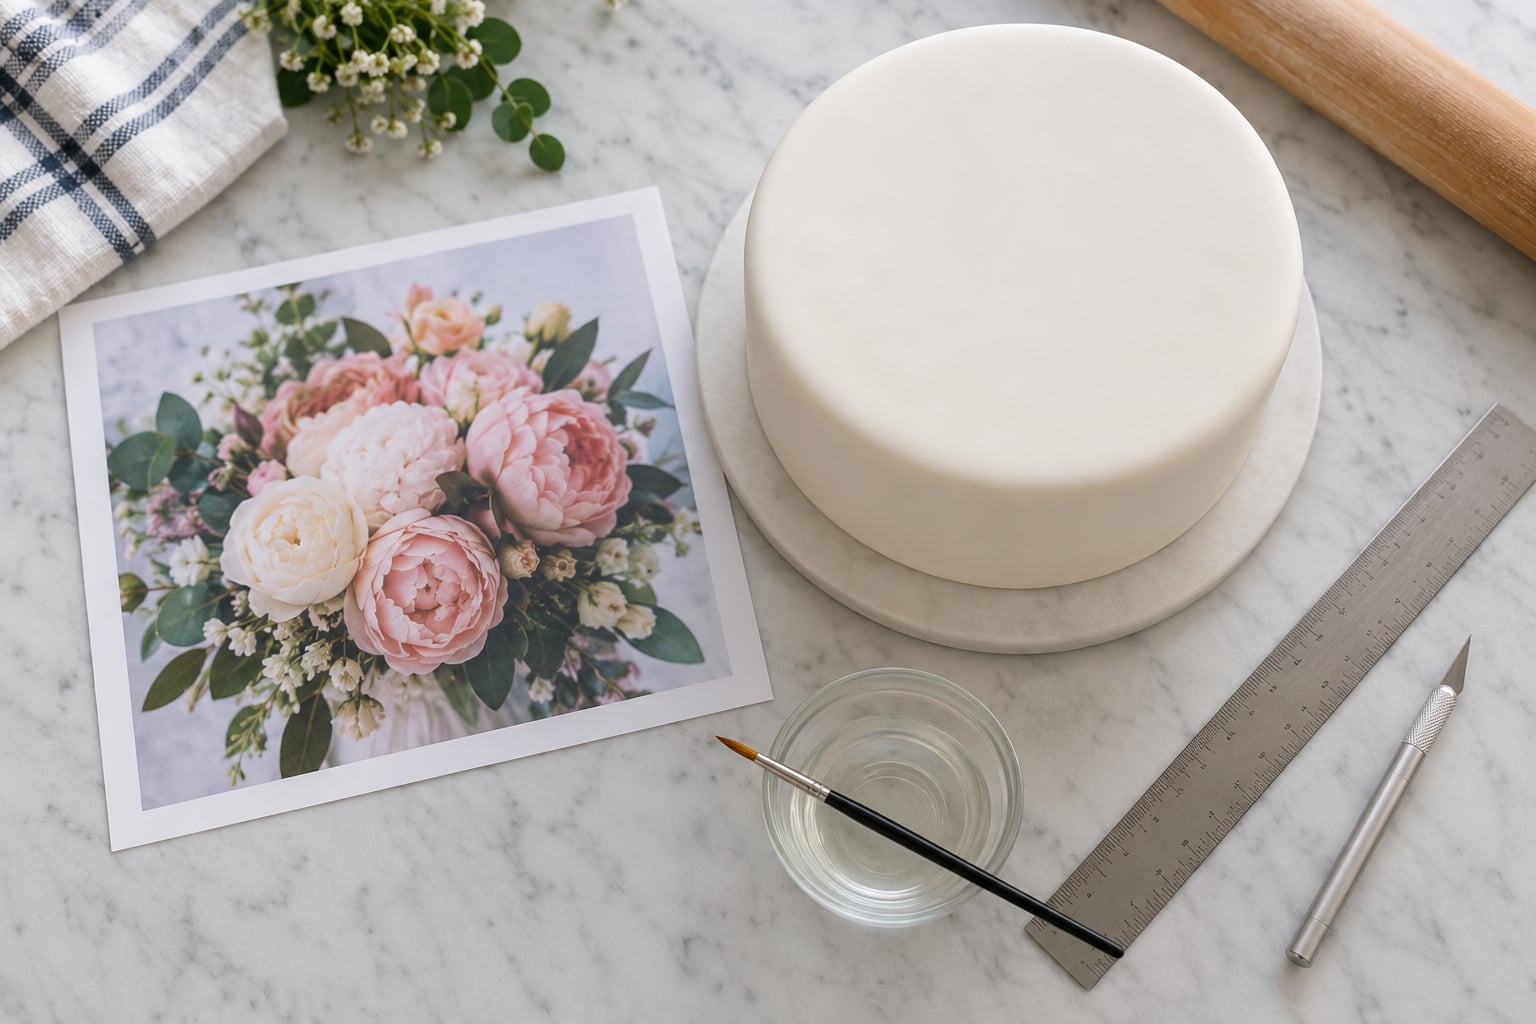
Transfer onto icing. Lay the printed sheet image side up on your work surface, brush a thin film of edible glue over the image, and then lift it by one corner and lay it onto the cake face down, starting at the far edge. Peel the backing away as you go, keeping the sheet flat and pressing gently with a spatula to push air out toward the edges. The image transfers to the icing and the plastic comes away.
Painting on fondant. Knead gel food color into a small piece of fondant for a flat painted background, and thin separate colors with clear alcohol for detail work. Paint on a nonstick mat or a baking sheet so the fondant can dry without sticking. Each color needs to dry before the next goes on, so budget about an hour for a detailed design.
Modeling chocolate. Melt the chocolate, spread it on an acetate or parchment sheet to about 2 mm, and let it set just until it holds a shape. Paint or stamp the image while it is still slightly soft, or let it fully set and use a small amount of clear alcohol to thin edible color for the details.
4. Cut, Dry, and Attach the Topper
Whether you are covering the whole cake or standing a shape on top, the last stretch is about handling. Fresh, room-temperature frosting sheet tears easily; cold sheet behaves much better.
For a full covering, ice the cake with buttercream or ganache and let it set firmly in the fridge until it is solid to a light touch. Too soft and the sheet sinks in and wrinkles. Too hard and long and the sheet cracks as it bends over the edge, so leave a few minutes out of the fridge before you start.
Brush a thin, even layer of edible glue or corn syrup over the surface. Corn syrup is stickier and better for cupcakes and cookies; a vodka or water mix with a clean brush gives you less dwell time, so work section by section.
Place the far edge first, then lower the sheet toward you while holding the tension. Do not lay it down flat and then push. Use the offset spatula to press out bubbles from the middle outward.
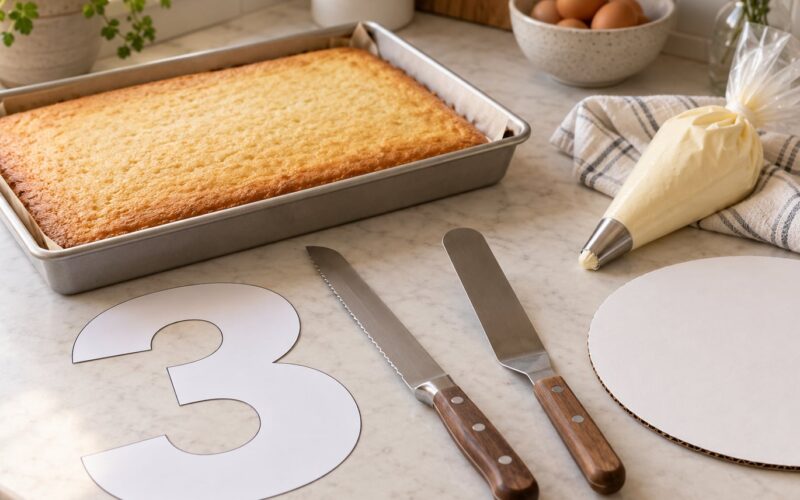
For a cut-out topper that stands on wires or sticks, mix a small piece of sugar paste or gum paste with a pinch of tylose powder and form it into a narrow support. Let it dry completely, then attach the topper and leave the whole thing in a dry, cool room for several hours. For cake boards and transport, set the topper on a thin layer of ganache on the board rather than on the cake itself, so a bump during carrying does not snap it.
Common Mistakes
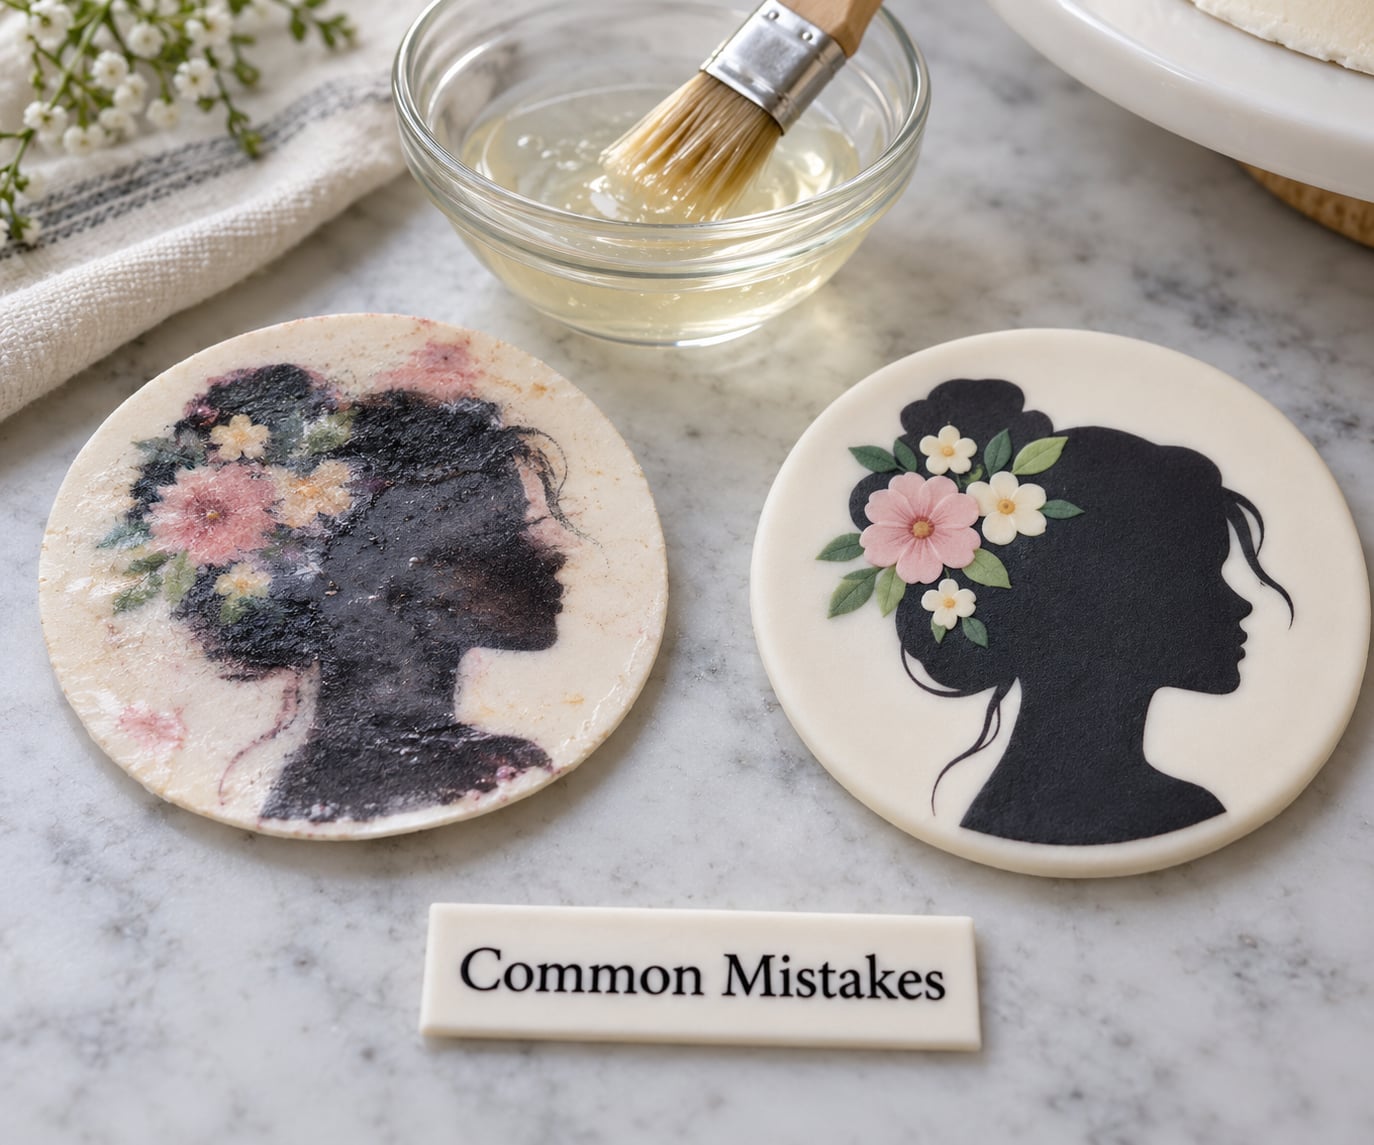
Almost every disappointing photo cake comes down to one of these nine things. The good news is that each one has a straightforward fix.
| What you see | Why it happens | How to fix it |
|---|---|---|
| Blurry, soft image | The source file was below 300 DPI at the finished size | Enlarge a photo past about 2250 by 3000 pixels before printing, or choose a sharper image |
| Backing will not peel | The sheet is warm, or the print is too fresh | Chill the sheet for a minute or two, then peel steadily with tweezers at a corner |
| Wrinkles and air bubbles | The image was pushed on flat, or the icing was too soft | Set the icing firm, lay the far edge down first, and sweep bubbles outward with a spatula |
| Edges lifting or peeling later | The icing was too soft, or edges were trimmed over an uneven surface | Chill the cake before covering, and trim the sheet so no paper edge overhangs the icing |
| Colors bleeding into each other | Glue was too watery or brushed too thickly | Use a thicker edible glue or a light corn syrup film, and work in smaller sections |
| Sheet curling as it dries | Heat and humidity pulling one side faster than the other | Dry it flat, printed side up, away from the stove, and press it under a clean sheet while it firms |
| Cracks while being applied | A warm room and a sheet that sat out too long | Work in a cool room, chill between sections, and keep the sheet in its bag until the moment you need it |
| Purple and pink missing or wrong | A partially clogged print head, often after a long gap between uses | Run two or three cleaning cycles, then print a test; a head that still fails needs servicing |
| Image will not stick at all | A matte or crumb-coated surface, or no adhesive used | Cover the area with a thin glossy ganache layer, let it set, then apply with edible glue |
The purple and pink problem deserves a note. It is a genuinely common complaint on decorating forums and it is often blamed on the wrong thing. A head that has gone dull from sitting unused will drop the hardest-to-jet colors first, and no amount of cleaning always brings them back. If two cleaning cycles do not fix it, the realistic answer is a new print head or a new printer.
Tips for a Professional Finish
Simplify the design before you simplify anything else. A large silhouette, a bold monogram or a clean logo reads as intentional. A crowded collage reads as a busy print. Drop the small details and the topper looks deliberate.
Let the printed sheet dry completely before it touches the cake. Fresh ink under a topper can stay tacky for a while, and that is what picks up dust and hairs.
Chill the finished cake briefly, not the topper. Ten minutes in the fridge sets the whole surface so the sheet has something firm to grip. Let the cake come back toward room temperature before serving.
Match the topper to the cake, not just to the photo. A topper with a hard rectangular edge on a round cake needs a border of piped frosting or a small scatter of sprinkles to soften the join. That two-minute step is the difference between printed and decorated.
Cut with a fresh blade and change it often. A dull blade compresses the edge of the sheet and leaves a fuzzy border you cannot fix later.
Save your offcuts. Printed wafer and sugar sheet scraps are useful for cupcake dots, small shapes and mosaic pieces, and ruined prints can still be cut into colored chips for accent work. Bakers who buy sheets in bulk plan for this rather than treating a mistake as a loss.
Store printed sheets sealed and dry. In an airtight bag in a cupboard they keep for months, though very old sheets become brittle and crumble as you peel. A printed image applied to a cake that is kept refrigerated with standard food safety in place, meaning dairy-filled cakes kept at or below 40°F, stays sharp and readable for several days. A sheet that has not been applied can be frozen, then thawed sealed before you use it.
Have a no-printer plan. Large craft and office supply retailers and many online print shops will print an uploaded photo onto an edible frosting sheet for you, which costs less than buying a printer and cartridges for a single cake. It is also the better route for a one-off, since a dedicated edible printer is only worth it if you plan to print several times a year.
Two cautions. Keep the printer rule: never run standard ink through a machine that has printed food, and never return an edible-printed printer to general use. And keep the copyright rule: only print images you own or have permission to use.
Frequently Asked Questions
Can I make an edible image cake topper ahead of time?
Yes, and most decorators do. Print the sheet, let it dry fully, then store it sealed in an airtight bag in a cool cupboard for weeks. If you have cut a topper out, firm it in a dry spot for several hours before you need it. Add the topper to the cake on the day, or up to a day ahead if you are refrigerating the cake.
What is the easiest way to put a photo on a cake at home?
The printed frosting sheet is the easiest route for most home bakers. Print your photo onto an edible sheet with food-grade ink, chill it briefly, peel the backing, trim the edges, and lay it onto a firmly set smooth icing with a thin film of edible glue. It needs one printable sheet and no special equipment beyond a printer kept for edible use only.
Can I use fondant or modeling chocolate for an edible image topper?
Both work well and both give a more handmade look than a printed sheet. Roll fondant to about 2 mm and press the image in, then lift it with parchment, or paint details with gel color thinned with clear alcohol. Modeling chocolate is faster: spread it thin, paint the image while it is still soft, and let it set hard for a crisp cut edge and a topper that stands up on wires.
How do I stop fondant from sticking to the image or work surface?
Keep a light dusting of cornstarch or powdered sugar on your work surface, and always work with a small piece first to see how the fondant behaves. Lift transferred images with a sheet of parchment and a rolling pin rather than your fingers. If fondant grabs the printed image, that sheet is too sugary for the job, so use wafer paper or a lighter sugar sheet instead.
How thick should an edible cake topper be?
Roughly 2 mm is the sweet spot for fondant, rolled sugar paste and spread modeling chocolate. Thinner than that and the piece tears or dries out before you can move it. Thicker and it cracks along any bend. Wafer paper and standard sugar sheets arrive at a usable thickness already. If you are building a standing topper, add a separate dried sugar paste support rather than making the image piece itself thicker.
How should I store an edible image topper before placing it on the cake?
Keep printed sheets flat in their sealed bag, away from heat and humidity, and do not chill them for long because condensation makes the print bloom. Cut-out toppers can dry at room temperature in a dry spot with something flat and light resting on them so they do not curl. If you are storing a finished decorated cake, refrigerate it covered and apply the topper as late as you reasonably can.
Conclusion
The shortest reliable path to an edible image cake topper is short: choose one clear, high-resolution image, size it to 7.5 by 10 inches at 300 DPI, test-print on plain paper, then print on an edible sheet with media type set to plain and quality set to high. Chill the sheet, peel the backing, trim tight, and lay it onto firmly set icing with a thin film of edible glue.
Before you commit a whole sheet, test the transfer on a small offcut. It takes two minutes and it tells you whether your printer is feeding ink cleanly and whether your glue is too wet, which are the two failures that ruin finished toppers. Once that test behaves, the full sheet almost never surprises you.