To use airbrush color on cookies, you flood the cookies with a thin royal icing base, let it dry, then spray thinned edible color over it in light sweeping passes about 2 inches away. A full batch of a dozen cookies takes roughly 45 minutes once you have your gear set up, and the technique itself is about 20 minutes to learn.
Most beginners get scared off by the gun itself. It looks like a paint sprayer, and the first instinct is to spray hard and close. That is exactly backwards. An airbrush works best when you mist a whisper-fine layer from a distance while the gun keeps moving, so you are really controlling three things: pressure, distance and speed.
This guide walks through the whole sequence, from choosing edible airbrush color to the final shaded details, plus what to do when the result looks speckled, watery or blotchy. Read the steps once, set up a practice area, and you will get usable results on your second batch.
Table of Contents
- What You Need
- Step-by-Step
- How to Prepare the Cookies for Airbrushing
- How to Set Up and Test the Airbrush
- How to Apply an Even Base Coat
- How to Add Airbrush Color Layers and Details
- How to Finish and Set the Color
- Common Mistakes
- Frequently Asked Questions
- Do I need an airbrush compressor to color cookies?
- Can I use liquid food coloring or gel color in an airbrush?
- How far should I hold the airbrush from a cookie?
- Should I airbrush cookies while the icing is wet or dry?
- Is the airbrush color I use safe to eat?
- How do I fix a mistake after the color is already on the cookie?
- Conclusion
What You Need
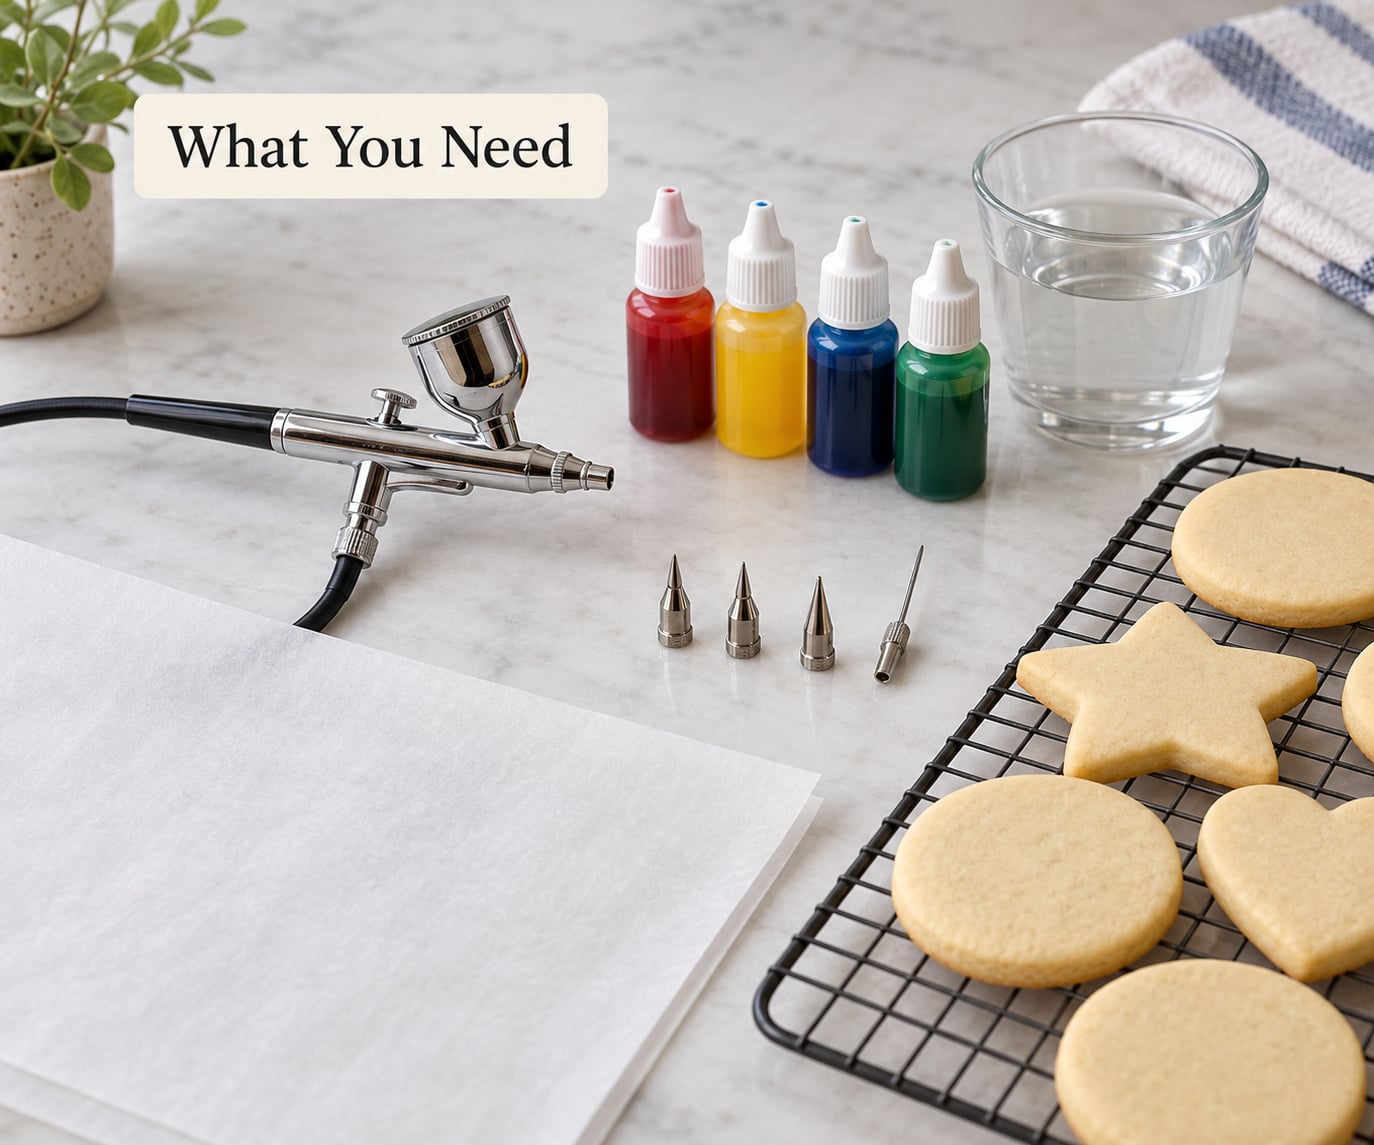
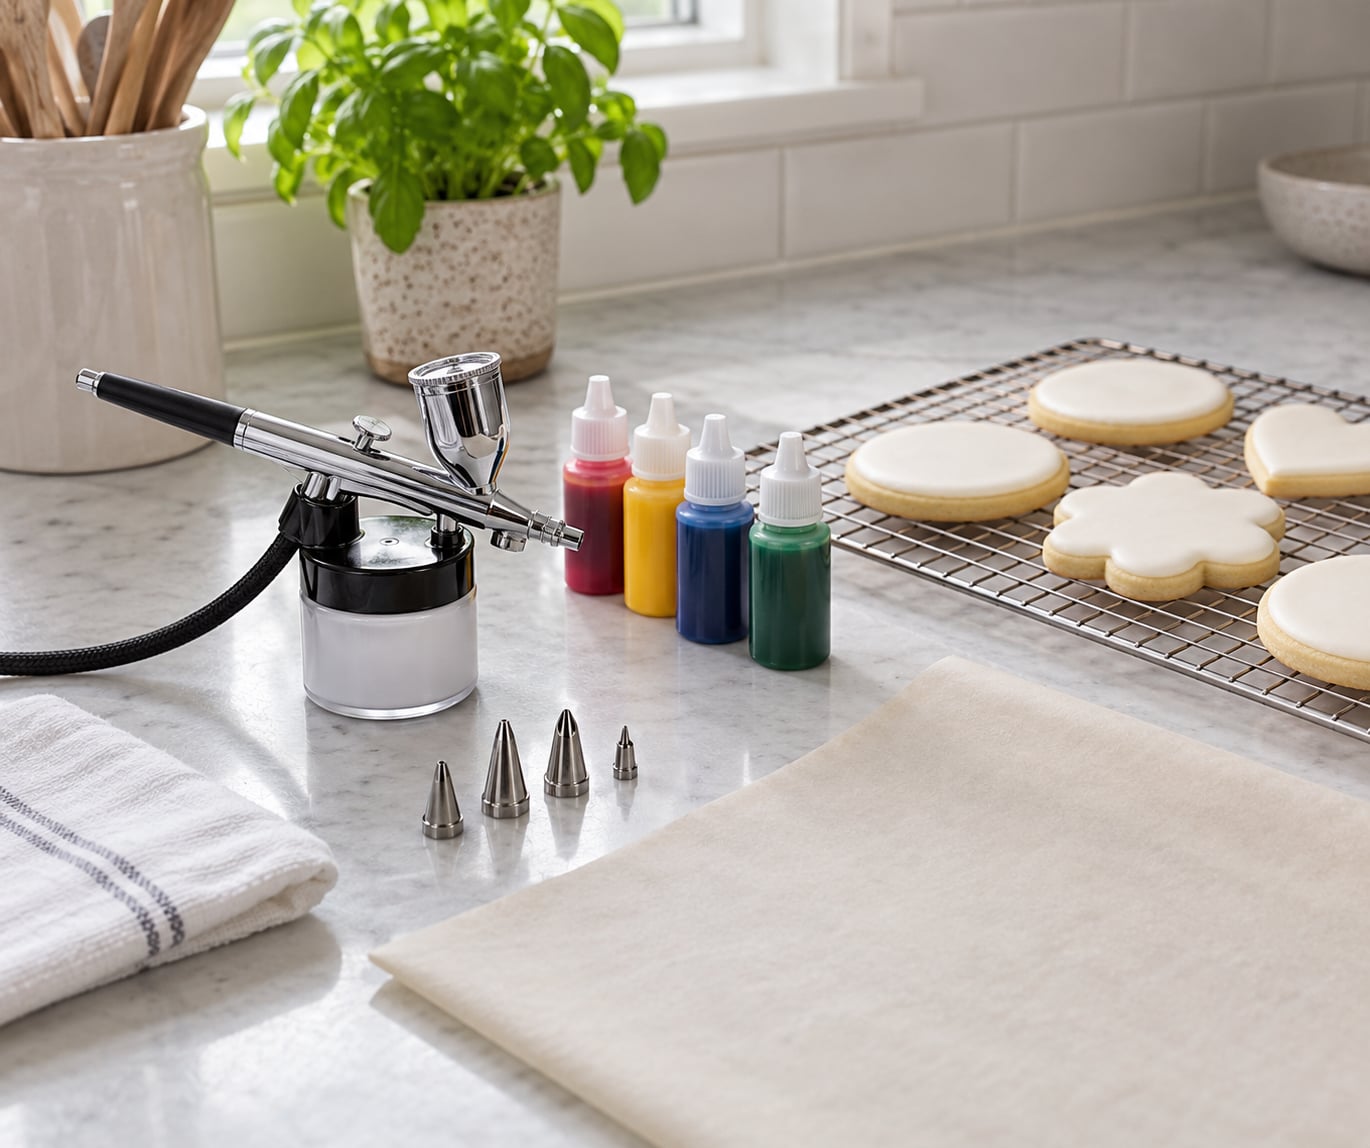
You do not need a professional cake-decorating rig. Most beginners get a clean result with a gravity-feed or siphon airbrush, a small quiet compressor, edible color made for spraying, and cookies that are already iced and bone dry.
| Item | What it does | Essential for a beginner |
|---|---|---|
| Airbrush gun with a fine tip | Atomizes liquid color into a soft mist | Yes |
| Small air compressor | Supplies the low, steady airflow the gun needs | Yes, unless your gun runs on a canned propellant canister |
| Edible airbrush color | Thin, food-safe pigment liquid built not to clog a fine tip | Yes |
| Thinning liquid | Water, clear vanilla extract, or vodka to reach a milk-like consistency | Yes |
| Parchment or wax paper | Practice surface, and a shield under cookies to catch overspray | Yes |
| Cookie cooling rack | Holds cookies level while the base icing dries | Yes |
| Cup of water and paper towels | Flushes color from the gun the moment you finish | Yes |
| Stencil, stencil guard or cookie magnets | Holds a pattern flat and blocks overspray | Nice for patterns, not needed for shading |
| Fine paintbrush or cotton swab | Touches up edges and corners the mist cannot reach | Useful |
On safety, keep this simple: only food-safe, edible color goes into a gun that will touch cookies, and keep hairspray, acrylic paint and craft pigments far away from the food area. Some shimmer powders sold for crafts are not food safe, so check the label rather than the color swatch.
Step-by-Step
How to Prepare the Cookies for Airbrushing
Bake your sugar cookies as usual and cool them completely on a rack before any icing goes on. Warm cookies melt the icing and the sprayed color slides straight off.
Flood each cookie with thinned royal icing and let it dry completely before spraying. The icing should be matte, firm to a light touch and cool to the touch, usually overnight for a full batch. Spraying onto wet or slightly tacky icing is the number one cause of smearing and bleeding.
Keep the flood thin and even. Thick icing beads up, and beaded icing catches mist unevenly, which is where blotchy patches come from. If you want a deeper base, build it in two thin coats rather than one heavy one.
How to Set Up and Test the Airbrush
Shake the color bottle hard for about 30 seconds. Pigment settles at the bottom, and an unshaken bottle sprays weak and speckled, which is the number one beginner complaint on decorating forums.
Thin the color until it runs like whole milk. Add liquid a few drops at a time, swirl, and test a drop on a paper towel: it should soak into the towel without leaving a dark ring of pigment. Thicken with more color, never by guessing mid-spray.
Load only a few drops into the cup. Overfilling causes spitting, and thick color left sitting in the gun overnight turns to paste.
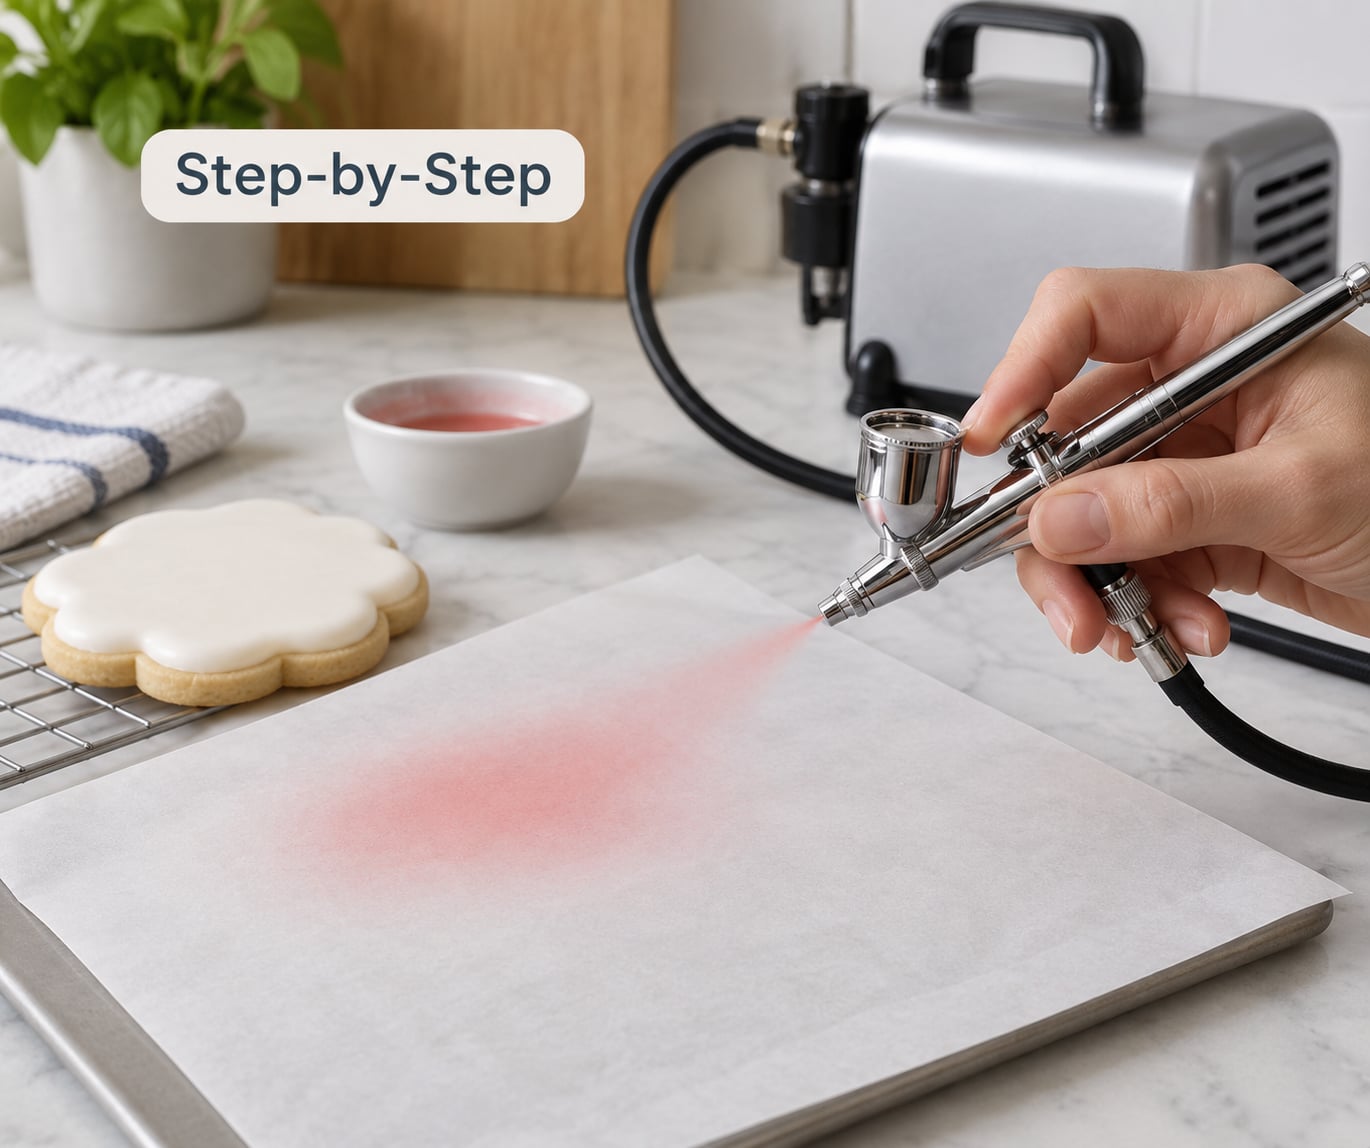
Hold the gun roughly 2 inches from the cookie edge and test the airflow over parchment paper. Pull the trigger and you should see a faint, even mist that fades out at about 4 inches. A hard jet or a visible spatter pattern means clean the tip and thin the color further.
How to Apply an Even Base Coat
Keep the gun moving from the moment you pull the trigger. Use a small circular motion, sweeping side to side in overlapping passes, and never park the nozzle on one spot.
Build the color in thin layers. Two or three light passes beat one heavy pass every time, because each layer dries into the last instead of puddling.
Step back a foot after each pass and look at the cookie from an angle. If the sheen is patchy, the coat is uneven. If it is evenly shiny with no color showing through, add another pass and stop before it turns muddy.
How to Add Airbrush Color Layers and Details
Shading works because the darker shade sits just inside an edge and fades into the base color. Spray from about half an inch inside the outline and work outward, lightening as you go, so the shadow stays soft.
Use a second shade that belongs to the same color family. Warm brown over green icing turns orange and muddy, which experienced decorators mention constantly; a deep green over green reads as shadow instead.
For stencils, wait until the base icing is fully dry, tape or magnet the stencil flat, and pull the trigger before the gun reaches the cookie. The overspray that ruins stencil work comes from starting and stopping on the cookie, not from holding the gun too close.
Work around raised decorations instead of over them. Hold the gun above piped borders and flowers, angle the mist downward into the gaps, and use a paintbrush or cotton swab on the edges the mist cannot reach cleanly.
How to Finish and Set the Color
Stop with the last pass while the coating still looks slightly damp. Setting it a touch lighter than you want gives you margin, and you can always add one more coat.
Leave the cookies undisturbed for at least 15 minutes, then handle them by the edges. Touch the top of a piped detail with a knuckle first if you are unsure.
Store finished cookies in a single layer until the color is fully set, usually a few hours at room temperature. Once they are dry to the touch, you can stack them with parchment between.
Flush the gun right away. Run water or the recommended thinner through it until it sprays clear, wipe the nozzle with a cotton swab, and let it air out. Skipping this is the most common reason a good airbrush stops working.
Common Mistakes
Every beginner airbrush has a bad day. These six cover almost all of it, and the fix is usually one variable.
| What you see | Why it happened | How to fix it |
|---|---|---|
| Speckles and grainy patches | Color was not shaken, or it is too thin and the pigment separates in the mist | Shake the bottle 30 seconds and thicken the color slightly |
| Streaks and lines | The gun moved too slowly, or you stopped while the trigger was pulled | Move faster, in small circles, and start and stop off the cookie |
| Watery color that runs or beads | Color over-thinned, or sprayed onto icing that was not dry | Thicken to a milk consistency and confirm the icing is matte and firm |
| Color bleeding into a piped border | Spraying too close to raised icing, or too much moisture in the mist | Hold the gun higher and further back, then touch up edges with a brush |
| Overspray on unprotected areas | No mask, or the trigger was pulled over the cookie | Use a stencil guard or a second sheet of parchment, and start the mist off the edge |
| Spitting, then a weak spray | Overfilled cup or a clogged tip after thick color | Load a few drops only, flush after every color change, swab the tip |
A couple of habits cover most of the rest. Work in a ventilated space away from open flames and dust, since fine mist hangs in the air. And practice on parchment paper plus one throwaway cookie before you touch a batch you care about. Experienced decorators recommend airbrushing a test set in several colors, some dry and some not quite set, so you learn the shades before a deadline is involved.
Frequently Asked Questions
Do I need an airbrush compressor to color cookies?
No, but you need a source of clean, low-pressure air. Most cookie airbrush kits pair a gravity-feed gun with a small diaphragm compressor that runs quietly enough for a kitchen. Some guns also screw onto a pressurized propellant canister, which works fine for a dozen cookies and skips the machine entirely. Whichever you use, the air has to be steady and dry, because pulsing airflow produces speckles.
Can I use liquid food coloring or gel color in an airbrush?
You can spray them, but they are not ideal. Liquid food coloring is thin enough to run through a fine tip, but it fades, stains and lacks the pigment depth you want on a cookie. Gel color is vivid but thick, and it clogs tips unless you thin it well. Color made specifically for airbrushing is formulated to stay suspended and spray smoothly, so it is worth using if you have the choice.
How far should I hold the airbrush from a cookie?
Start about 2 inches from the cookie edge. That distance gives you a soft, wide mist that blends rather than a concentrated jet that dots one area. Move closer only when you are deliberately shading an edge, and even then keep the gun moving. If your mist lands as visible droplets on the parchment test, move further back rather than pulling the trigger less.
Should I airbrush cookies while the icing is wet or dry?
Dry, fully dry. Spraying onto wet or tacky icing lets the moisture in the mist loosen the surface, so color smears, bleeds past stencil edges and lifts when you touch the cookie. A fully dried flood that feels matte and firm to the touch is ready. If you want color merged into the icing rather than sitting on top, spray while the icing is still slightly tacky, then let it dry together.
Is the airbrush color I use safe to eat?
Only use color labeled edible or food safe. Craft shimmer powders, mica powders sold in the cake-decorating aisle, and anything made with solvent-based pigment are not for consumption, even if they look identical to an edible product in the bottle. Vanilla extract and vodka are the usual thinning liquids because both are food safe. When in doubt, read the ingredient list rather than trusting the color of the packaging.
How do I fix a mistake after the color is already on the cookie?
Most marks cannot be undone, so prevent them instead. Mistakes before drying, like a too-dark patch, can often be softened by spraying a very light coat of the base color over the top. Once the color is dry, the options are repainting over it, piping detail on top to disguise it, or setting the cookie aside as a practice piece. Keeping a base color bottle loaded is the fastest way to rescue an uneven pass.
Conclusion
Start by airbrushing one spare cookie today: flood it, let it dry overnight, shake the color bottle hard, and test the mist on parchment before you touch anything edible. That single practice cookie teaches you more in ten minutes than an hour of reading.
Once that one works, the whole method is thin layers, a moving gun and about 2 inches of distance. Keep the color flowing, keep the icing dry, and flush the gun the second you finish. That is how to use airbrush color on cookies for beginners without a ruined batch.