To thin royal icing, add room temperature water one teaspoon at a time, stirring fully after each addition, then run a knife through the icing and count the seconds until the line smooths over. Stop at your target count, and if you overshoot, fix it with sifted powdered sugar.
That knife test is called the icing count, and it takes about ten seconds. Nearly every confusing royal icing problem comes down to skipping it and guessing instead, which is why so many people end up with icing that either slides off the cookie or sits there in stiff lumps. The good news is that thinning mistakes are recoverable, even halfway through a decorating session.
Table of Contents
- What You Need
- How to Thin Royal Icing to the Right Consistency
- Step-by-Step
- How to Thin Royal Icing for Different Techniques
- How to Fix Royal Icing That Is Too Thin or Too Thick
- Common Mistakes
- Frequently Asked Questions
- How much water should I add to thin royal icing?
- Can I thin royal icing with water instead of milk?
- What consistency should royal icing be for outlining cookies?
- How do I fix royal icing that became too thin?
- What should royal icing look like for flooding a cookie?
- How long can thinned royal icing be stored?
- Conclusion
What You Need
You need very little, which is part of why this is a beginner-friendly skill. Have your bowl of royal icing ready, a small cup of room temperature water, a teaspoon, and a small offset spatula or palette knife for the knife test.
A spray bottle filled with water is a genuinely useful addition, and a fresh small bowl for each colour is a lifesaver once you are past the flood stage.
Two details matter more than the tools themselves. Use room temperature water only, because cold or hot water shock the egg white or meringue powder and can make the icing seize or go grainy. And add water in small amounts, because a quarter cup goes in all at once one way and a teaspoon at a time another, and only the second method gives you control.
Whatever you use to stir should be clean and dry. Traces of oil from butter or shortening will stop the icing setting properly, no matter how well you mix.
How to Thin Royal Icing to the Right Consistency
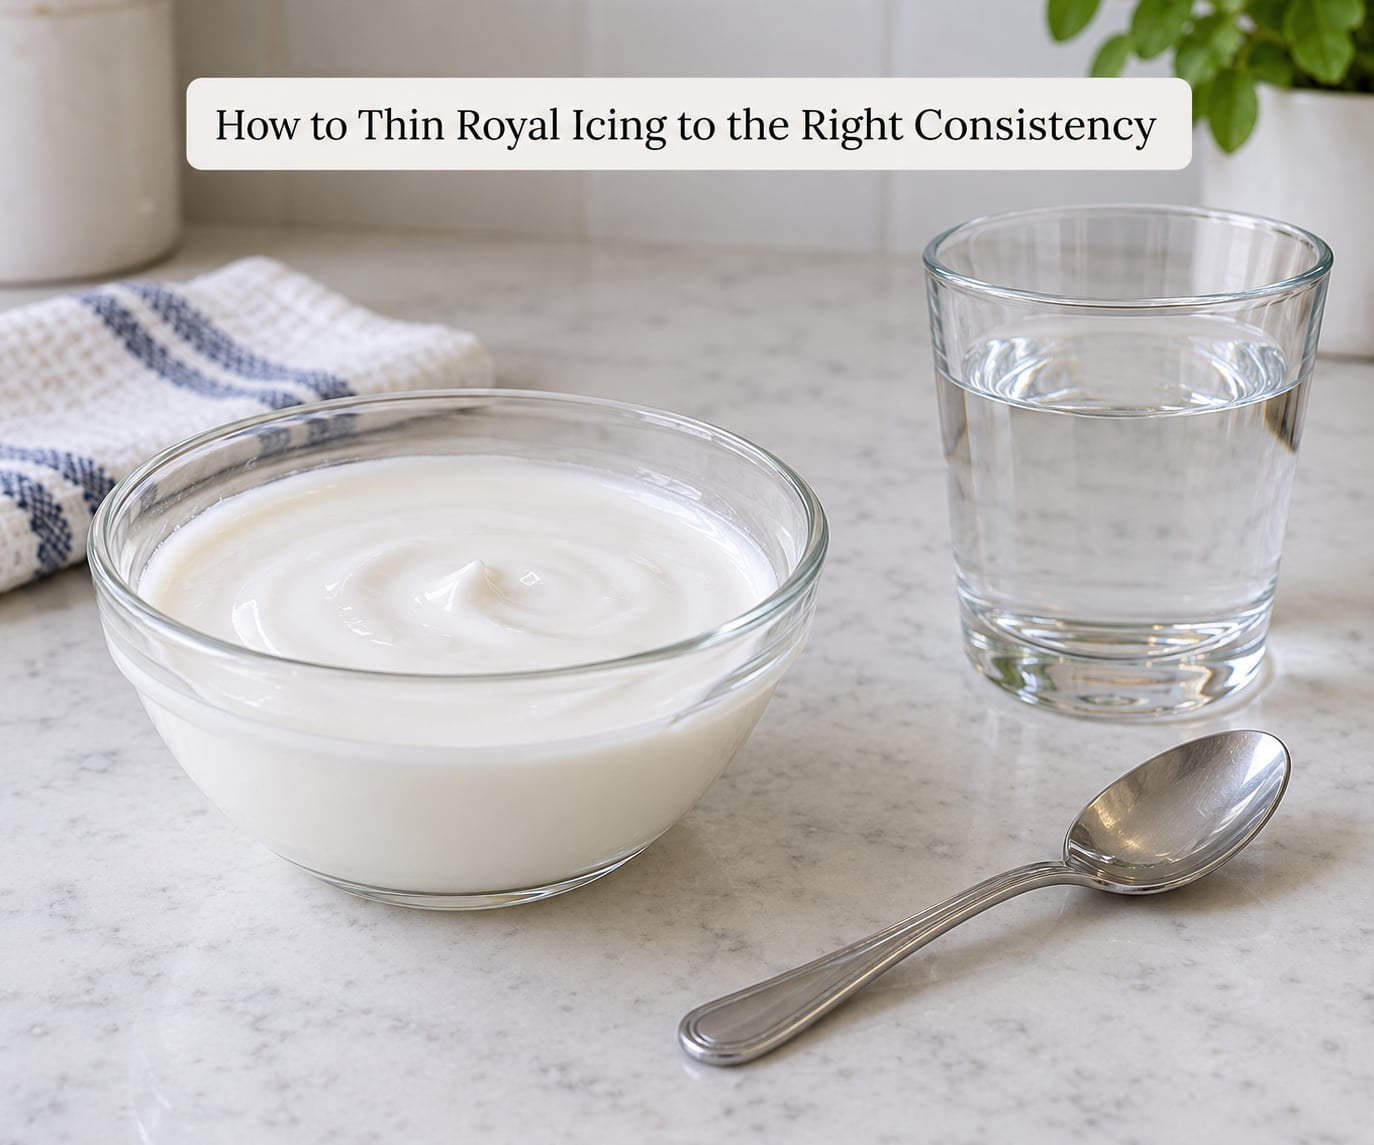
Royal icing is powdered sugar suspended in egg white or meringue powder. Every extra teaspoon of water hydrates more of that sugar and lowers the viscosity, so the icing moves from stiff, to piping, to flood, to runny in that order.
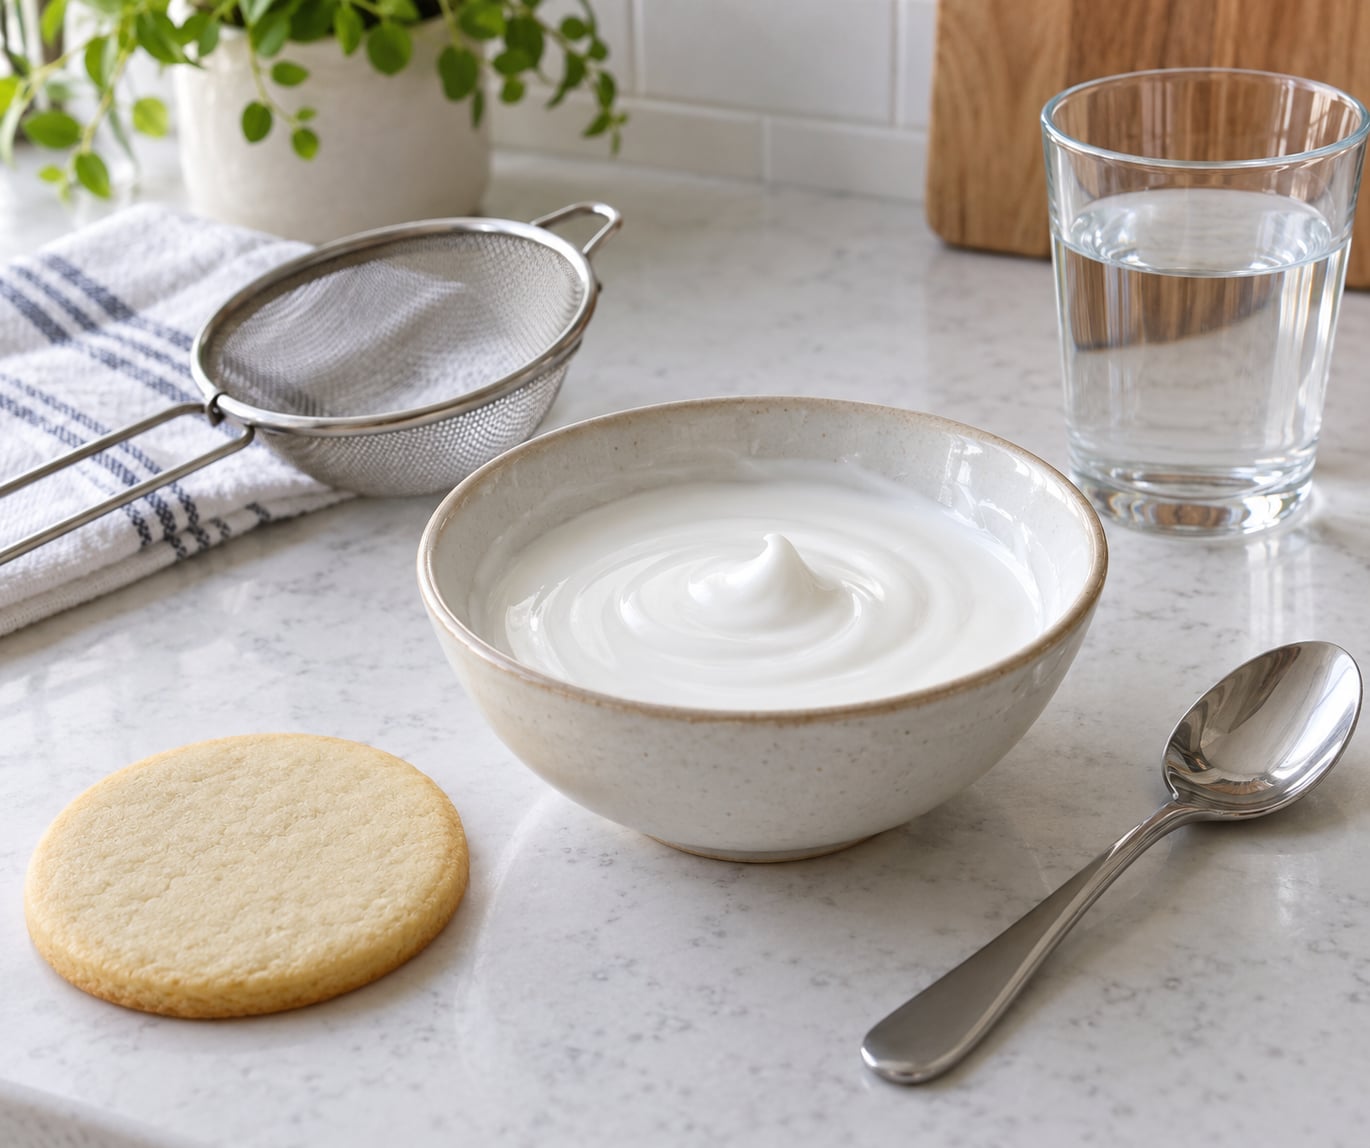
Here is the direct version. Stir one teaspoon of room temperature water into the icing, mix until completely smooth with no white streaks, then drag a small knife through it and count how many seconds it takes for the line to disappear. Ten seconds is flood consistency for most cookies, fifteen seconds holds an outline, and twenty seconds or more is stiff enough for borders and 3D work.
Keep adding water one teaspoon at a time and re-testing until you hit the count you want. Most home batches expect somewhere between a tablespoon and a quarter cup of water overall, so if you are staring at a stiff paste and suspect you need more, you probably do.
There is a difference worth naming between decorating consistency and pourable consistency. Decorating icing holds a peak, holds a piped line and sits on the surface. Pourable icing runs, self-levels and is the one used for dipping cookies or pouring over a cake, and it sits well below flood on the seconds scale.
Adding more than about a quarter cup to a standard batch is where colour dilution starts to show, so past that point the icing will look pale and you would be better off mixing a fresh batch with more concentrated gel colour.
Step-by-Step
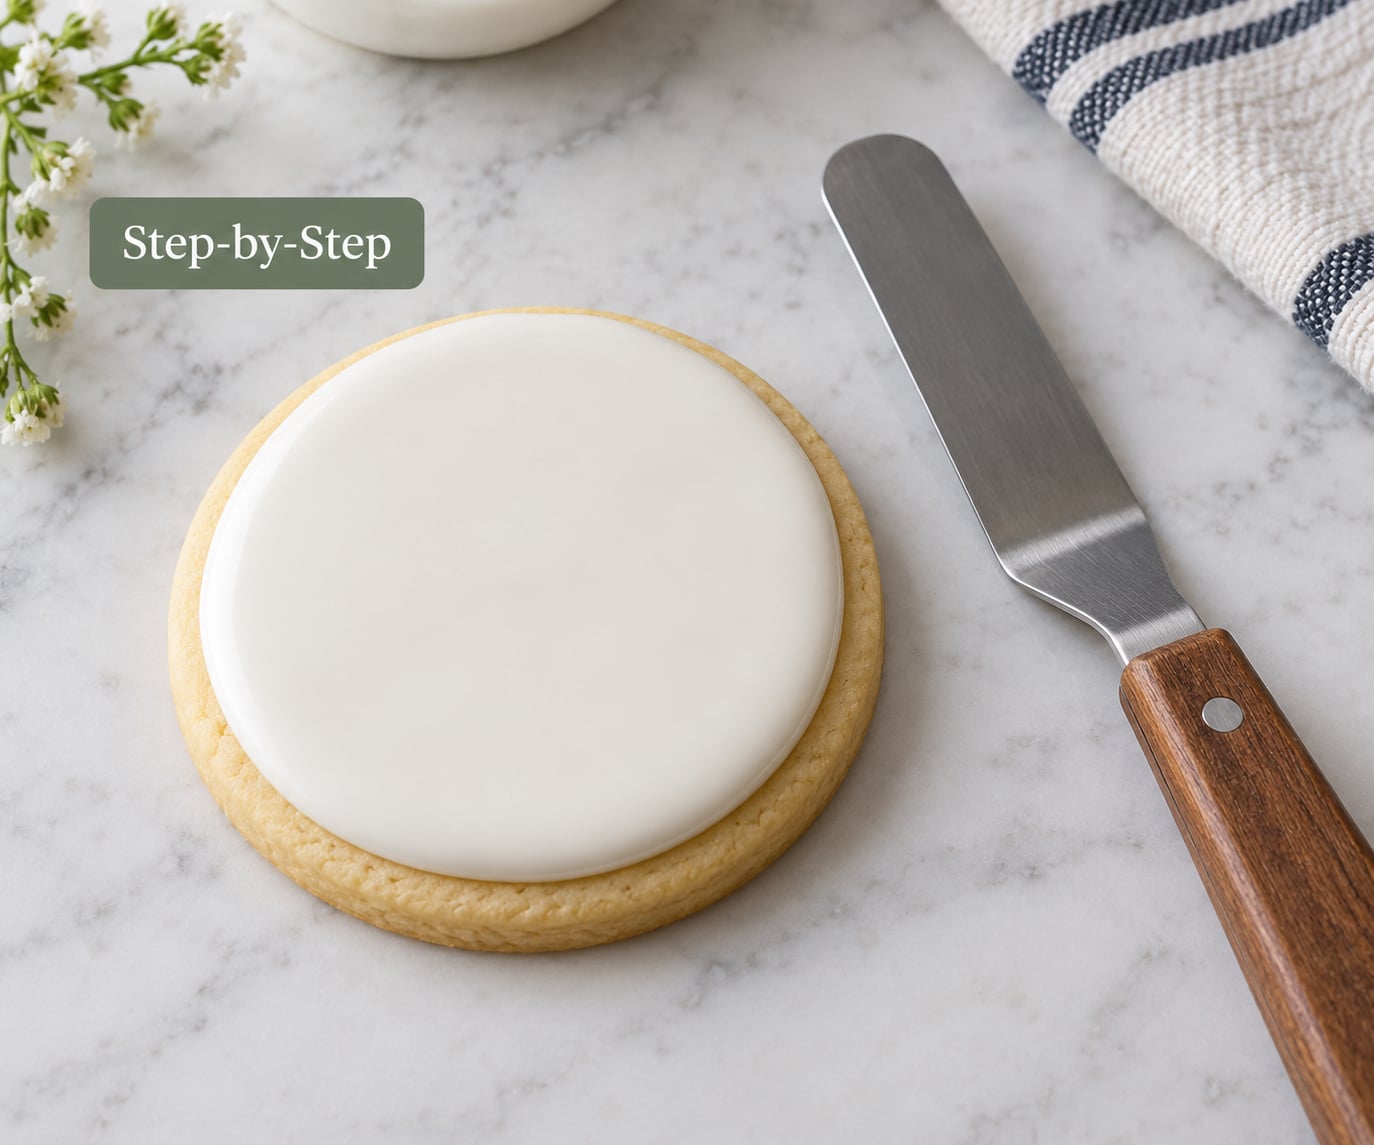
- Test before you add anything. Run the knife through the icing as it came out of the mixer and count the seconds. Most mixes land somewhere between four and eight, which is why so many people immediately assume the icing is broken.
- Add one teaspoon of room temperature water. Room temperature means it feels neutral on your wrist, not straight from a cold tap and not warmed.
- Mix completely. Stir until every white streak of sugar has disappeared. Under-mixing is the most common reason icing stays thick no matter how much water you add.
- Run the knife line again. Drag the tip of a small knife or offset spatula through the icing and start counting the moment you lift it away.
- Count until the line smooths over. This is your icing count. Four seconds is very runny, ten is flood, fifteen is piping, twenty to twenty-five is stiff detail.
- Adjust toward the technique you are about to use. Need a thicker number for a border? Sift in a teaspoon of powdered sugar at a time and re-test. Need a softer number for smoothing? Back to the water.
- Cover what you are not using. Put a damp towel or plastic wrap directly on the surface of leftover icing and keep it at room temperature. Icing left uncovered crusts over and then takes water much harder to work back in.
How to Thin Royal Icing for Different Techniques
Different jobs need different numbers, and this table is the one I keep coming back to. The count is the seconds for the knife line to disappear.
| Count | Name | What it looks like | Best used for | Piping tip |
|---|---|---|---|---|
| 4-5 seconds | Runny | Slumps straight off the knife | Brushed detail layers, wet-on-wet marbling | Small brush or bottle |
| 10 seconds | Flood | Flows and settles flat | Flooding large cookies | Teaspoon or #2 tip |
| 15 seconds | Medium thick | Settles, then smooths mostly flat | Flooding small cookies, borders, outlines and writing | #1 or #1.5 tip |
| 20-25 seconds | Stiff | Holds a stiff peak | 3D flowers, roses, gingerbread assembly | #1 tip or tipless bag |
Outlining needs about fifteen seconds, because a thinner line will spread and blur before you can flood over it. Small cookies do fine at fifteen seconds for flooding too, since a small surface has less room for the icing to travel.
Large cookies want a genuine ten-second flood, anything runnier and it creeps under the border. If you cannot commit to flooding a big cookie in one go, go thicker and work in smaller sections instead.
For writing and lettering, fifteen seconds with a #1 tip gives you control without the line snapping off. Drop it to twenty seconds if your hand is warm or the kitchen is not, since body heat alone can soften icing while you work.
Dipping calls for the runniest end of the range, around four seconds, so the coating self-levels in the bowl of sprinkles rather than leaving thick ridges.
How to Fix Royal Icing That Is Too Thin or Too Thick
Too thin is the easier problem. Sift in powdered sugar one tablespoon at a time, mix well, and run the knife test again. Around two to three tablespoons per cup of icing brings a runaway flood back to a usable piping consistency.
Watch the colour while you do it, because powdered sugar dilutes gel colour. If the batch looks washed out, a few drops of gel colour bring it straight back.
If the icing is too thick, it is nearly always under-mixed rather than under-watered. Mix it properly for a full two minutes, then add water a teaspoon at a time. Stiff, fluffy meringue icing that will not smooth after several tablespoons of water is almost always a mixing problem, and ten more minutes in the mixer before touching the water usually fixes it.
Bleeding colours between wet sections mean the flood was too runny. Let each section dry completely, or use the wet-on-wet method deliberately with a runnier icing rather than by accident.
Crusting over before you can smooth is a speed problem, not a recipe problem. Flood fewer cookies at a time, work in a cool room, and do not put finished cookies near the oven or a sunny window.
Hairline cracks and craters usually mean over-thinning or over-mixing. Add a spoonful of powdered sugar and stir gently from the bottom rather than beating air into it.
If icing separates in the bowl or turns to coloured water mid-session, put it back in the mixer for a full minute, then re-test and re-adjust. Icing that drops from twenty seconds to five over a couple of hours is usually a stability issue rather than a formula issue, and the most common cause is a narrow decorating bottle, where the icing touches your hand far more often than it ever would sitting in a bowl.
Common Mistakes
Adding water in one big pour. Fix: one teaspoon at a time, mixing and testing between each. There is no undo button for a runny batch.
Using cold water from the tap. Fix: room temperature, always. Cold water shocks the protein and can leave you with grainy, reluctant icing.
Trusting the mixer bowl sight. Fix: trust the count. Icing always looks thinner in a wide bowl than it behaves on a cookie, so judge by the knife line.
Leaving the bowl uncovered while you decorate. Fix: plastic wrap or a damp towel pressed directly onto the surface. A skin forms in minutes and then nothing will mix smoothly.
Flooding a large cookie with a fifteen-second icing. Fix: thin it to a true ten-second flood, or work in sections. Beginners commonly end up with icing spreading past the border for exactly this reason.
Thickening one big batch after colouring it. Fix: divide the icing into small batches before you colour, and keep each batch at the count its job needs.
Two habits cover most of the rest. Test after every change rather than at the end, and write the count on the bowl with a grease pencil or masking tape so you do not have to guess halfway through.
On hot or humid days, expect to re-test more often, since thin icing holds moisture differently and dries slower. A cool corner of the kitchen is worth more than any shortcut.
Frequently Asked Questions
How much water should I add to thin royal icing?
Add room temperature water one teaspoon at a time, mixing fully and running the knife test after each addition. Most standard batches take between a tablespoon and a quarter cup overall. Stop when the line you drew through the icing smooths over at your target count, usually ten seconds for flooding. You can always add more, so start small.
Can I thin royal icing with water instead of milk?
Yes, and water is the better choice. Milk contains proteins and fat that can change how the icing sets and can leave a dull surface. Plain water, at room temperature, is what decorators rely on. Vodka or a clear vanilla extract works in a pinch and evaporates cleanly, but lemon juice and coloured extracts can tint or thin the batch unevenly.
What consistency should royal icing be for outlining cookies?
About fifteen seconds is right for outlining. Thin enough to flow through a #1 or #1.5 tip without hesitation, thick enough to hold a clean line for the few seconds it takes you to flood over it. If your outlines blur or merge into each other before you flood, your icing is too thin, so add a tablespoon of sifted powdered sugar and re-test.
How do I fix royal icing that became too thin?
Sift in powdered sugar one tablespoon at a time and mix fully between additions, re-running the knife test as you go. Two to three tablespoons per cup usually rescues a runaway flood. If the colour looks washed out after thickening, add a few drops of gel colour back. Powdered sugar must be sifted, or you will fight lumps for longer than the problem deserves.
What should royal icing look like for flooding a cookie?
It should flow off the knife and settle into a flat, glossy surface within a few seconds, which is a ten-second count on the knife test. Large cookies want a true ten seconds. Small cookies are more forgiving and work fine at fifteen seconds. The test is not how shiny it looks, but whether it stays put at the border instead of creeping under or off the edge.
How long can thinned royal icing be stored?
At room temperature, covered with plastic wrap or a damp towel pressed onto the surface, thinned royal icing stays workable for several days. In the fridge it keeps longer but dries out faster, so always cover it tightly. If the icing separates, mix it again and re-test the count before using it, because the consistency will have shifted while it sat.
Conclusion
Add room temperature water one teaspoon at a time, mix until completely smooth, and run the knife test before you touch a cookie. Decide which technique you are decorating first, aim for its count, and write it on the bowl so you can re-check it later in the session.
If you already went too thin, sift in powdered sugar a tablespoon at a time. Nothing you do to a bowl of royal icing is permanent, which is exactly why this is a skill worth learning instead of worrying about.