A chocolate drip is a thin chocolate ganache piped along the top edge of a frosted cake so it runs a few inches down the sides and stops there. To learn how to make chocolate drip for a cake that behaves, you need just three things in the right order: a cold cake, a glossy ganache, and a ganache cooled until it flows slowly.
The whole job takes about ten minutes once the cake is frosted, and almost every failure I see traces back to temperature. Warm cake, warm frosting, or a cold cake plus hot ganache all give you a puddle at the base instead of drips.
Below is the method I use, with the exact ratios, chill times and temperature cues so you can repeat it without guessing.
Table of Contents
- What You Need
- Chocolate-to-cream ratio by type
- How much ganache you need
- Optional variations
- Step-by-Step
- Step 1: Prepare and Chill the Cake
- Step 2: Make the Chocolate Ganache
- Step 3: Cool the Ganache to the Right Temperature
- Step 4: Apply the Drip and Finish the Top
- Common Mistakes
- Frequently Asked Questions
- Why does my chocolate drip run all the way down the cake?
- Do I need to chill the cake before adding chocolate drips?
- How long should I let the ganache cool before dripping?
- Can I use milk instead of heavy cream for a chocolate drip?
- Should I use chocolate ganache or candy melts for the drip?
- How do I store a chocolate drip cake, and can I make it ahead?
- Conclusion
What You Need
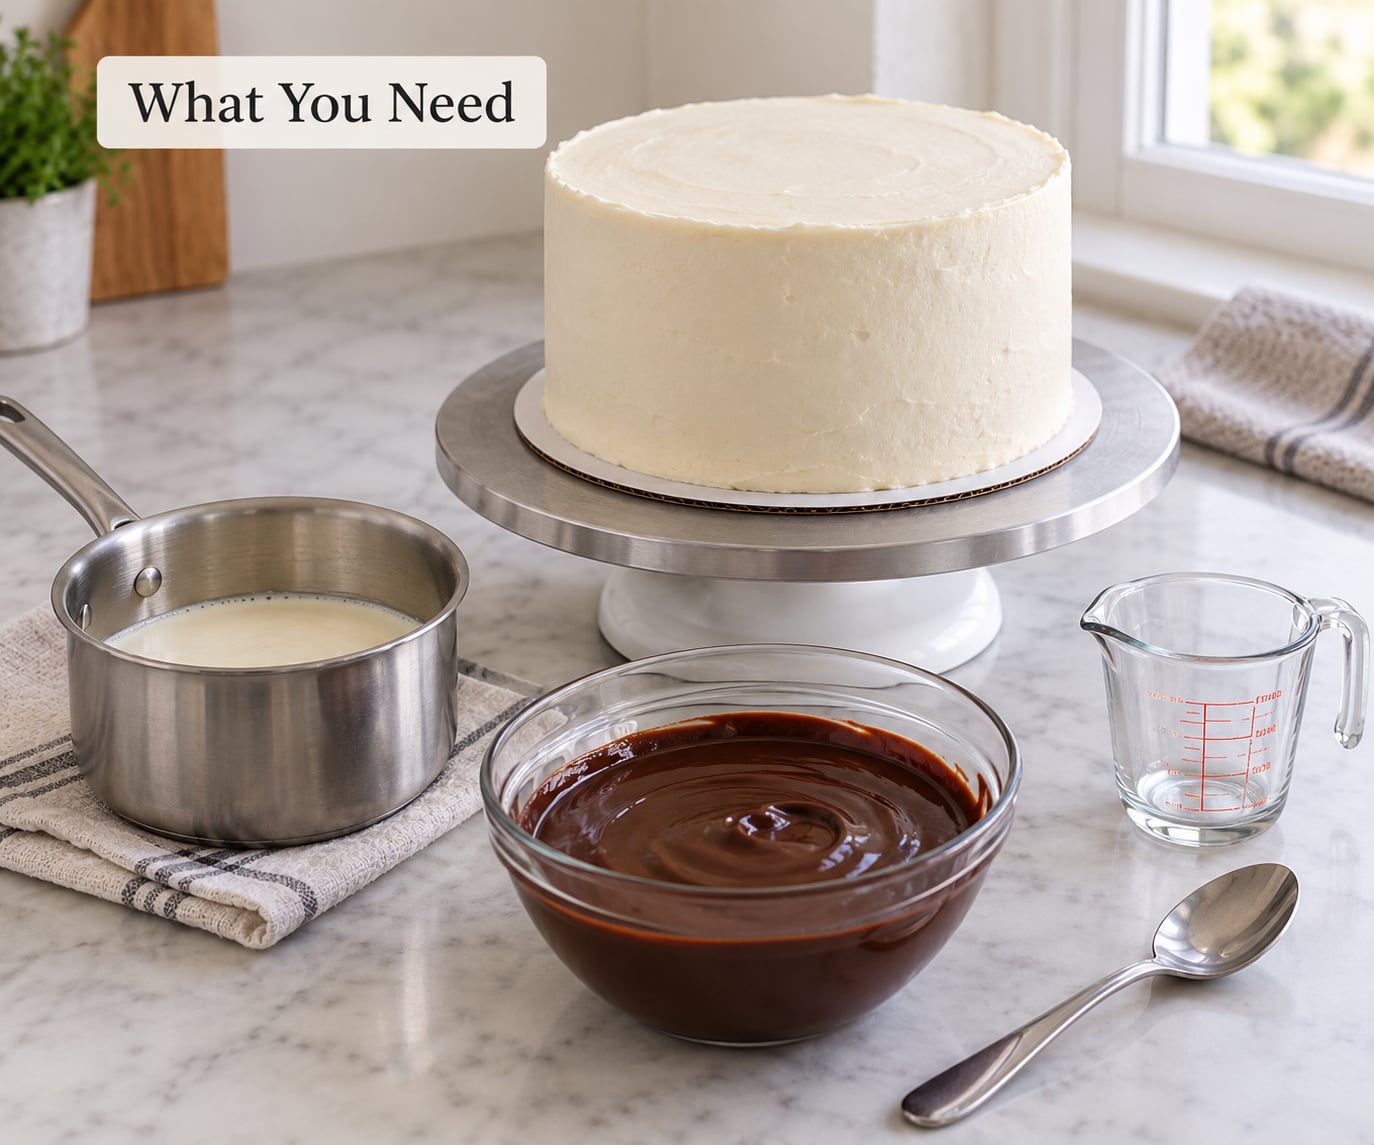
The base chocolate drip recipe is two ingredients: good chocolate and heavy cream. Everything else is equipment you probably already own.
- Chocolate: 6 oz (170 g) semi-sweet chocolate chips or chopped dark, milk or white chocolate
- Heavy cream: 2 to 4 oz (60 to 120 ml) depending on chocolate type, at 36-38% milk fat
- Equipment: small saucepan or microwave, heat-safe bowl, whisk or spatula, spoon, offset spatula, cake board or turntable
- Application tool: squeeze bottle, piping bag with a small round tip, or a heavy spoon
Chocolate-to-cream ratio by type
The ratio changes because white and milk chocolate carry more cocoa butter, so they thicken faster and need less liquid. Dark and semi-sweet are looser at the same ratio.
| Chocolate type | Chocolate | Heavy cream | Resulting texture |
|---|---|---|---|
| Dark | 6 oz (170 g) | 4 oz (120 ml) | Loose, glossy, sets soft |
| Semi-sweet | 6 oz (170 g) | 4 oz (120 ml) | Balanced, easy to pipe |
| Milk | 6 oz (170 g) | 3 oz (90 ml) | Thicker, sets firmer |
| White | 6 oz (170 g) | 2 oz (60 ml) | Very thick, holds a sharp line |
How much ganache you need
Scale by the top edge of the cake, not the whole surface. A drip that stops a third of the way down the side uses far less than a full pour-over.
- 6-inch or 8-inch layer cake: 4 oz chocolate with 3 oz cream
- 9-inch or 10-inch cake: 6 oz chocolate with 4 oz cream
- 12-inch or sheet cake: 10 oz chocolate with 6 oz cream, applied in two passes
- Standard cupcakes: 1 tablespoon per cake, piped from the bag
Optional variations
White chocolate gives a bright contrast against dark buttercream, though it needs the least cream and the shortest cool time. Colored drips come from candy melts plus a few drops of gel food coloring, stirred with a tiny amount of neutral oil so the color does not seize. Candy melts skip the cream entirely: pour hot water over them, wait one to five minutes without stirring, then stir smooth for a heat-stable ganache that holds its shape in warm weather.
For a metallic finish, stir a little edible luster dust into the cooled ganache, or paint the inside of a clean piping bag with luster dust paste and pipe through it. A vegan version uses full-fat coconut cream in place of dairy cream at the same weight ratio.
Step-by-Step
Step 1: Prepare and Chill the Cake
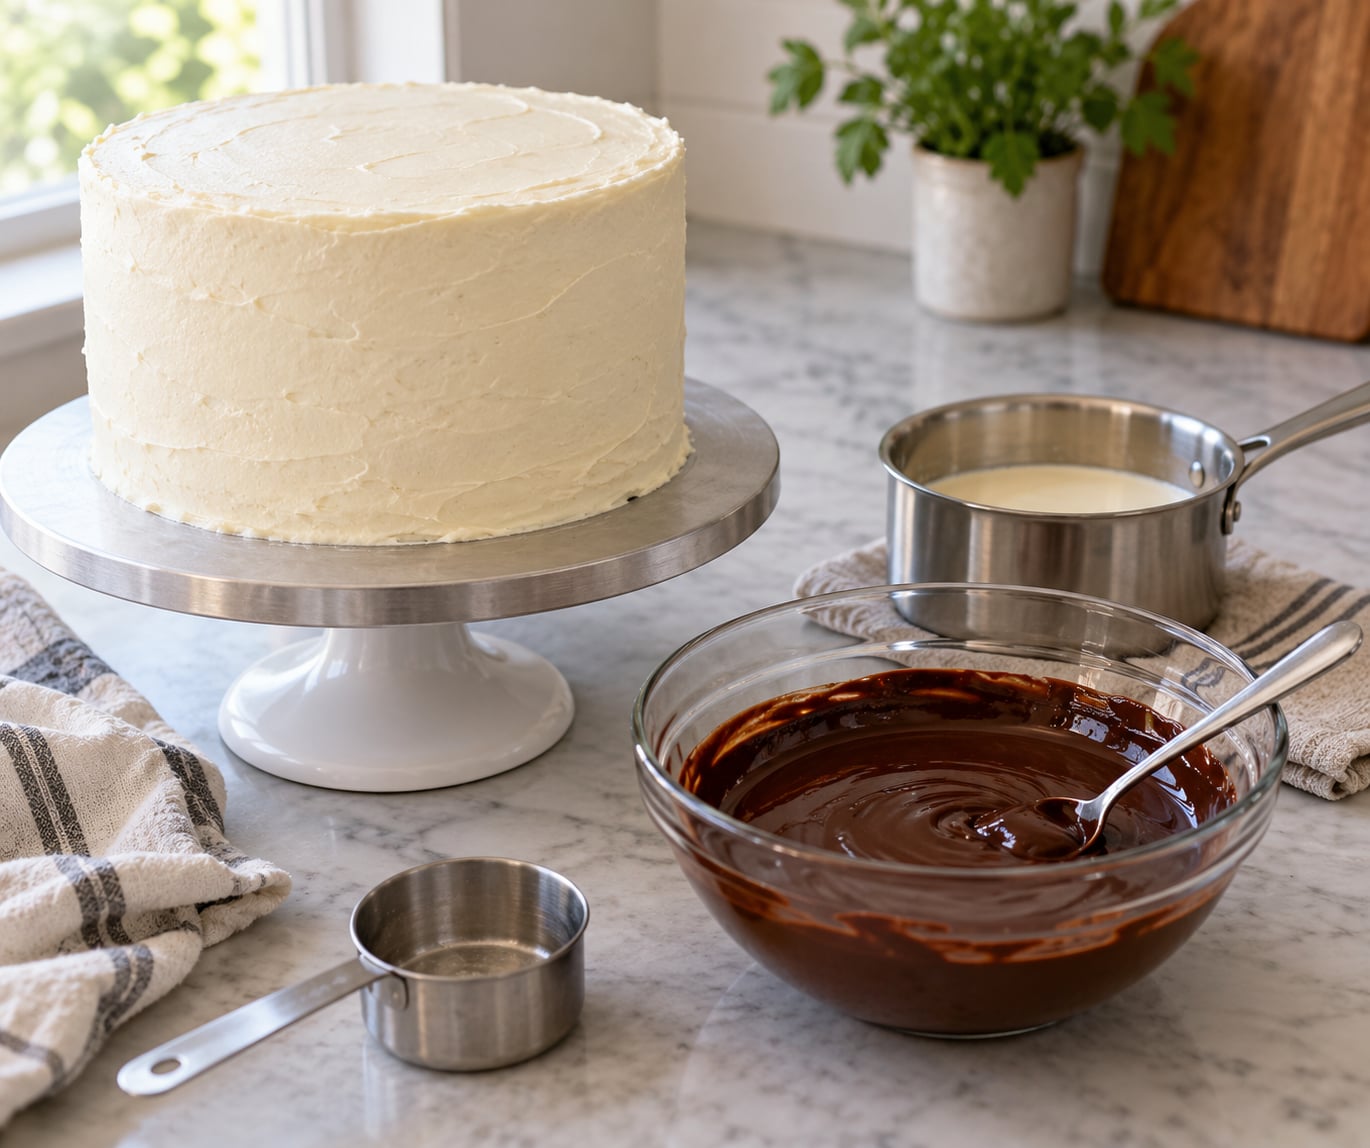
Level the cake, then apply a thin crumb coat so crumbs do not drag into the drips. Freeze the crumb coat for 10 to 15 minutes, add the final coat of buttercream, and smooth the sides with an offset spatula or bench scraper until the cake is perfectly vertical. Drips stop at a random height when the sides are uneven, so this step decides how clean the finish looks.
Put the finished cake on a serving plate or thin cake board, then chill it for 20 to 30 minutes in the fridge or about 10 minutes in the freezer. The cake should feel firm and cold to the touch. Buttercream that is even slightly soft will melt under warm ganache, and that is the number one cause of chocolate sliding into the frosting.
Most home bakers frost and chill the cake the day before, then make the ganache and drip on the day of the event.
Step 2: Make the Chocolate Ganache
Heat the measured cream in a small saucepan until it just begins to simmer at the edges, then pour it over the chocolate in a heat-safe bowl. Wait one to two minutes without stirring so the heat finishes the melt, then whisk from the center outward until the mixture is glossy, smooth and fully emulsified with no chocolate flecks at the bottom.
A microwave works too: heat 6 oz of chocolate in a bowl for 60 seconds, stir, add 2 to 3 more short bursts until the last burst needs stirring to finish. The sign of a good ganache is a mirror finish with a clean streak left by the whisk, not a dull matte surface.
If the ganache looks grainy or splits into chocolate and liquid, the cream was not hot enough or you splashed water into it. Add a tablespoon of hot cream and whisk hard for another minute; it usually comes back.
Step 3: Cool the Ganache to the Right Temperature
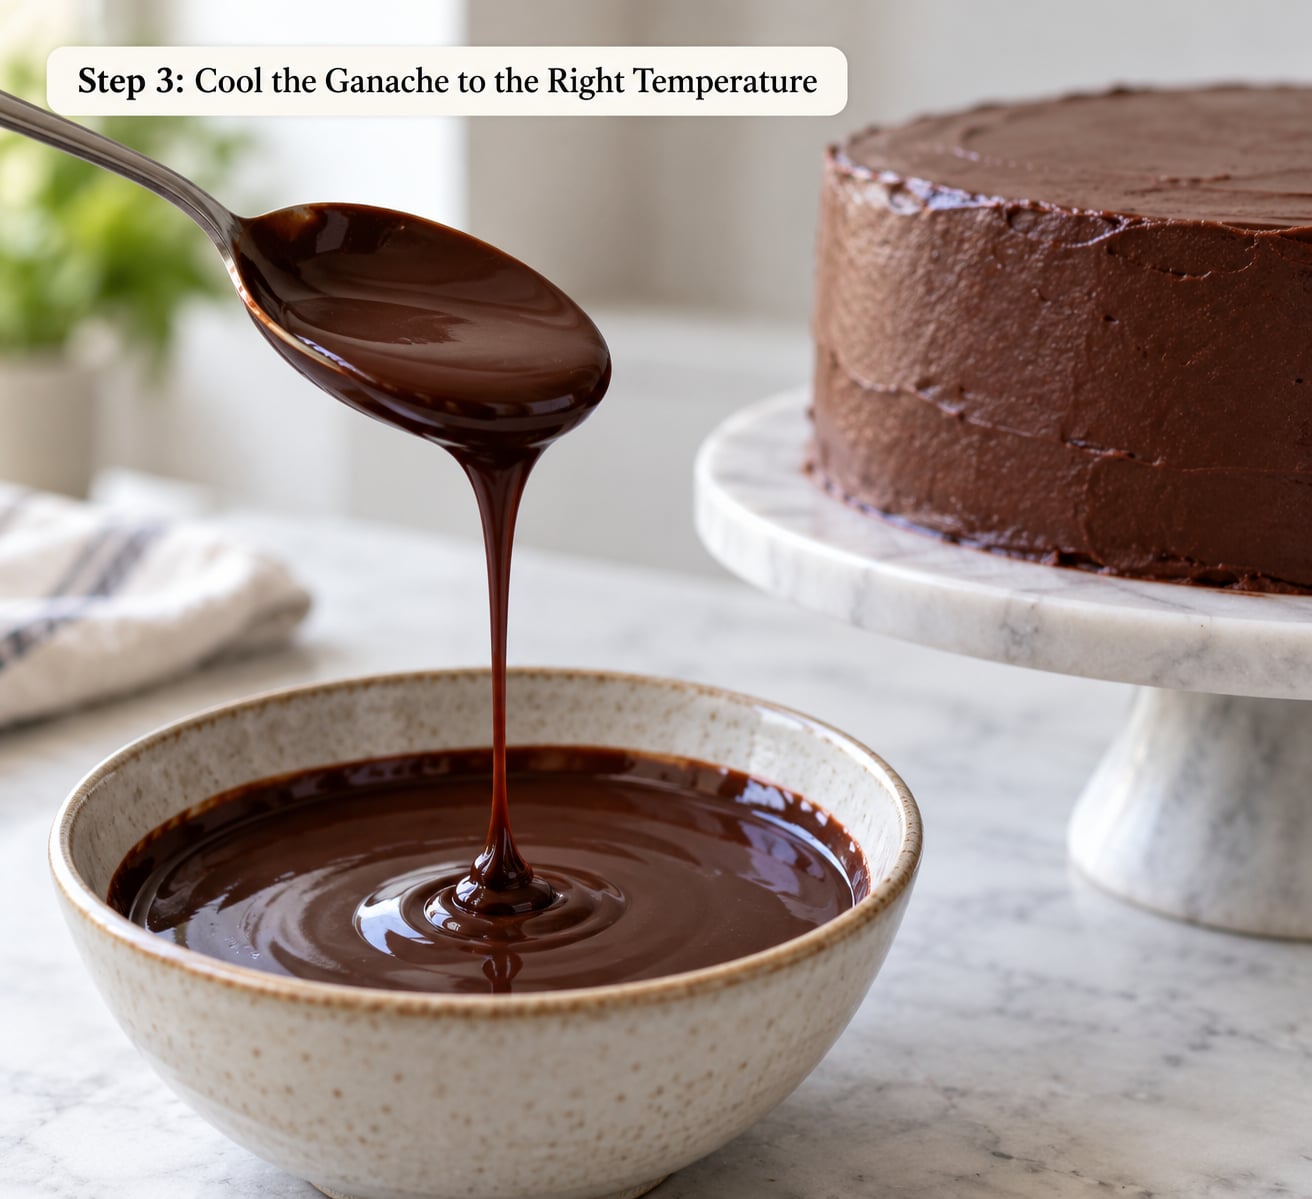
Let the ganache cool until it is just warm, roughly 90F (32C), and no longer steaming. A warm spoon, a gentle drip off the whisk and a satin surface are the cues to watch, since ganache cools fast on a cold spoon and can fool you.
Run the cold-glass test. Put a chilled glass in the freezer for five minutes, hold it sideways above the cake edge, and squeeze a little ganache onto it. A good drip clings, slides a short distance and stops. If it runs straight down and pools, the ganache is too thin. If it sits in a stiff blob, it is too thick.
Fix thin ganache by letting it sit longer, or by adding a tablespoon of melted chocolate and stirring it in. Fix thick ganache by whisking in cream a teaspoon at a time until it just loosens. Many decorators go one step further and deliberately thin the ganache to a slightly runnier consistency, then use a squeeze bottle for a finer line; the cold cake is what stops it either way.
Step 4: Apply the Drip and Finish the Top
Load the cooled ganache into a squeeze bottle or piping bag. Start at the top edge of the chilled cake and pipe one complete ring first, then stop where that ring ends. Add the rest of the drips going around the cake, varying the size as you go so it looks natural rather than evenly spaced.
Alternate long and short drips, and aim for roughly a third of the way down the side. Squeeze a little harder to start a drip and ease off to thin the tail. Leave a small clean border of about half an inch where the first ring meets the center of the top.
Spoon the remaining ganache into that center gap and smooth it to the edges with an offset spatula, letting it level on its own so you do not push it over the rim. Let it set for about 10 minutes, then add berries, sprinkles, gold dust or a candle. Decorating goes on last, while the ganache is still slightly soft enough to hold it.
Common Mistakes
Almost every drip problem is temperature or timing. Here are the ones that come up most, and what to change.
| What went wrong | Cause | Fix |
|---|---|---|
| Drip ran to the base of the cake | Ganache too warm or cake not fully chilled | Chill the cake 10 more minutes, cool the ganache until barely warm, test on a cold glass |
| Drip is thick and blobby | Ganache cooled too far or white chocolate ratio off | Warm it 5 seconds at a time and whisk in cream a teaspoon at a time |
| Drip sits in stiff peaks | Cake too warm, ganache not glossy enough | Use a freshly whipped ganache and a cake straight from the fridge |
| Ganache is grainy or split | Cream not hot enough, or water splashed in | Add a tablespoon of hot cream and whisk vigorously until glossy |
| Chocolate sank into the frosting | Frosting not firm, ganache applied warm | Chill until the buttercream is rock solid, then re-drip with cooler ganache |
| Drips stop at different heights | Cake sides not level | Re-level with a serrated knife and smooth the sides before chilling |
| Messy edge where drips meet the rim | No clean border left at the top | Stop the ring half an inch short of the start and fill the center with the spatula |
| Berries bled into the ganache | Decorating added before the ganache set | Wait the full 10 minutes and pat fruit dry before placing it |
Do not drip a fondant-covered cake. Fondant is already a smooth shell, so ganache gathers unevenly and slides into a goopy mess. Buttercream, whipped ganache frosting and cream cheese frosting all work.
If a drip already failed, chill the cake for 15 minutes to firm the frosting, scrape off anything that reached the plate, then re-drip the bare patches with cooler ganache. For an overflow that soaked into the frosting, the frosting itself will have to come off and be replaced before you try again.
Frequently Asked Questions
Why does my chocolate drip run all the way down the cake?
Almost always temperature. The cake needs 20 to 30 minutes in the fridge so the buttercream is firm, and the ganache needs to cool to about 90F (32C) before it touches anything. If your drip still pools at the base, test it on a chilled glass first. If it runs on the glass too, let the ganache sit longer or stir in a tablespoon of melted chocolate to thicken it.
Do I need to chill the cake before adding chocolate drips?
Yes, and this is the step people skip. A cold, firm buttercrumb coat plus a final coat chilled for 20 to 30 minutes in the fridge, or about 10 minutes in the freezer, means the first drop of ganache sets on contact instead of melting in. The cake should feel cold and firm to the touch before you pipe. A warm cake will turn the frosting translucent and slide the chocolate down to the plate.
How long should I let the ganache cool before dripping?
Cool it until it is just warm, roughly 90F (32C), which usually takes 10 to 15 minutes depending on how much you made and how cool your kitchen is. Test by dragging a warm spoon through the surface: it should leave a clean line and the ganache should drip off the spoon slowly rather than pour. Cooler than that and the drips turn stiff and blobby.
Can I use milk instead of heavy cream for a chocolate drip?
No. Heavy cream carries about 36 to 38% milk fat, and that fat is what emulsifies with the cocoa butter to give you a ganache that stays glossy and holds a line. Milk is roughly 3% fat, so it will not emulsify properly and you will end up with a loose, watery drip that never sets. Half-and-half is closer but still thin, and single cream outside the US works only if it is full-fat.
Should I use chocolate ganache or candy melts for the drip?
Both work, and they suit different situations. Cream ganache tastes richer and glossier and is the better choice for a cake served within a day or two. Candy melts made with hot water set firmer and tolerate heat and humidity much better, which makes them the safer pick for a party cake sitting out for hours. Both need a cold cake and the same cool-and-test routine before piping.
How do I store a chocolate drip cake, and can I make it ahead?
A frosted cake can be made and chilled a day ahead, but drip it on the day you serve it so the ganache is fresh and glossy. If you must finish early, refrigerate the dripped cake uncovered for up to two days, then bring it to room temperature for 20 minutes before serving. Leftover ganache keeps about a month in the fridge and reheats in 10-second microwave bursts, and it is good on cupcakes, cookies or ice cream.
Conclusion
Everything about how to make chocolate drip for a cake comes down to four moves: chill the cake until it is genuinely firm, stir the cream ganache until it is glossy with no flecks, cool it until it flows slowly off the spoon, and pipe small drips with a clean border before filling the top. Get those four right and the technique stops being luck.
Practice it once on a chilled glass, then on a spare cupcake. The second time is always faster than the first.