How to convert a cake pan size for a recipe is a volume problem, not a width problem. Work out the inside volume of the pan the recipe was written for, work out the inside volume of the pan you actually own, divide one by the other, and that number is your recipe multiplier. Multiply every ingredient by it, keep the batter at the same depth in the new pan, and bake to doneness rather than to the timer. It takes about five minutes of math and saves a cake that would otherwise bake thin, dry at the edges and dark on top before the middle sets.
The reason this trips people up is the arithmetic of area. A round pan’s footprint grows with the radius squared, so moving from an 8-inch round to a 9-inch round adds 12.5% to the diameter but 27% to the surface area. Scale by the number printed on the pan and your batter runs out half a cup short. Scale by volume and nobody in the kitchen notices anything changed.
Below is the working method, the charts, and the doneness checks that tell you it worked.
Table of Contents
- What You Need
- Step-by-Step: How to Convert a Cake Pan Size for a Recipe
- Measure the Original Pan’s Diameter and Depth
- Choose the Closest Replacement Pan
- Calculate the Batter Volume for Round Pans
- Calculate the Batter Volume for Square or Rectangular Pans
- Adjust Fill Level, Baking Temperature, and Time
- Check the Batter and Confirm the Cake Is Done
- Common Conversion Mistakes and How to Fix Them
- Frequently Asked Questions
- Can you convert a cake pan size without changing the recipe?
- How do I convert a 9-inch cake pan to an 8-inch pan?
- Can a rectangular pan replace a round pan?
- How full should I fill a converted cake pan?
- What if the scaled batter does not fit in my pan?
- What is the 3:2:1 rule in baking, and does it apply to cake pans?
- Conclusion
What You Need
You need five things, and none of them are expensive. The first is the original recipe, open on your phone or counter, with the pan size and bake time written down.
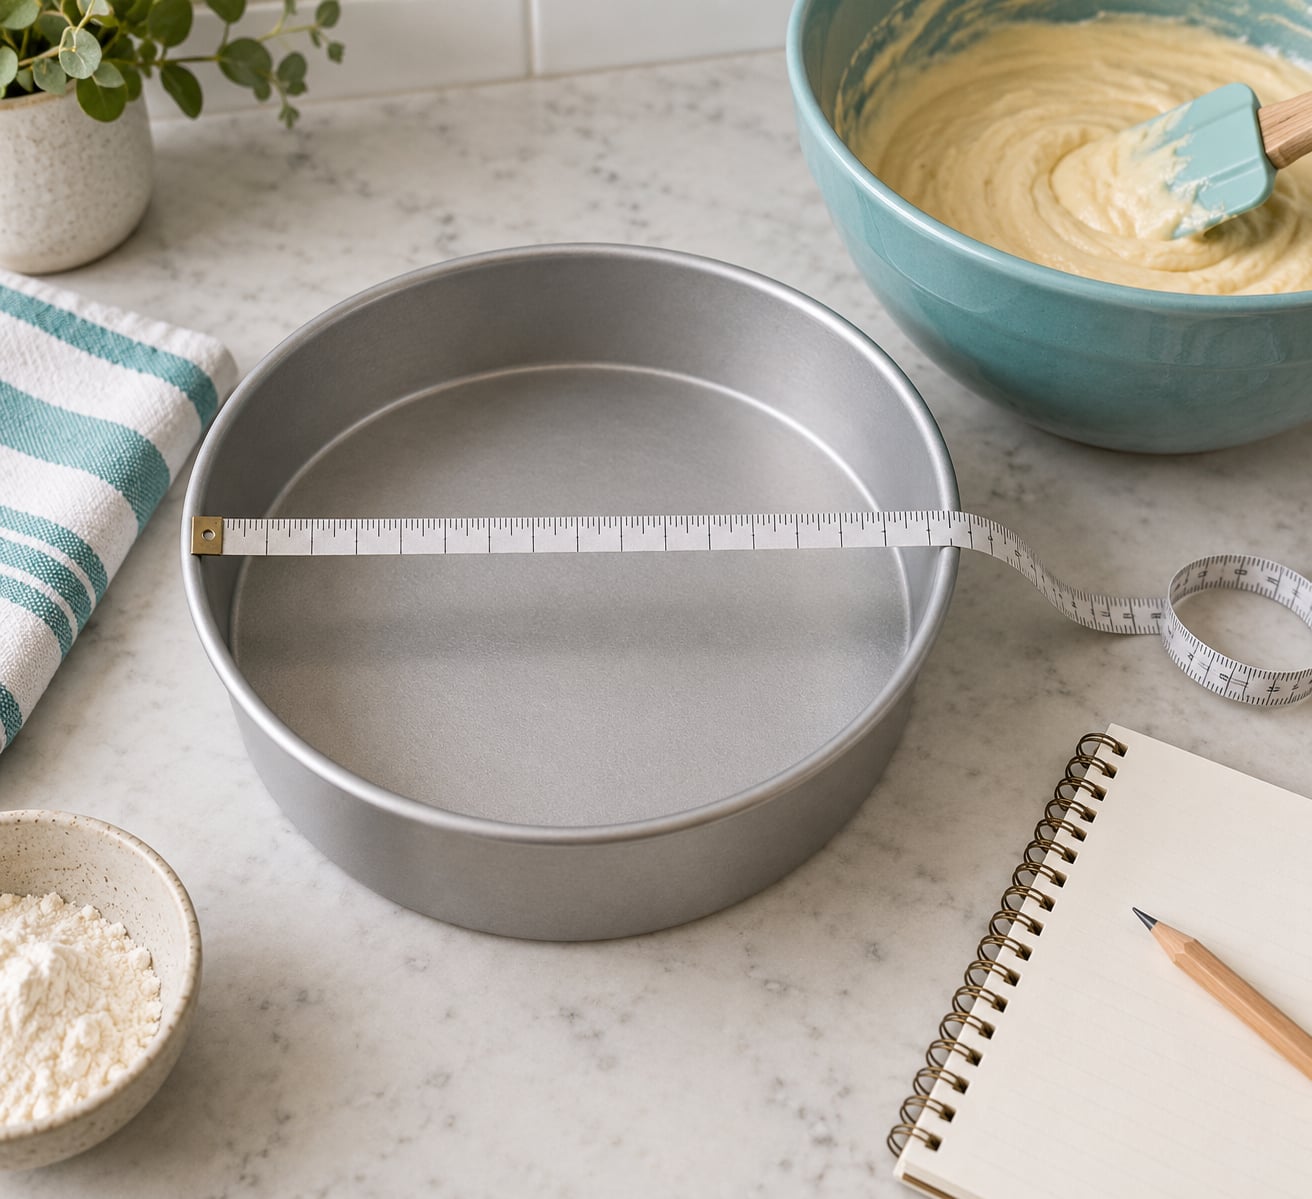
The second and third are the inside dimensions of both pans: the original one and the one you want to use. Inside means the baking surface, not the rolled rim, and I will explain why that difference matters below.
Fourth, note the shape of each pan: round, square, rectangular, loaf, bundt or springform. Shape changes the corners and the way heat moves, so a rectangular pan holding exactly the right volume still bakes differently from a round one.
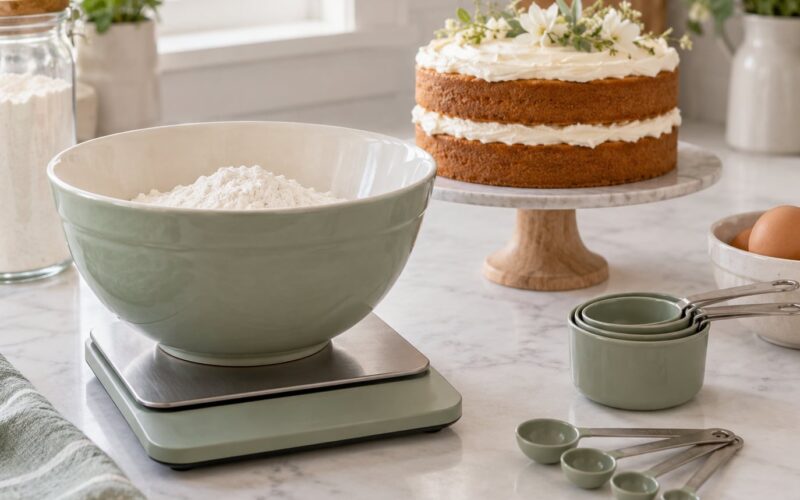
Fifth, a measuring tape and either a calculator or a kitchen scale. A scale is the single biggest upgrade for this job, because multiplying 240g of flour by 1.27 is honest while multiplying 2 cups of flour by 1.27 is a guess. Both tools take under a minute.
What you do not need is a chart for your exact swap. Once you know the method you can work out any pan in the world, including the odd springform in the back of the cupboard.
Step-by-Step: How to Convert a Cake Pan Size for a Recipe
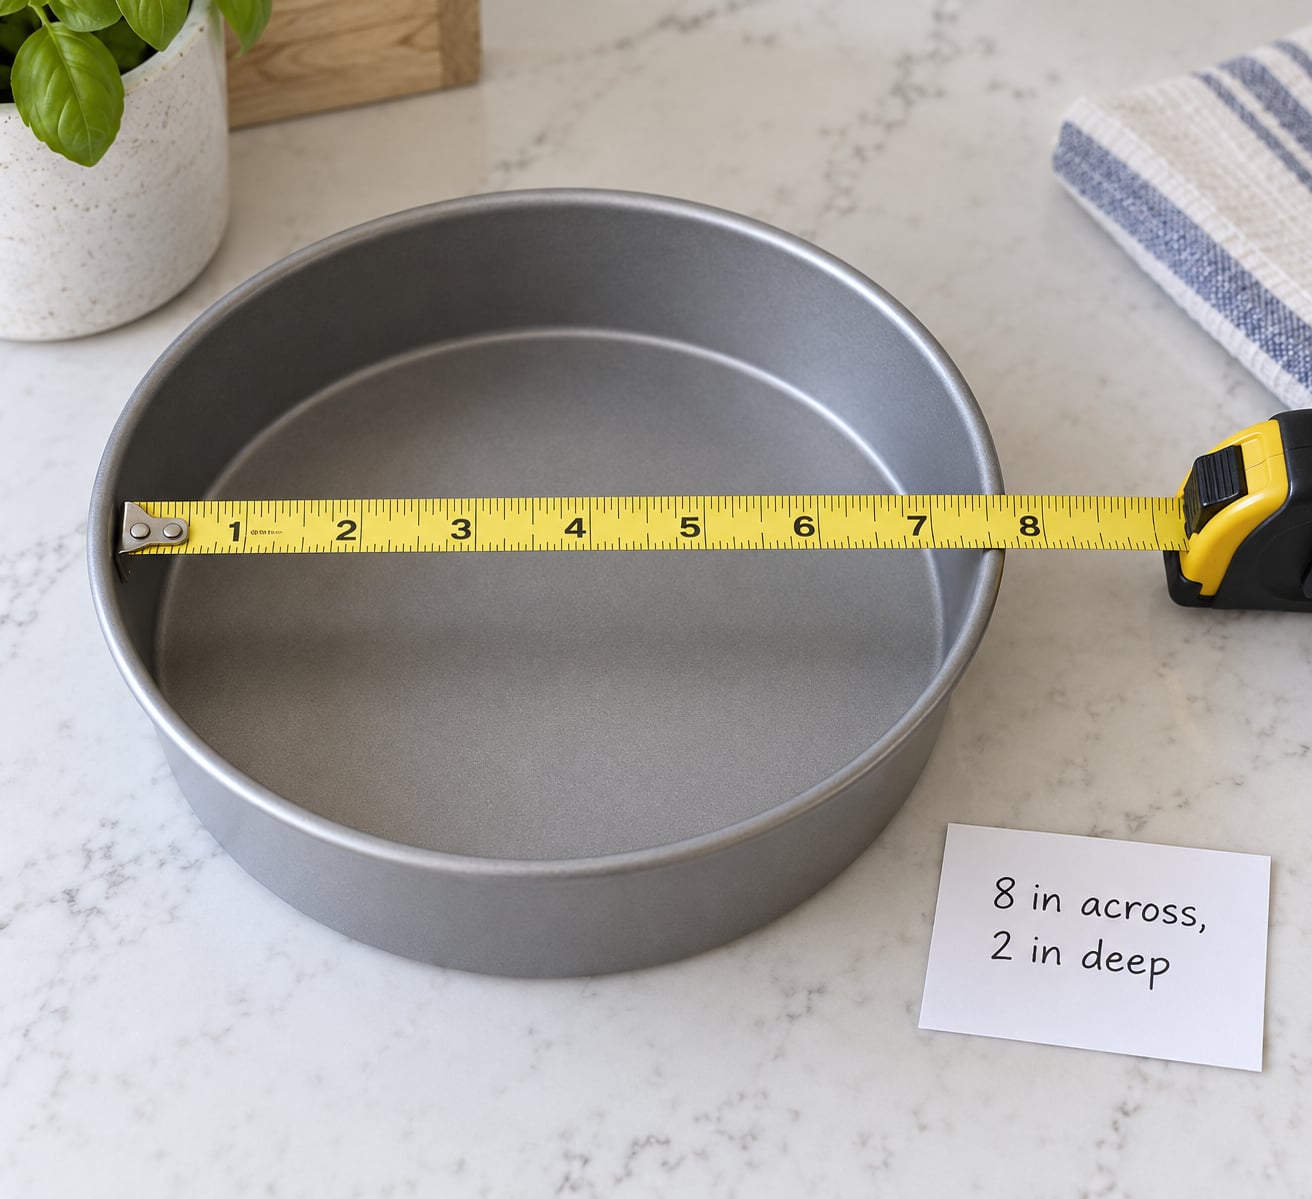
The whole process has five moves: measure the original pan, pick the closest replacement, calculate both volumes, divide for the multiplier, then scale and bake by doneness.
Measure the Original Pan’s Diameter and Depth
Measure across the flat interior base of the pan, wall to wall, and record that number. Then measure the usable interior depth, from the base up to the rim, ignoring any rim that folds outward. Most cake pans are two inches deep, though springforms and bundt molds run deeper.
Write down the shape too. Two 8-inch rounds means two pans, and that pan count is part of your calculation, not a detail to skip. A recipe using two 8-inch rounds is asking for twice the volume of a single one.
One trap: metric tins are labelled with rounded numbers. A pan stamped 20 cm is really about 19.7 cm, which is 7.75 inches, not 8. That small gap is why a metric recipe can run a little heavy in an imperial tin. Measure when you can.
Choose the Closest Replacement Pan
Match the shape first, then the depth, then the volume. A deep pan holding the right volume produces a taller, denser cake with a longer bake, and no amount of ingredient math fixes a two-inch difference in depth.
Prioritize interior volume over the stamped size. Two pans can share a nominal diameter and hold noticeably different amounts if one has sloped walls or a wider base. When the volumes land within about 10% of each other, bakers report the finished cake is indistinguishable from the original.
Decide how many pans you will fill. If the recipe gives you two 8-inch rounds and you own one 9×13, that is a legitimate swap, not a failure. Scale the batter to fill the single pan to the same depth rather than splitting it into two tired thin layers.
Calculate the Batter Volume for Round Pans
For a round pan, area is pi times the radius squared: 3.1416 × (diameter ÷ 2)². Multiply that area by the inside depth and by the number of pans, and you have total volume in cubic inches. Divide by 14.4375 and you get US cups of batter.
Worked example: converting a two 9-inch round recipe to a single 10-inch round. Each 9-inch round has an area of 3.1416 × 4.5² = 63.6 square inches, so two of them give 127.2 square inches of footprint. The 10-inch round has an area of 3.1416 × 5² = 78.5 square inches. The multiplier is 78.5 ÷ 127.2 = 0.62, so you use about 62% of the original recipe in one pan instead of splitting it into two layers. Baking a 10-inch round takes roughly 5 to 10 minutes longer than one 9-inch round because the single cake has more depth to set.
For the reverse move, an 8-inch round recipe scaled to 9-inch rounds takes a 1.27 multiplier: 63.6 ÷ 50.3 = 1.27. That is the number most people are looking for, and it is very close to the 27% figure you have probably seen quoted.
| Pan | Metric | Area (sq in) | Batter at 2 in deep (US cups) | Multiplier vs one 8 in round |
|---|---|---|---|---|
| 6 in round | 15 cm | 28.3 | 3.9 | 0.56 |
| 8 in round | 20 cm | 50.3 | 7.0 | 1.00 |
| 9 in round | 23 cm | 63.6 | 8.8 | 1.27 |
| 10 in round | 26 cm | 78.5 | 10.9 | 1.56 |
| 12 in round | 30 cm | 113.1 | 15.7 | 2.25 |
| 8 in square | 20 cm | 64.0 | 8.9 | 1.27 |
| 9 in square | 23 cm | 81.0 | 11.2 | 1.61 |
| 9 x 13 in | 23 x 33 cm | 117.0 | 16.2 | 2.33 |
| Half sheet 13 x 18 | 33 x 46 cm | 234.0 | 32.4 | 4.65 |
Those multipliers assume one pan, two inches of depth and the same number of layers. Change any one of those three and the number changes with it.
Calculate the Batter Volume for Square or Rectangular Pans
Square and rectangular pans need no pi at all: area is length times width, and volume is that area times the inside depth. Keep every measurement in the same units, whether that is inches throughout or centimetres throughout, or your answer will be nonsense.
A square pan with the same nominal size as a round pan holds about 27% more batter, because 4 divided by pi equals 1.273. That constant is why the old kitchen rule works: use a square pan one inch smaller than the round pan the recipe calls for. An 8-inch round and an 8-inch square are not interchangeable, but a 9-inch round and an 8-inch square are close enough to be twins at 63.6 versus 64.0 square inches.
For rectangles, the classic comparison is the 9×13. Two 9-inch rounds give 127.2 square inches of footprint against the 9×13’s 117, so a single 9×13 needs a 0.92 multiplier for that batter. Two 8-inch rounds give 100.5 square inches, so a 9×13 needs 1.16 times the batter. And two 8-inch squares give 128 square inches, which is about 9% more than the 9×13 holds, so if the recipe called for 8-inch squares you can bake a 9×13 with a 0.91 multiplier.
| Swap | Footprint (sq in) | Multiply recipe by |
|---|---|---|
| One 9 in round to one 8 in square | 63.6 to 64.0 | 1.00 |
| One 8 in round to one 7 in square | 50.3 to 49.0 | 0.97 |
| Two 8 in rounds to one 9 x 13 | 100.5 to 117.0 | 1.16 |
| Two 9 in rounds to one 9 x 13 | 127.2 to 117.0 | 0.92 |
| One 9 x 13 to one half sheet | 117.0 to 234.0 | 2.00 |
| One 8 in round to one 12-cup muffin tin | 50.3 to 75.4 | 0.75 |
Rectangles also carry a batter-depth quirk. A 9×13 is wide but shallow, so a cake in it often domes in the middle and browns before the edges have set. If you can, trim a foil collar from a second pan and set it inside the 9×13 to hold the edges back.
Adjust Fill Level, Baking Temperature, and Time
The conversion fixes the batter volume. It does not fix temperature, time or fill line, and those are what turn a scaled cake into a good one.
Fill the new pan so the batter sits at the same depth as it would in the original. For most layer cakes that means roughly two-thirds of the way up the pan, which is about 1.5 inches of batter in a 2-inch pan. A pan filled to the brim will overflow, and the overflow goes into your oven.
Keep the recipe’s temperature when the batter depth is roughly unchanged. Drop it by about 25°F (15°C) when the batter is deeper than two inches, because a thicker mass needs gentler heat to bake through before the outside burns.
Start checking five minutes earlier than the original recipe when you have gone to a bigger pan and shallow batter, and expect a longer bake when you have gone deeper. If you swap a dark metal pan for glass or ceramic, drop another 25°F, since those hold and deliver heat differently from dark metal.
| What changed | Batter depth | Temperature action | Time action |
|---|---|---|---|
| Bigger pan, same layer count | Slightly shallower | No change | Start checking 5 to 10 min early |
| Depth unchanged, more surface area | Same | No change | Same time, rotate once |
| Fewer pans, more batter each | 2 to 3 in | Drop 25 F / 15 C | Add 10 to 20 percent |
| Deep single pan or sheet cake | Over 3 in | Drop 25 F / 15 C, foil collar | Add 30 to 40 percent, test often |
| Light or glass pan swapped in | Any | Drop 25 F / 15 C | Add 5 to 10 percent |
Ovens vary, and so do pans, which is why the table is a starting point rather than a promise. Bakers on baking forums are consistent on one point: nobody has ever regretted pulling a cake a few minutes early and testing it, and plenty have regretted trusting a timer over a skewer.
Check the Batter and Confirm the Cake Is Done
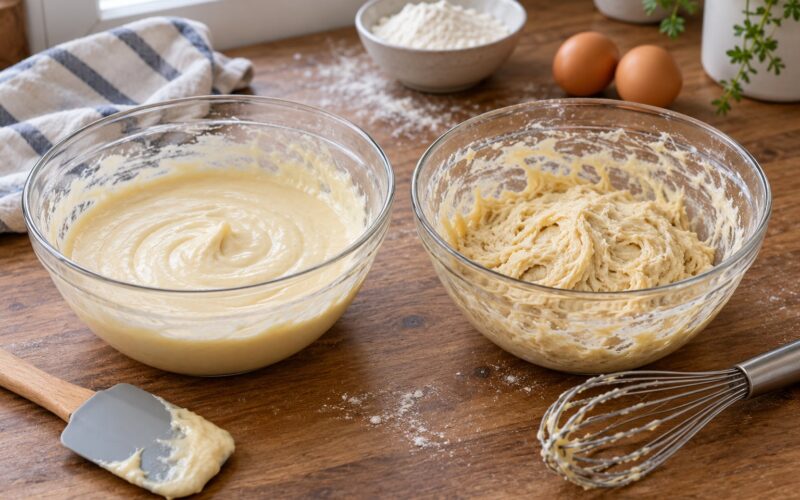
Run a thin skewer or toothpick into the thickest part of the cake, off-centre and not through a frosting or a chocolate chip. If it comes out with a few moist crumbs clinging, it is done. Wet batter means give it another three to five minutes; a completely clean skewer means it is past done and drying out.
The spring-back test works alongside it: press gently on the centre with a fingertip. If the dent fills back in almost immediately, the cake is set. If the dent stays, keep baking.
Watch the edges. A properly filled pan leaves a narrow gap of about half an inch between the batter and the wall; if the batter is level with the rim, you have overfilled and the cake will rise out, spread and probably bake unevenly.
If you do end up with extra batter, bake it in a muffin tin or a couple of ramekins rather than pouring it all into a pan that cannot hold it. Small cakes bake faster, so start checking those at about 15 minutes.
Common Conversion Mistakes and How to Fix Them
Most bad cakes from this process trace back to one of a handful of errors, and each has an obvious fix.
Scaling by diameter instead of area. This is the big one, and it is why “add 25% per inch” advice keeps circulating. Going from 8 to 9 inches needs 1.27, not 1.125. Fix: square the diameter before you compare anything.
Measuring the outside rim. A rolled or flared rim adds a centimetre or more that never holds batter. Fix: measure the flat base inside the walls.
Converting by circumference. A pan holds an area, not a length. Fix: ignore the tape measure’s inch markings around the curve and use the flat diameter.
Filling the pan to the brim. Batter needs headroom to rise, and the capacity stamped on the rim assumes about two-thirds fill. Fix: aim for 1.5 inches of batter in a 2-inch pan.
Changing pan size, temperature and time all at once. Then you have three variables and no idea which one caused the problem. Fix: change the pan, keep the temperature, and adjust time only after you see the batter depth.
Assuming bake time scales with size. It does not follow any clean formula, and deep cakes in particular run far longer than a simple multiplier suggests. Fix: treat every listed time as the earliest point to start testing.
Ignoring the recipe’s structure. A high-rise chiffon or sponge relies on a specific batter weight and a specific pan. Fix: keep the batter identical, change the pan shape, and add time rather than scaling the ingredients.
Trusting the stamped capacity. The cup figure printed on a pan rim assumes a specific fill level and a straight-sided pan. Fix: calculate from dimensions when you can.
| What scales | What does not |
|---|---|
| Flour, sugar, butter, oil, milk and other liquids | Pan greasing, flour dusting and parchment area |
| Baking powder and baking soda, within about half again | Frosting, filling and glaze quantities |
| Extracts and flavourings | The cup capacity printed on the pan rim |
| Batter weight for standard butter cakes | Batter weight for chiffon, sponge and angel food |
One more practical fallback: if you are nervous about scaling, bake the recipe as written in the pan size it was designed for, twice, rather than gambling. Two thinner cakes can be layered and served as one, and that trick rescues more pan mismatches than any formula.
Frequently Asked Questions
Can you convert a cake pan size without changing the recipe?
Only within about 10% of the original volume, which means going from an 8-inch square to a 9-inch round and very little else. Outside that band the batter depth changes, and a cake baked too thin dries out at the edges while one baked too deep domes and browns before the middle sets. Scale the ingredients when the volume gap is bigger than 10%.
How do I convert a 9-inch cake pan to an 8-inch pan?
Divide the 8-inch area by the 9-inch area. A round pan’s area is pi times the radius squared, so 8-inch gives 50.3 square inches and 9-inch gives 63.6. That makes the multiplier 50.3 divided by 63.6, or 0.79. Multiply every ingredient by 0.79 and expect the smaller cake to need roughly 5 to 10 minutes less baking time.
Can a rectangular pan replace a round pan?
Yes, as long as the inside volume matches. A 9 by 13 inch pan holds 117 square inches, which is slightly less than two 9-inch rounds at 127.2, so a two-layer round recipe drops to a 0.92 multiplier in a single sheet. Rectangles also brown faster at the corners, so a foil collar helps hold the edges back.
How full should I fill a converted cake pan?
Fill the new pan to the same batter depth as the original, which for most layer cakes is about two-thirds of the pan, or roughly 1.5 inches of batter in a 2-inch pan. The capacity printed on the pan rim assumes that same two-thirds fill, so it is a decent guide. Never fill to the rim, because the batter needs headroom to rise.
What if the scaled batter does not fit in my pan?
Do not force it. Baking an overfilled pan gives you overflow, a sunken centre and a raw middle. Bake the portion that fits and put the extra into a muffin tin or a couple of ramekins, which need about 15 to 20 minutes. Alternatively, bake two thinner layers instead and split the batter across both pans.
What is the 3:2:1 rule in baking, and does it apply to cake pans?
The 3:2:1 rule describes a mixing ratio in baking, not a pan conversion. It means three parts flour to two parts liquid to one part fat by weight. It is useful for checking whether a recipe is balanced once you have scaled it, but pan size is a separate calculation based on inside area, depth and how many pans you are filling.
Conclusion
Start by measuring the original pan on the inside, diameter or sides and depth, and write down how many pans the recipe fills. Then find a replacement pan with the closest inside volume and a matching shape, scale every ingredient by that ratio, and fill the new pan to the same batter depth rather than to the rim.
Once it goes in the oven, stop watching the clock and watch the cake. The skewer and the spring-back test will tell you more in five seconds than any conversion formula on this page, and that is how you convert a cake pan size for a recipe without gambling a weekend bake.