Simple syrup for cake layers is equal parts sugar and water, one cup of granulated sugar to one cup of water, heated just until the sugar dissolves and then brushed onto each cooled layer in a thin coat. Start with 1 to 2 tablespoons per 8-inch layer. The whole process takes about 15 minutes, most of it waiting.
I soak layers in sponge, génoise and fruit cakes almost every time I assemble one, because those bakes run lean and dry out fast once the frosting goes on. A butter cake with plenty of fat in the batter needs much less, sometimes none. The syrup is not about adding sweetness, it is about replacing water the oven already took out.
Below is the method I use, plus the amounts, the timing, and what to do when a cake turns out too dry to serve.
Table of Contents
- What You Need
- Step-by-Step: How to Make Simple Syrup for Cake Layers
- Step 1: Combine the Sugar and Water
- Step 2: Heat Until the Sugar Dissolves
- Step 3: Cool the Syrup
- Step 4: Moisten the Cake Layers
- Common Mistakes and Tips
- Frequently Asked Questions
- Why do bakers put simple syrup on cake layers?
- How much simple syrup should I use per cake layer?
- Should I add simple syrup to warm or cool cake layers?
- Can simple syrup fix a dry or overbaked cake?
- How long does simple syrup last, and can I freeze it?
- What flavors of simple syrup work best on cakes?
- Conclusion
What You Need
The ingredient list is two items long. Everything else is equipment.
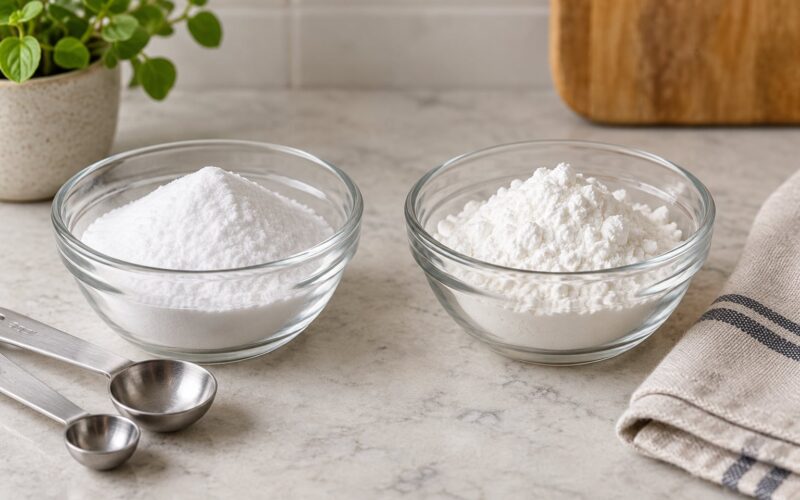
- 1 cup (200 g) granulated sugar
- 1 cup (240 ml) water
- Small saucepan with a heavy bottom
- Wooden spoon or silicone spatula
- Wire cooling rack
- Pastry brush, squeeze bottle or the back of a spoon
- Heatproof bowl for cooling
- Airtight jar for leftovers
Granulated sugar is the standard. It dissolves cleanly, gives a neutral flavor and needs no special handling. Superfine sugar works too and goes clear a little faster, which matters if you are in a hurry.
For the flavorings, add them at the end of the heating step so the flavor stays bright. A teaspoon of vanilla extract, the zest of one lemon, a cinnamon stick or a few sprigs of rosemary all work. A spoonful of honey or a shot of rum turns the same base into something more dessert-like.
On tools: a pastry brush gives you the most control and is the one I reach for. A squeeze bottle is faster when you are soaking four or more layers, since you can work in thin lines instead of dipping repeatedly. A spoon is the fallback, and it is fine for one layer if you spread the syrup with the back of it.
Step-by-Step: How to Make Simple Syrup for Cake Layers
Step 1: Combine the Sugar and Water
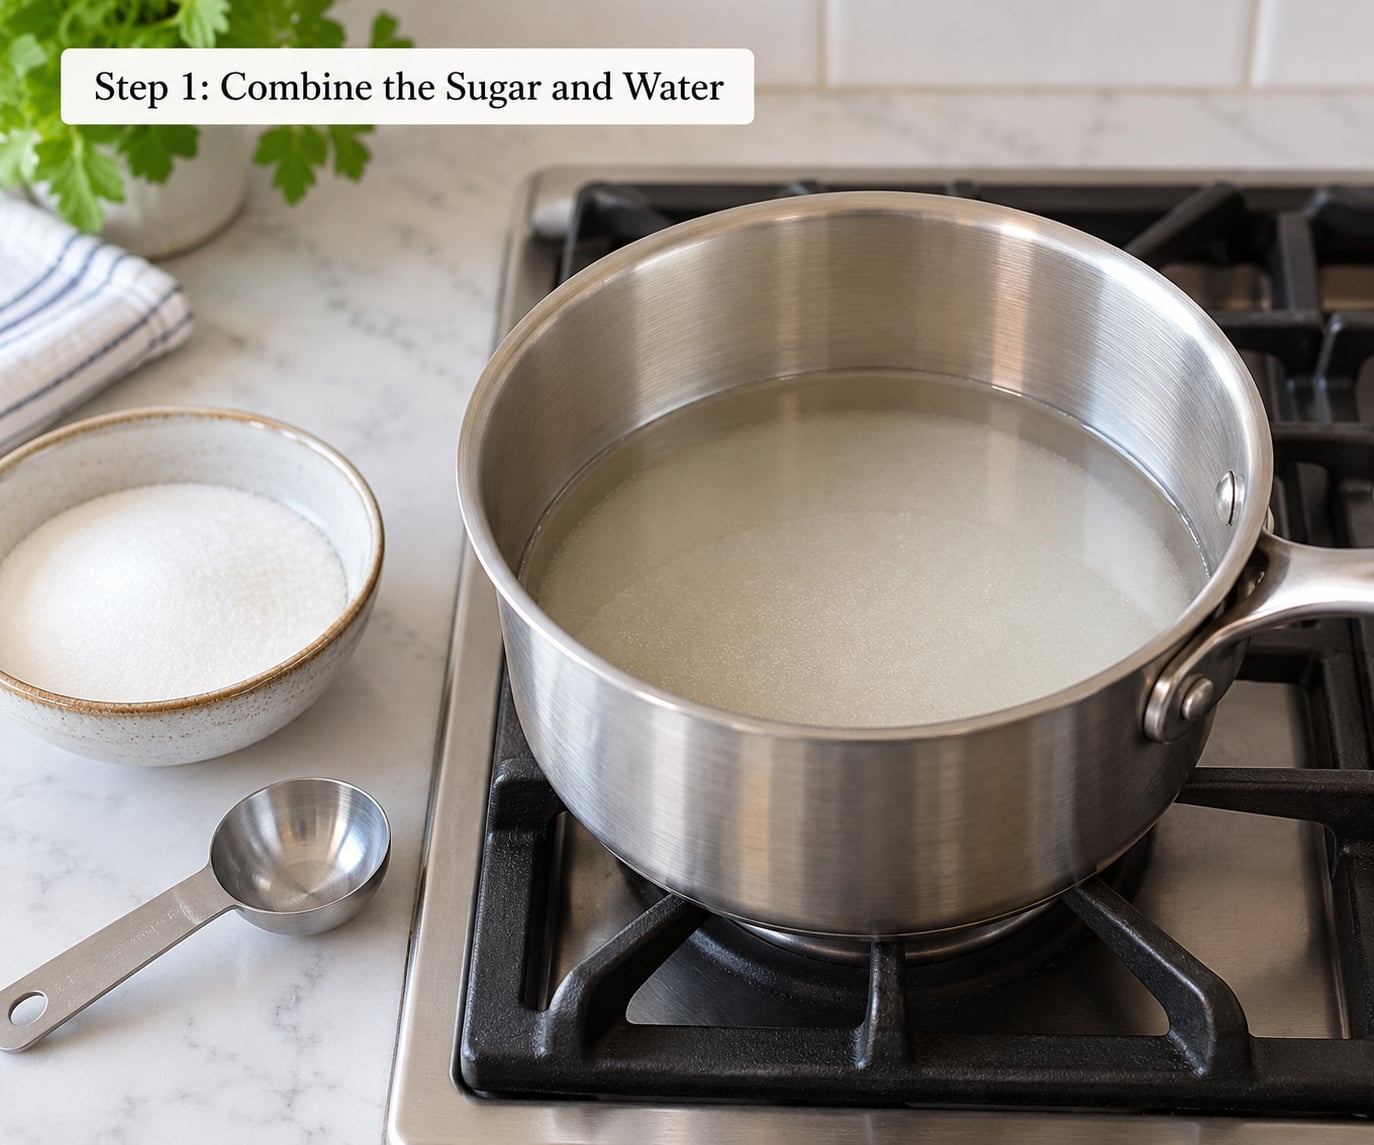
Pour the sugar and water into the saucepan and give it a quick stir. Do not worry that the sugar sits on the bottom in a dry layer, that is exactly what it should look like at this point.
Measurements do not need to be precise here. If you are off by a tablespoon the cake will not notice, and this is the one baking task where a kitchen scale is not required.
Step 2: Heat Until the Sugar Dissolves
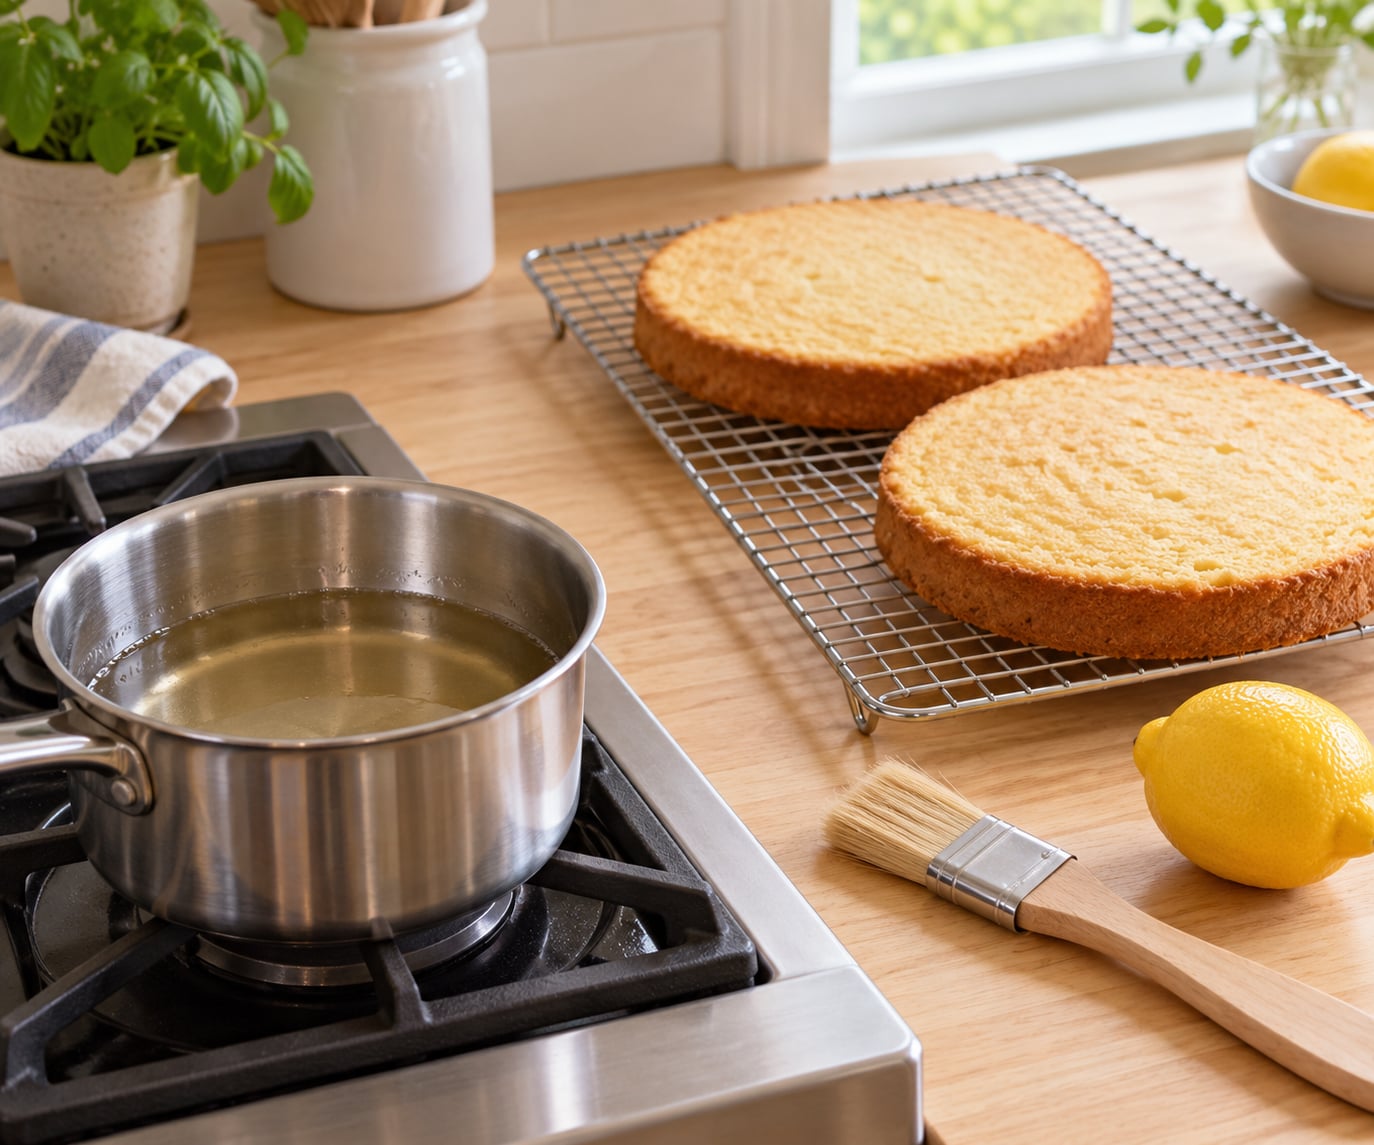
Set the pan over medium heat and stir steadily until the sugar disappears. It takes 3 to 5 minutes, and the mixture turns clear as it goes.
You are looking for clarity, not volume. The syrup is done when you can see the bottom of the pan through it and no grainy texture drags on the spoon. A hard rolling boil is not the goal, and if the syrup thickens to a slow, sticky pour you have gone too far and reduced it.
Turn off the heat and add any flavorings now. They will have time to steep as the syrup cools.
Step 3: Cool the Syrup
Pour the syrup into a heatproof bowl. For speed, set the bowl in a larger bowl of ice and stir for a few minutes, which brings it down in about a third of the time.
Let it cool until it feels room temperature or just barely warm when you touch the bowl. That is the temperature most bakers land on: the cake has cooled fully so the crumb is not torn, while the syrup is fluid enough to move into it.
Skip the lid while it cools, or set it ajar, so condensation does not drip back in and water down the syrup.
Step 4: Moisten the Cake Layers
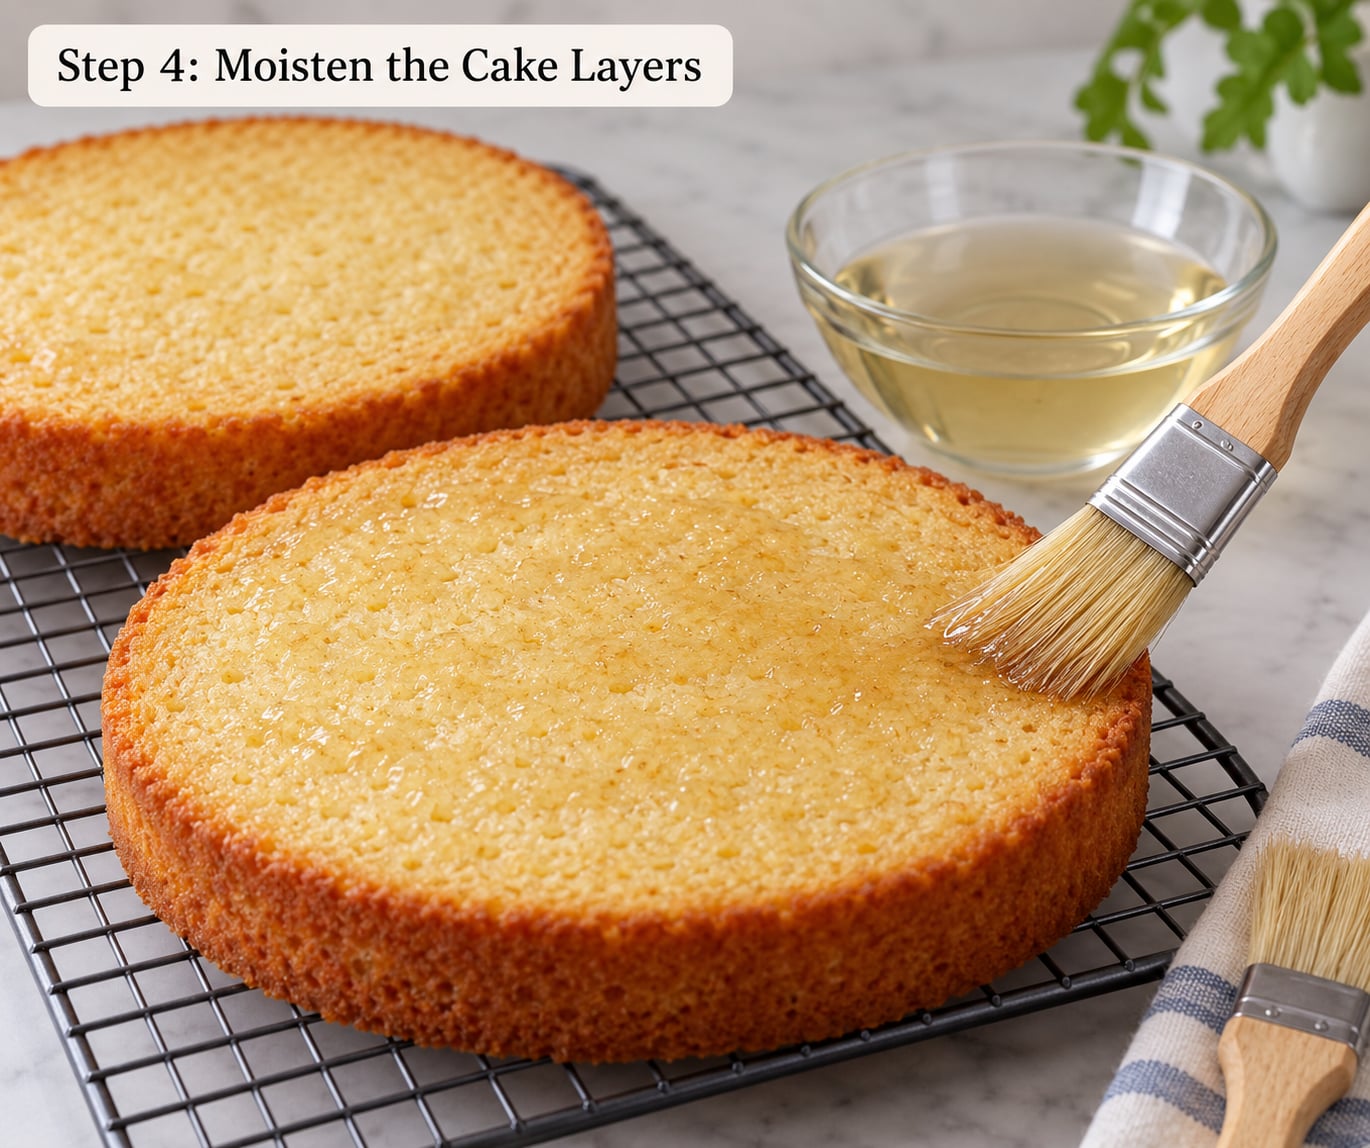
Take the layers out of the pans and let them cool completely on a rack. Syrup on a hot or warm layer melts and slides off instead of soaking in, so this step cannot be rushed.
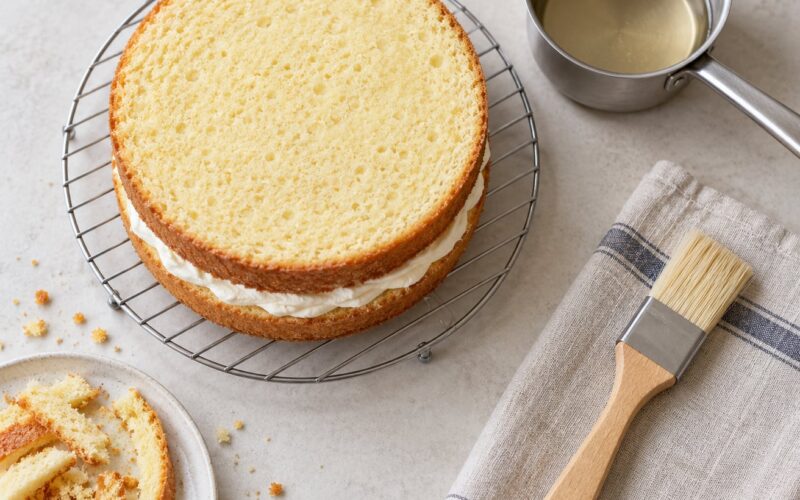
Brush a thin, even coat over each layer, working from the outside toward the center. Use less than feels right, then check the surface: it should look faintly glossy and slightly darker, never wet or beaded.
For a squeeze bottle, drizzle in thin lines across the layer and spread the same way. The aim is to wet the surface, not to pool syrup in the parchment.
Wait 5 minutes so the liquid can move into the crumb, then fill and frost as usual. Here is the amount that works for me:
- 6-inch round layer: about 1 tablespoon
- 8-inch round layer: 1 to 2 tablespoons
- 9 by 13 inch layer: 3 to 4 tablespoons
- 12-cup bundt cake: 1/4 cup, drizzled over the whole top while it is still in the pan and still warm
A quick test: press a fingertip gently into the crumb. If it gives easily and feels damp all the way through, stop. If it still feels dry and springy, add another light pass.
Common Mistakes and Tips
The cake is soggy. You applied too much, or you applied it too early and the liquid sat in the bottom. Use the amounts above and soak immediately before filling, not an hour before.
Syrup runs off the sides. The layer was still warm, or the syrup was nearly boiling when you poured it on. Cool both, and brush rather than pour.
The syrup crystallized in the jar. Sugar re-formed into hard crystals, usually because the syrup was stored warm or evaporated slightly. Warm it gently on the stove and stir until clear, then cool and refrigerate it. A squeeze of lemon juice or a teaspoon of corn syrup slows crystallization, and many pro kitchens keep a little corn syrup in the base on purpose.
The cake tastes sweeter than you wanted. Use a lighter hand and flavor the syrup with something bright, like lemon or orange zest, which reads as freshness rather than sugar. A 2:1 ratio, two parts sugar to one part water, gives a richer, glossier syrup for sponge and fruit cakes, but it is noticeably sweeter, so use less of it.
The cake is too dry to fix in the pan. Once a layer has cooled and shrunk, you cannot push moisture back in. The rescue is to trim the dry outer edge if it is severe, then place each layer on a rack set in a tray, drizzle the syrup over, wait 20 minutes, and frost from chilled. It softens the crumb without turning it to paste.
Two habits that help more than any trick: make the syrup a day or two ahead so it is ready when the layers are, and taste it before it goes on. A syrup that tastes flat on a spoon will taste flat on the cake.
Quick checklist before you fill: layers fully cool, syrup cool to the touch, thin glossy coat, no pooling in the parchment, five minutes to absorb.
Frequently Asked Questions
Why do bakers put simple syrup on cake layers?
Sponge, genoise and fruit cakes contain little fat, so they lose moisture quickly and go stale within a day or two. Simple syrup wets the crumb and slows that drying out, and it carries flavor into the layer instead of leaving it on the surface. It is also the easiest way to soften a cake that baked a shade too dry, since the syrup reaches the crumb and the frosting does not.
How much simple syrup should I use per cake layer?
Use about 1 tablespoon for a 6-inch round layer, 1 to 2 tablespoons for an 8-inch round, and 3 to 4 tablespoons for a 9 by 13 inch pan. A 12-cup bundt cake takes about 1/4 cup drizzled over the top while it is still in the pan. If the crumb is still firm and springy after the first pass, add a little more. Stop before the surface looks wet.
Should I add simple syrup to warm or cool cake layers?
Cooled layers are the safer choice, because syrup on a warm layer melts and slides off before the crumb can take it up. Slightly warm syrup on a fully cooled layer works very well, since it moves into the crumb faster than cold syrup. If you are baking and assembling in the same session, cool the layers on a rack for 20 to 30 minutes, then soak them while you chill them for frosting.
Can simple syrup fix a dry or overbaked cake?
It can soften a dry cake, though it will not undo cracking or a burnt flavor. Let the layer cool completely, trim any very dry outer edge, then set the layer on a rack over a tray and drizzle the syrup over the top and down the sides. Wait about 20 minutes, then frost from chilled. Expect a moister, heavier crumb rather than a crumb that is as light as the cake was meant to be.
How long does simple syrup last, and can I freeze it?
Refrigerated in an airtight jar, plain simple syrup keeps for about a month. Frozen in an ice cube tray or a small container it holds for several months, which makes small batches easy to portion out. Bring it back to room temperature before use, or warm it gently on the stove. If crystals form, heat it slowly until clear and add a squeeze of lemon juice to slow it happening again.
What flavors of simple syrup work best on cakes?
Match the syrup to the cake rather than to the frosting. Vanilla goes with chocolate, coffee and nut cakes. Lemon or orange zest lifts vanilla, almond and carrot. A rosemary or mint infusion works on lemon and olive oil cakes, and a splash of rum or bourbon suits spice and fruit cakes. Add flavorings after the sugar dissolves so heat does not drive off the aroma.
Conclusion
Start with the 1:1 syrup: a cup of sugar, a cup of water, medium heat until it turns clear, then cool it until it is barely warm. That is the whole technique.
Keep the coat thin and even, use 1 to 2 tablespoons on a standard 8-inch layer, and let it sit five minutes before you fill. That gives you a moist layer that still tastes like cake, which is the whole point of learning how to make simple syrup for cake layers in the first place.