Yes, buttercream freezes well and rewhips beautifully, as long as you seal it airtight in small portions and thaw it slowly. Freeze standard butter-and-sugar American buttercream for up to three months, move it to the refrigerator the night before you need it, let it come to room temperature, then mix it on low until it’s smooth and satiny again. The whole job takes about five minutes once it’s soft.
The reason freezing works at all is that buttercream is an emulsion. Freezing stiffens the butter fat and makes the water phase tighten up, so the mixture splits apart the way a broken vinaigrette does. Slow thawing and a re-whip rebuild the emulsion. That’s the whole trick, and it works the same for a homemade batch or a big scoop of store-bought frosting.
I keep a freezer bag of buttercream portions for exactly this reason: a birthday cake that needed a fourth color at 9am, or a leftover batch from a sheet cake that was too good to bin. The parts that go wrong are predictable, and they’re all in the mistakes section below.
Table of Contents
- What You Need
- Step-by-Step: How to Freeze Buttercream and Rewhip It
- Step 1: Prepare and Portion the Buttercream
- Step 2: Protect It from Air and Odors
- Step 3: Freeze Until Firm
- Step 4: Thaw Slowly Before Rewhipping
- Step 5: Rewhip and Adjust the Consistency
- Common Mistakes When Freezing and Rewhipping Buttercream
- Frequently Asked Questions
- How long can buttercream be frozen?
- Can you refreeze buttercream after thawing it?
- Can you freeze buttercream in a piping bag?
- How do you fix grainy buttercream after freezing?
- Can American, Swiss, Italian, and vegan buttercream all be frozen?
- Wrap Up
What You Need
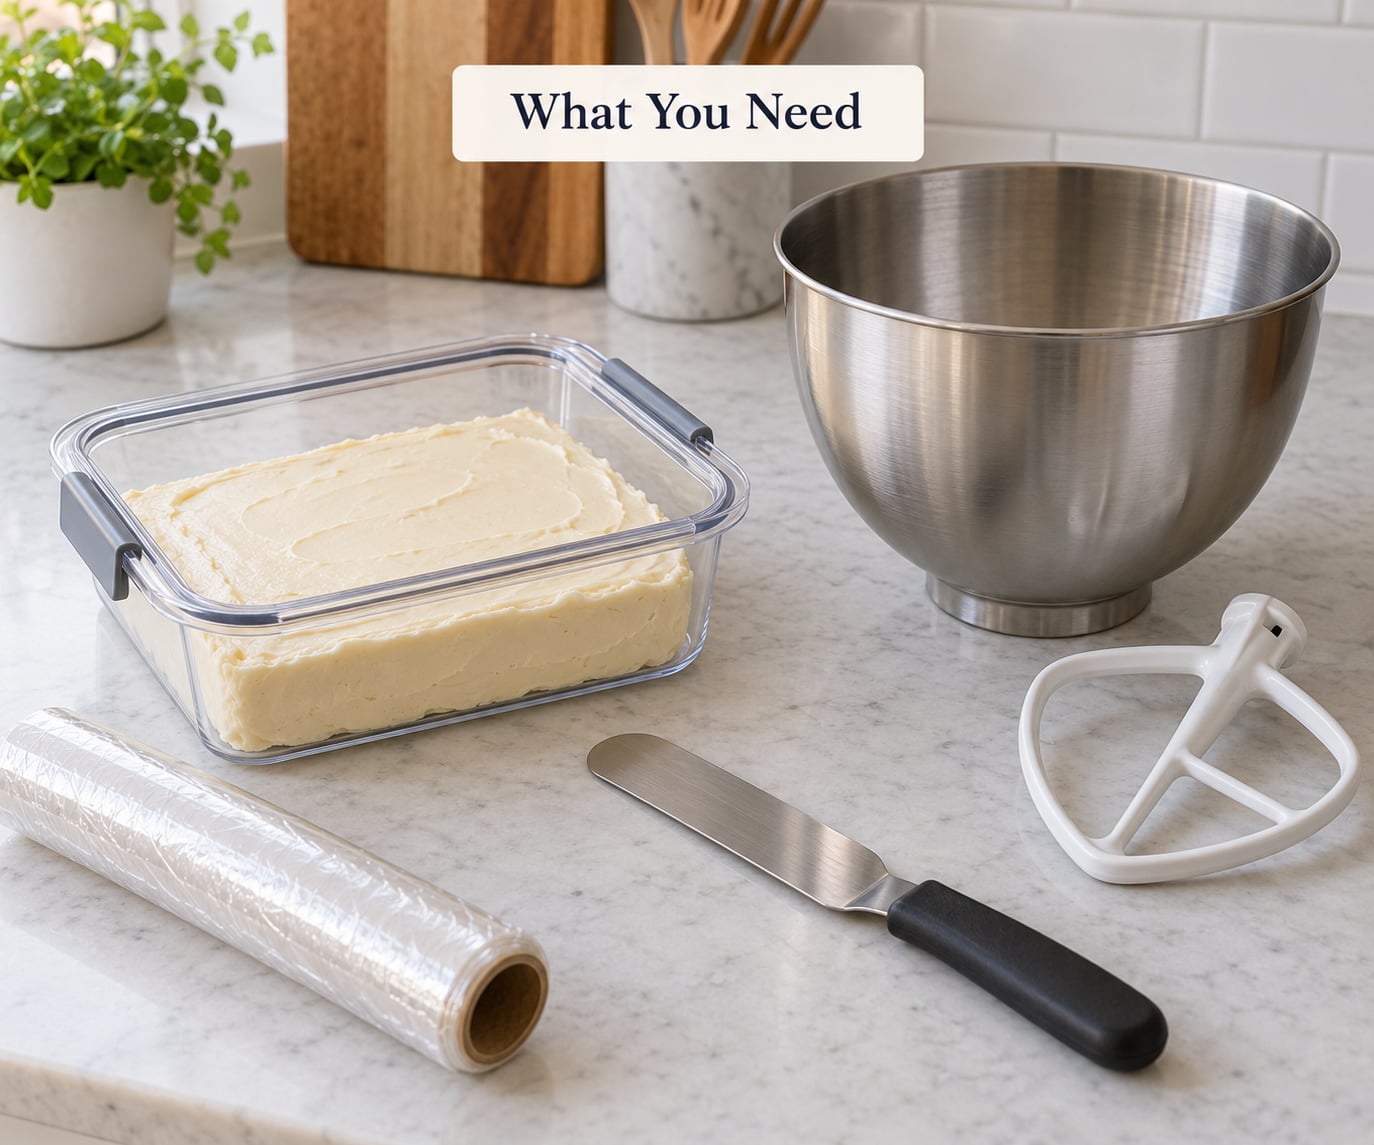
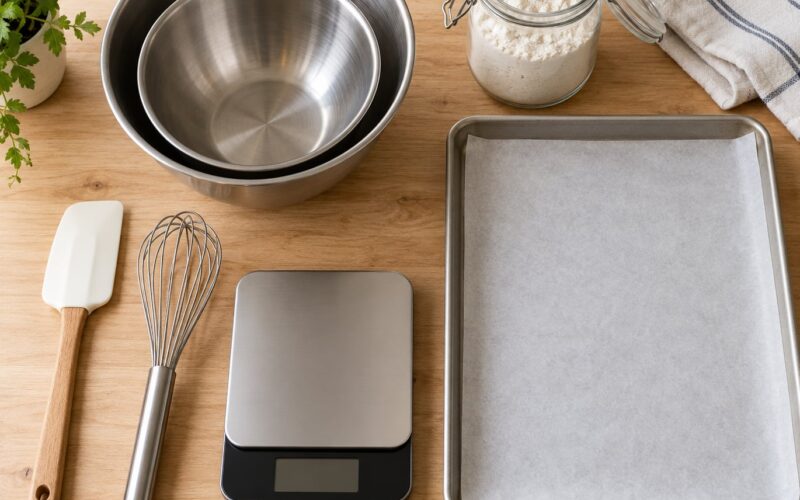
You don’t need much. For American buttercream, gather a roll of plastic wrap, a zip-top freezer bag, a spatula, a marker, and a stand mixer or hand mixer with a paddle attachment. For meringue buttercreams, add a clean bowl and a silicone spatula, since you’ll be working with an egg-based mixture that behaves differently.
A bench scraper is genuinely useful for scraping the flat square back off the plastic wrap later, and a digital thermometer takes the guesswork out of step 4. A bench scraper costs almost nothing and saves you picking buttercream out of a fold in plastic.
Nothing here is specialized. The one piece of equipment worth buying is the freezer bag, because a zipper you can trust is doing more work than anything else in this process.
Step-by-Step: How to Freeze Buttercream and Rewhip It
Step 1: Prepare and Portion the Buttercream
Make the buttercream with a recipe you already trust, and stop mixing while it’s still smooth and glossy. Over-whipping before you freeze is the reason some frostings come back stiff and crumbly; there’s nowhere to go from there.
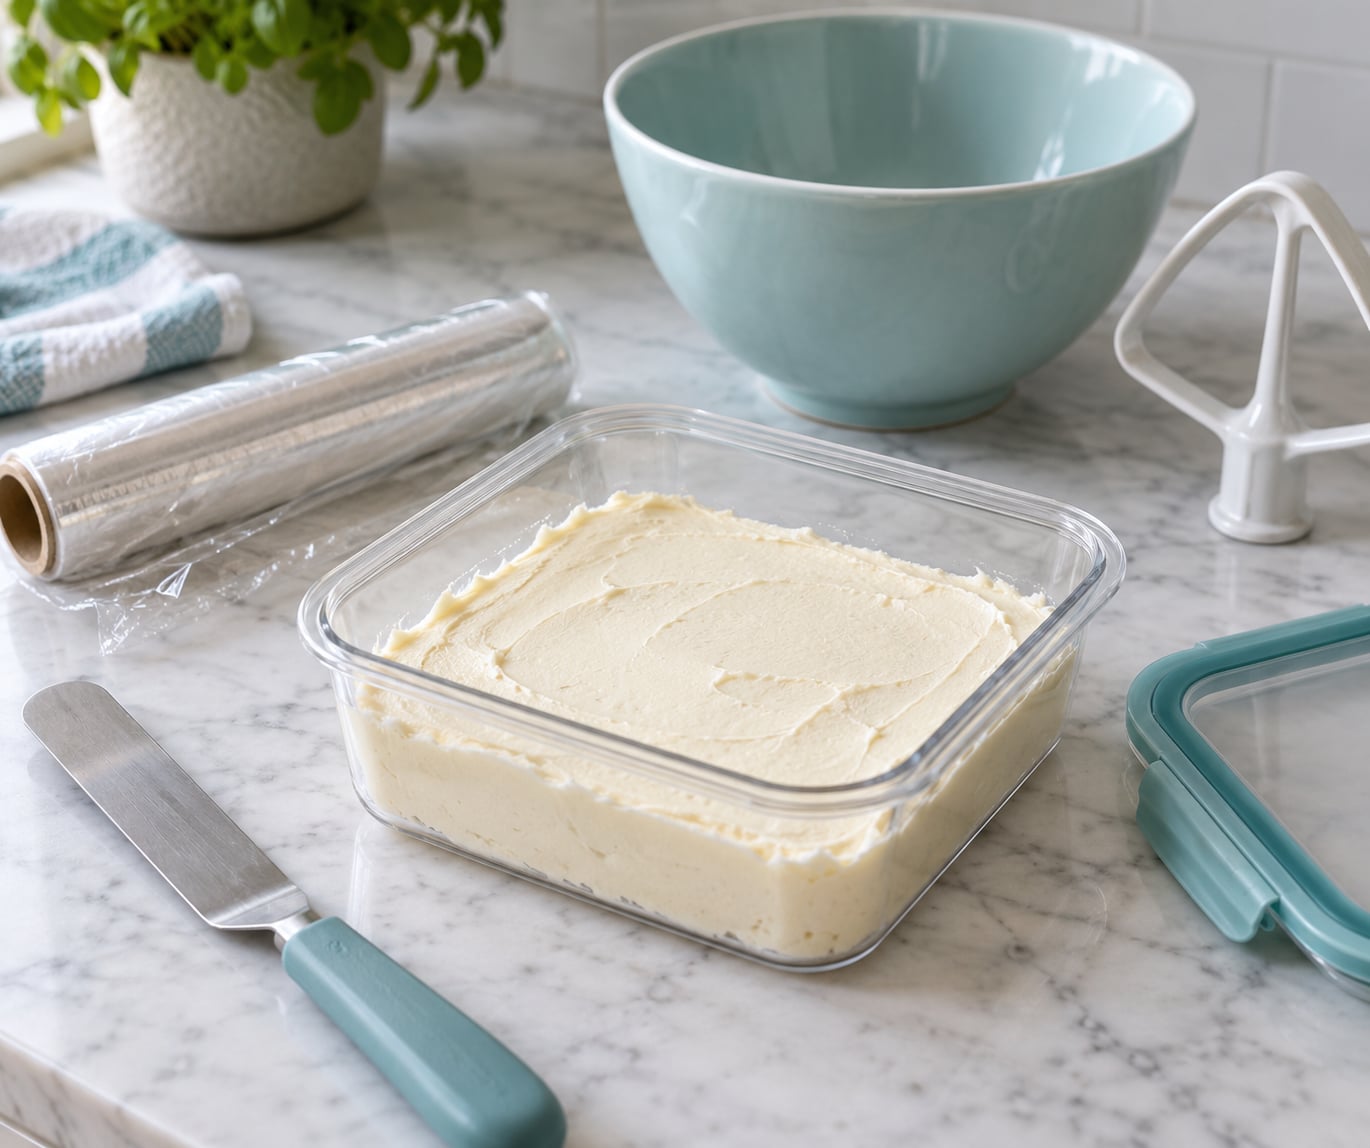
Now divide it into portions you’ll actually use. One to one and a half cups per portion covers a small batch of cupcakes, a top layer or a set of flowers. Flatten each portion into a thin square on plastic wrap, about half an inch thick, then roll the wrap into a packet.
Thin squares thaw far faster than a scoop shoved into a tub. That flat shape is the single biggest time saver in the whole method, and it’s the step most guides skip.
Step 2: Protect It from Air and Odors
Buttercream picks up smells aggressively because fat holds onto odor molecules. Fish, raw onion, coffee and strong spices in the same freezer will find their way into your frosting, and no amount of mixing gets them out.
Press the plastic wrap right against the surface of the buttercream with no air gap, then seal the packet into the freezer bag. Push out what air you can, seal it, and write the type of buttercream, the date and the quantity on the outside of the bag with a marker.
If a bag of onions is going into the freezer no matter what, put your buttercream in a hard-sided airtight container inside the bag. Airtight means no air gap between the frosting and the lid, and that’s the definition that decides whether the frosting keeps or goes off.
Step 3: Freeze Until Firm
Stand the bag upright or lay it flat and freeze until the packets are solid to the touch, usually two to four hours. They’ll go completely hard overnight, and there’s no harm in leaving them there. Three months is a reasonable ceiling for most buttercreams, and quality starts sliding somewhere around four to six.
Don’t freeze buttercream uncovered or in an open bowl, and don’t freeze it loose in a bag without wrapping it first. Both exposed surfaces go pale, dry and waxy, which is what freezer burn looks like on a frosting.
Frostings made with cream cheese, whipped cream or other perishable dairy need a different standard than standard buttercream. They are safe frozen for short periods, but follow current food-safety guidance and thaw them in the refrigerator rather than on the counter.
Step 4: Thaw Slowly Before Rewhipping
Move the sealed packets from the freezer to the refrigerator the day before you need them. The packet stays sealed while it thaws, which keeps condensation out of the frosting and stops the surface from forming a wet, gummy skin.
After the fridge, let the packet sit on the counter for 30 to 60 minutes until it bends without cracking. That’s the bend test: a room-temperature buttercream square should flex in the middle without snapping or feeling cold through. If you’re using a thermometer, aim for 65 to 75F, or 18 to 24C.
Temperature, not time, is what fixes this. A square that’s still cold will tear into crumbs under a paddle no matter how long you mix it. Warming it beyond that range, on the other hand, is how buttercream turns greasy and weeping, so go slowly.
Step 5: Rewhip and Adjust the Consistency
Unwrap the square and drop it into a clean bowl. Start the stand mixer on low with the paddle attachment and let it work, scraping the bowl down once or twice. Ten minutes is usually plenty, and most frostings settle into a satiny, even texture long before that.
Expect it to look broken for the first minute or two. A split, oily mess at the start is normal and not a sign that the batch is ruined. Keep mixing at low speed and it comes back together.
Then adjust. Thin American buttercream that has stiffened up needs a splash of milk or water, added a teaspoon at a time. Firmer meringue buttercream usually just needs more mixing. If you’ve pushed a stiff batch over the edge into crumbly, add softened butter a tablespoon at a time and keep mixing until it comes back.
You’re done when the frosting moves smoothly off the paddle, holds a soft peak, and looks evenly aerated with no hard lumps or glossy puddles.
Common Mistakes When Freezing and Rewhipping Buttercream
Freezing it loose or uncovered. The exposed surface dries out and goes waxy, and you’ll scrape off a layer before you can even start. Press wrap straight onto the buttercream and seal it the same day you make it.
Thawing it on the counter from frozen. Going straight from hard to warm in a couple of hours wrecks the emulsion. Fridge first, then counter, keeps the temperature change gradual.
Mixing on medium or high. High speed aerates the buttercream, and the air bubbles show up later as lumpy borders and flowers. Stay on low.
Adding too much liquid to soften it. One splash at a time, mixed in fully before you judge it. You can add liquid; you can’t take it back out.
Freezing it inside a piping bag. The top answer on r/AskBaking for exactly this question is blunt about it: you are 100% going to need to rewhip it, and don’t freeze it in the piping bag because it will be a waste. The bag has to come off, the plastic sticks, and you still end up refilling the bag afterwards. If you like working from bagged portions, freeze each one loosely in a bag and expect to repipe it later.
Assuming separated frosting has spoiled. Greasy or weeping after a thaw almost always means a broken emulsion, not spoilage. It smells fine? Then re-whip it.
Freezing frosting that’s already on a cake works too. Set the finished cake uncovered in the freezer for a few hours until the frosting firms up, then wrap it in plastic and foil. A frosted cake holds about a month that way, and frosted cupcakes do fine with a shorter window. Thaw in the refrigerator overnight.
Frequently Asked Questions
How long can buttercream be frozen?
Standard American, Swiss and Italian buttercream keeps well frozen for up to three months when stored airtight, with quality drifting downward somewhere around four to six months. Meringue buttercreams hold their texture slightly better than high-sugar American buttercream, which can get slightly gritty after very long storage. Cream cheese and whipped cream frostings are best used within one to two months frozen.
Can you refreeze buttercream after thawing it?
You can, but refreezing works best on a first round trip. If it has sat at room temperature for more than a few hours, or has already been thawed and rewhipped once, freezing it again tends to make the texture pastier and the color duller. Refreeze only what is still fresh, seal it exactly the way you did the first time, and expect a slightly softer frosting that needs a little more mixing.
Can you freeze buttercream in a piping bag?
Technically yes, but most bakers advise against it. The bag has to be cut off or peeled back, plastic often clings to the frosting, and you will almost certainly have to rewhip and refill the bag to pipe neatly. Freezing it flat in a plastic-wrap packet on a tray gives you a shape that thaws evenly instead. If you bag frost regularly, freeze the bags loosely in a larger freezer bag and expect to repipe after thawing.
How do you fix grainy buttercream after freezing?
Graininess usually comes from sugar crystals or fat that sat too cold. Let the packet come to room temperature fully, then mix on low with the paddle for a good five to ten minutes, scraping twice. Adding a tablespoon of warm softened butter will help re-emulsify it. If it is still grainy, a tablespoon of warm milk worked into the bowl usually finishes it. Meringue buttercreams tolerate more mixing than American buttercream.
Can American, Swiss, Italian, and vegan buttercream all be frozen?
Yes, all four freeze and rewhip successfully, with a couple of differences. American buttercream is the most forgiving because of the confectioners sugar, which absorbs moisture and smooths things out. Swiss and Italian meringue buttercreams need the slowest thaw and the longest low-speed mix. Vegan versions made with plant butter behave like American buttercream and do very well, while those made with solid coconut oil can go grainy and benefit from a tablespoon of softened plant butter on rewhip.
Wrap Up
Start with the one thing people skip: let the buttercream cool completely, portion it into flat wrapped squares, seal it airtight and label it. Everything after that is a matter of patience. Move the packet to the refrigerator the night before, let it reach room temperature until it bends without cracking, and rewhip on low until it looks satiny again.
Slow thawing and gradual adjustment are what separate buttercream that comes back pipeable from buttercream that comes back crumbly. Give it the extra hour, keep the mixer on the lowest speed, and add liquid a teaspoon at a time.