How to make Valentine’s Day heart cookies is mostly about temperature control, not technique. You chill the rolled dough 30 to 60 minutes, roll it to an even 1/4 inch, cut the hearts, bake them at 350°F for 7 to 9 minutes until the edges are just barely colored, then let them cool completely before you pipe any icing. Follow those five moves and the hearts come out of the oven sharp instead of puddled.
The batch below makes about 24 cookies and takes roughly 90 minutes including decorating. If they seem fussy, they are not: the only hard part is waiting. Are heart cookies hard to make? Not really. The dough is a seven-ingredient butter cookie, the icing is sugar mixed with a little liquid, and every mistake has a simple fix I cover at the end.
Table of Contents
- What You Need
- For the cookie dough (about 24 cookies)
- For the royal icing (about 2 cups of icing)
- Equipment
- Step-by-Step
- How to Make the Cookie Dough
- How to Cut and Bake Heart Shapes
- How to Make Smooth Royal Icing
- How to Decorate Valentine Heart Cookies
- How to Store and Serve the Cookies
- Common Mistakes
- Why your dough sticks to the counter and rolling pin
- Why your cookies spread and lose the heart shape
- Why your cutouts break apart when you move them
- Why your icing runs and blurs the border
- Why your decoration slides off or cracks later
- Frequently Asked Questions
- Do I need a heart-shaped cookie cutter to make Valentine’s Day heart cookies?
- Can I make Valentine’s Day heart cookies without royal icing?
- How long should I let the cookies cool before decorating them?
- Can I use gel food coloring instead of liquid food coloring?
- How far in advance can I make Valentine’s Day heart cookies?
- Are these cookies suitable for people with nut allergies?
- Conclusion
What You Need
For the cookie dough (about 24 cookies)
- 2 1/4 cups (280 g) all-purpose flour
- 1/2 cup (113 g) unsalted butter, softened to room temperature
- 3/4 cup (150 g) granulated sugar
- 1 large egg
- 1 teaspoon vanilla extract
- 1/2 teaspoon almond extract
- 1/2 teaspoon baking powder
- 1/4 teaspoon salt
For the royal icing (about 2 cups of icing)
- 2 cups (240 g) powdered sugar, sifted
- 2 tablespoons milk or water, plus more as needed
- 1/2 teaspoon vanilla extract
- Gel food coloring in red, pink, and white
Equipment
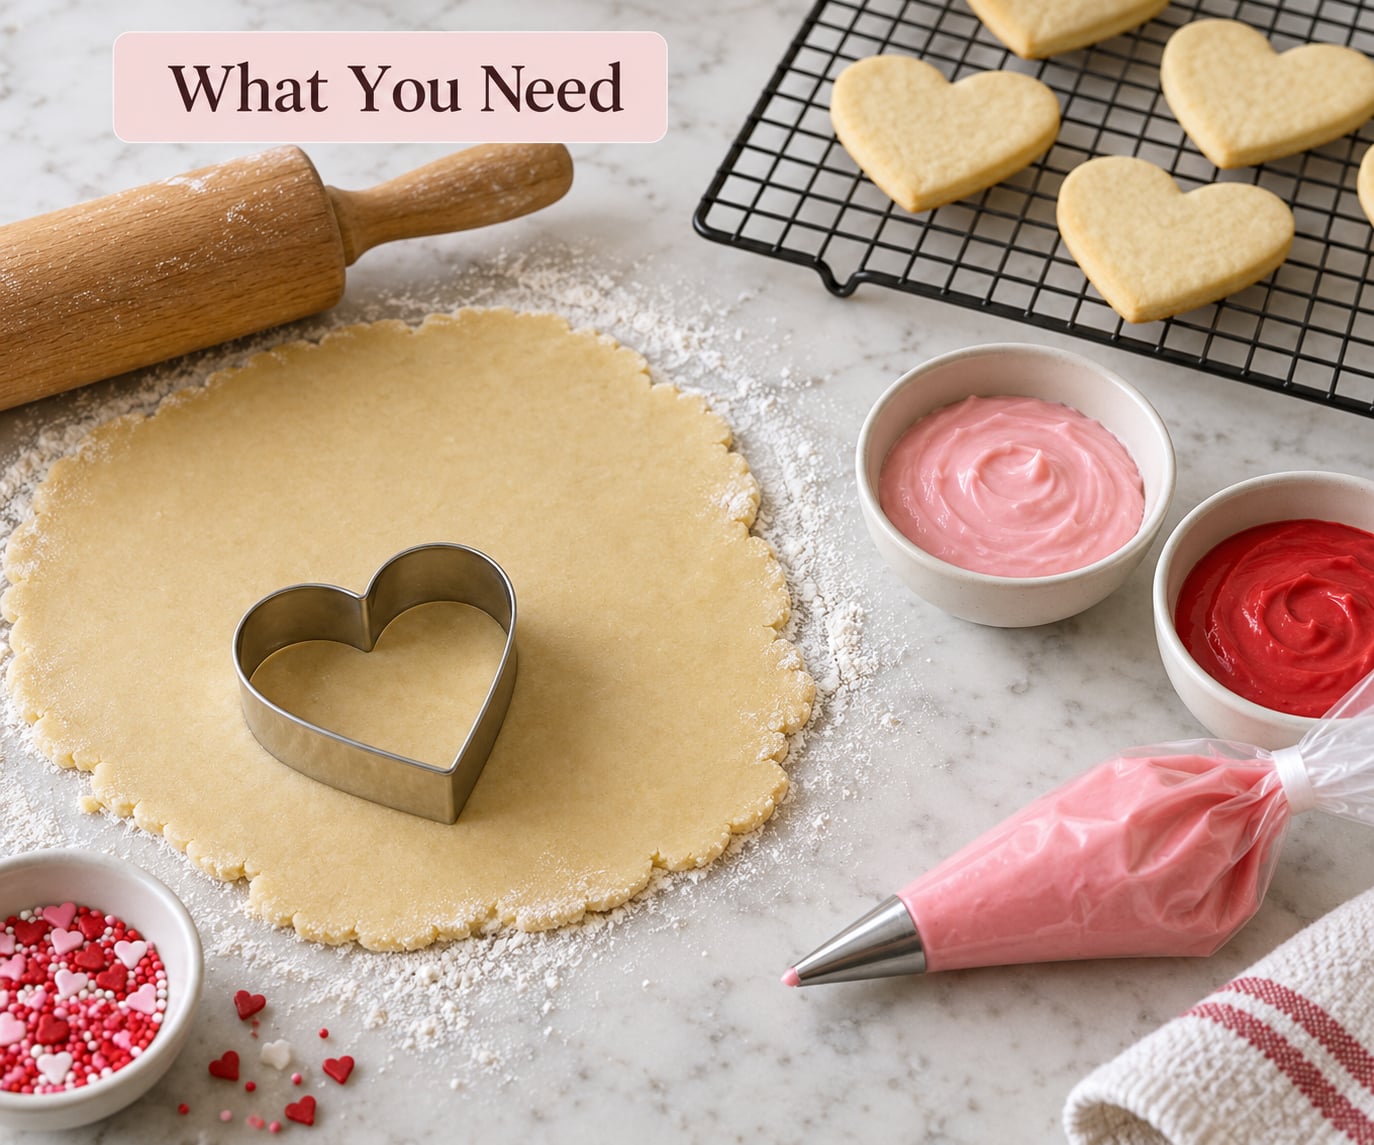
A 3-inch heart-shaped cookie cutter is the one piece of kit that matters. Everything else is pantry basics: a baking sheet lined with parchment, a cooling rack, a rolling pin, and a small piping bag or a zip-top bag with a corner snipped off.
No cutter? Print or draw a heart on plain paper, tape it to the counter, and trace it with a paring knife. Rolling the dough a little thicker, closer to 1/2 inch, makes the knife method far more forgiving.
A pinch of cornstarch or extra flour for the rolling surface helps more than most people expect, because it keeps the dough from welding itself to the pin.
Step-by-Step
Here is the whole process for how to make Valentine’s Day heart cookies, in the order that avoids rework: dough, chill, roll and cut, bake, cool, icing, decorate.
How to Make the Cookie Dough
Beat the softened butter and sugar for 2 full minutes until the mixture is pale and noticeably fluffy. Scrape in the egg and both extracts, beat again, then add the flour, baking powder, and salt and mix on low.
The signal to stop mixing is simple: the dough pulls away from the sides of the bowl in one piece. Once that happens, stop. Dough handled more than that turns tough, and tough cookies crack at the edge when you move them.
Wrap the dough and chill it for 30 to 60 minutes. Cold butter is the whole reason cutouts keep their edges in a hot oven, and this one waiting step does more for your heart shapes than any ingredient.
How to Cut and Bake Heart Shapes
Heat the oven to 350°F and line a baking sheet with parchment. Dust the counter lightly with flour or cornstarch, then roll the chilled dough to an even 1/4 inch. Check the thickness with a ruler once; uneven thickness is why some cookies bake golden while their neighbors stay pale.
Press the cutter straight down with firm, even pressure rather than twisting it, and rock it once if the dough resists. Keep the cutouts in the order you cut them, because the scraps warm up fast under your hands.
To move a heart without wrecking the point, slide a thin offset spatula or a piece of parchment under it and support it with your other hand. Grabbing a cutout by the edges flattens the point, and the point is the whole reason anyone is making a heart cookie.
Bake 1 inch apart for 7 to 9 minutes. Pull them when the edges are lightly colored and the centers still look slightly underdone. Pale is correct here. Browned sugar cookies spread, and they turn brittle once the icing dries on them.
Let the cookies sit on the pan for 2 minutes, then move them to a cooling rack. They keep baking from residual heat, so wait the full 20 to 30 minutes until the bottom feels room temperature before you touch them with icing.
How to Make Smooth Royal Icing
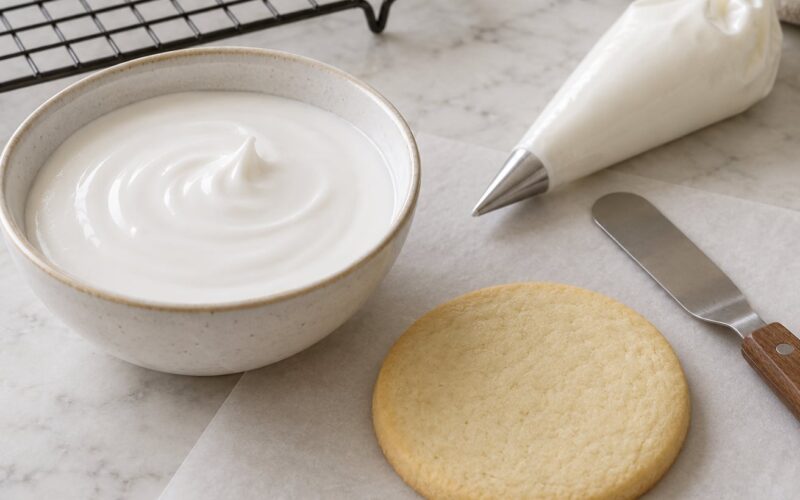
Sift the powdered sugar into a bowl, then add the milk and vanilla. Stir with a spatula until no dry patches remain, then switch to a small whisk and beat for a full minute. That minute is what turns gritty sugar into glossy icing.
Test the consistency by dragging a spoon through the icing. If the trench stays open and holds its edges, it is pipeable. If the trench closes up, add a teaspoon of milk at a time. If the icing sits in a stiff peak instead of slumping, stir in another teaspoon of powdered sugar.
Divide the icing into small bowls and color each one separately with gel coloring, since gel gives you deeper shades with fewer drops. Cover each bowl with plastic wrap pressed right onto the surface, or the icing develops a skin and a crust you have to scrape off later.
Let the icing rest for 15 minutes before piping so the bubbles from mixing rise to the top and pop off the tip of your bag. That pause also lets the flour hydrate, which thickens it a little on its own.
How to Decorate Valentine Heart Cookies
Squeeze a small dot of icing onto the cookie first so the bag can rest without spraying loose icing across the counter. Then pipe a border following the edge, holding the bag nearly vertical and moving it at a slow, steady pace. A 1/4 inch border is the sweet spot, thicker and it looks clumsy.
Let the outline set for about 10 minutes until it holds a fingertip touch without denting. Pipe the color inside it, dragging the tip from edge to edge in long strokes and letting the icing spread rather than forcing it. Flooding too early is what makes outlines bleed and blur.
On top of the flood, the easy wins are a zigzag or shell border piped with a star tip, dots spaced evenly around the border, or sprinkles dropped on while the icing is still wet. Rose, hot pink, and white on a pale cookie reads as classic without looking like a color crash.
For conversation hearts, wait until the icing has hardened for at least 2 hours, then write with an edible paint pen, or dip a toothpick in thinned gel coloring and scratch the message into the set icing. Both sit on top rather than soaking in, so the letters stay legible.
How to Store and Serve the Cookies
Decorated cookies need about 4 hours at room temperature for the icing to harden enough to stack. Once set, store them in an airtight container with parchment between the layers, where they stay good for 5 to 7 days.
For longer storage, freeze undecorated cookies in a single layer until solid, then move them to a freezer bag for up to 3 months. Thaw them uncovered on a rack for 30 minutes and decorate after they are completely dry.
Dough freezes well too. Wrap the ball tightly and freeze it for up to 2 months, then thaw it in the fridge overnight and roll it straight from cold. Cold dough cuts cleaner than dough that has come to room temperature, which is exactly what you want for a sharp point.
For serving, arrange the cookies on a single layer rather than in a pile. If they travel, a flat box with parchment dividers keeps the icing from pressing into the cookie above it.
Common Mistakes

Almost every bad batch of heart cookies traces back to one of five things: temperature, thickness, timing, moving them too early, or decorating before everything set. Here is what each one looks like and what fixes it.
Why your dough sticks to the counter and rolling pin
Chill it for 20 minutes and roll again. If it still sticks, add 1 tablespoon of softened butter rather than more flour, since extra flour makes cookies dry and crumbly. Dust the surface with cornstarch for the final roll.
Why your cookies spread and lose the heart shape
Three causes, in order of likelihood: the dough was too warm when you cut it, you rolled it thinner than 1/4 inch, or you baked it too long. All three fix the same way, with colder dough, a thicker roll, and a shorter bake.
Why your cutouts break apart when you move them
The dough is too crumbly. Knead in 1 to 2 tablespoons of softened butter, then chill again for 20 minutes. Over-rolling also causes this, so press the dough with light even passes instead of forcing it thin in one direction.
Why your icing runs and blurs the border
Either your cookies were still warm when you piped them, or you flooded before the outline dried. A warm cookie melts the icing from underneath; an un-set outline slumps into the flood. Cool fully, then outline, then wait 10 minutes.
Why your decoration slides off or cracks later
You decorated before the icing had a full skin, or you stored the cookies before the icing hardened. Four hours at room temperature is the minimum for a firm surface. After that, layer with parchment so nothing presses into the icing.
One more question that comes up constantly: a cookie stamp goes on before baking for a clean, deep imprint, or after baking once the cookie is completely cool, when the mark will look faded. Before baking always gives the sharper result.
Frequently Asked Questions
Do I need a heart-shaped cookie cutter to make Valentine’s Day heart cookies?
No. Draw or print a heart on paper, tape it down, and trace it with a paring knife, keeping the blade nearly vertical and the dough at about 1/2 inch thick. A cutter gives you faster, more even shapes, but hand-cut hearts work fine as long as you re-chill the dough if it gets sticky while cutting.
Can I make Valentine’s Day heart cookies without royal icing?
Yes, and most of the alternatives are easier. A simple glaze of powdered sugar and milk sets soft rather than crunchy. Melted chocolate, dark or white, gives a glossy snap shell that hardens in about 15 minutes at room temperature. A standard buttercream also works, though it needs the cookies completely cool and it stores more softly than icing.
How long should I let the cookies cool before decorating them?
Wait until they are completely at room temperature, usually 20 to 30 minutes on a wire rack. Even slight warmth melts icing from underneath and causes it to slide off or spread. If you want to speed things up, move the cookies to a rack in a cool room rather than the fridge, where condensation can make the surface damp.
Can I use gel food coloring instead of liquid food coloring?
Gel is the better choice. A couple of drops gives you a deeper, more even shade without the watery run that can thin your royal icing and make your outlines bleed. Liquid coloring works, so add it one drop at a time and stir slowly. Either way, color each icing batch separately rather than tinting everything pink at once.
How far in advance can I make Valentine’s Day heart cookies?
Bake the cookies up to 3 months ahead and freeze them undecorated in a single layer, then move them to a freezer bag once solid. You can also freeze the dough ball for up to 2 months and roll it from cold for sharper edges. Decorated cookies stay fresh in an airtight container with parchment between layers for 5 to 7 days.
Are these cookies suitable for people with nut allergies?
This dough has no nuts in it, so the cookies themselves are nut-free. Check your labels anyway, because oats, almond extract, and cross-contamination on shared equipment are common hidden sources of nuts. For a classroom exchange, skip sprinkles with nut pieces and use a dedicated bowl, spatula, and surface so nothing is shared.
Conclusion
Start with the dough tonight. Mix it, wrap it, and let it chill, because that hour of waiting is what separates a sharp heart from a blurry one, and it does nothing else you cannot fix later with a knife.
Once the dough is cold, roll it, cut the hearts, and let the oven do the rest. Make the icing while the cookies cool so both are ready in the same window, then pick your colors last. These cookies are forgiving about almost everything except warmth, and that is the one thing you control completely.