A dummy cake is a stand-in you can decorate exactly like a real one, built from cardboard, foam, clay or even an old cake pan, so you can practice piping, stacking and finishing without baking. Learning how to make dummy cakes for practice takes about twenty minutes for a simple build and saves every wasted sponge, every cracked ganache and every ruined tier.
The trick is that a practice cake only works if it is sealed properly. Frosting sinks into raw foam, layers slide apart, and a light dummy tips the moment you stack it. Get the base and seal right and the same cake can be scraped, re-iced and used again for months.
Table of Contents
- What You Need
- Base options and what each one is good for
- Sealing and covering
- Which icing to use on a dummy cake
- Step-by-Step: How to Make Dummy Cakes for Practice
- 1. Choose the Right Dummy Cake Format
- 2. Build a Stable Cake Shape
- 3. Apply a Thin Crumb Coat
- 4. Chill and Finish the Frosting
- 5. Practice the Decoration
- How to stack a tiered dummy without it toppling
- Common Mistakes
- Frosting sinking into the foam
- Layers sliding or fillings squashing out
- Tears and drag marks in the final coat
- Excessive condensation after chilling
- Foam crumbs in the finished design
- A surface that is too firm or too sticky
- Frequently Asked Questions
- What is the best material for a dummy cake?
- Can I make a dummy cake with cardboard and buttercream?
- How long does a dummy cake need to chill before decorating?
- Can I reuse a dummy cake after practicing?
- Should dummy cakes be the same size as a real cake?
- Can I use a real cake instead of a dummy cake for practice?
- Conclusion
What You Need
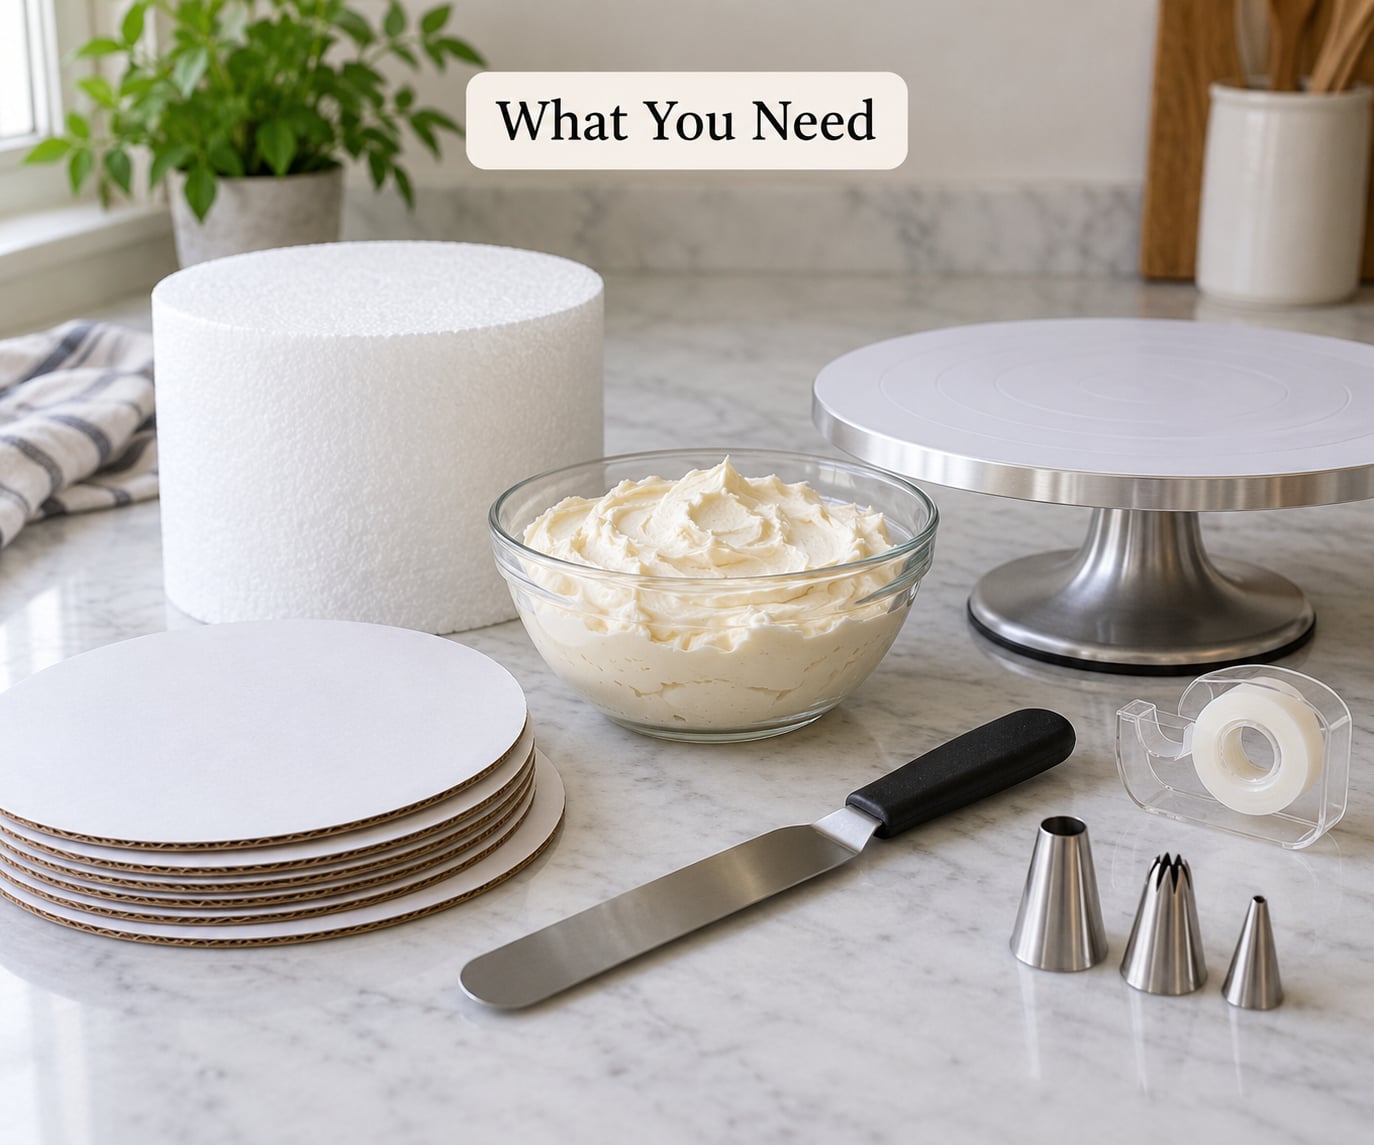
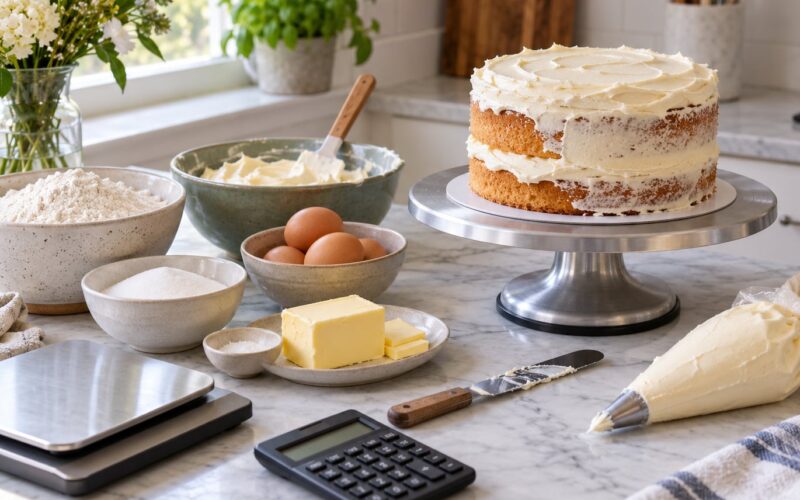
Most people already own two or three of these things. The list below covers each part of the build: a base, something to seal it, frosting, and the tools that keep the shape square.
Base options and what each one is good for
| Base | Icing adhesion | Reusable | Best for |
|---|---|---|---|
| Cardboard round wrapped in cling film | Good once sealed | Yes, indefinitely | Piping practice, palette knife painting, beginners on a tight budget |
| Polystyrene foam block or bought dummy round | Excellent when sealed | Yes, indefinitely | Tiered builds, fondant covering, swags and drapes |
| Stacked foam or hot glue gun build | Good once sealed | Yes | Odd shapes, square or rectangular designs, custom sizing |
| Air-dry clay formed over a base | Excellent, no seal needed | Yes, but it can crack | The most realistic finish, display pieces and photography |
| Bottom of a cake pan or plastic tub | Fair | Yes | Ten-minute drills and tip-angle practice |
| Real cake baked as a practice sponge | Perfect | No | Edible tasting, sugar flowers, texture work |
Cardboard is the fastest route and the cheapest. A single round cut from a box, wrapped tightly in cling film or parchment, holds buttercream well and never breaks. Foam is heavier and more forgiving, which matters once you start stacking. Clay gives the smoothest, most convincing surface but needs a couple of days to dry before you frost it.
Sealing and covering
- Cling film or parchment paper for wrapping cardboard
- Clear packing tape for foam, applied in overlapping strips with no raised edges
- Hot glue gun for joining foam pieces
- Craft knife and long serrated knife for cutting
- A scraper, small palette knife or offset spatula for the crumb coat
- Cake board, drum or flat plate to stand the cake on
- Dowels or drinking straws for stacking tiers
Which icing to use on a dummy cake
Crusting buttercream, also called American buttercream, is the one most decorators reach for. It forms a firm skin, needs no refrigeration and scrapes off cleanly for reuse.
| Icing | Works on a dummy | Needs chilling | Notes |
|---|---|---|---|
| Crusting or American buttercream | Yes | No | The safest choice; holds piping and can be re-scraped |
| Fondant | Yes | No | Needs a truly airtight seal or it grips into the foam |
| Mexican paste or ganache | Yes | Briefly | Good base for swags, frills and drapes; sets firm |
| Meringue buttercream | Yes | Yes | Softens fast on a warm turntable and slides off a dummy |
| Royal icing | Poorly | No | Thin royal icing shrinks and drops off; only a thick paste holds |
Whatever style you pick, mix it to a soft, spreadable texture before you start, and taste the buttercream the same way you would a real one.
Step-by-Step: How to Make Dummy Cakes for Practice
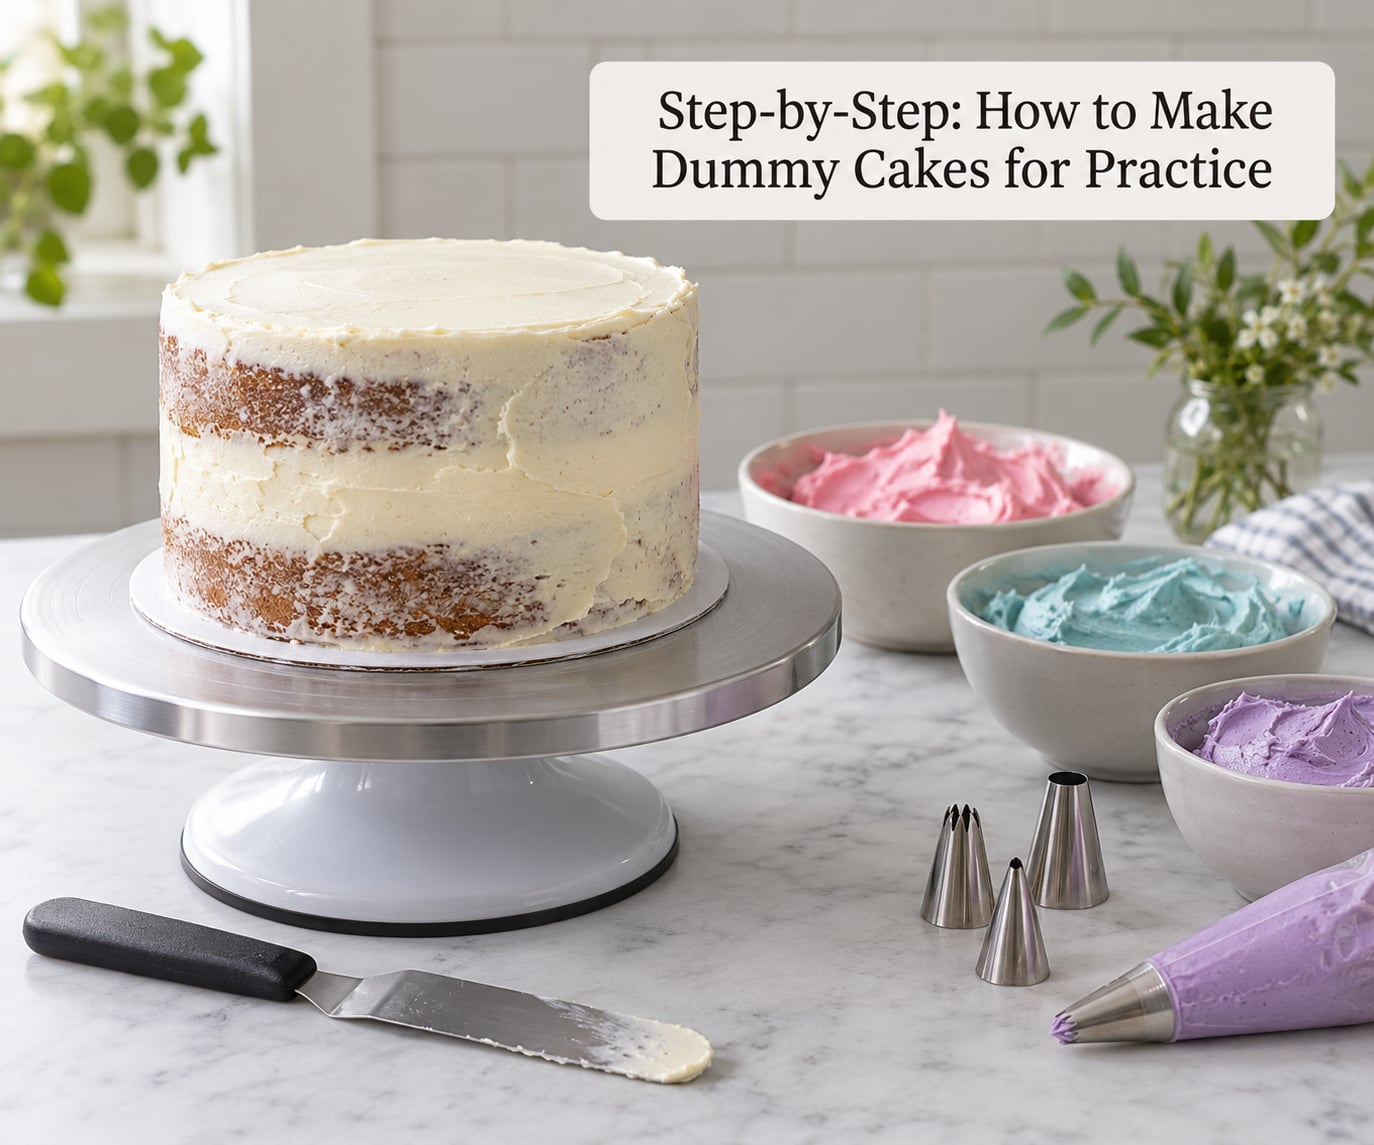
1. Choose the Right Dummy Cake Format
If you are learning how to make dummy cakes for practice, match the base to the skill. A single cardboard round is enough for practicing a border or a message. Two filled cardboard layers, separated by a firm disc, mirror the feel of a real cake. Foam is the right call for anything tiered, and clay when the shape or the photography matters.
Success check: the base sits flat on your turntable without rocking when you press the edge with one finger.
2. Build a Stable Cake Shape
Cut the base slightly smaller than your finished size, since frosting adds width. Sandwich two rounds with a card or a third piece of board between them, glue if they are foam, and wrap the whole stack in one continuous layer of tape or film with no gaps.
Overlap the tape rather than butting the ends, and keep every seam on the side where it can be smoothed flat. If you want a reusable build, leave the top of the stack open and only seal the sides, so you can lift the top layer off and re-fill later.
Success check: run a finger along the seam. No bumps, no gaps, no foam visible at the edges.
3. Apply a Thin Crumb Coat
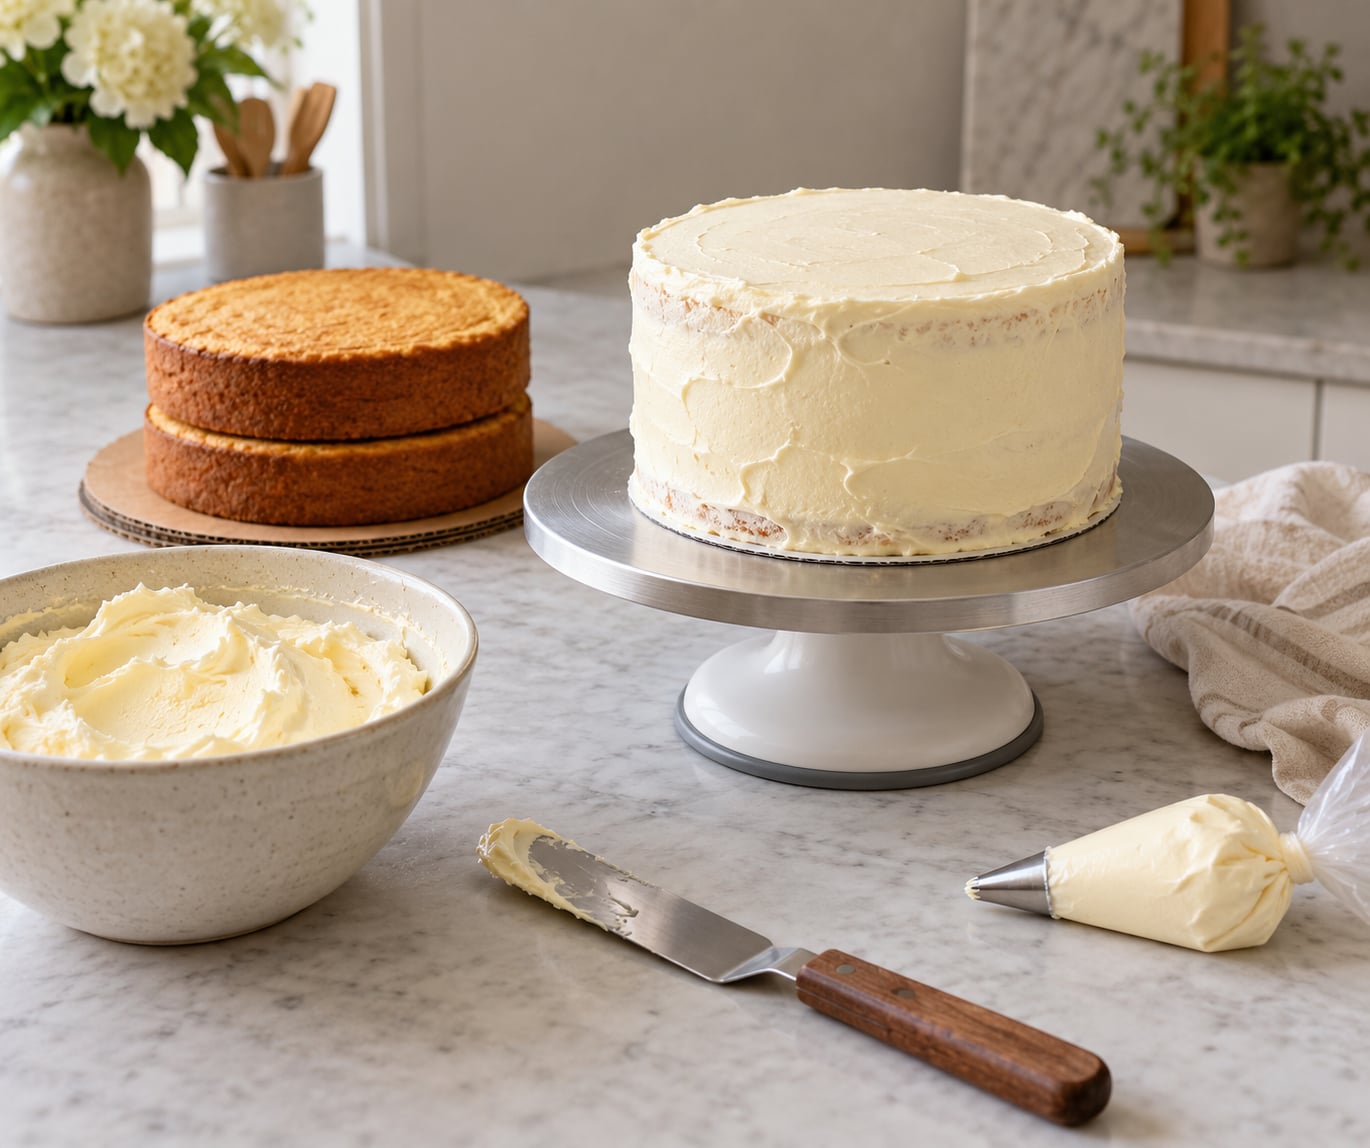
Scoop a little buttercream onto the cake and spread it with a scraper, turning the turntable as you go. Push the icing a fraction of an inch past the top and bottom edges so the frosted layer is wider than the base, which hides seam lines and gives borders somewhere to sit.
Success check: a smooth, thin white layer with no cardboard or foam showing through. Thick buttercream here is what creates lumps later, so keep it thin and let it set.
4. Chill and Finish the Frosting
Put the crumb-coated cake in the fridge for 20 to 30 minutes, or the freezer for 10. A cold surface means the final layer goes on without dragging crumbs into it. Take it out of the fridge 10 minutes before you decorate, because condensation and cold buttercream together make tears.
If beads of water appear on the surface, leave the cake uncovered on the counter until they clear, or wipe them gently. Then apply the final buttercream layer, keeping the top edge sharp and the sides vertical. A scraper held still against the side while the turntable turns gives a clean cylinder in a few passes.
5. Practice the Decoration
Work through a short drill list rather than decorating randomly. Pipe a continuous shell border around the top and bottom edges, then a rope, then a row of stars on a small card topper. Practice a written message on a spare board, a palette knife swirl on a side panel, and a fondant ribbon on a chilled strip.
For color tests, tint small batches of buttercream with gel color on the side of the cake. When a session ends, scrape the decoration into a tub with a palette knife, press it flat and refrigerate it. A tight blob of practice buttercream stays usable for a week and saves remixing every time.
How to stack a tiered dummy without it toppling
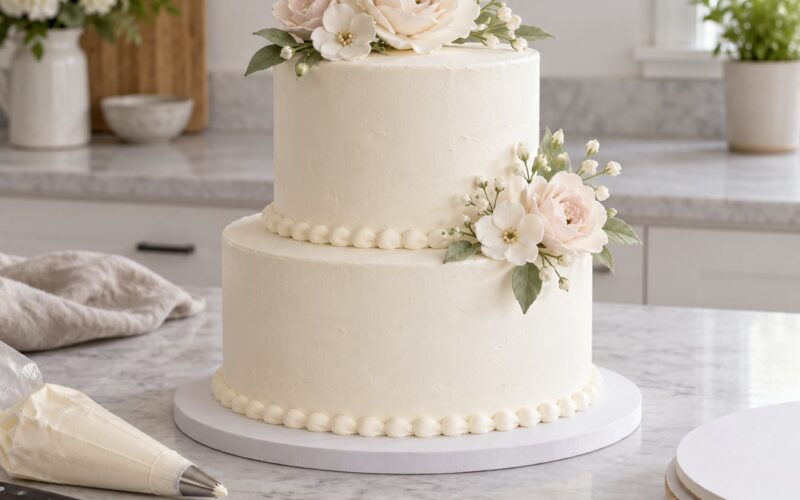
Build each tier separately and give each one a board under it. Stand a dowel or drinking straw at the center of the base board, rest the lower tier board on it, then add the upper tier. The dowel carries the weight, so the foam never has to hold it. A container of rice or dried beans in the bottom tier adds low weight if the cake feels tippy on a tall turntable.
Common Mistakes
Frosting sinking into the foam
Unsealed foam drinks buttercream and leaves you with a dry, crumbly cake. Wrap the build completely before you frost, and if a spot still absorbs icing, patch it with a thin disc of parchment and a little melted chocolate or ganache before the crumb coat.
Layers sliding or fillings squashing out
Use a firm filling such as ganache, Mexican paste or a thick buttercream, and keep the seam no thicker than the frosting you are using. Two firm discs glued between the layers do more than a soft wedge filling.
Tears and drag marks in the final coat
Cold buttercream grabs the warm spatula and pulls. Frost between 10 and 20 degrees Celsius, and warm the spatula in warm water between passes. Long, slow strokes in one direction fix drag marks; short scrubbing makes them worse.
Excessive condensation after chilling
Water beads appear when a chilled cake meets a humid room or your breath. Decorate after the cake has sat out for 10 minutes and keep the fridge door shut while you wait.
Foam crumbs in the finished design
Work over a clean board, and glue any loose foam rather than leaving it to be painted. A speckled crumb coat of ganache instead of buttercream will lock down any stray fragments.
A surface that is too firm or too sticky
Overworked buttercream turns stiff and cracks at the edges, while under-whipped buttercream slumps. Aim for a soft, spreadable texture that holds a peak. If a dummy feels sticky, dust it lightly with cornstarch before the crumb coat.
Frequently Asked Questions
What is the best material for a dummy cake?
Cardboard wrapped tightly in cling film is the best material for beginners because it is free, cuts easily and holds buttercream well. Polystyrene foam is better for tiered cakes, fondant covering and any design that needs a firm, weighty shape. Air-dry clay gives the most realistic finish but takes days to dry. Choose by the skill you are practicing rather than by appearance.
Can I make a dummy cake with cardboard and buttercream?
Yes, and it is the most common home setup. Cut two rounds from a sturdy box, glue or sandwich them with a card between, then wrap the entire stack in cling film or parchment with no gaps. Buttercream goes straight onto that wrap. Many decorators keep the top layer removable so they can refill and reuse the same base.
How long does a dummy cake need to chill before decorating?
About 20 to 30 minutes in the fridge after the crumb coat, or 10 minutes in the freezer. Chilling sets the thin layer so the final coat does not drag crumbs into it. Take the cake out 10 minutes before decorating, because cold buttercream on a cold surface tears as you spread it and condensation can form on the surface.
Can I reuse a dummy cake after practicing?
Yes, that is the main reason to build one. Scrape the decoration off with a palette knife, keep the sealed base and re-ice whenever you want to practice again. Store it in a dry box away from heat, since foam and glue degrade in a warm car. Keep scraping practice buttercream into a tub as well; it stays usable for about a week refrigerated.
Should dummy cakes be the same size as a real cake?
Keep the same height and diameter for the finished look, but cut the base about 5 mm smaller on each side, because frosting adds width and hides the seam. Match the height more carefully than the width, since height is what determines the number of tiers and the proportion of a real design.
Can I use a real cake instead of a dummy cake for practice?
A real cake is better when you need to taste the result, work with fresh fruit or try sugar flowers that need real moisture. For technique work, piping, stacking and finishing, a dummy is faster, cheaper and repeatable. A good compromise is to bake one real sponge, split it, and use it as a real base for as many practice finishes as you can stand.
Conclusion
Start with the simplest stable option: two cardboard rounds glued or sandwiched together and wrapped in one continuous layer of film. That gives you a practice cake in twenty minutes, and every technique you learn on it transfers straight to a real sponge. Move up to a sealed foam build when you begin stacking tiers, and keep scraping the buttercream off between sessions so nothing goes to waste.
How to make dummy cakes for practice is mostly a sealing problem, not a decorating one. Get the base airtight and the same dummy will carry you through months of borders, swags, flowers and tiered builds without a single wasted bake.