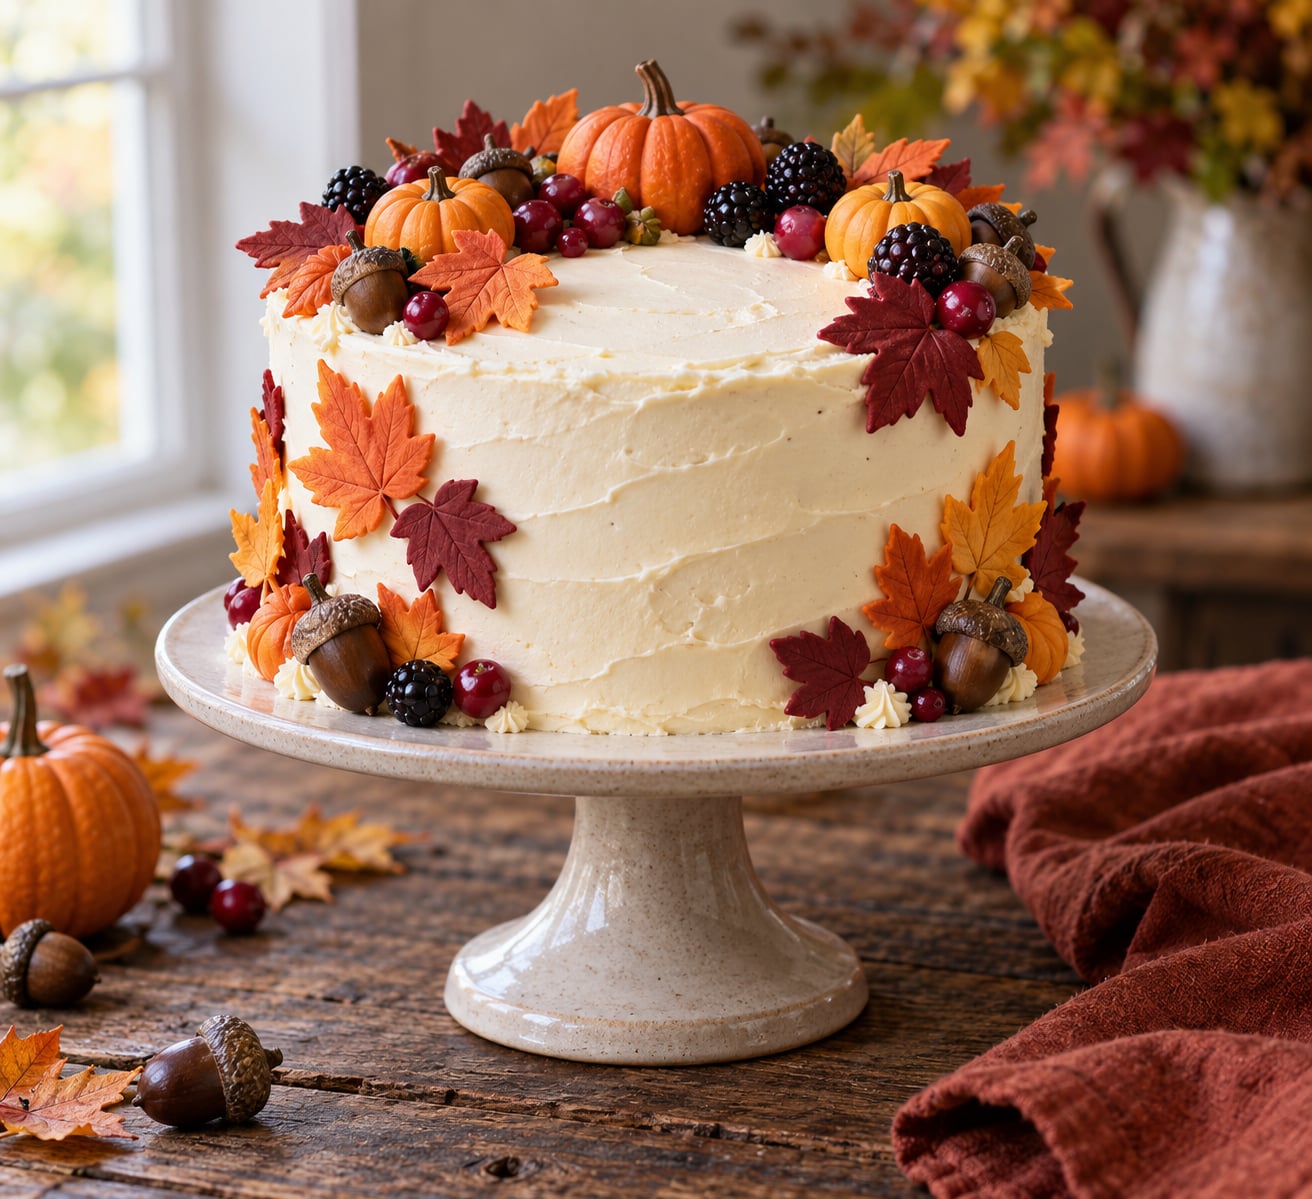
A fall harvest cake design is mostly color and a handful of edible accents: warm orange, rust, mustard and deep green frosting, hand-painted gum paste leaves, miniature pumpkins, a few mums or berries. You do not need piping experience for it. Budget about three hours spread over two days, mostly waiting while things chill.
The trick is deciding on your palette before you touch the frosting, then making every accent in advance so the final hour is just assembly. I have built this design a dozen-plus times and the version that survives transport is always the one with three big elements instead of twelve small ones.
Here is the whole process, from what to gather through to serving, with the fix for each thing that usually goes wrong.
Table of Contents
- What You Need
- How to Make a Fall Harvest Cake Design Step by Step
- 1. Prepare and Chill the Cake
- 2. Choose an Autumn Color Palette
- 3. Create the Harvest Cake Surface
- 4. Add Leaves, Pumpkins, and Acorns to Your Fall Harvest Cake Design
- 5. Finish with Fruit, Texture, and Color
- 6. Photograph and Serve the Finished Cake
- Common Mistakes
- Frequently Asked Questions
- Can a beginner make a fall harvest cake design without piping experience?
- Do I need fondant to make a fall harvest cake design?
- Can I put real fall leaves or fresh flowers on the cake?
- How long will a decorated fall harvest cake last?
- What cake flavor goes best with a fall harvest cake design?
- Conclusion
What You Need
Start with a sturdy cake that will hold up under frosting. A buttery pound cake, apple cake, carrot cake or pumpkin cake all frost cleanly and taste like the season.
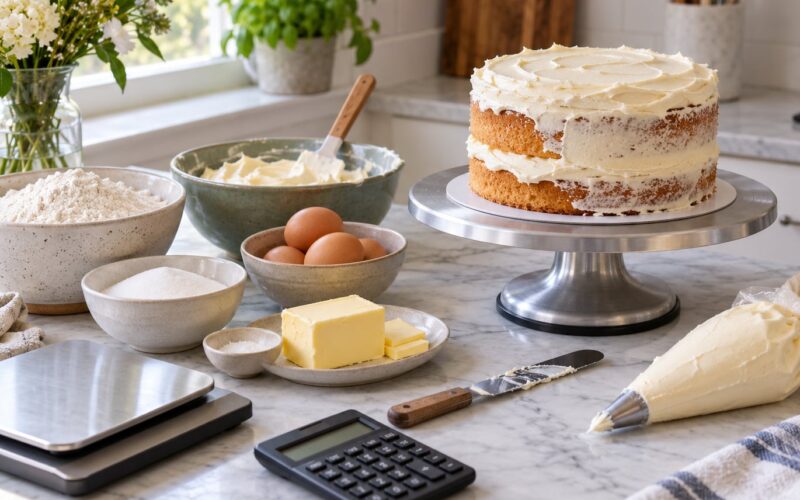
- Cake: two 8-inch layers of a firm recipe. Pound cake or a high-ratio butter cake holds frosting better than a light sponge.
- Frosting: about 5 cups American buttercream for a full cover, or 3 cups for a semi-naked finish.
- Gel food coloring: autumn orange, leaf green, burgundy, mustard or gold, plus black for mixing.
- Gum paste or modeling chocolate: about 200g for 12 leaves, 6 pumpkins and a handful of acorns.
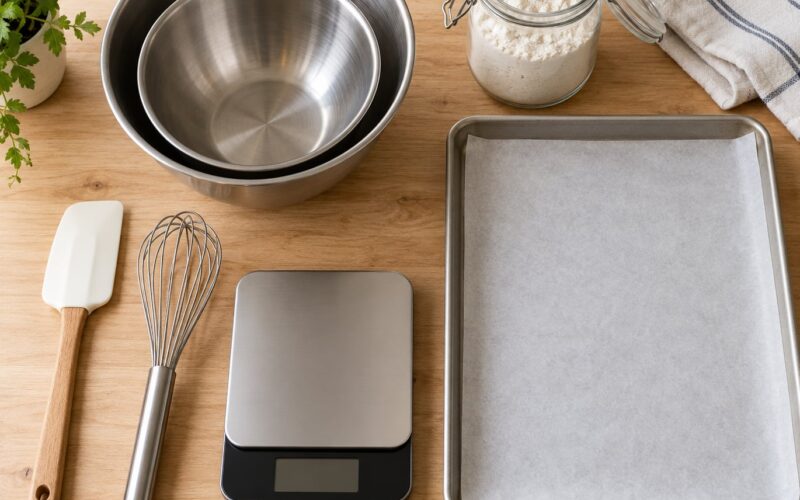
- Tools: small rolling pin, leaf cutter or craft knife, vein tool or a dried vanilla pod for leaf veins, small ball tool, piping bag and a 1M or 16M tip, acetate or baking paper for work, gel color and clean vodka or lemon extract for painting.
- Optional: fresh berries, dried seed heads, edible gold leaf, pumpkin seeds, roughly crushed biscuit crumbs.
Substitutions are easier here than in most decorating. If you have never rolled fondant, use gum paste or modeling chocolate, which hold their shape better and need less drying time. If fresh fruit is out of season, use dried cranberries, freeze-dried strawberries or a jar of pitted plums drained and patted dry.
Skip the pumpkins if you cannot find mini gourds, and make everything from gum paste instead. It is more work but it keeps the whole design edible.
One food-safety note before you plan the foliage. Only put food-safe accents on the cake itself. Real dried leaves do not adhere reliably to buttercream, and fresh flowers or store-bought foliage are for display only unless they are certified unsprayed food-safe and free of pesticides. If you want real foliage for the look, add it on the cake board or on removable picks and take it off before you slice. If anyone at the party has a nut allergy, keep pralines, candied nuts and nut-flavored gum paste off the design entirely and use pumpkin seeds or sunflower seeds in their place.
How to Make a Fall Harvest Cake Design Step by Step
1. Prepare and Chill the Cake
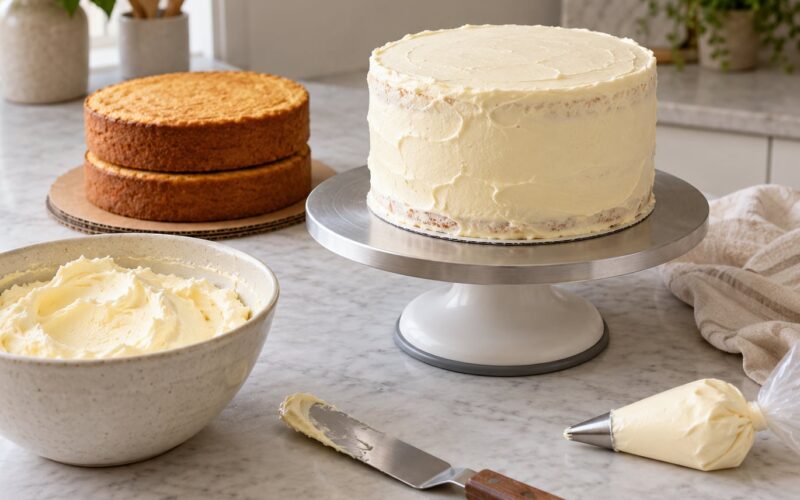
Trim the domed tops with a serrated knife while the layers are still cold, cutting from the outside in with a shallow sawing motion. Fill and stack, then chill the stacked cake for 30 minutes so the filling sets.
Apply a thin crumb coat, about 1/8 inch thick, pushing any gaps closed with the back of the knife. Chill again for 20 minutes. When the crumb coat is properly cold, the final coat will not drag crumbs into the surface, and that single step is the difference between a smooth cake and a lumpy one.
How you know it is ready: the surface feels cool and firm and the crumb coat no longer slides when you turn the cake.
2. Choose an Autumn Color Palette
Pick three colors and stick to them. Five colors on one cake reads as clutter, and beginners almost always make this mistake by adding a fourth and a fifth accent.
Tint the frosting in small batches rather than one big bowl, because gel color strength varies between brands and you cannot take it back once mixed.
- Burnt orange: orange gel plus a drop of black, added a little at a time. Use it on the pumpkins, the top scatter and the leaf edges.
- Rust or terracotta: red gel plus a touch of orange and a drop of black. Good for board accents and fondant leaves.
- Mustard or gold: yellow gel plus a drop of brown or orange. Works as the base coat and on seed heads.
- Deep olive green: green gel warmed with a drop of yellow, then a hint of black. Save it for leaves, vines and piped stems.
- Burgundy: red gel plus a drop of black and a pinch of violet. Best on berries and the deepest leaf tones.
Test each mix on a smear of plain white frosting on a spare plate, then wait ten minutes. Some colors shift as they set, and you will be glad you caught a too-green olive before it touched the cake.
3. Create the Harvest Cake Surface
There are four finishes that suit this design, and all of them are beginner-friendly.
Rustic buttercream swirls. Chill the crumb-coated cake, add the final coat, then run an offset spatula around the cake in loose circles, keeping the blade vertical and changing the angle slightly as you go. This reads as textured and hand-made, and it hides rather than shows every crumb.
Semi-naked. Thin the final coat to a glaze you can see the crumb through, then scrape the top with the spatula blade so the cake shows through in patches. Save the crumbs you push off; they make a good board filler.
Fondant bands. Roll two long strips in your deepest autumn color, wrap them around the base and top edge like a ribbon, and brush the seams with a little water. Fondant is the one finish that needs a calm, dry cake, so this suits a firm pound cake better than a soft carrot cake.
Textured spatula finish. Press the tip of the spatula lightly all over in a random pattern, then knock the back of the spatula against the turntable a few times to knock out air pockets. Sharp lines read as modern; rounded presses read as rustic.
Whatever you choose, put the cake on a board that is 2 inches wider than the cake. You will want that margin for pumpkins and crumbs later.
4. Add Leaves, Pumpkins, and Acorns to Your Fall Harvest Cake Design
Make these a day or two ahead. They dry firm, and dry accents are the only way they survive a fridge and a car journey.
Leaves. Roll gum paste to about 1/8 inch. Cut leaf shapes, then press a vein tool down the center of each one and add three or four side veins. Let them dry flat for a few hours, then bend them gently over a rolling pin to give a curve. Paint them with gel color thinned with lemon extract, working from the tip toward the stem so the veins stay darker. Two thin coats look better than one heavy coat.
Pumpkins. Roll 20g pieces into balls, flatten the base slightly so they sit, then press five thin lines down the sides with a needle or the edge of a leaf tool. Add a short stem from a strip of gum paste wrapped in a curve, and a tiny green leaf if you have one. A pumpkin needs about ten minutes of drying before you handle it.
Acorns. Roll a ball for the cap and a slightly larger, slightly pointed ball for the nut. Press the cap onto the nut with a crimping tool or the tines of a fork, then dust with edible gold or a pinch of cinnamon.
Arrange everything in clusters of three, five or seven rather than spreading it evenly. Put the tallest item at the back, medium in the middle, and flat pieces at the front edge where people will see them close up. Odd numbers look intentional; even numbers look counted.
The hand-painted leaves hold up far better than dried real ones, and thinning the gel color with lemon extract keeps a glossy finish that does not go matte overnight. That is still the most reliable method I know.
5. Finish with Fruit, Texture, and Color
Dried berries and fresh fruit add the last bit of warmth, but they need a plan. Pat every piece completely dry, and add fresh fruit as close to serving as you can. Any moisture on the cake turns the frosting glossy and grey within an hour.
For texture, scatter pumpkin seeds or sunflower seeds along one side, or press a few crumbs into the buttercream at the base so the cake looks like it was finished straight from a farmhouse table. Edible gold leaf on the pumpkins catches light and hides small dents in your modeling.
Pipe a few thin vines in green buttercream with a small open star tip to connect the clusters and stop the eye jumping between them. Keep the piping light. Three vines that look intentional beat fifteen that look busy.
6. Photograph and Serve the Finished Cake
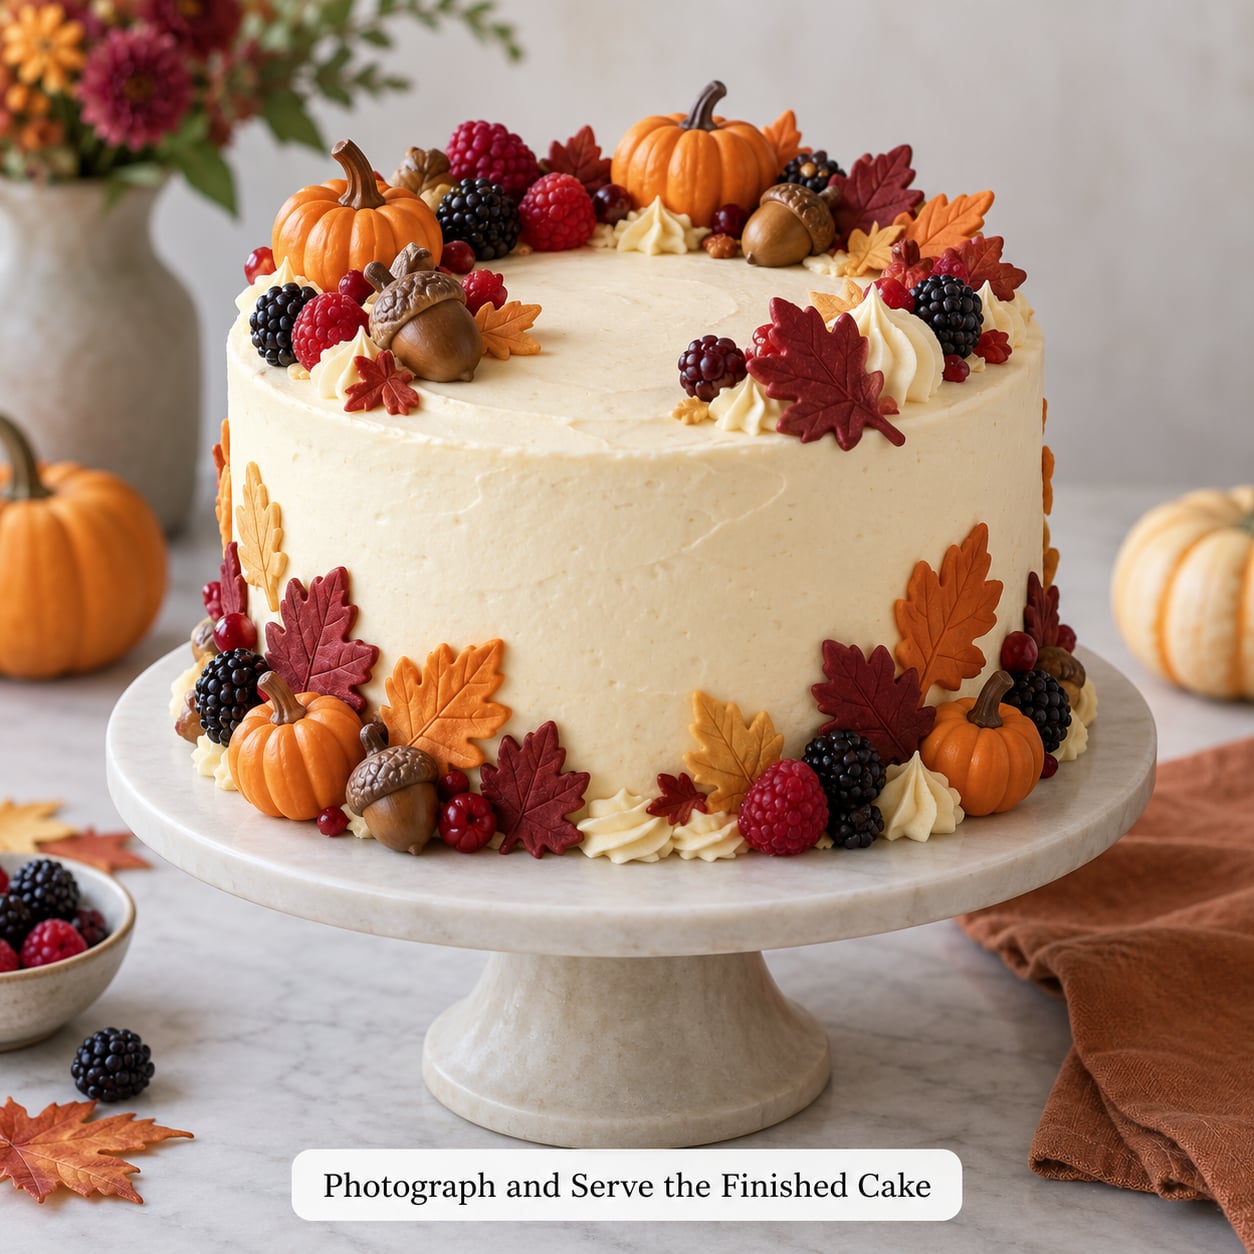
Before you call it done, do a final pass from table height rather than standing up. That is the angle most people see it from, and it is where unbalanced clusters show up instantly.
Chill the finished cake for 20 minutes to firm the buttercream before you move it. Then carry it on the board, on a flat non-slip mat in the car, never by the edge. If it has to go in a fridge, keep it on the board and take it out about 45 minutes before serving so the frosting is not cold and heavy when you cut.
For photos, shoot next to a window in soft light with a plain background. A linen runner, a few gourds on the board and one candle usually do more than doubling the number of leaves.
Common Mistakes
Almost every fall cake problem I have seen traces back to one of eight things, and all eight have a quick fix.
Frosting sliding off the side. It was not cold enough. Chill the crumb-coated cake for a full 20 minutes and check that the coat is firm to the touch, not just cool.
Crumbs pulling into the final coat. Frost too thick. That thin crumb coat exists to seal the cake; if it was applied thick, it will still shed crumbs.
Fondant cracking at the edges. It was rolled too thin or worked too long. Roll to 1/8 inch, and push the fondant rather than pulling the rolling pin back and forth.
Color bleeding between piped florals. The frosting was too soft for the detail. Use stiff peak consistency, and let piped pieces set on acetate in the fridge for 15 minutes before moving them.
Glossy, weeping patches. Water from fresh fruit, or condensation from a fridge-to-room-temperature move. Add fruit late, and pat it dry first.
Dried leaves falling off. They have no grease and no adhesive. Brush a very thin layer of melted chocolate or corn syrup underneath, or skip them and use gum paste leaves that will not move.
Too many elements. Everything is the same size and weight, so nothing leads. Cut the accent count roughly in half and make the remaining pieces bigger.
A cracked or sinking cake. That is a baking problem, not a decorating one. Weigh the flour, and cool the layers fully on the rack before filling.
Frequently Asked Questions
Can a beginner make a fall harvest cake design without piping experience?
Yes. The base design needs no piping at all. Frost the cake in a rustic spatula or semi-naked finish, add hand-painted gum paste leaves and small pumpkins, and finish with fresh or dried berries. Piping a few mums or vines is optional and only adds polish. Begin with three accents in a single color family, then add a second color once you are comfortable.
Do I need fondant to make a fall harvest cake design?
No. Buttercream, ganache or a simple glaze all work, and gum paste or modeling chocolate can replace rolled fondant for leaves, pumpkins and acorns. Fondant is only useful if you want smooth fondant bands around the base and top. If you skip it, use buttercream, because gum paste and modeling chocolate still need something to sit on.
Can I put real fall leaves or fresh flowers on the cake?
Not directly. Dried leaves have no grease and usually will not hold, and fresh stems carry bacteria, pesticides or floral foam unless certified food-safe. Use gum paste or modeling chocolate leaves instead, which you can paint to look real. If you want fresh greenery or blooms for the look, place them on the cake board or on picks and remove them before serving.
How long will a decorated fall harvest cake last?
Buttercream cakes keep well covered at cool room temperature for about two days, or up to three days refrigerated. Gum paste and modeling chocolate accents can be made two to three days ahead and stored in an airtight box. Add fresh fruit only a few hours before serving, and take the cake out of the fridge about 45 minutes before cutting so the frosting is not too firm.
What cake flavor goes best with a fall harvest cake design?
Match the flavor to the finish. Apple and cinnamon suit a rustic textured finish, where the crumb shows. Pumpkin, carrot and spice cakes carry heavy decoration well because their flavor stands up to it. Maple, caramel and salted caramel pair well with a smooth finish and fewer, larger accents. Cheesecake and red velvet work too, but they read as winter rather than autumn.
Conclusion
The first thing to do is chill your crumb-coated cake for 20 minutes and get your three colors mixed on a spare plate. Everything after that follows from those two choices.
Pick one focal decoration and build the design around it. Whether that is a cluster of pumpkins, a garland of painted leaves or a handful of mums, giving it room to be the biggest thing on the cake is what makes a fall harvest cake design look finished rather than crowded.
Then chill the cake again before you move it. Buttercream that is firm travels; buttercream that is soft does not.
Updated for 2026.