A bake sale table sells out when the treats are handheld, single-serve and cheap to make in bulk: cookies, bars and brownies, mini cupcakes or muffins, and no-bake squares. Learning how to make treats for a bake sale that sell comes down to three filters, not a recipe search. A buyer has to be able to pick one up, eat it while walking past your table, and hand over an easy round amount without waiting for change.
That is worth saying plainly, because most bake sale tables do not fail on taste. They stall on logistics: six kinds of treat nobody can price, labels with no allergens, a queue that backs up at the cash box, and a pile of brownies left at the end of the afternoon.
This guide walks through the whole job: choosing what to bake, pricing it with real numbers, batching it so every portion looks the same, packaging and labelling it so people buy without asking questions, and keeping it safe on a folding table in a school gym. Most of it takes an afternoon of planning and a weekend of baking. No professional equipment needed.
Table of Contents
- What You Need
- Step-by-Step
- 1. Choose Treats That Appeal to a Crowd
- 2. Calculate Costs and Set a Selling Price
- 3. Prepare Batches for Consistent Quality
- 4. Package and Label for Easy Buying
- 5. Display, Transport, and Keep Treats Safe
- Common Mistakes
- Frequently Asked Questions
- What are the best-selling items at bake sales?
- What is the easiest thing to bake for a bake sale?
- How do I price items for a bake sale?
- How many treats should I make for a bake sale?
- Can I bake treats ahead of time and freeze them?
- How do you label allergens at a bake sale?
- Conclusion
What You Need
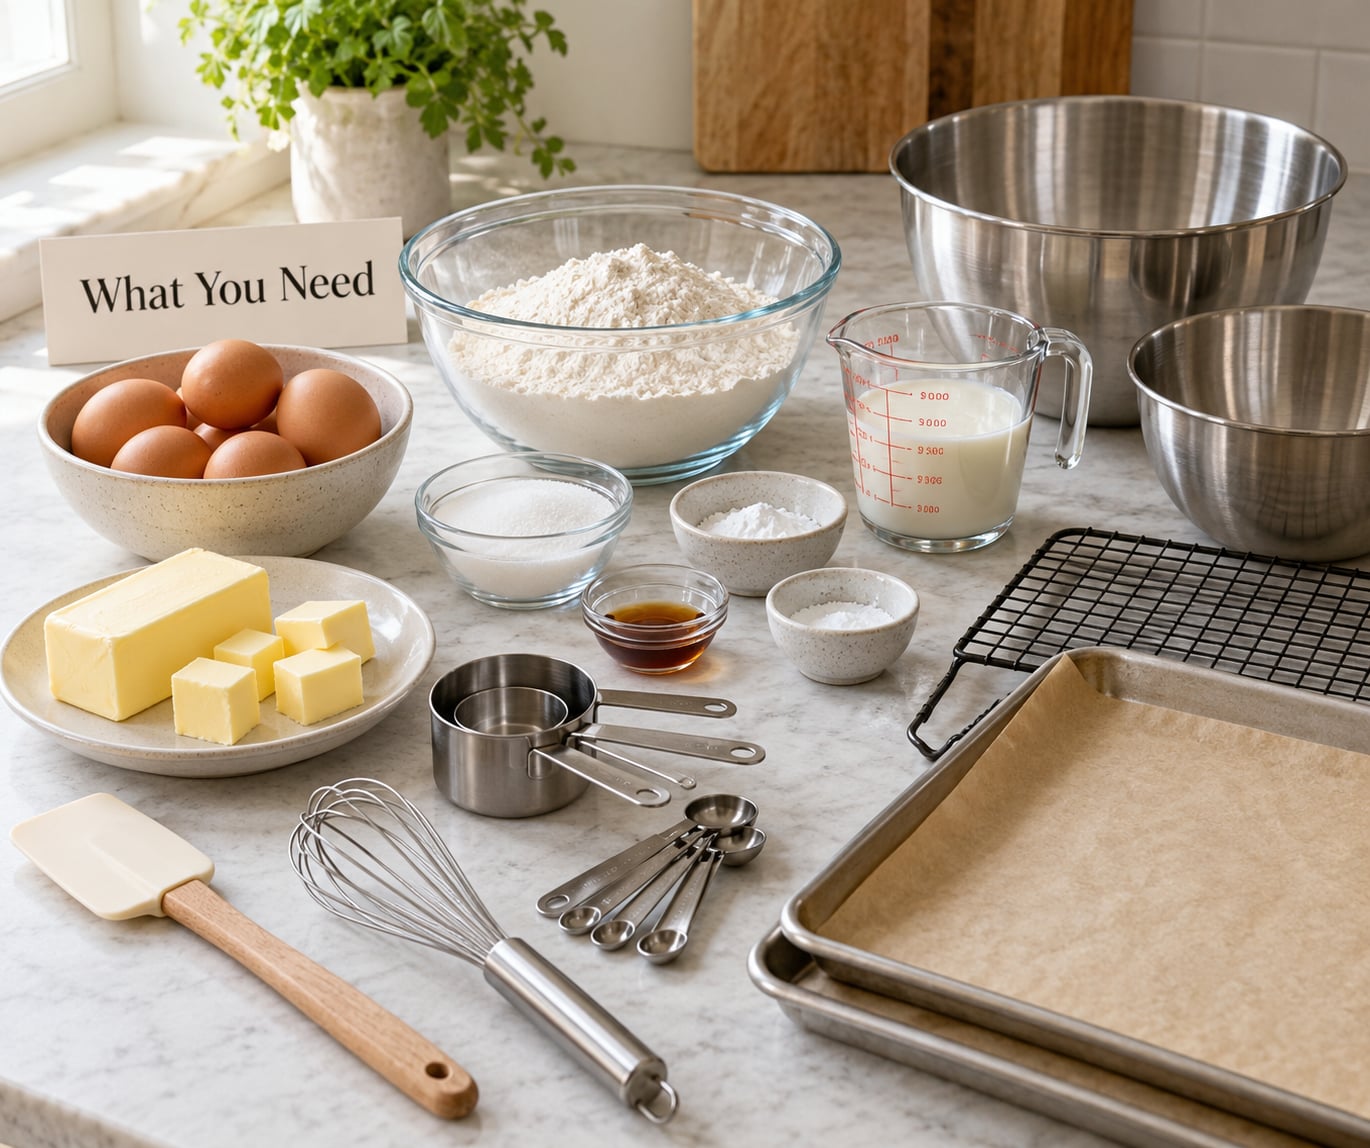
Start with the part people forget: your packaging and labelling supplies. You can bake a hundred brownies with what is already in your cupboard, but you cannot sell them without bags, boxes, tags and a marker.
- Core ingredients: all-purpose flour, granulated and brown sugar, butter, eggs, baking powder or soda, vanilla, salt, rolled oats, and a chocolate or nut spread if you are making cookies. A boxed cake mix is a legitimate shortcut for cake bites or cupcakes, not a compromise.
- Flavour boosters: cocoa powder, espresso powder, citrus zest, cinnamon, food colouring, sprinkles, and a coarse topping like sea salt or chopped nuts for the tray people photograph first.
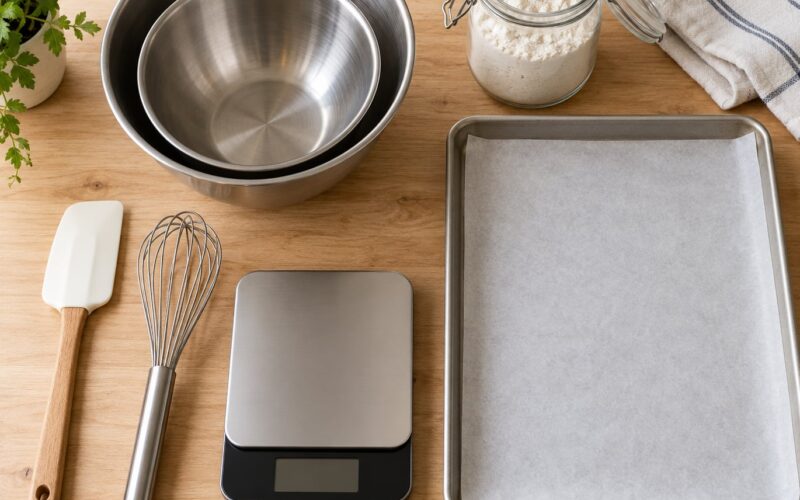
- Equipment: at least two sheet pans so one batch bakes while the next mixes, parchment or silicone liners, a kitchen scale, cooling racks, a portion scoop or ruler for even cuts, and an oven thermometer if your oven has a reputation.
- Mixing kit: large bowls, a stand mixer or a sturdy hand mixer, rubber spatulas, measuring cups and spoons, and timers you can hear from across the kitchen.
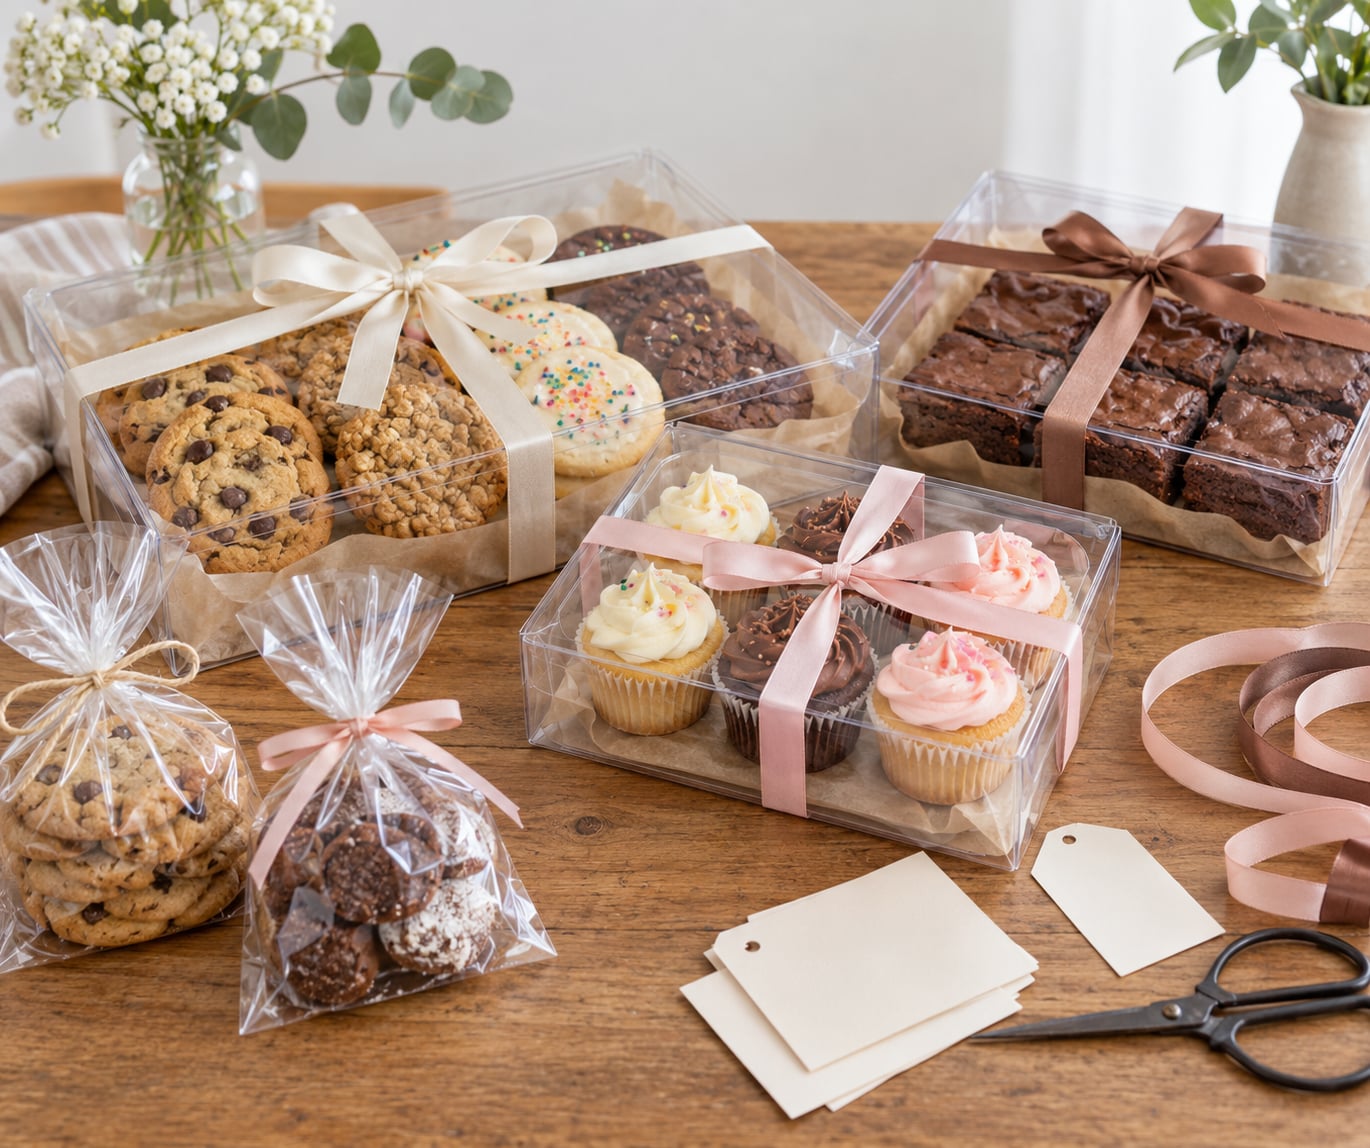
- Packaging: clear cellophane bags or small bakery boxes for cookies and cake bites, cupcake liners for mini cupcakes, parchment squares between layers, and ribbon, tape or a blank sticker round each bag.
- Labelling: index cards or cardstock cut to a consistent size, a marker, printed ingredient cards, and a larger sign for prices so the small tags stay readable.
- Prep and safety: airtight containers for anything you freeze, a cooler with ice packs for cream-based fillings, gloves, hand sanitiser, paper towels, and a simple sales log or tally sheet.
Checkpoint: before you turn the oven on, count your pans against your recipes. If you have one pan and three batches, everything waits while one thing bakes. Two pans and a cooling rack above the counter turns a stressful afternoon into a calm one.
Step-by-Step
1. Choose Treats That Appeal to a Crowd
Pick treats that are familiar enough to sell instantly, small enough to eat in one or two bites, and sturdy enough to survive four hours on a table. Chocolate chip cookies, fudgy brownies, blondies, lemon bars, mini cupcakes, muffins and marshmallow cereal squares cover almost every base, and each has a different flavour, texture and price point so your table is not three trays of the same idea.
Texture variety does more work than novelty. A crisp cookie next to a soft brownie next to a chewy bar gives people a reason to buy two. Colour helps too, and so do visible toppings: a sprinkle of sea salt, a drizzle of icing, or a candy on top turns an ordinary bake into something that photographs well on a tiered tray.
Plan for dietary needs without trying to feed everyone. One clearly labelled gluten-free or nut-free option is plenty. It gives the parents who need it something to buy, and it signals that you thought about the people at the table rather than only the people who like sugar.
Savory items earn their space too. A tray of cheese crackers, mini quiches or a herb scone is often the first thing adults buy on the way to the queue, and they lift the whole table out of the dessert rut. Many home bakers use a rough 3:2:1 planning ratio: three sweet items, two savory or neutral items, one showpiece that gives the table a centrepiece. It is a planning habit, not a law, and it stops you from bringing five trays of squares.
Then solve the duplication problem, because it comes up constantly in baking communities. On r/Baking, people planning a contribution ask almost the same question every time: what can I bring that is not the chocolate chip cookies and brownies everyone else is already bringing? The answer is to change one variable rather than invent a new recipe. Add a twist to a proven base, such as brown butter chocolate chip cookies, blondies with a salted topping, or lemon bars with a short streusel. Known recipe, different result.
Checkpoint: say the name of each treat out loud with its portion size. If it needs a sentence to explain, choose something else.
2. Calculate Costs and Set a Selling Price
Price from your cost, not from what feels reasonable. Getting the number right is the part of how to make treats for a bake sale that sell that most home bakers skip, and it is the easiest thing to fix before the sale rather than after. The method is simple: add ingredient cost, packaging cost, an hourly value for your time and a share of overhead, then add a margin. Four steps, and you can do it on the back of a recipe card.
- Ingredient cost per serving. Add up everything the batch uses, including oil, lining paper and the sprinkles you will not eat. Divide by the number of portions it yields. That number is your floor.
- Packaging per serving. One small bag and a printed tag adds a few cents a treat, and a box costs noticeably more. Price it in, because packaging is what makes a treat look worth buying.
- Labour and overhead. Decide what an hour of your time is worth to you, even if it is modest, then add a share of oven electricity and fuel. This is the step that turns hobby baking into a fundraiser that actually returns money to the group.
- Margin and a round price point. Add 40 to 60 percent on top, then round to a price people can hand over without thinking: a single item, a three-for deal, or a mixed dozen.
Here is a worked example with round figures. A tray of 24 brownies costs about 4 dollars in ingredients, 60 cents in bags and labels, and 45 minutes of your time. Break-even lands near 20 cents a piece. Add a 50 percent margin and you are at about 30 cents, so a price of 50 cents each, or three for a dollar twenty-five, is comfortable and easy to say out loud.
Bundle deals move stock and raise your average sale at the same time. Three for one price is the simplest and it works best on small cookies and cake bites. A mixed dozen lets people combine treats, which is useful when one parent does not want twelve identical bars. Put the bundle signs in the same handwriting and font as the item signs so the table looks like one seller, not five.
Bring a change float. Small bills and coins for making change, a separate envelope or box, and a log sheet with columns for time, item, quantity and total. At the end, the log tells you which treat actually earned, which is the only reliable way to know what to bring next time.
Checkpoint: the price on the sign equals your computed price, rounded up, never down. Underpricing is the one mistake that cannot be fixed after the sale.
3. Prepare Batches for Consistent Quality
Consistency is what separates a table that sells out from one that gets picked over. Every treat should look the same size, the same colour and the same thickness, because buyers pick the best-looking piece and then compare the rest.
Scale carefully. You can double or triple most cookies, bars and muffin recipes, but weigh the dry ingredients rather than doubling the volume measures, because a cup of flour and a cup of cocoa are not the same weight. When you move to a bigger pan, keep the same depth of batter rather than the same number of pans, and expect the bake time to shift with depth rather than width. Brownies in a shallow pan set up crisp; brownies in a deep pan bake wet in the middle.
Cool everything completely before you cut or wrap. Warm cookies sweat inside a bag, and the icing on a slightly warm cupcake slides. A wire rack clears a batch twice as fast as a flat tray, and it is the single cheapest upgrade on your list.
Use the day before for the boring work: bake, cool, cut, bag and label. Save the decorating for sale morning. Frosting, drizzle and sprinkled toppings all look better added in the few hours before the sale, and a dusting of powdered sugar goes on last so it does not melt or disappear into the surface.
Rich or sticky recipes deserve small portions. One church supper regular cuts her cookie bars into small pieces specifically because people buy more of them that way, and the same logic applies to fudge squares and Rice Krispie treats. Cut with a ruler for straight edges, and wipe the knife between cuts so the pieces stay clean.
Checkpoint: make one small test batch a day or two before you commit. Taste it, then leave one piece out for four hours and check whether it still holds its shape and texture. That test predicts your sale day better than any recipe rating.
4. Package and Label for Easy Buying
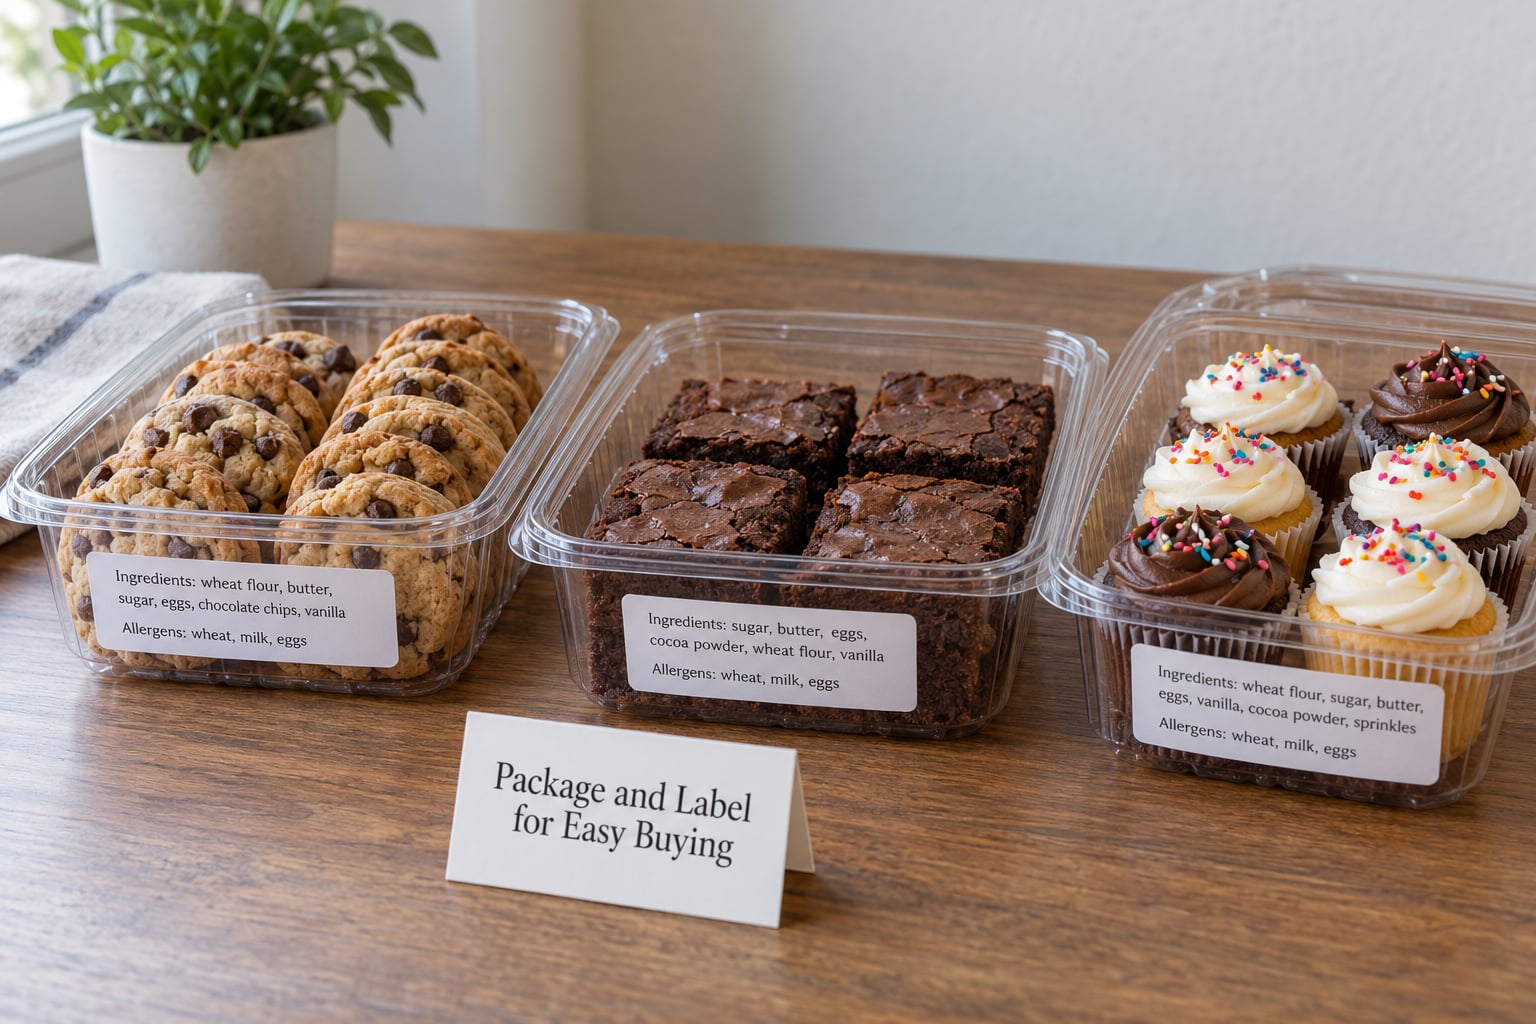
Packaging is the quiet half of how to make treats for a bake sale that sell, and it takes about ten minutes a bag. Do it for the buyer’s decision, not for yours. One person should open a bag, see what is inside, know the price and be walking away in ten seconds. Clear bags or boxes beat trays because a buyer can see the portion, and clear containers beat decorated tins because they cost less and stack.
Put a label on every single item, not one sign per tray. The label should carry the treat name, the portion size in pieces or weight, the price, the ingredients, and any allergens. Add the date made for anything with cream or fresh fruit. Small, consistent tags make the table look professional, and they let you price a mixed dozen without guessing.
On allergens, be accurate and be modest. List the allergens in the recipe plainly, and say where cross-contact is possible. Do not label a treat nut-free, gluten-free or dairy-free unless you can honestly say the whole kitchen and your process support that claim, and never promise an allergy-safe item to a parent you have not talked to. Community bakers argue about this constantly, and the honest version of the label protects both the buyer and you.
Add pickup information for anyone who wants to order ahead. A sign with the sale date, a contact for pre-orders and a cutoff time converts walk-up browsers into guaranteed sales, and it reduces the pile of loose change you have to handle at the end.
Checkpoint: hand a bag to someone who did not help you bake and ask them to tell you the price and whether it contains nuts. If they hesitate, rewrite the label.
5. Display, Transport, and Keep Treats Safe
Display treats in covered containers, in single layers where you can, so nobody has to pick through a pile and nobody handles a piece twice. Tiered trays or risers make a small table look generous and keep the back rows visible. Put your best-looking tray at eye level and at the front, because that is the one that pulls people toward the table.
Keep everything shaded and cool. A gym or community hall warms up fast with a crowd in it, and direct sun on a table will soften frosting within the hour. Anything with a cream cheese frosting, whipped cream filling, custard or fresh fruit filling should be made close to sale time and held in a cooler with ice packs. As a general rule for perishable food, keep it out of the 40 to 140 degree range for no more than two hours, and one hour if the room is hot.
Check the rules where you live before you bake. Many US states run cottage food laws that allow certain shelf-stable homemade goods to be sold at farmers markets and similar events, and the permitted products, labels and kitchen rules differ by state. Your state agriculture or health department is the right place to start, and if your event requires a licensed kitchen, plan for that before you spend on ingredients.
Transport with the same care you display with. Use shallow boxes, keep them flat on the car seat rather than the trunk, and take the car straight home so nothing is left in a warm car. Carry one container of water and paper towels so a spill does not become a ruined tray.
Checkpoint: at the start of the sale, note how many pieces of each treat are on the table. Two hours later, the difference tells you what to make next time, and the tally sheet tells you the same thing in numbers.
Common Mistakes
Almost every disappointing bake sale traces back to one of these, and each has a simple fix.
- Making too many varieties. Six trays split your effort and confuse buyers. Fix: two or three reliable items, done well, plus one experiment.
- Choosing complicated recipes. A layered or filled cake that needs assembly at 7 a.m. will not happen. Fix: choose treats that are finished when they leave the oven or need ten minutes of decoration.
- Pricing by guesswork. A price that feels low feels wrong to the seller and cheap to the buyer. Fix: compute cost per serving, add a margin, round up to a clean price point.
- Under-labeling allergens. This is the mistake with real consequences. Fix: treat name, price, ingredients and allergens on every item, and never claim allergy-safe without verification.
- Baking for last year. Guessing quantities for an unknown crowd is how tables run out early or drown in leftovers. Fix: estimate buyers, multiply by two to three portions each, then split across two or three items.
- Piling everything on one tray. Crowded trays get picked over and lose their appeal. Fix: refill small batches from airtight containers rather than setting out everything at once.
- Skipping the change float. A queue that cannot make change stops selling. Fix: a dedicated envelope or cash box with small bills and coins.
- Leaving treats uncovered or in the sun. Frosting softens, dust melts, and contamination spreads. Fix: covered containers, shade, and coolers for cream-based treats.
- Decorating powdered sugar too early. It disappears into the surface overnight. Fix: dust and drizzle on sale morning, after the treats are packed and before you load the car.
- Forgetting the table itself. A plain cloth, a price sign, a tray riser and a card box for money do more for sales than a third recipe ever will.
Frequently Asked Questions
What are the best-selling items at bake sales?
Cookies, bars and brownies, mini cupcakes and muffins, and no-bake squares such as marshmallow cereal treats or fudge lead almost every table. They are handheld, single-serve and cheap per portion, so a buyer can choose one, eat it while walking and pay an easy round price. Sell your own baking based on portions per person, not items, since a brownie sells for more than a cookie but takes the same hand and mouth.
What is the easiest thing to bake for a bake sale?
Marshmallow cereal squares and a one-bowl fudge are the lowest-effort options: about ten minutes of mixing, no oven spring to judge and no decoration to get wrong. If you want something that looks finished, a tray of brownies or blondies cut into even squares is close behind. The real time goes into cooling and cutting, not baking, so plan for that instead of choosing a harder recipe to seem impressive.
How do I price items for a bake sale?
Work out the cost of one serving first: total ingredient cost divided by how many portions the batch makes. Add a few cents for the bag or box and a share of your baking time and oven cost. Then add 40 to 60 percent as margin and round up to a clean price people can hand over quickly. Bundles such as three small cookies for one price move stock and raise the average sale.
How many treats should I make for a bake sale?
Estimate your buyers rather than your guests, because children often buy one each and adults buy two or three. Plan two to three portions per buyer, then split that number across two or three kinds of treat instead of one large batch. Bring a little extra of your best seller, since a tray that sells out early creates a queue and a disappointed crowd, while a modest leftover batch feeds the volunteers.
Can I bake treats ahead of time and freeze them?
Most cookies, bars, brownies, blondies and lemon bars freeze well if you cool them completely first, wrap them airtight and thaw them wrapped at room temperature. Add frosting, drizzle or powdered sugar after thawing so the finish stays sharp. No-bake cereal squares hold their texture for a day or two at room temperature, so freeze those too if the sale is more than two days away. Cream-filled items are the exception: make those the day before.
How do you label allergens at a bake sale?
List the ingredients on every label and name the allergens they contain, especially the eight major ones most people react to. Say plainly whether the treat was made in a kitchen that also handles nuts or wheat, because cross-contact is real and buyers are reading for it. Do not label anything nut-free, gluten-free or dairy-free unless your whole process supports that claim. When in doubt, describe rather than reassure.
Conclusion
The order that matters when you are learning how to make treats for a bake sale that sell is short and worth following. Pick two or three dependable recipes this week and write the cost per serving for each one before you shop. Run a single test batch, taste it, and leave a piece out for four hours to see how it holds.
Then package everything in clear bags or small boxes with one consistent label each, bring a change float and a tally sheet, and keep cream-based treats in a cooler until the last possible moment. That sequence is the difference between a table that raises what it should and one that goes home with you.