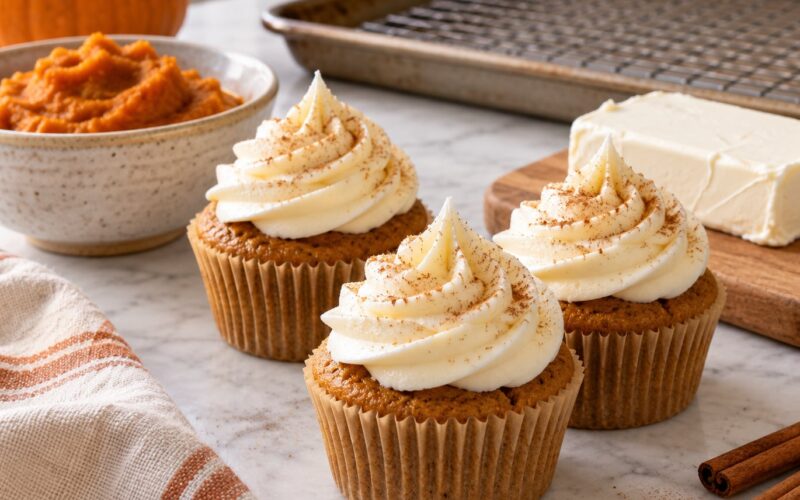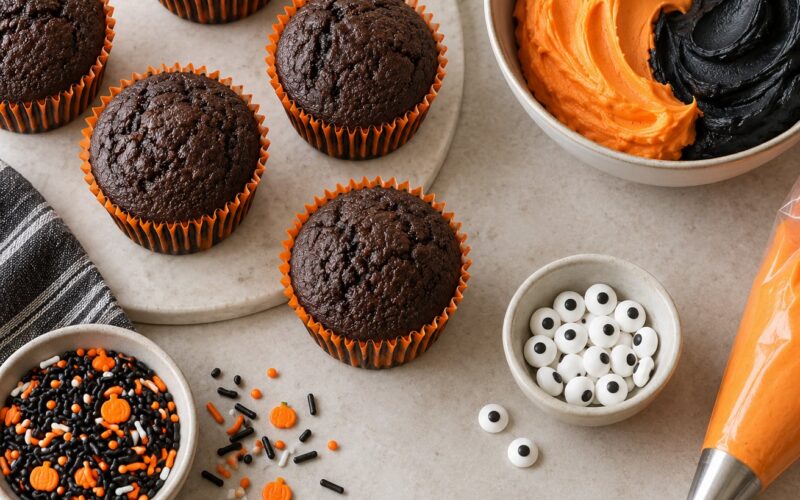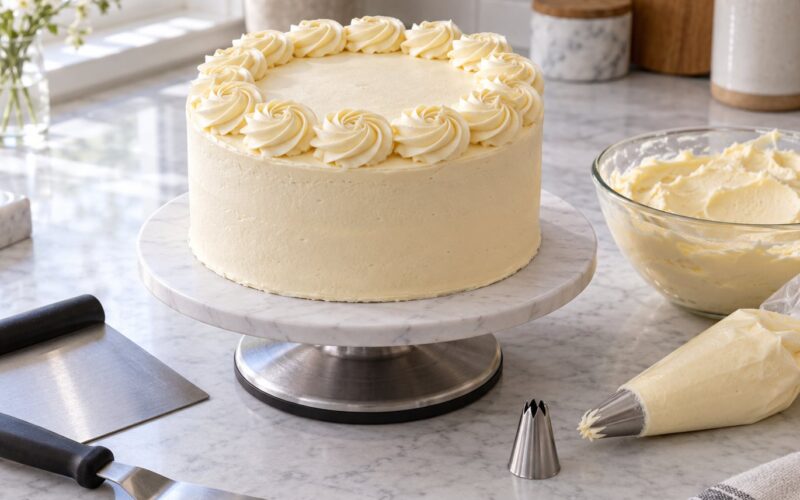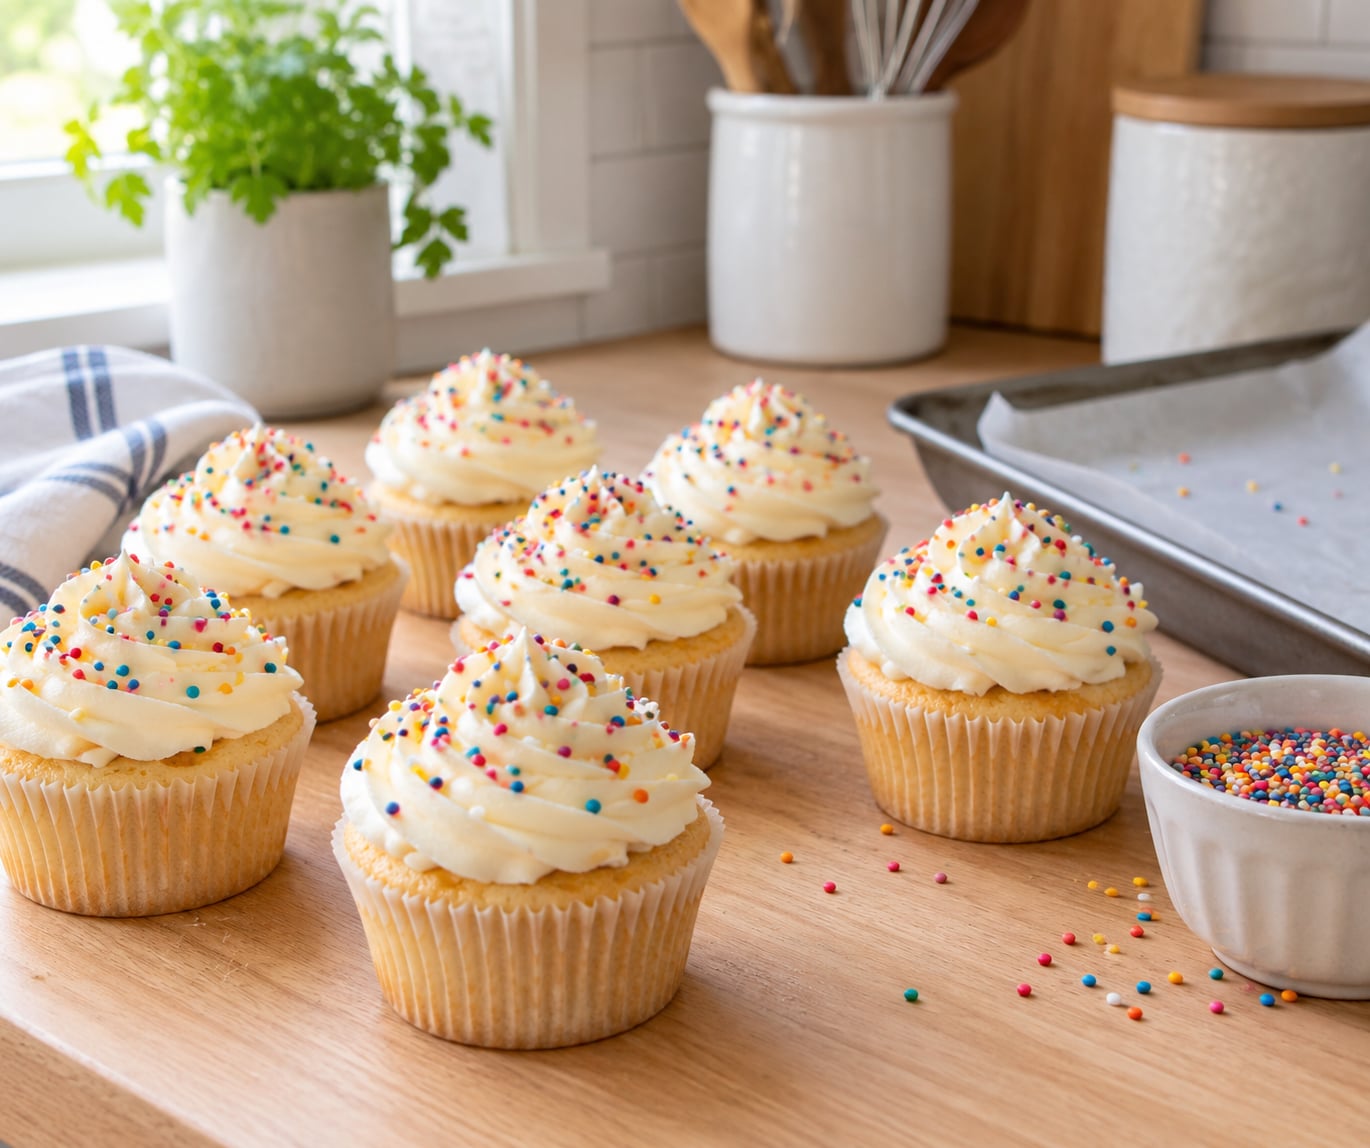
Bringing a birthday treat for a whole class takes planning far more than baking. How to make birthday cupcakes for a classroom comes down to four things: the school’s rules on homemade food, one cupcake per student plus the teacher and a few spares, a spreadable frosting children can actually manage, and edible decorations only. The bake itself is a simple one-bowl vanilla cupcake that comes out of a 12-cup muffin tin in about 20 minutes, so the whole job fits neatly into an evening plus a short morning of decorating.
I’ve written this the way I’d hand the plan to a room parent. Everything below assumes a typical preschool or elementary class of 18 to 30 children and about 90 minutes of kitchen time spread across two days.
Table of Contents
- What You Need
- Step-by-Step
- How to Plan the Right Batch
- How to Bake the Cupcakes
- How to Frost and Decorate
- How to Serve and Transport Them
- Making Them the Night Before
- Common Mistakes
- Allergy Swaps Worth Knowing
- When Cupcakes Are the Wrong Choice
- Frequently Asked Questions
- How many cupcakes should I make for a classroom birthday?
- Can I bring cupcakes to school if the school has allergy restrictions?
- What flavors are least likely to upset children in a classroom?
- Can I make birthday cupcakes the night before?
- What is the easiest frosting for classroom cupcakes?
- How can I keep frosting and decorations from melting during transport?
- Conclusion
What You Need
You do not need a piping bag, a cake leveler, or any special equipment. You need a muffin tin that holds 12 cupcakes, one or two oven trays, a cooling rack, and a mixing bowl with a whisk or an electric beater.
For the cupcakes:
- 200 g (about 1 3/4 cups) plain or all-purpose flour, or a 1-to-1 gluten-free flour blend
- 2 teaspoons baking powder
- 150 g (3/4 cup plus 1 tablespoon) granulated sugar
- 115 g (1/2 cup) unsalted butter, softened, plus extra for the pans
- 2 large eggs at room temperature
- 2 teaspoons vanilla extract
- 120 ml (1/2 cup) whole or plant milk
That batter makes 24 standard cupcakes, so you are usually doing one batch for a small class and two for a large one. If a child in the room has a wheat allergy, swap in a gluten-free blend and check that your baking powder is labeled gluten free. Nut-free is not something you can fix with an ingredient swap alone, which is the next section.
For the frosting, choose a spread rather than a piped buttercream:
- 115 g (1/2 cup) unsalted butter, softened
- 300 g (2 1/2 cups) confectioners sugar, sifted
- 1 to 2 teaspoons vanilla extract
- 1 to 2 teaspoons whole or plant milk
- A pinch of salt, which is what keeps it from tasting flat
For decorating, keep the kit small: one squeeze bottle or tub of gel food color, round or star sprinkles, mini marshmallows, and a pack of plain paper cupcake cases. Everything on that list is edible and school-safe.
Step-by-Step
How to Plan the Right Batch
Count students, then add one for the teacher, one for any assistant, and four extra. Extra cupcakes are never wasted: the birthday child eats the spare, a classmate with a food allergy gets one they can safely eat, and you have a backup for one that gets dropped on the carpet. The arithmetic that works most often is students plus adults plus four.
Working out how to make birthday cupcakes for a classroom starts with fixing that number before you shop for anything, because the headcount decides how many trays go in the oven. Working from a 12-cup tin, here is the arithmetic:
- 18 students: 24 cupcakes. Two full trays, one batch of batter, about 40 minutes in the oven.
- 20 to 24 students: 30 cupcakes. Three trays, one and a quarter batches, about 60 minutes in the oven.
- 26 to 30 students: 36 cupcakes. Three trays, one and a half batches, about 80 minutes in the oven.
Choose size by age. Minis bake in 9 to 11 minutes, yield 24 to a mini tray, and suit three to five year olds who find a full-size cupcake overwhelming or messy. A mini muffin tin makes about 48 minis from one batch, so 24 students takes two trays instead of one and a half.
Before you start, confirm three things with the teacher: whether homemade food is allowed at all, what the allergy situation is in the room, and whether decorations are restricted to edible items. Plenty of schools ban plastic toppers, glitter, and anything with an open flame, and finding that out after you have decorated twenty cupcakes is a waste of an evening.
How to Bake the Cupcakes
Heat the oven to 350F, or 320F with a fan. If your oven runs hot, drop it 25F and check ten minutes early instead of at the end.
Line the tin with paper cases. If the cases are unwaxed and you want to skip greasing, set them straight into a cold metal tin; thin baking paper squares pushed into each hole work just as well.
Beat the butter and sugar for two full minutes, scraping the bowl once, until it looks pale and slightly fluffy. This creaming step is what gives you a light crumb, and it is the one step beginners rush.
Whisk the flour and baking powder together in a second bowl. Add them to the butter with the eggs, vanilla and milk, and mix only until the last streak of flour disappears. Overmixing after the flour goes in is what makes cupcakes tough.
Fill each case two-thirds full. A 12-cup tin wants roughly 60 ml of batter per case, and a small ice cream scoop with a release lever makes this painless. Fill to the top and you get a domed top and a cupcake that spills over the case.
Bake 18 to 20 minutes for standard cupcakes, 9 to 11 for minis. They’re done when a skewer or toothpick pushed into the center comes out clean or with a couple of moist crumbs, never wet batter. Open the oven door once at the halfway mark only if your cupcakes are clearly browning unevenly.
Cool in the tin for 5 minutes, then turn them onto a rack and cool completely. A cupcake still warm when you frost it will melt the frosting straight down the sides and slide off. Ten minutes on a rack is not enough; give it the full half hour or so.
How to Frost and Decorate
Beat the butter for 30 seconds, then add the confectioners sugar, vanilla, a splash of milk and the salt. Beat until smooth and spreadable. If it droops off the spoon, add another spoonful of sugar. If it tears the cake when you spread it, add a teaspoon of milk.
This is a soft, spreadable buttercream, not a stiff one. Children can spread it with a butter knife, and it holds overnight without going rock hard in a cold classroom.
Decorate in themes rather than individually. A batch that looks like one thing is faster, photographs better and feels more like a celebration than thirty different attempts. A few reliable themes:
- Sprinkle only: one color, all 30 cupcakes, done in about five minutes. This is the safe default.
- Birthday child colors: tint the frosting in their two favorite colors and half the batch in each.
- Galaxy: dark food color, white sprinkles, a small silver draggable star per cupcake.
- Animals: two mini marshmallows and a dot of black icing for eyes.
- Rainbow: use gel color in five separate bowls and pipe stripes into separate cupcakes rather than trying to stripe each one.
Do the decorating the morning of, or the night before if the classroom is warm. Frosting that sits overnight in a hot room sweats and develops a weeping skin; in a cooler room it’s perfectly stable for 12 hours in an airtight container.
How to Serve and Transport Them
Carry them in a rigid container with a lid, in a single layer if you have the room, with parchment or cases between the layers. A cake carrier or a large snap-lid tub both work. Don’t stack them bare, because the bottom row’s frosting ends up on the lid and the top row’s on the cake.
A cardboard bakery box from the grocery store is the cheapest and most reliable option for 30 cupcakes. Ask if the shop will set aside a box with a tall lid before you bake, since a flat lid presses straight into the frosting.
At school, plan for a classroom with no sink, no plates and a 15-minute snack slot. Paper napkins by the door, a small bin or bag for wrappers, and a wet-wipe packet are enough. Timing matters more than presentation: bring the cupcakes just before the slot you want them, not at the start of the day, so they’re not sitting out.
Hand the birthday child one to unwrap rather than passing the box around. It keeps twenty-eight pairs of hands off the food, stops the cake-squeezing contest in the corner, and makes the moment feel like theirs.
Making Them the Night Before
The top question people ask is whether the night before or the day of is better. Bake the cupcakes the night before, frost them the night before if the room is cool, and decorate in the morning. Unfrosted cupcakes keep three days at room temperature in an airtight container, and about three months in the freezer if you wrap them individually.
A realistic timeline:
- The evening before: line the tins, mix and bake both batches, cool fully on racks, make the frosting and refrigerate it.
- Early morning, 30 minutes: spread the frosting, add the sprinkles, pack the container, wipe down the kitchen.
- At school: serve during the snack slot, hand out napkins, bin the wrappers.
If you’re using buttercream and driving somewhere warm, frost in the morning instead and transport it uncovered with a loose lid, then cover it fully once it’s in a cool room.
Common Mistakes
Cupcakes turn out flat or sunken in the middle. Either the batter was overmixed after the flour went in, or they came out of the oven before the center set. Pull them at the earliest sign of a dome that springs back, and always test with a skewer. A sunken top on an otherwise fine cupcake is a baking-time issue, not a recipe issue.
Cupcakes overflowed the cases. You filled past two-thirds. Level batter and a gentle scrape of the spatula’s edge across the top fixes it; nothing else does.
Frosting slid off or melted. The cupcakes weren’t fully cool, or the frosting was too soft. Test a drop of it on the side of a cooled cupcake before you frost the whole tray. If it slowly creeps down, it needs more sugar, not more chilling.
Decorations melted on the way in. Chocolate chips and candy melts set only when they’re cool. Use small marshmallows, sprinkles and draggable stars instead, or hold those cupcakes back and add them at school.
Cupcakes came out different sizes. You’re not filling to a consistent line. Mark two-thirds of the case depth with a pencil before you start, or use the same scoop every time.
A child reacted because a “nut-free” batch wasn’t. This is the one mistake with real consequences. A homemade batch baked in a kitchen where peanut butter is used on the same counter cannot honestly be called nut free, and no note on the box changes that. If there is a serious allergy in the room, the practical options are a sealed product from a shop with a printed allergen label, baking two separate batches on different days and cleaning down in between, or bringing something else entirely.
The treat wasn’t allowed at all. Many schools require store-bought food in sealed packaging or ask for a few days’ notice. Ask the office, not just the teacher, before you spend an evening baking.
Not enough napkins, or wrappers on the carpet. Count napkins against students, not guests. And put the bin out before you hand anything out, not after.
Allergy Swaps Worth Knowing
For a classroom with a moderate allergy list, these are the swaps people use most often:
- Dairy: plant milk plus a dairy-free butter or a neutral oil for the cake. Check that the sprinkles are dairy free too; some are dusted with milk powder.
- Eggs: one egg is roughly 3 tablespoons of neutral oil plus 1 tablespoon of water in most standard cupcake formulas. Two eggs become about 6 tablespoons of oil plus 2 tablespoons of water.
- Wheat or gluten: a 1-to-1 gluten-free flour blend, and a baking powder with no wheat starch. Gluten-free cakes need a slightly longer bake and often benefit from an extra few minutes of cooling.
- Milk chocolate: use dark chocolate or a compound coating. Compound coatings are free from milk solids but contain cocoa butter and lecithin, so read the label if that matters.
For severe allergies in a room, ingredient swaps are not the whole story. Cross-contact in a home kitchen is the real limit, and no packaging, basket or note can change that. Store-bought baked goods with a printed allergen statement, or a treat your child’s own family makes at home and sends in sealed, are the two options that hold up.
When Cupcakes Are the Wrong Choice
Some classrooms make cupcakes impractical, and switching is completely normal. A fruit plate, a set of individually wrapped cookies from a shop with printed allergen labels, or a basket of small plain doughnuts all travel better and clean up faster. If the birthday child is the one with the allergy, a shop-bought treat they chose themselves can still be the special thing, especially with a candle and the class singing.
Frequently Asked Questions
How many cupcakes should I make for a classroom birthday?
Plan on one per student, plus one for the teacher and any assistant, plus about four extras. That means 24 for a class of 18, 30 for a class of 24, and 36 for a class of 30. The spares cover the birthday child, a classmate who needs a safe option, and any that get dropped on the way in. Minis bake faster and suit younger children who find a full-size cupcake hard to eat neatly.
Can I bring cupcakes to school if the school has allergy restrictions?
Ask the office, not only the teacher. Many schools require store-bought food in sealed packaging with a printed allergen label, or ask for several days notice before any treat arrives. For a room with a serious allergy, a homemade batch cannot be guaranteed safe in a shared home kitchen. Store-bought treats, or something the affected child’s own family sends sealed, are the options that hold up.
What flavors are least likely to upset children in a classroom?
Vanilla and plain chocolate are the safest picks, both because they are familiar and because nothing in them is a common allergen beyond milk, eggs and wheat. Skip anything with nuts, peanut butter or coconut, and go easy on very strong flavors like lemon or mint. A sprinkle-only theme on vanilla is the version almost every classroom treats well.
Can I make birthday cupcakes the night before?
Yes. Unfrosted cupcakes keep about three days at room temperature in an airtight container, so baking the night before is completely fine. Frosting holds overnight in a cool room but sweats in a warm one, so if the classroom or car gets warm, spread the frosting the next morning instead. Add sprinkles and decorations in the morning so nothing soft melts or sticks to a lid.
What is the easiest frosting for classroom cupcakes?
A soft buttercream made with butter, confectioners sugar, vanilla, a splash of milk and a pinch of salt. Beat it until it spreads off a butter knife rather than holding a peak, which takes about two minutes and needs no piping bag. It is easy for children to apply themselves, it holds its shape overnight, and one extra spoonful of sugar or one extra teaspoon of milk fixes it either way.
How can I keep frosting and decorations from melting during transport?
Carry the cupcakes in a rigid container, tall enough that the lid never touches the frosting, in a single layer or with parchment between layers. For the drive, keep the car cool and the container out of direct sun. Chocolate chips and candy melts soften in a warm car, so use marshmallows, sprinkles and draggable stars instead and add anything chocolatey at school. A tall-lid bakery box from a grocery shop is the cheapest reliable option.
Conclusion
Start with the teacher and the office, not the oven. Confirm the headcount, get a clear yes on homemade food, and ask what the allergy situation in the room looks like before you buy a single thing.
Then pick a flavor the whole room already likes, bake one batch of plain one-bowl vanilla cupcakes two-thirds full, and keep the decoration simple enough to finish in half an hour. Frost them the morning of if the room will be warm, pack them in a tall container, and hand the first one to the birthday child. Honestly, that is the whole job: how to make birthday cupcakes for a classroom comes down to the headcount, the school’s rules, and a frosting children can manage on their own.