Gum paste flowers are made by rolling firm, sugar-based modelling paste paper-thin, cutting petal shapes, frilling the edges, and gluing the layers around a small centre so they dry hard instead of drooping. A first flower takes about 45 minutes of active work plus drying time, and the technique is far more forgiving than most tutorial videos make it look.
The part that trips beginners is not the shaping. It is patience between stages — petals need to firm up before they are assembled, and the assembled flower needs to dry completely before it touches a cake. Get that sequence right and a simple five-petal blossom looks genuinely good on its first attempt.
Table of Contents
- What You Need
- The essentials
- Nice to have, not needed on day one
- Step-by-Step: How to Make Gum Paste Flowers for Beginners
- How to Prepare and Condition the Gum Paste
- How to Shape Beginner-Friendly Flower Petals
- How to Add Color, Veining, and Petal Texture
- How to Form and Dry the Flower Center
- How to Finish and Use the Gum Paste Flowers
- Common Mistakes
- Petals cracking or splitting at the edges
- Paste sticking to the work surface
- Petals rolling back on themselves
- The centre collapsing or the flower drooping
- Flowers going soft on the cake
- A short beginner checklist
- Frequently Asked Questions
- How long does gum paste take to dry for cake flowers?
- Can I make gum paste flowers with fondant instead?
- What is the easiest gum paste flower for beginners to make?
- How do I keep gum paste petals from cracking?
- Should gum paste flowers be dried before placing them on a cake?
- How should finished gum paste flowers be stored?
- Conclusion
What You Need
You can make a respectable flower with a very short kit. The items below are split into what you genuinely cannot do without and what you can add later once you know the flower you enjoy making.
The essentials
- Gum paste — either a ready-made tub of gum paste or flower paste, or homemade paste made from icing sugar with tylose (CMC powder) and a little glycerin.
- Icing sugar — for dusting your work surface so the paste never sticks.
- A silicone or nonstick mat — a baking mat is fine.
- A rolling pin — a small one gives you better control for thin rolling.
- A ball tool — the rounded end of a modelling tool, a clean wine cork, or a ball-ended cocktail pick all work.
- A foam pad or folded towel — to cup and shape the petals over.
- Edible glue — a dab of cooled melted fondant or a little royal icing with water added.
- Gel food colouring, if you would rather colour the paste as you work.
Nice to have, not needed on day one
Small petal cutters, a veining mat, and a wire former all speed things up, but they are not the reason a flower turns out well. Decorators on baking forums regularly make carnations and daisies with basic cutters and improvised former shapes first.
One genuinely useful improvisation: a trimmed-down egg carton or a ring of rolled tape makes a perfectly serviceable flower former, which is simply a rounded shape for drying a half-made flower.
Step-by-Step: How to Make Gum Paste Flowers for Beginners
The method breaks into five stages. Work through them in order and dry between each one; most beginner frustration comes from moving on too early.
How to Prepare and Condition the Gum Paste
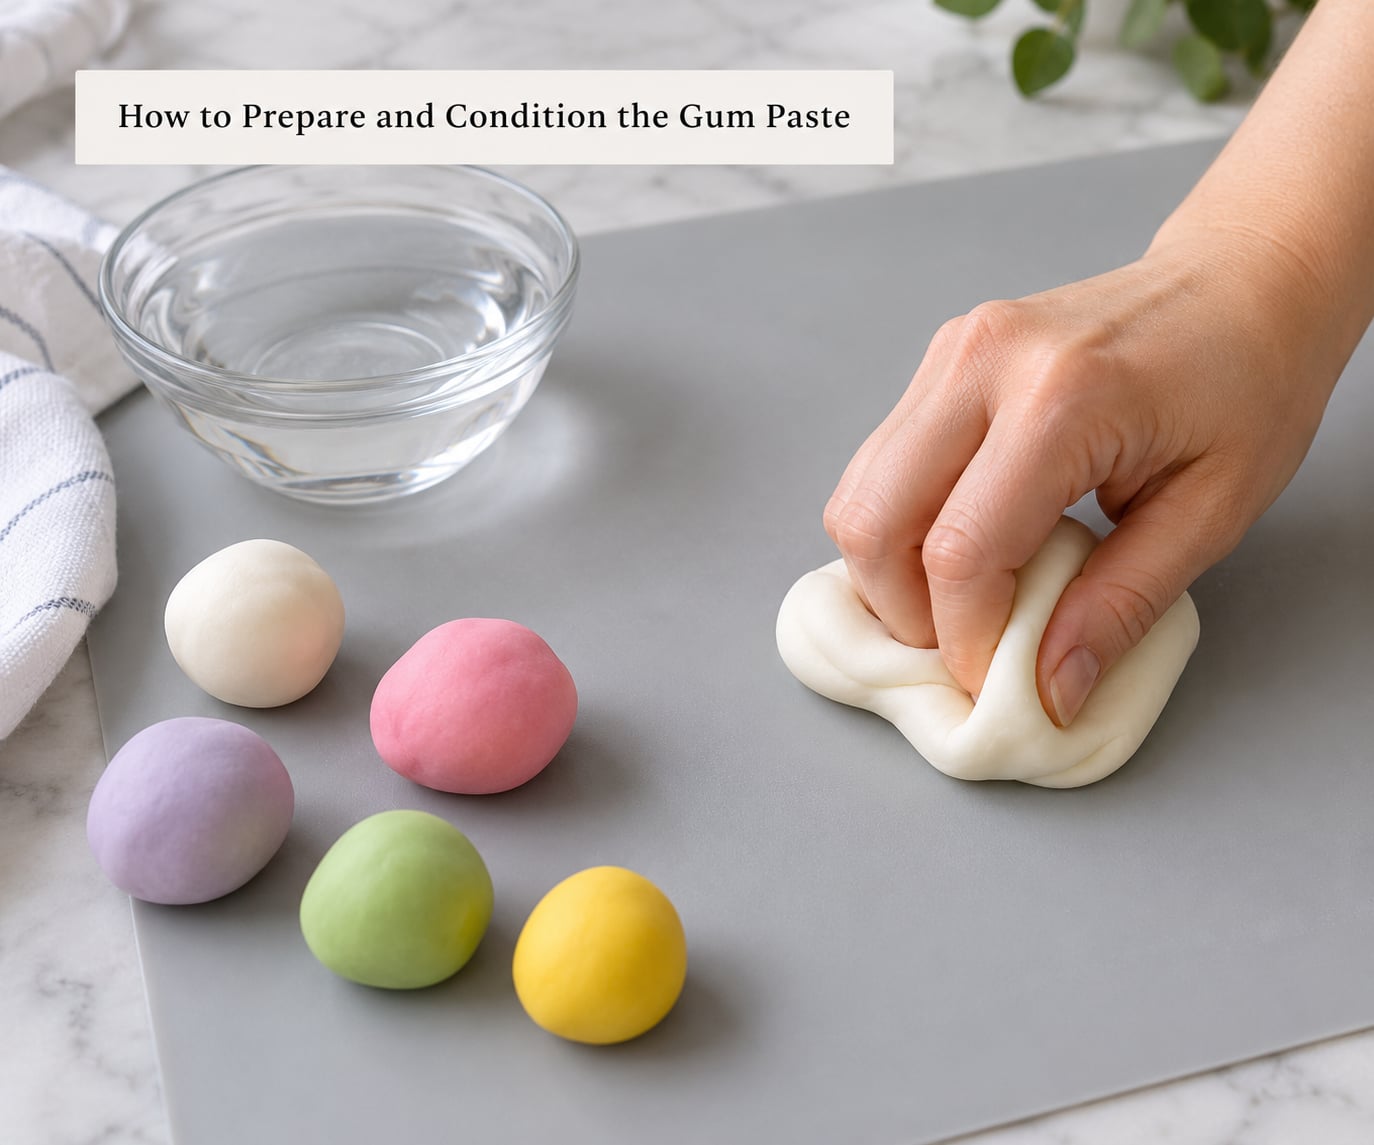
Knead a small portion on a lightly dusted surface until it is smooth and pliable. Gum paste starts stiff and slightly crumbly, and kneading for two or three full minutes changes the texture completely.
Work out the lumps. Experienced decorators add a tiny dab of vegetable shortening to the paste rather than water, because fat softens without making the paste sticky — a fix beginners on baking forums use specifically when petals keep cracking at the edges.
Divide the paste into separate portions if you are colouring. Add gel colour a drop at a time, kneading between each drop, since a little goes a very long way. Keep the unused paste wrapped in a damp-free sealed bag or a damp tea towel; it does not need refrigeration, and chilled paste cracks when you roll it.
Checkpoint: the paste should hold the shape of your hand when you press it and spring back slowly. If it clings to your palm, add a little more icing sugar and knead again.
How to Shape Beginner-Friendly Flower Petals
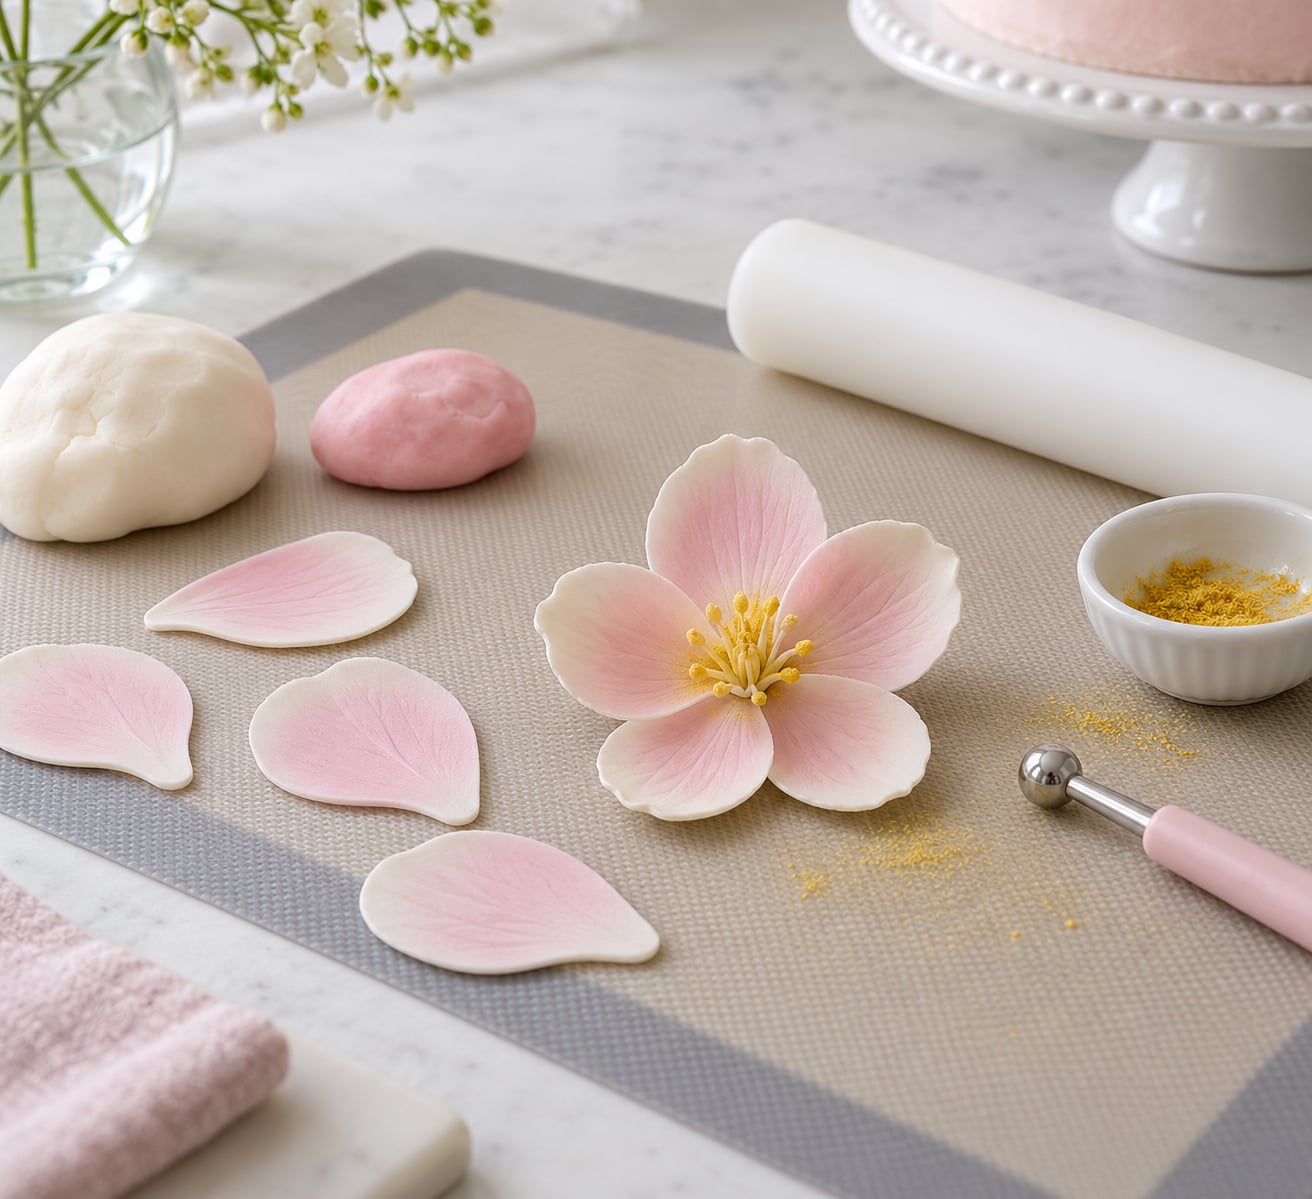
Roll a portion out to roughly 2 to 3 mm thick — thick enough to handle without tearing, thin enough to curl without buckling. Even thickness matters more than exact thickness; uneven edges are where petals crack.
If you have a cutter, cut a simple teardrop or oval. Without one, freehand teardrops work well for a first flower: cut a circle, pinch one end gently, and round the other.
Lift the petal onto a foam pad and press the ball tool along the edge with a light rocking motion. You are thinning the outer half only, leaving the base sturdy so the petal can support itself. Then frill the rim by running the ball tool along it with a gentle wobble.
Cup the petal gently in your palm to give it a natural curve. Make every petal the same size, and make four or five rather than eight. Fewer petals means less chance of gaps and less glue holding things together.
Checkpoint: the petal should hold its shape on the flat of the pad but curve slightly when lifted. If it droops flat, it is too thick; if the edge splits, it is too thin.
How to Add Color, Veining, and Petal Texture
There are two ways to colour, and they suit different stages. Gel colour mixed into the paste while you work gives an even, flat colour that suits beginner flowers. Petal dust brushed onto a dry flower afterwards gives depth and a darker centre, and it is the step that makes flowers look realistic.
For simple veining without a veining mat, lay the dry petal on a folded kitchen towel and press a vein impression with the pointed end of a modelling tool. Or hold the petal over your finger and drag the tip lightly from base to tip for a soft central vein.
Leave the petals somewhere flat and undisturbed to firm up. This is where the process is genuinely a wait rather than a work — most petals are surface-dry in about an hour and fully dry in a few hours in a cool, dry room.
How to Form and Dry the Flower Center
Roll a small ball of paste for the centre, or a short cone if you want a rose-style shape. Pinch or cone the base slightly so it can sit into a former or directly on the top tier.
Glue the first petal to the centre with a tiny dot of edible glue, then add the next petal so it overlaps the first by about half. Keep going around, rotating the centre as you go, until the petals close up.
Stop when the inner gap is small. Beginners routinely make flowers too dense in the centre, and the outer petals then sit too flat — a five-petal flower with a visible gap in the middle looks far better.
Let the assembled flower dry somewhere it will not roll off. If you are planning a wired flower for a tall or top-tier cake, wrap floral wire into the centre now, while the paste is still soft, and let it dry around the wire for a day or two.
Food safety note: if any wire will sit inside the cake, keep it fully encased and never let a bare wire end push into a cake that will be eaten.
How to Finish and Use the Gum Paste Flowers
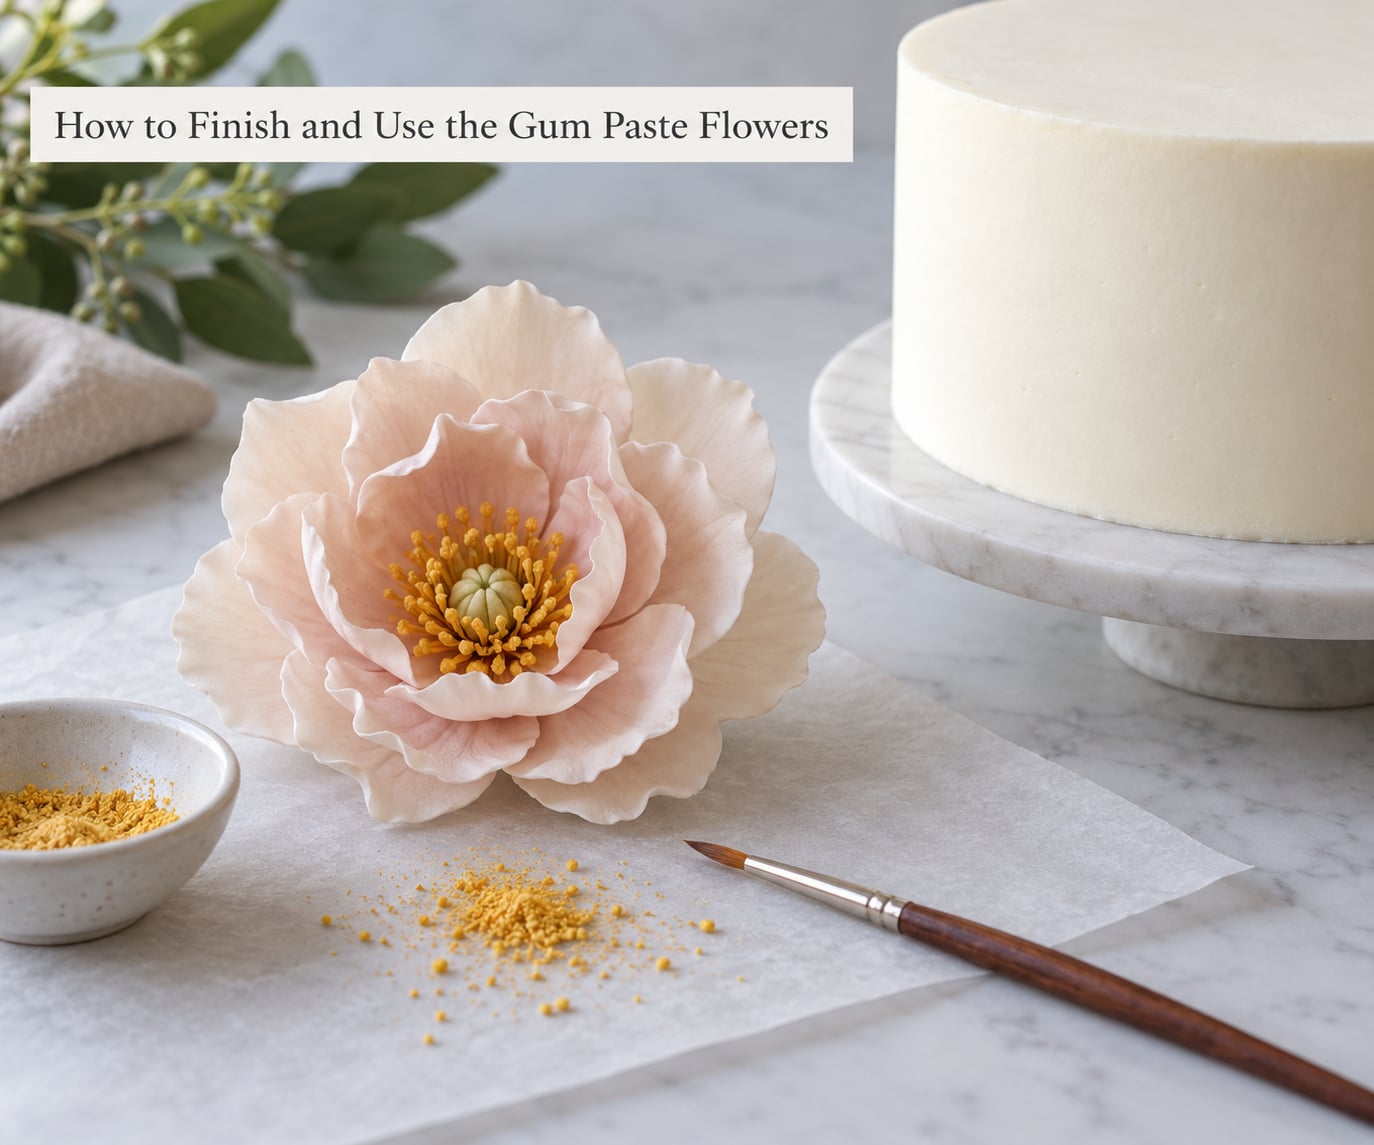
Once the flower is completely dry — hard to the touch all the way through, not just on the surface — dust the centre with pollen, a fine brush of petal dust, or a little edible glitter. This is the finishing step that separates a real-looking flower from a lumpy one.
Avoid colouring the finished flower with anything wet. A drop of water or vodka onto a dried petal softens it and can leave a translucent mark, so use dusts only, applied with a dry brush.
Attach the flower with edible glue: a dab of cooled fondant or royal icing on the back of the base, pressed gently onto fondant or a buttercream cake. For arrangements, push the stem into floral foam rather than directly into the cake.
Make flowers well ahead. Most fully dried gum paste flowers keep for weeks in a dry box, but never in an airtight container or the fridge — trapped moisture makes them wilt and go soft, which is a repeat problem across decorating forums.
Common Mistakes
Almost every beginner problem with sugar flowers comes down to thickness, timing, or moisture. Here is what each symptom usually means and what to change.
Petals cracking or splitting at the edges
The paste was too dry, too stiff, or rolled too thin in the middle. Knead longer, add a tiny dab of vegetable shortening instead of water, and roll to an even 2 to 3 mm rather than chasing paper-thin thickness.
Paste sticking to the work surface
Too much water or too little icing sugar. Knead in a little more icing sugar, work on a fresh dusting, and keep an unworked portion covered so it does not form a skin while you are busy with the first few petals.
Petals rolling back on themselves
The petal is too thick. Thin the outer half with the ball tool rather than the whole petal, and cut the shape thinner to begin with. Even a small reduction fixes it.
The centre collapsing or the flower drooping
You assembled it too early, or you used too many petals. Petals need to be surface-dry and slightly firm before gluing, and a small open centre holds its structure better than a tightly packed one.
Flowers going soft on the cake
The flower was not fully dry, or it was stored sealed. Frosting or fondant absorbs moisture from a damp flower. Dry for longer than feels necessary and keep finished flowers in an open, dry box.
A short beginner checklist
- Knead the paste for a full three minutes before deciding it needs water.
- Roll every petal to the same thickness — consistency beats precision.
- Shape each petal straight after cutting; frilled edges soften within minutes.
- Make fewer petals than you think you need.
- Dry at every stage and keep flowers away from the fridge.
Frequently Asked Questions
How long does gum paste take to dry for cake flowers?
Individual petals are surface-dry in about one hour and firm enough to shape in two to three hours in a cool, dry room. A fully assembled flower needs a further 24 to 48 hours before it is safe to place on a cake. In humid weather, add several more hours, since gum paste is hygroscopic and pulls moisture from the air.
Can I make gum paste flowers with fondant instead?
You can shape fondant flowers, but they stay soft and often slump on the cake, which is why decorators move to gum paste. Fondant also resists rolling very thin and tears instead of frilling. If fondant is all you have, roll it a little thicker, keep the flower small, and place it on the cake the same day.
What is the easiest gum paste flower for beginners to make?
A simple five-petal blossom or a daisy is the easiest starting point. It uses one petal size, needs no wiring, and has an open centre that stays stable. An open five-petal flower is also the right place to practise frilling edges and veining before you attempt a rose, where the tight rolled centre is the difficult part.
How do I keep gum paste petals from cracking?
Cracking almost always means the paste is too dry or rolled too thin. Knead the paste for at least three minutes until it is smooth and pliable, add a small dab of vegetable shortening rather than water, and roll to an even two to three millimetres. Rolling thinner than you think you need is the most common cause of split edges.
Should gum paste flowers be dried before placing them on a cake?
Yes, fully. A flower that is only surface-dry absorbs moisture from buttercream or fondant and will go soft, bend, or stick. Dry for 24 to 48 hours after assembly and confirm the flower is hard all the way through, not just at the edges, before attaching it with edible glue.
How should finished gum paste flowers be stored?
Keep them in a dry, covered box at room temperature, away from sunlight and steam. Never refrigerate them and avoid sealed airtight containers, because trapped condensation is the main cause of wilted, soft sugar flowers. Stored this way, fully dried flowers generally keep well for several weeks.
Conclusion
Start with one simple five-petal flower this week. Knead the paste properly, roll every petal to the same two-to-three-millimetre thickness, thin and frill the edges over a foam pad, then dry each stage properly before you assemble. Keep the paste slightly firmer than fondant feels comfortable — that firmness is exactly what makes the petals hold their shape once they are on the cake.
Once that first flower holds together, move on to a rose. You will already have every technique it needs.