If you have ever wondered how to make modeling chocolate, the ratio is simpler than most recipes make it sound: melted chocolate mixed with light corn syrup at 3 to 4 parts chocolate to 1 part syrup, weighed not measured, then kneaded into a firm clay. A standard batch is 12 oz (340 g) of coating chocolate with 3 to 4 oz (85 to 115 g) of corn syrup, and the whole thing takes about 30 minutes plus a 2 hour rest.
Once you know that ratio, the rest is technique. The single thing that trips people up is heat: melt chocolate gently, keep it under 110°F (43°C), and add only oil-based or gel color. Water is the enemy here, in every form.
Table of Contents
- What You Need
- The core ingredients
- Ratio conversion by chocolate type
- Tools
- Step-by-Step: How to Make Modeling Chocolate
- Melt the Chocolate Gently
- Add Color and Combine the Ingredients
- Knead Until Smooth and Elastic: How to Make Modeling Chocolate Pliable
- Shape, Thin, and Store the Modeling Chocolate
- Common Mistakes
- Frequently Asked Questions
- What ingredients are used to make modeling chocolate?
- Can I make modeling chocolate without butter or shortening?
- Why is my modeling chocolate grainy after melting?
- How do I make modeling chocolate the right color?
- How long does homemade modeling chocolate keep?
- Can modeling chocolate be used to decorate cakes?
- What to Do First
What You Need
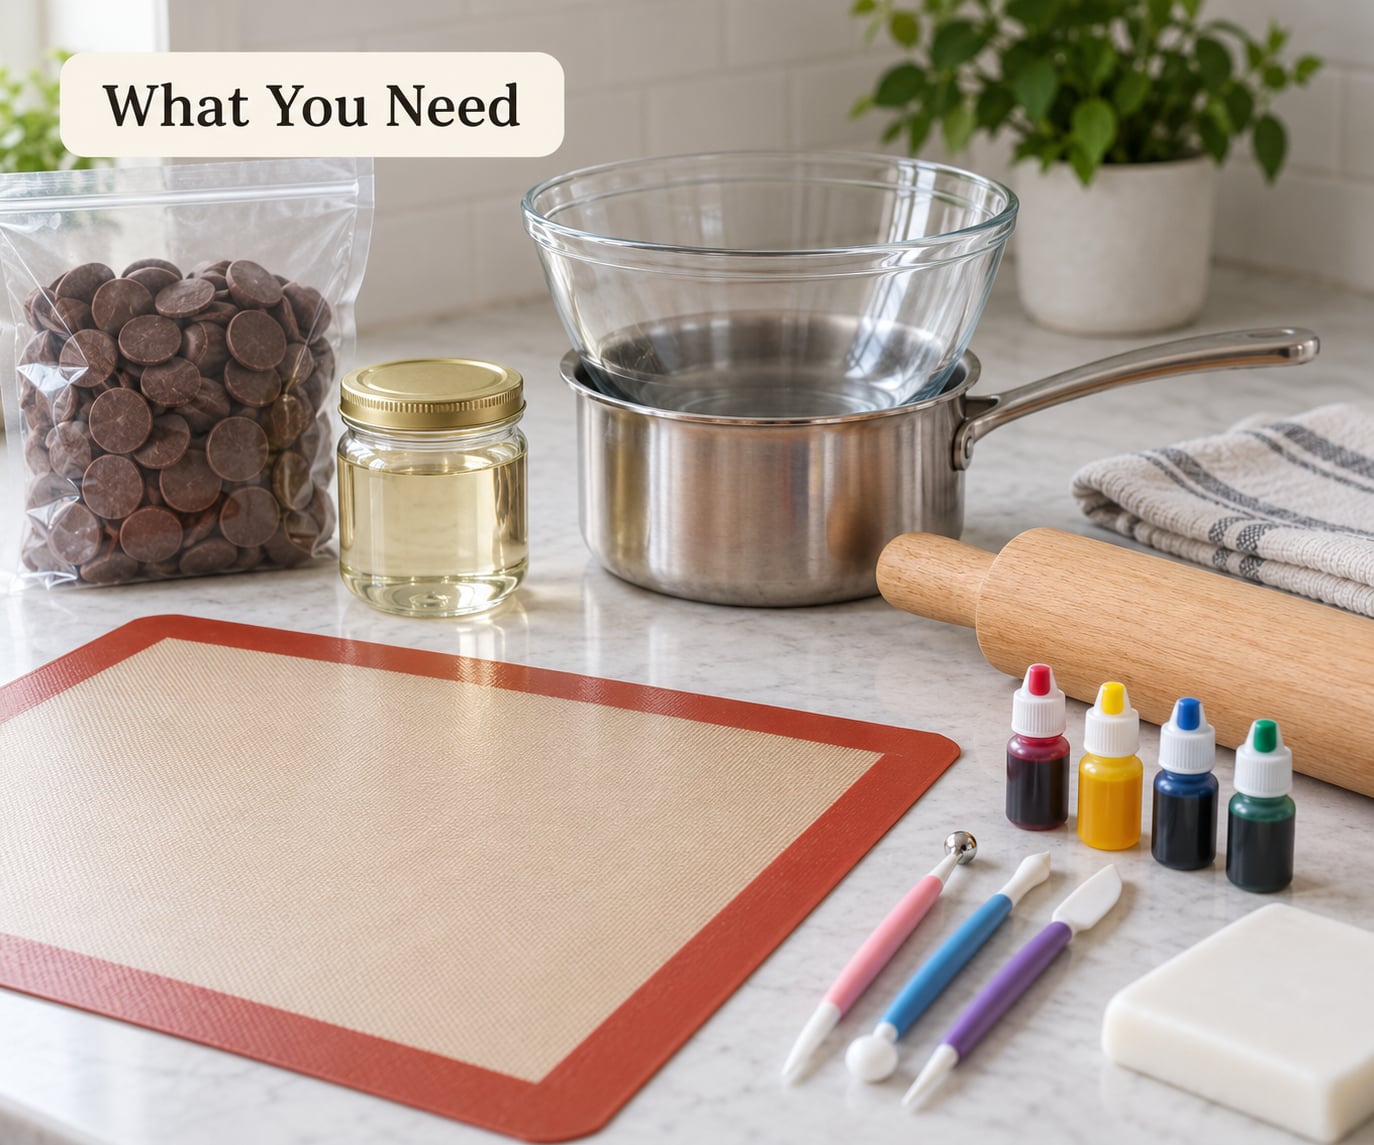
The ingredient list is short enough to memorize: one chocolate, one syrup, optional color. Everything else is equipment, and most kitchens already have it.
The core ingredients
- Coating chocolate, candy melts, or candy wafers: 12 oz (340 g). These are the everyday choice. They melt smoothly, they are forgiving, and they do not need tempering.
- Light corn syrup: 3 to 4 oz (85 to 115 g). In Australia and New Zealand this is called liquid glucose or glucose syrup, and it is the same ingredient. Dark corn syrup is too strongly flavored for most people.
- Oil-based or gel food coloring: a few drops. Water-based liquid color will seize the batch on contact.
The ratio is the whole recipe. Four parts chocolate to one part syrup gives a firmer clay that holds detail and holds shape. Three parts to one gives a softer clay that is easier to knead and better for covering cupcakes.
Ratio conversion by chocolate type
| Chocolate type | Chocolate | Corn syrup | Notes |
|---|---|---|---|
| Candy melts / coating wafers | 12 oz (340 g) | 3 to 4 oz (85 to 115 g) | Most reliable. The default choice for beginners. |
| Semisweet baking chocolate | 12 oz (340 g) | 4 oz (115 g) | Good, but temper carefully so it does not bloom. |
| White chocolate | 12 oz (340 g) | 3 oz (85 g) | Softest of the real chocolates; chill briefly if it slumps. |
| Couverture | 12 oz (340 g) | 4 oz (115 g) | Richest flavor. Needs a gentle double boiler and a fine sieve. |
| Almond bark | 12 oz (340 g) | 3 oz (85 g) | Works, but carries an almond note. Not nut-free safe. |
Lower cocoa percentage means a softer finished clay, so white chocolate is the most forgiving and dark couverture the most forgiving to work with in a cold kitchen. Weigh everything on a kitchen scale. Volume measurements drift, weight does not.
Tools
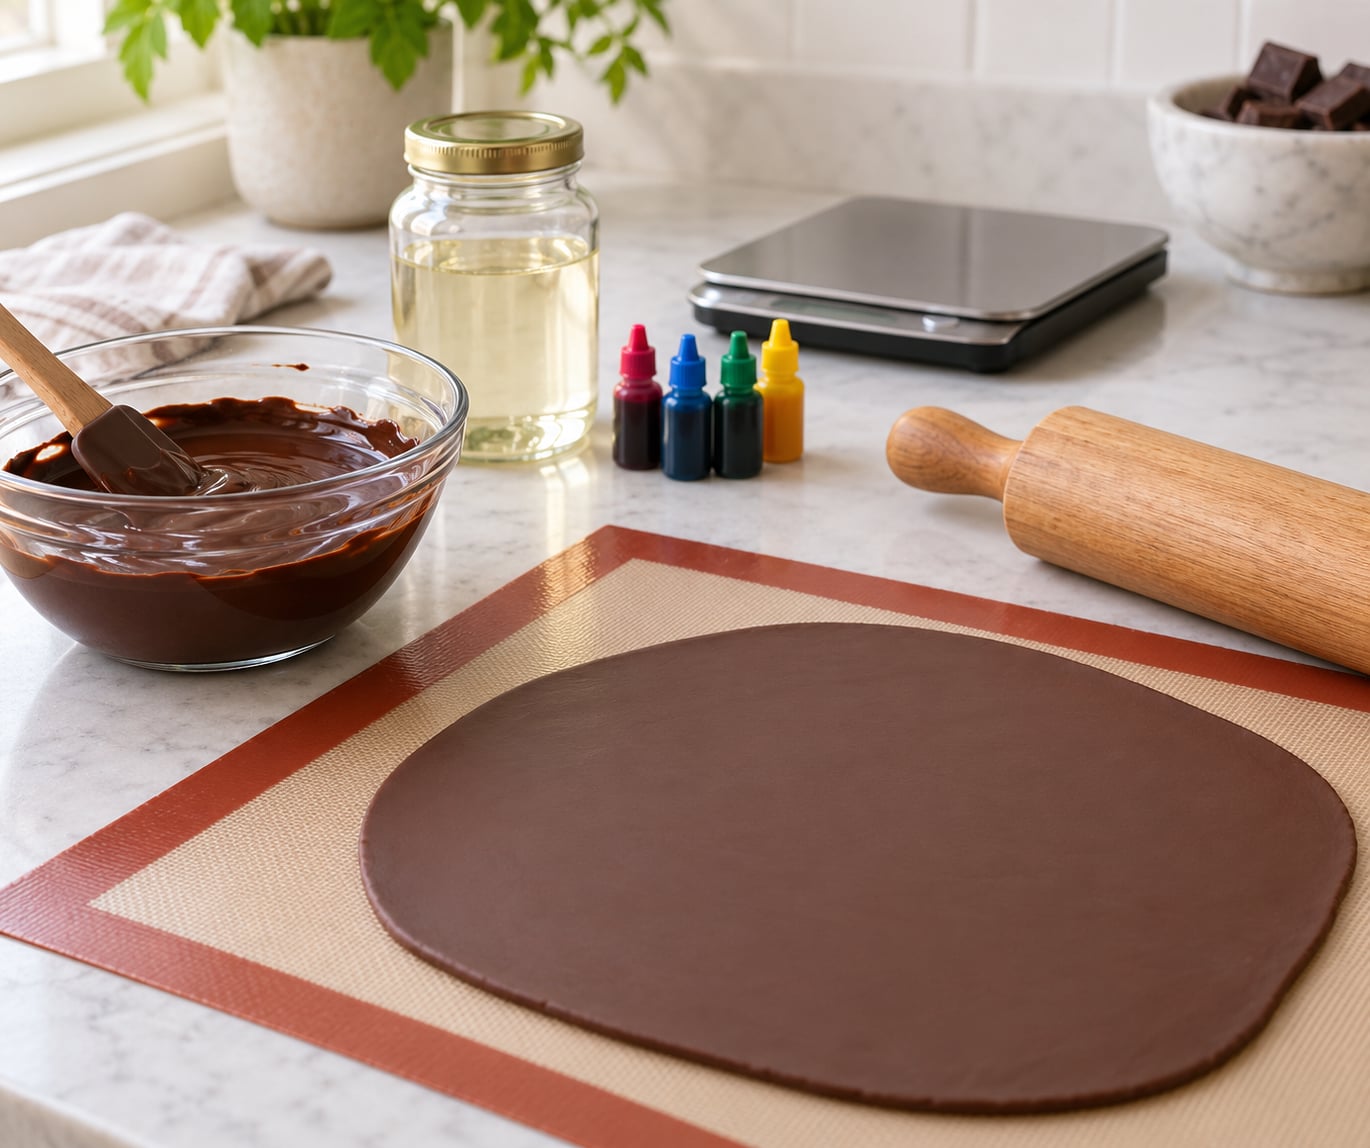
You need a microwave or a heatproof bowl and a saucepan, a silicone baking mat or a clean counter, a rolling pin, and a scale accurate to a gram. A stand mixer with a paddle attachment makes kneading much faster if you have one, though it is not required.
Step-by-Step: How to Make Modeling Chocolate
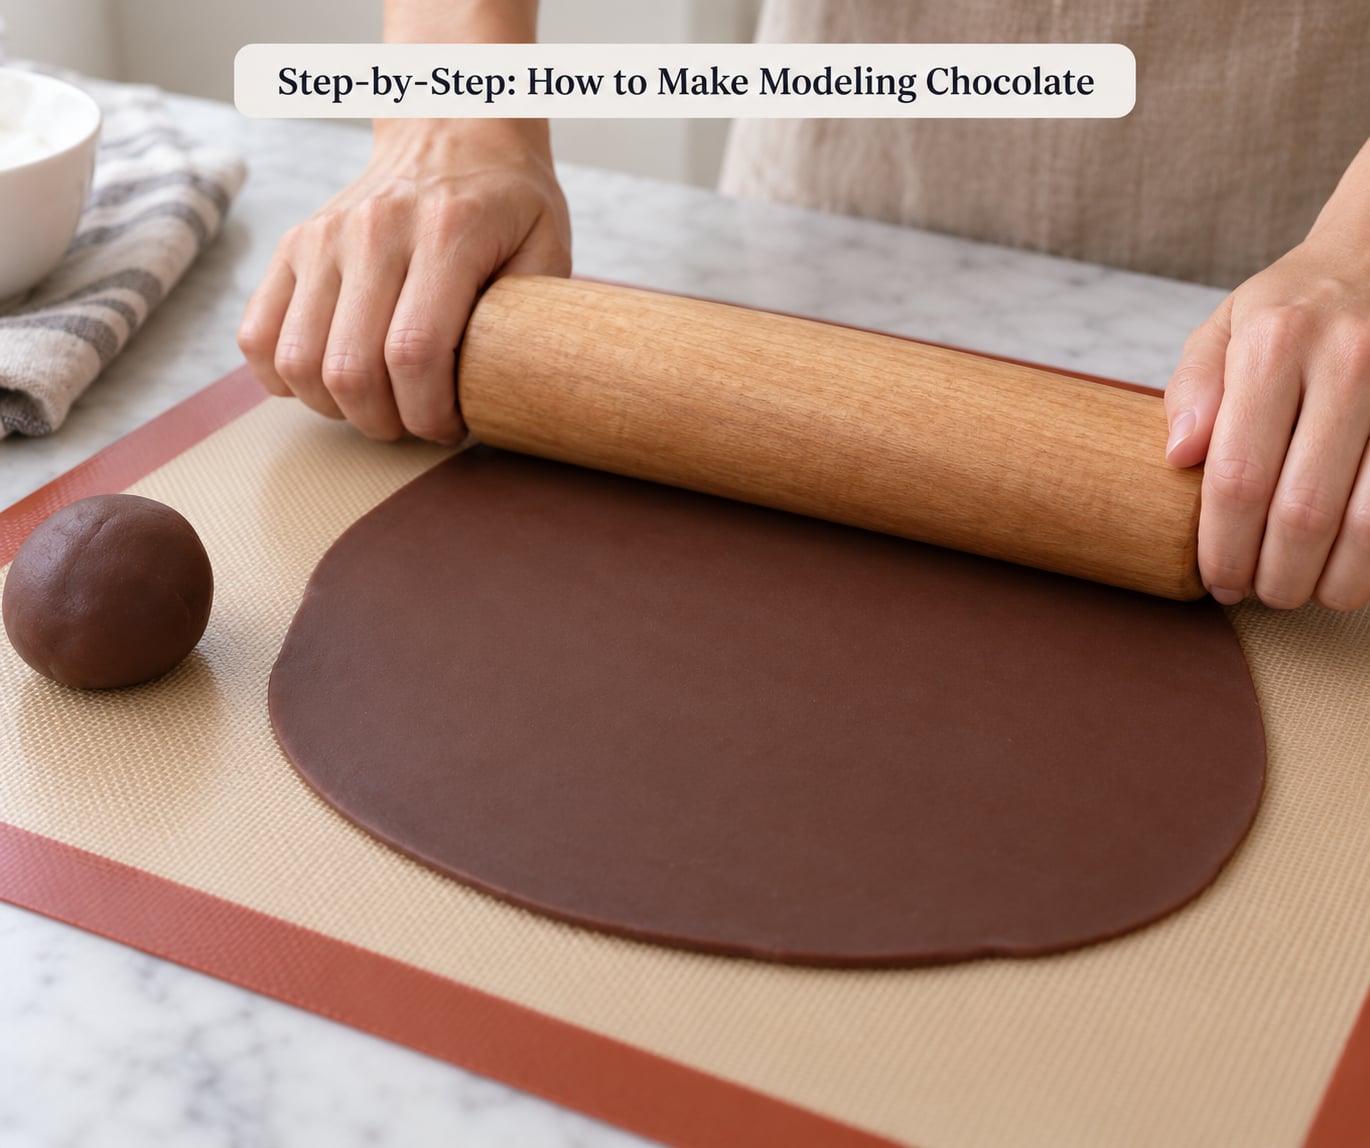
Read the whole method once before you start, because the order matters more than the ingredients. Melt first, cool slightly, combine, rest, knead.
Melt the Chocolate Gently
Melt 12 oz (340 g) of coating chocolate in 30 second microwave bursts, stirring between each one. Stop when the last burst finishes and there is still a little lump in the center; the residual heat carries it the rest of the way. Many batches need only two or three bursts, and some people use a schedule of 30 seconds, 30 seconds, then 10 and 5 second bursts at the end.
The stovetop alternative is a double boiler: a heatproof bowl sitting over barely simmering water, stirred constantly until the chocolate melts. Keep the bowl clear of steam and drops of water. Either way, watch the temperature with a thermometer if you have one, and take the chocolate off the heat at 110°F (43°C). Real chocolate scorched above that point loses its snap and turns grainy.
Chocolate seizes when a tiny amount of water gets in, and it turns from glossy to a stiff, dull paste in seconds. It is not ruined. Add a small amount of vegetable oil and stir until it loosens back into a pourable state, then carry on with a lower ratio of syrup.
Add Color and Combine the Ingredients
Warm 3 to 4 oz (85 to 115 g) of corn syrup in the microwave for 20 to 30 seconds, just until it is warm and runny, not hot. Let both the chocolate and the syrup cool for a few minutes. Adding syrup to chocolate straight off the heat makes cocoa butter rise to the surface, and that thin oily film is hard to knead out.
Dip a toothpick into gel color and stir it through the melted chocolate until the color is completely even. Do the same for any oil-based color. Then pour in the warm corn syrup and stir with a silicone spatula until the mixture looks uniform and glossy with no streaks.
Pour the mixture onto a clean silicone mat or a parchment-lined counter and let it cool to the touch before you touch it. Warm dough tears; room temperature dough kneads cleanly.
Knead Until Smooth and Elastic: How to Make Modeling Chocolate Pliable
Knead the cooled mass for five to seven minutes by hand. Push it forward with the heel of your hand, fold it back, rotate a quarter turn, repeat. A stand mixer with a paddle attachment does this in two or three minutes on low speed.
You will notice the texture change in stages: lumpy, then tacky and slightly greasy, then smooth and satin, then firm and elastic with a slight resistance. That last stage is the one you want. Pinch a small piece and pull; it should stretch rather than crack. If it breaks instead, knead another minute.
If you kneaded five minutes and the batch still slumps when you stand it on its edge, that is the most common complaint in decorating forums and it is rarely a kneading failure. Wrap it and leave it at room temperature overnight, or about an hour in the fridge, then knead it again. In a kitchen above about 70°F (21°C) this step is not optional; the batch needs the extra time to firm up.
The finished clay should rest about 2 hours before you roll it, sealed in plastic wrap or an airtight container. Some bakers skip the rest and use it straight away, but the resting batch rolls smoother and holds edges better.
Shape, Thin, and Store the Modeling Chocolate
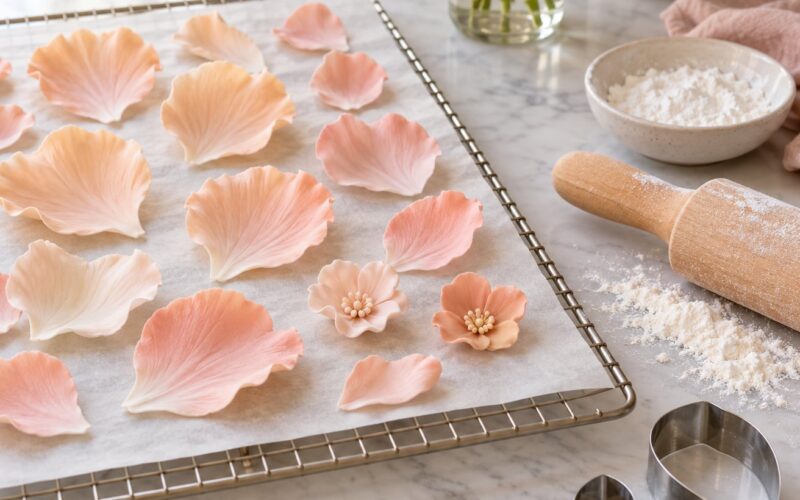
Roll the clay between 1/8 and 1/4 inch (3 to 6 mm) thick for flowers and small details, and up to 1/2 inch (12 mm) for structural pieces. Roll outward from the center rather than back and forth, which airlocks bubbles. Cut shapes with a sharp knife dipped in corn syrup and wiped clean between cuts, so the edges stay crisp.
For silicone molds, press a small piece firmly into each cavity with your fingertips, filling the fine detail first and sweeping off the excess from the flat top. For toppers and figures, build small pieces separately and join them with a little corn syrup or warm water brushed on as edible glue. Let assembled pieces firm up for 25 to 35 minutes before moving them; the edges set while the inside stays workable.
Wrap finished pieces in plastic wrap and store them airtight at cool room temperature, away from light and heat. Modeling chocolate stored this way keeps for up to 3 weeks. Fridge storage also works, but bring the pieces back to room temperature for an hour or two before you handle them so they do not crack.
Never throw away scrap. Wrapped scraps and hardened offcuts soften again with a few seconds of microwave warming or a minute in warm hands, and they roll back into a usable lump. Modeling chocolate hardens over time, but it never really goes off as long as it is sealed and kept cool.
Common Mistakes
Almost every failed batch traces back to heat, water, or time. Find the symptom in the table below and fix the cause rather than patching the dough.
| Symptom | Cause | Fix |
|---|---|---|
| Chocolate turned grainy and seized | Water from a wet utensil, steam, or an overlong microwave burst | Stir in a teaspoon of vegetable oil until loose, and reduce the syrup for that batch. Scrape and dry every tool before it touches chocolate. |
| Dough is crumbly and cracks when stretched | Too much chocolate for the syrup, or under-kneading | Work in a few more drops of warm corn syrup by hand, then knead another two minutes. |
| Dough is sticky and smears on the mat | Too warm, too much syrup, or a humid kitchen | Chill it wrapped for 20 minutes, then knead again. Add a dusting of cornstarch or confectioners’ sugar when rolling, not into the dough. |
| Oily sheen and cocoa butter pooling | Syrup added to chocolate straight off the heat | Let the batch cool fully, then knead; the butter reabsorbs. Next time, cool both parts for five minutes first. |
| Batch will not hold its shape | Insufficient rest, or a warm room above about 70°F (21°C) | Rest overnight at room temperature or about 1 hour in the fridge, then knead again. This is the most reported problem and it is a time issue, not a kneading one. |
| Color looks streaky or bleeds into the next piece | Too much liquid color, or color added after the dough was warm | Use gel or oil-based color in tiny amounts, add it while the chocolate is still fluid, and knead until fully uniform before rolling. |
| Colors run together after setting | Pieces joined while still warm | Give each piece 25 to 35 minutes to set its edges before combining or stacking. |
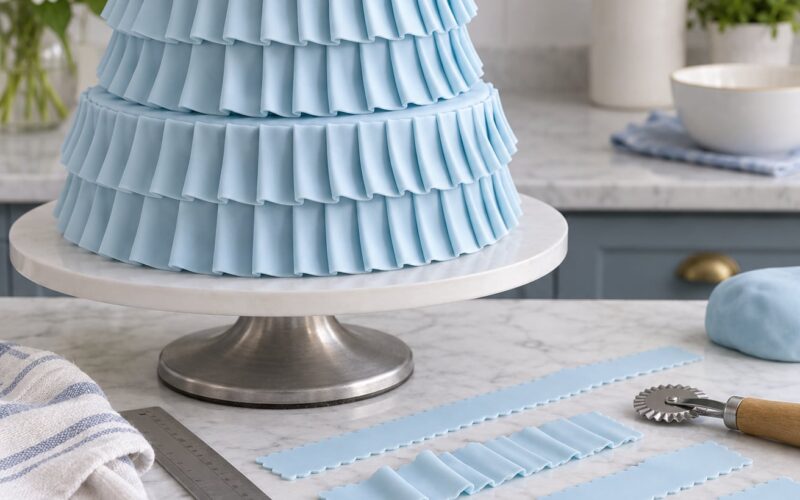
Two more practical notes. Keep a cool spot in your kitchen to work in, and cool your hands under cold water mid-knead when the room is hot. If you want to bring the two media together on one project, use modeling chocolate for structural pieces and toppers where shape matters, and fondant where you want a smooth matte covering.
Frequently Asked Questions
What ingredients are used to make modeling chocolate?
Modeling chocolate uses two ingredients: chocolate and light corn syrup. Coating chocolate, candy melts, or candy wafers work best, at 3 to 4 parts chocolate to 1 part syrup by weight. A common batch is 12 oz (340 g) of chocolate with 3 to 4 oz (85 to 115 g) of light corn syrup. Gel or oil-based food coloring is optional. Sugar in powder or granulated form does not work, because chocolate needs the syrup in its dissolved, wet form to stay pliable.
Can I make modeling chocolate without butter or shortening?
Yes, and most recipes skip them entirely. Butter or vegetable shortening sometimes appears in recipes that add it as an extra fat, but it is not required and it lowers the melting point, which can make the clay greasy and less firm at room temperature. A pure chocolate and light corn syrup mixture holds its shape better and tastes cleaner. If your dough feels too soft, the answer is to cool or rest it, not to add more fat.
Why is my modeling chocolate grainy after melting?
Two causes account for nearly all grainy batches. The first is heat: real chocolate scorched above about 110°F (43°C) loses its structure and goes dull and gritty. The second is water: one drop from a wet spoon or a splash of steam makes chocolate seize into a stiff, grainy paste. Use a thermometer and low bursts in the microwave, keep the bowl away from steam, and if a batch has already seized, stir in a teaspoon of vegetable oil until it loosens.
How do I make modeling chocolate the right color?
Add gel or oil-based food coloring to the melted chocolate while it is still fluid, a few drops at a time with a toothpick until the color is even. Avoid water-based liquid coloring, which will seize the chocolate on contact because chocolate repels water. Knead the color through thoroughly so no streaks remain, then rest the batch about 2 hours, during which the color settles and deepens. For a marble effect, roll a small piece of dark clay through a piece of white before flattening.
How long does homemade modeling chocolate keep?
Wrapped in plastic wrap or sealed in an airtight container and kept cool and dry, modeling chocolate keeps for up to 3 weeks at room temperature. Refrigeration extends that, but chilled pieces need an hour or two back at room temperature before you handle them or they will crack. Modeling chocolate hardens with age rather than spoiling, and it does not grow mold the way a cream-based mixture might. Scraps and hardened offcuts soften again with brief warming and can be kneaded back into a usable lump.
Can modeling chocolate be used to decorate cakes?
Yes. It covers cakes and cupcakes, presses into silicone molds, forms flowers and toppers, and decorates cookies. Applied in thin pieces it dries hard enough to handle and lifts off cleanly, and pieces join to each other with a little corn syrup or warm water as edible glue. Leave each piece 25 to 35 minutes to set its edges before stacking. Because it is chocolate, it is fully edible and carries allergens such as milk and soy, so check labels if you are serving someone with a restriction.
What to Do First
Put a scale on the counter and weigh 4 oz (115 g) of corn syrup for every 12 oz (340 g) of coating chocolate. Melt in short bursts under 110°F (43°C), knead until the dough stretches rather than cracks, then wrap it for a 2 hour rest before you roll anything.