To make edible glitter safe for cakes, you only ever use glitter that a food manufacturer specifically labels edible, and you apply it sparingly to a frosting that has fully set. Nothing else on the cake needs to change. The whole process takes about 20 minutes of decorating, and most of the work is spent reading a label rather than mixing anything.
The part people get wrong is trusting the word “non-toxic.” A container can say non-toxic, craft-safe, or even food-safe on the front while containing plastic, metal, or cosmetic-grade pigment inside, and the FDA has warned that some decorative glitters and dusts sold for food use contain materials that should not be eaten. So the safe version of this question is simpler than most recipes make it sound: buy the right glitter, then handle it like any other dry ingredient.
Below is the process I use, in the order that matters, plus the mistakes that turn a pretty cake into one nobody wants to serve.
Table of Contents
- What You Need
- Step-by-Step
- How to make edible glitter safe for cakes
- Prepare a clean, fully set cake surface
- Apply a thin, even layer
- Remove loose glitter and let it settle
- Store the cake safely
- Common Mistakes
- Frequently Asked Questions
- Is homemade edible glitter safe to use on cakes?
- How can I tell whether cake glitter is actually edible?
- Can edible glitter be used on buttercream or fondant?
- Is edible glitter automatically gluten-free?
- Does edible glitter need to be refrigerated?
- Can I serve a cake decorated with edible glitter to children?
- Conclusion
What You Need
You need very little, and all of it is either already in your kitchen or in one jar.
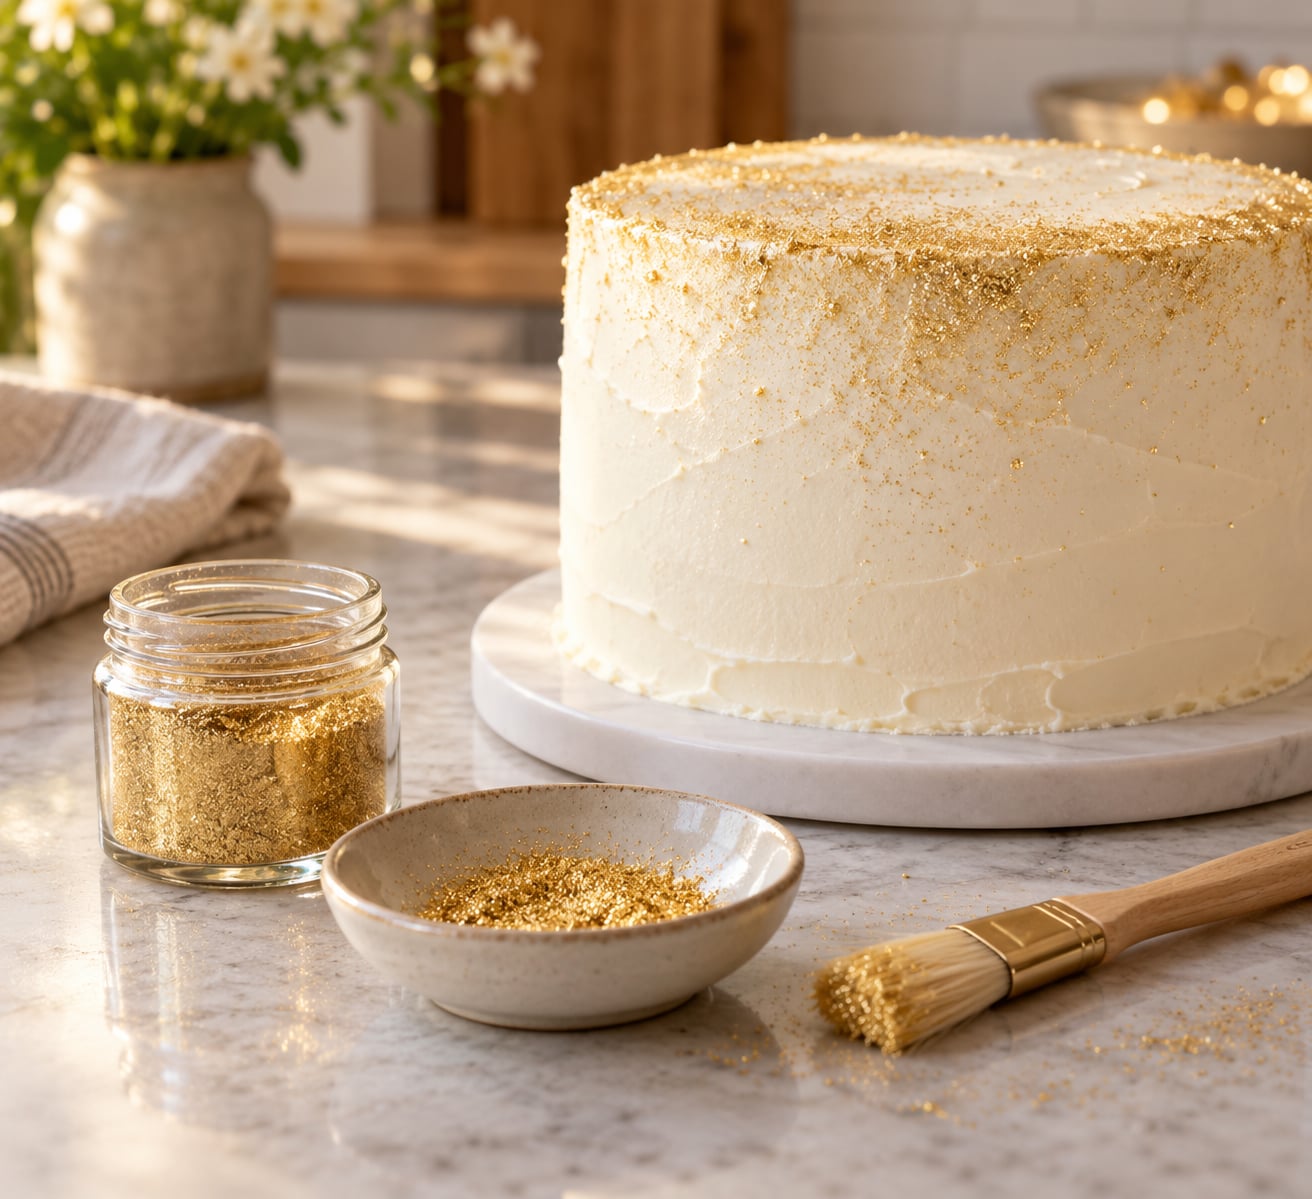
- Commercially produced edible glitter from a company that makes baking supplies. This is the one item you should not improvise.
- A cake with fully set frosting, ganache, royal icing, or modeling chocolate. Set matters more than which one.
- A clean, food-safe surface to work on. A cake board, a silicone mat, or a clean counter wiped down first.
- Small food-safe bowls, one for the glitter, one for whatever you use to loosen it.
- A clean, soft pastry brush. A clean makeup brush works; a stiff pastry brush does not.
- An airtight container or jar for storing leftover glitter, plus a cake carrier for the finished cake.
What you do not need: craft glitter, disco dust, a jar of unidentified sparkle found in a drawer, or a metallic food colouring standing in for glitter. Colour is not glitter, and a substitute does not become edible because it looks the part.
Step-by-Step
How to make edible glitter safe for cakes
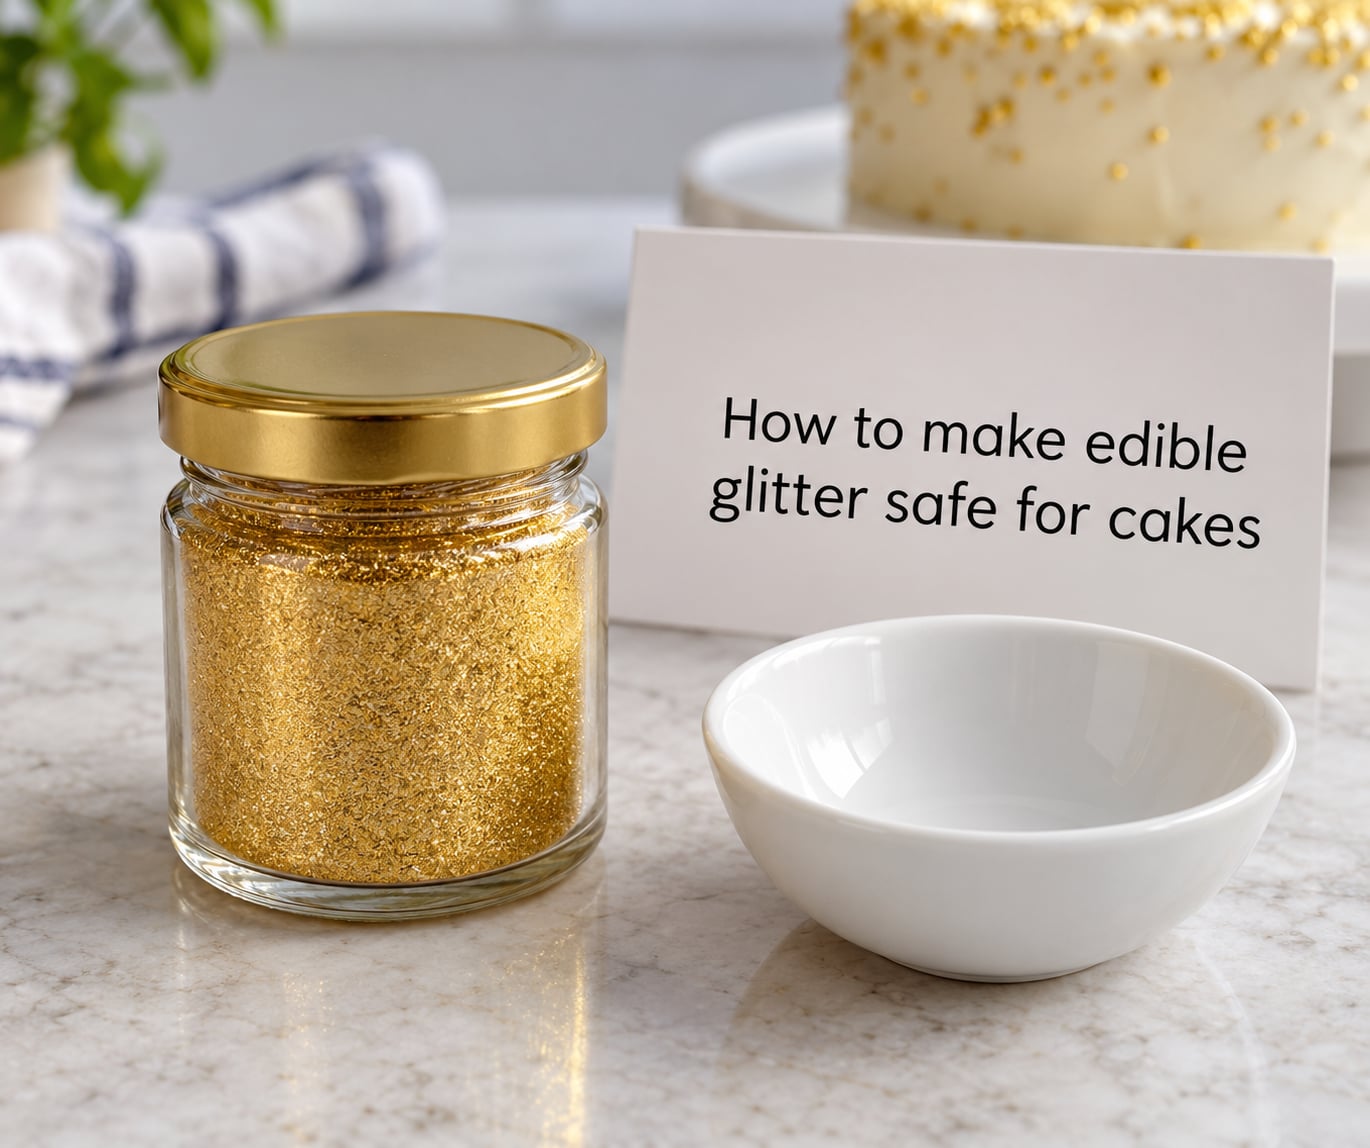
Start at the jar, not the cake. Buy glitter labelled edible or food grade, made by a company that sells baking ingredients, and read the back of the container rather than the front.
What you are looking for is a real ingredient list. Gelatin, sugar, gum arabic, agar, or a food-grade pearlescent pigment made from mica. If the ingredients list says nylon, polyester, PET, plastic, or acrylic, put it back on the shelf, because that is craft glitter with a shimmier coat.
Reject anything marked decorative only, for craft use, for use in cosmetics, or with no food-use statement at all. A luster dust sold in a cosmetics aisle is cosmetic grade; the pigment is pearlescent but the certification does not extend to food. If a label is faded or the jar has been decanted into something without a label, treat the contents as unknown and do not put them on a cake.
How you know it worked: the glitter came in sealed, original packaging, the ingredient panel names food ingredients, and the maker is a baking brand rather than a paint or craft brand. That check takes about 30 seconds and it is the whole safety story.
Prepare a clean, fully set cake surface
Frosting has to be completely set before glitter goes near it. A buttercream that still takes a fingerprint, a fondant that still marks under a light touch, or a ganache that is still glossy and soft will smear, and glitter set into a smeared surface ends up in patches and bare gaps.
Give American buttercream and ganache at least a couple of hours at cool room temperature, and longer if the kitchen is warm. Fondant and modeling chocolate set faster once they firm up, but still need handling time. If you can press a fingertip to the surface and come away clean, you are ready.
Wash your hands, wipe down the work surface, and set the cake on a clean board rather than the counter itself. Move anything that will be eaten later, such as fruit, macarons, or cupcake toppers, away from the area before you open the glitter. That is not fussy; it removes the need to pick stray particles back out of food later.
Skip surfaces that are wet, hot, sticky, or crumb-prone. Warm frosting lets glitter sink in instead of sitting on top, and a crumb coat that is shedding crumbs will drag glitter into the frosting and dull it.
Apply a thin, even layer
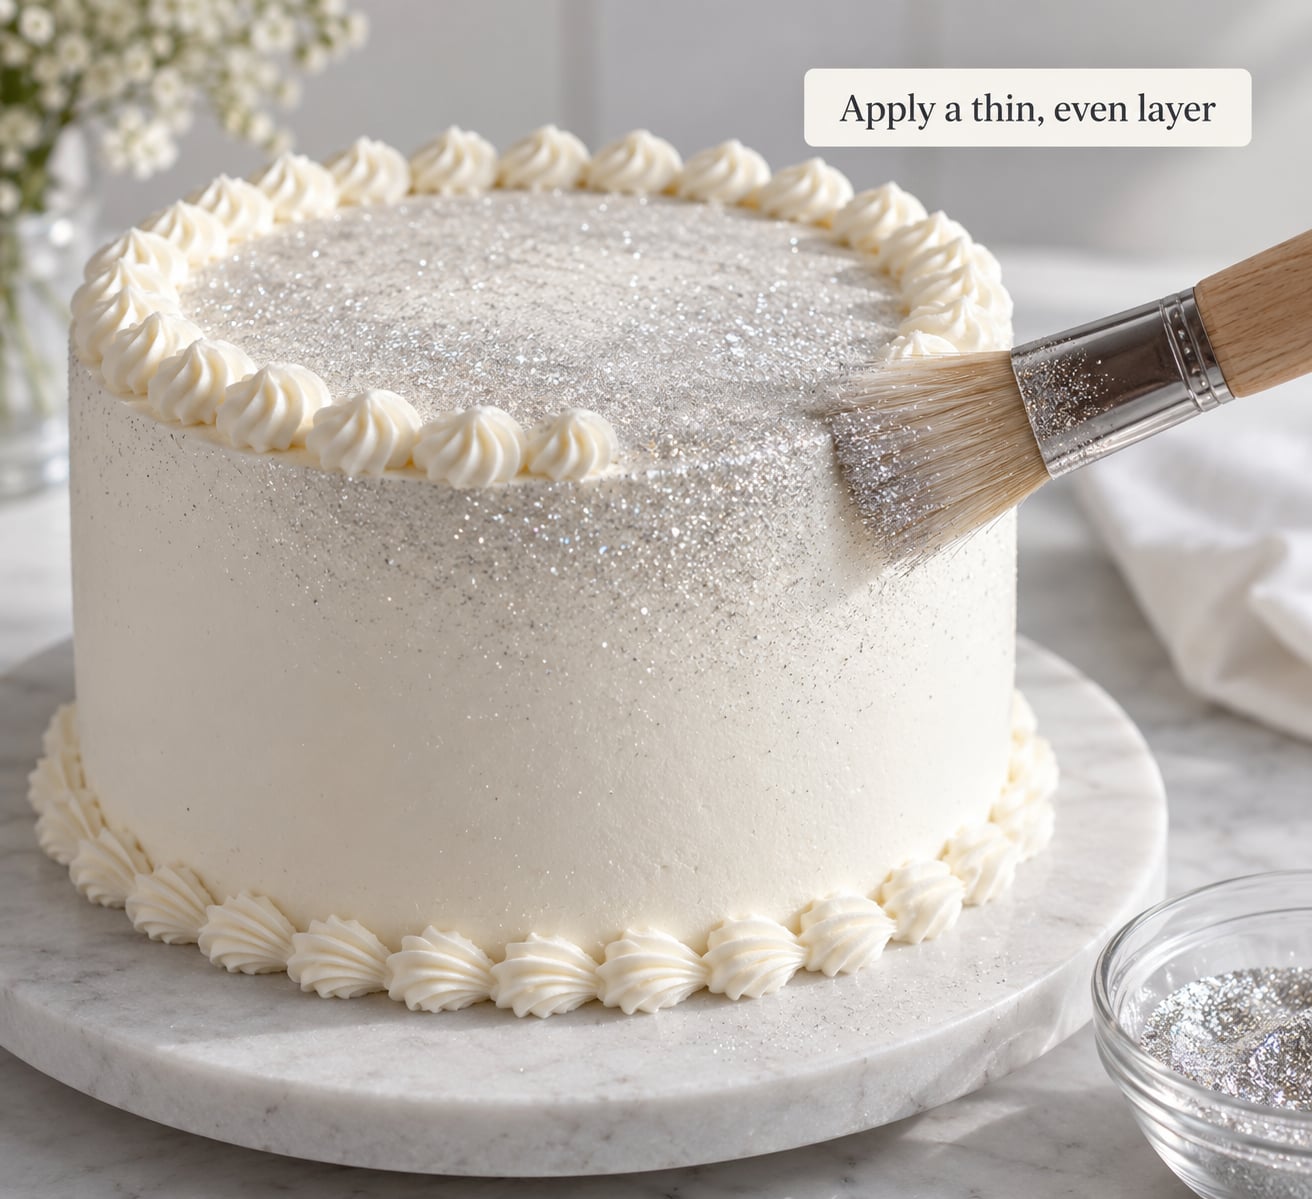
Put a small amount of glitter in a shallow bowl. Wide and shallow matters, because you pick up less at a time and the glitter spreads rather than piles up.
Load the brush lightly, tap off the excess against the rim, and work over the cake in small sections, from the bottom up. Pat rather than sweep: sweeping pushes glitter around and leaves it gathered in the frosting lines. The side of the cake works well too, turned slowly in your hand over the bowl.
Use the least amount that covers. Glitter is a surface finish, not a filling, and the sparkle you see comes from light catching individual particles, not from depth. Going over a section twice with a loaded brush builds a patchy, crusty look and puts more glitter in the frosting than the recipe can hold.
How you know it worked: an even layer with no bare patches, no ridges where the brush set down, and a soft sheen rather than a glittery crust. If a section still looks dull, add another light pass rather than a heavy one.
Remove loose glitter and let it settle
With the cake sitting on its board, take a clean dry brush and sweep stray particles off the sides and the board edge. Better yet, tilt the board slightly over a tray and let gravity do it. Keep the cake in place while loose glitter falls, because moving it while particles are airborne is what spreads them.
Never blow glitter toward the cake, and never use a fan or a hair dryer to speed things up. Both push fine particles into the frosting, onto the work surface, and into the air you and your guests are breathing. Let the surface settle on its own for a few minutes before you lift the cake.
Once glitter is on a set surface it does not move on its own. What makes it disappear is handling, condensation, and brushing, so the fewer of those happen before serving, the better the finish looks.
Store the cake safely
Only cover a cake whose frosting and glitter are both fully set. A lid or cake dome placed over a damp surface traps moisture, and the frosting goes tacky and pulls away from the glitter in patches.
For a buttercream cake, an airtight cake carrier at cool room temperature is usually fine for a day or two. If the frosting is whipped cream, ganache with fresh cream, or anything with fruit in it, refrigerate, and cover so the frosting cannot absorb kitchen smells. Bring it back to room temperature before serving, since cold frosting is firm and glitter looks duller against it.
For fondant or modeling chocolate, a cool dry cupboard away from sunlight and heat is the safe spot. Sunlight can fade both the colour and the sheen.
Leftover glitter goes back in its own airtight jar, dry, labelled, and stored somewhere your family will not mistake it for a craft supply. Keep it in the pantry rather than the fridge, since moisture is what ruins it. If you are unsure where a jar came from or how long it has been open, do not return it to the cake.
Common Mistakes
Using craft glitter because it looks shinier. Craft glitter is plastic or metal film, usually polyester or aluminium, and it belongs on paper. The fix is simple and there is no workaround: buy a jar labelled edible and accept that the sparkle is a soft sheen rather than a hard mirror flash.
Treating “non-toxic” or “food-safe” on a craft jar as an eating approval. Non-toxic means it is not acutely poisonous if a small amount is swallowed, which is a different claim from safe to eat. Food-safe on a craft-supply aisle often refers to skin contact. The fix is to check for an ingredient list naming food ingredients.
Applying glitter to frosting that is not set. It sinks, smears, and patches unevenly, and the frosting underneath stays bare. The fix is to wait, test with a fingertip, and decorate in a cool room rather than a warm one.
Using too much and then trying to remove it. Excess glitter has to be scraped off, which takes frosting with it. The fix is a shallow bowl, a lightly loaded brush, and two thin passes instead of one heavy one.
Decorating over food that will be eaten off the cake. Loose particles land on fruit, cookies, or anything already plated. The fix is to decorate first, settle for a few minutes, clean the board, and only then add the edible parts.
Storing an unfinished cake in a closed box. Loose glitter travels, and a covered cake traps it against frosting that has not fully set. The fix is to leave the cake uncovered somewhere safe until the glitter is settled and set, then cover it.
A few allergy and dietary notes worth knowing. Gelatin-based glitter is not suitable for vegetarian, halal, or kosher kitchens, so check the source and look for agar-based or isomalt-based glitter instead. Check for wheat, dairy, or soy in the ingredient list if that matters for your table, and mention glitter when someone asks about ingredients for a child with a food allergy, since it is easy to overlook as a decoration.
One more practical tip: buy a small jar first. Glitter stores well, but a colour you end up disliking is easier to replace with a different cake than with a refund.
Frequently Asked Questions
Is homemade edible glitter safe to use on cakes?
Homemade glitter is only as safe as its ingredients. Gelatin, sugar, and food-grade luster dust from a baking supplier make genuinely edible glitter, and it melts on the tongue once ground fine enough. Sugar or isomalt mixed with food colouring makes sparkling sugar rather than glitter. The real risk is sourcing the pigment from a craft or cosmetics supplier, where the powder is pearlescent but not food grade.
How can I tell whether cake glitter is actually edible?
Look for an ingredient list naming food ingredients such as gelatin, sugar, gum arabic, or food-grade mica, and confirm the maker is a baking brand. Words like non-toxic, cosmetic grade, or food-safe on a craft jar do not mean it can be eaten. If the ingredient panel says nylon, polyester, or plastic, it is craft glitter.
Can edible glitter be used on buttercream or fondant?
Yes, on both, as long as the surface is completely set. American buttercream needs a few hours in a cool room, and fondant needs to firm up before glitter is added. Whipped cream works too and does not dissolve the glitter. Avoid hot or freshly glazed surfaces, where glitter sinks in instead of sitting on top.
Is edible glitter automatically gluten-free?
No. Edible glitter is not automatically gluten-free. Some sugar-based glitters contain wheat or maltodextrin, and cross-contact is possible without a dedicated facility. Read the ingredient list every time rather than trusting the front of the jar, and look for a certified gluten-free label if that matters for your household.
Does edible glitter need to be refrigerated?
Store-bought glitter needs a cool, dry cupboard in its airtight jar, not the fridge, because moisture dulls it. The cake itself is a different question. A whipped cream or fresh-fruit cake needs refrigeration, covered so the frosting does not absorb smells. Buttercream, fondant, and ganache cakes are fine at cool room temperature for a day or two.
Can I serve a cake decorated with edible glitter to children?
Yes, if the glitter is genuinely edible and the cake is stored and served properly. Real edible glitter is made from food ingredients such as gelatin and food-grade mica, so it contains no plastic and dissolves in the mouth. The risk comes from craft glitter or disco dust, which are decorative only. Keep glitter off food that is handled a lot, such as a kids table platter.
Conclusion
The first thing to do, before the cake is even frosted, is choose the glitter. Buy it from a company that makes baking ingredients, read the ingredient list, and confirm it says edible or food grade. Then wait for the frosting to set, apply a thin layer from a shallow bowl, brush the strays off the board, and keep the cake covered only once everything has dried.
None of that is complicated, and none of it involves making craft glitter safe. There is no way to convert decorative glitter into something edible at home. If a jar says disco dust, craft, decorative only, or nothing at all about food, leave it in the craft drawer where it belongs.