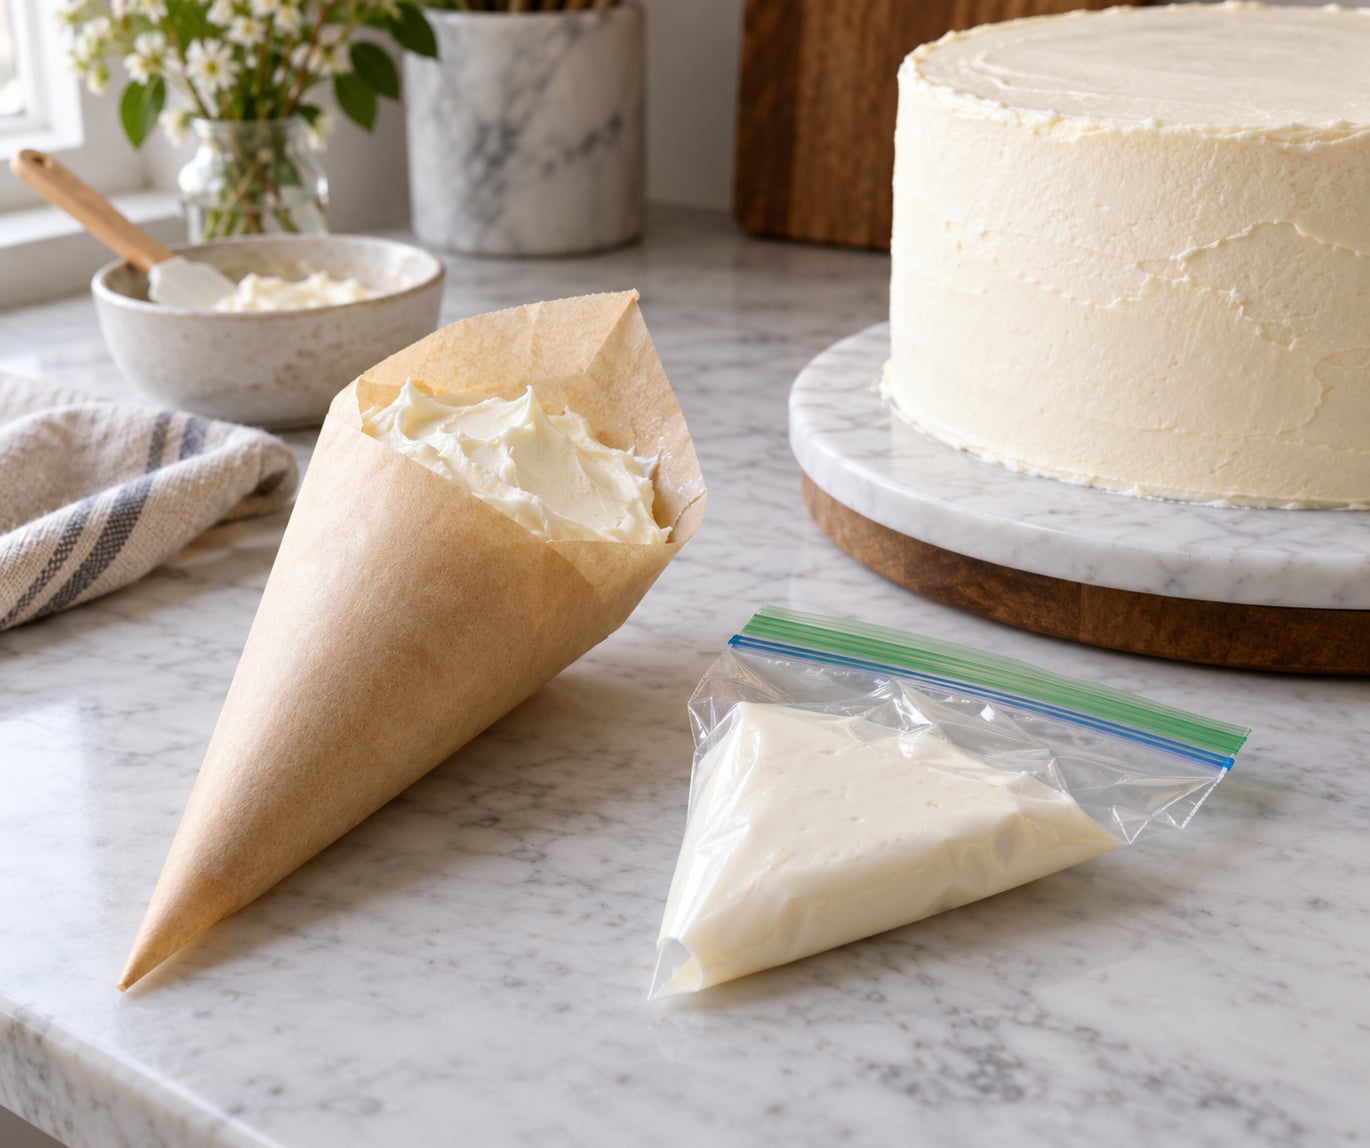
The fastest way to make a makeshift piping bag is to put frosting in one corner of a zip-top freezer bag, squeeze the air out, twist and secure the top, then snip a small opening at the corner. A parchment paper cone works too, and if you own a real piping tip you can push it straight into a homemade bag. Ten minutes, no shopping, no coupler required.
The trick is that everything depends on how stiff your frosting is. A soft, warm buttercream will leak out of a weak bag before you can control it, while a stiff one can tear through a thin sandwich bag. Pick your bag first, then match your frosting to it.
Beginners often overfill, which is the number one reason a homemade bag springs open mid-pipe. Fill it no more than halfway, and keep everything else about the process slow.
Table of Contents
- What You Need to Make a Makeshift Piping Bag
- Step-by-Step
- How to Make a Makeshift Piping Bag with a Zip-Top Bag
- Make a Parchment or Pastry-Bag Alternative
- Snip the Right-Size Piping Tip
- Test the Piping Bag Before You Decorate
- Common Mistakes
- Frequently Asked Questions
- How do you make a makeshift piping bag without a coupler?
- Can I use parchment paper instead of a piping bag?
- What frosting works best in a makeshift piping bag?
- How large should I cut the corner of the bag?
- Can I reuse a zip-top bag after piping frosting?
- Conclusion
What You Need to Make a Makeshift Piping Bag
You probably own most of this already. The only real requirement is something sturdy enough to hold the frosting you plan to use.
- A small zip-top freezer bag, or a thicker food-safe plastic bag
- A disposable pastry bag, if you would rather not snip anything
- A sheet of parchment paper for the cone method
- Clean scissors or a small paring knife
- Tweezers, for grabbing a corner that has frosting on it
- A clip, a rubber band, or a twist tie to close the top
- A small bowl and a spatula for loading the frosting
Freezer bags are noticeably more forgiving than thin sandwich bags. The seam adds strength, and the plastic is thick enough that a stiff buttercream will not push straight through.
Parchment is the best choice for dry powders and buttercream. It will not hold a very wet mixture like thin royal icing or a pourable glaze, because the paper softens and the icing pushes straight through the seam.
You can also use a real piping tip without a coupler. Push the narrow end of the tip through the corner of a plastic bag until the wide flange sits inside, and the bag becomes a working piping bag with a proper nozzle.
Step-by-Step
Five steps cover every method. The zip-top version is the quickest, the parchment version is the tidiest, and the tip version gives you the most control.
- Choose the container to match the frosting. Thick frosting goes in a freezer bag or parchment cone. Runny icing is better spooned on with a spatula or an offset knife warmed under hot water.
- Load the frosting into one corner. Put about a third of your frosting in a single corner rather than spreading it around. A smaller load is easier to squeeze and much harder to burst out of.
- Push the air out and close the top. Squeeze the empty plastic flat, twist the top down like a candy wrapper, then secure it with a rubber band or clip. Air left inside makes the bag spring back and squirt.
- Snip the corner. Cut straight across the corner, a quarter inch or so from the tip, for a round line. Start smaller than you think you need.
- Test the flow before you decorate. Squeeze a short line onto parchment or a chilled cake board and check the thickness and shape.
Cut on a flat surface with the bag away from your body, and snip small bites rather than one big squeeze of the scissors. If the frosting is warm from the mixer bowl, let it cool and stiffen a few minutes first, since hot frosting is the main reason bags split at the seam.
How to Make a Makeshift Piping Bag with a Zip-Top Bag
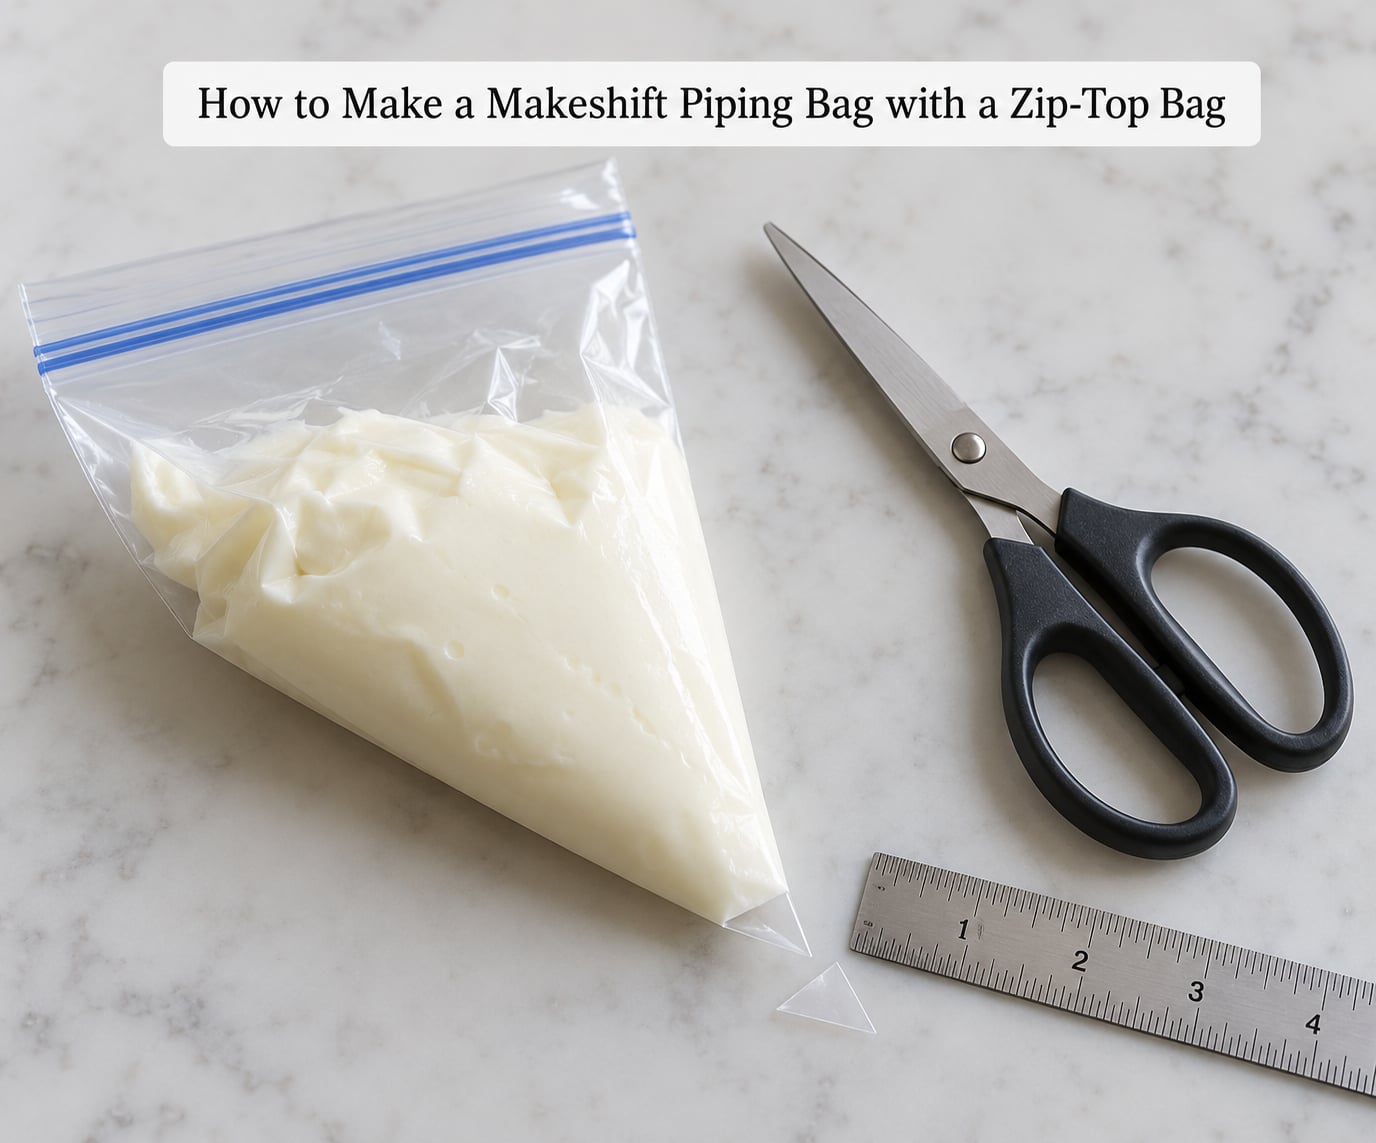
This is the version most people use when they run out of disposable piping bags twenty minutes before a party. Roll the open end of the bag down toward the frosting until the bag is compact, then twist the top several times and clip it. A rubber band works just as well if you do not have a clip.
Twist harder than you think you need to. That step is what pushes air out of the frosting and lets the whole mass slide toward the corner as you squeeze, which is the difference between a controlled line and a blob.
For writing, cut a quarter inch from the tip for a fine line, or make an angled snip for a leaf-shaped opening. If the frosting leaks around the cut, wipe the corner with a paper towel and try again, since a smear of fat on the plastic will always slide.
Make a Parchment or Pastry-Bag Alternative
For the parchment cone, cut a rectangle from a sheet of parchment and fold it into two slightly overlapping triangles. Crease the diagonal firmly with your finger, because that crease is the spine of the cone and the part that keeps it from springing open.
Open one layer to form a cone with the point angled slightly downward, then overlap the edges so no gap shows along the seam. Add your frosting with a small spoon, filling just over halfway, then twist the wide end closed and fold the top over itself.
A small notch cut into the folded top edge is the fix for a cone that keeps unrolling. Fold one end over the notch and the cone holds its shape while you pipe. If the seam still gives way, wrap it with a thin rubber band.
A disposable pastry bag works with the same principle: fill it about halfway, lift the ends, and squeeze out the air at the top before twisting. Avoid single-use sandwich bags with anything thicker than a light glaze, since they split along the seam.
Real piping tips can be pushed into a homemade bag without a coupler, which gives you star tips and large round tips that no scissored corner will match. It also means cleanup is a quick tip wash rather than a full bag to throw away.
Snip the Right-Size Piping Tip
The opening controls the line thickness, and you cannot easily make it smaller once you cut. Start at a quarter inch for writing and thin borders, go wider at half an inch for chunky borders and rustic swoops, and make a small angled cut for a leaf-like tip.
Match the cut to the icing. Thin royal icing and stiff American buttercream both need a small opening or the pressure will blow the line out sideways. A medium buttercream behaves best at a quarter to half inch. Melted chocolate is forgiving because it is thick and slow-moving.
Runny glaze should not go through a snipped corner at all. It leaks out before you can stop the flow, so spoon it on or drizzle it from a height instead.
Test the Piping Bag Before You Decorate
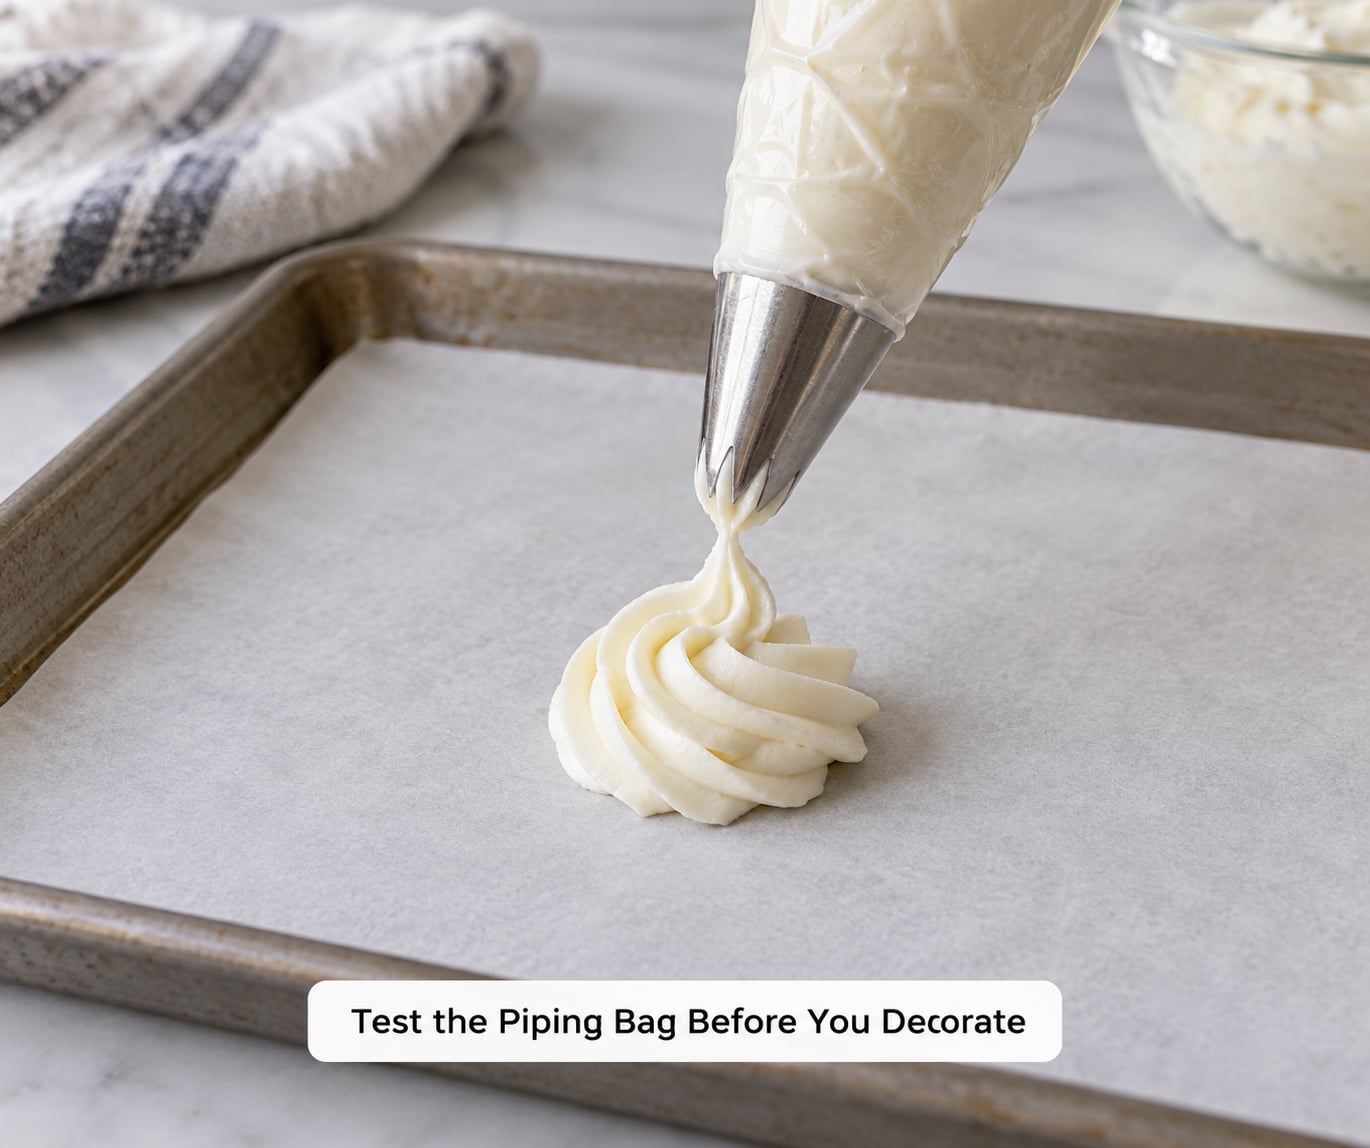
Test on a piece of parchment or a chilled cake board before you touch the real cake. If the frosting barely moves, you need a slightly wider cut. If it gushes, you need more pressure control rather than more speed.
Keep the corner about a quarter inch above the surface and squeeze, then stop squeezing as you lift. That single habit gives you a clean edge instead of a pile-up, and it is the same technique people use with a proper bag.
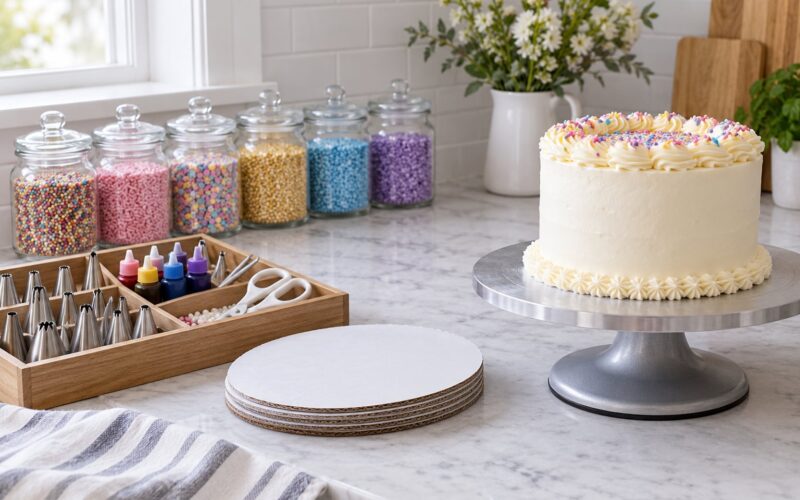
Use a firm, cold cake board for buttercream work, since a warm surface softens the frosting as you pipe and the line slumps. If the frosting went warm while you were loading the bag, refrigerate it briefly and let it come back to a workable consistency.
Common Mistakes
Almost every piping disaster with a homemade bag traces back to one of a handful of things.
- Filling too much. A full bag has nowhere to expand. Fix: fill it about halfway and pinch the excess back out.
- Leaving air inside. Trapped air pushes frosting out before you squeeze. Fix: press the bag flat, then twist the top down until the plastic crinkles.
- A loose twist. The top flips open and dumps the whole load. Fix: two rubber bands, or a clip plus a rubber band if the frosting is stiff.
- An uneven tip cut. A slanted or ragged snip makes the line wobble. Fix: place the bag flat on the counter and cut straight across with sharp scissors.
- Frosting that is too warm. Warm frosting softens the bag and splits the seam. Fix: chill it for 10 to 15 minutes, then stir again.
- Frosting that is too firm. Very stiff American buttercream held for a long session will burst a thin bag and tire your hand. Fix: soften it with a splash of milk or a little extra butter, or use a zipper-lock sandwich bag doubled over.
- A weak bag for stiff icing. Fix: skip the plastic and use a parchment cone, which handles stiff frosting well.
For cleanup, disposable bags and parchment cones get a scrape into the bin, then a wipe of the counter with a damp cloth. If you want to reuse a zip-top bag, turn it inside out and pipe the frosting straight back into the bowl or the original tub, then wash the bag in warm soapy water and let it dry open.
Switching frosting types is easier than people expect. Wipe the inside of the bag with a paper towel, scrape it clean with a spatula, and rinse the tip under hot water before loading a different color. A trace of old buttercream in a bag of melted chocolate will seize it into a stiff paste, so clean the bag rather than squeezing a new batch through it.
One honest note on practice: if you are still learning pressure control, warm a metal offset spatula or a butter knife under hot water and smooth chilled buttercream with it instead. Experienced decorators reach for that trick almost as often as a bag, and it costs nothing.
Frequently Asked Questions
How do you make a makeshift piping bag without a coupler?
Fold a sheet of parchment into two slightly overlapping triangles, open one layer into a cone with the point angled down, and fill it just over halfway. Twist the wide end closed and fold the top over itself, adding a small notch if the cone keeps unrolling. Snip the point to size. A zip-top bag works the same way, with the frosting in one corner and the top twisted and clipped.
Can I use parchment paper instead of a piping bag?
Yes, for buttercream, melted chocolate and dry royal icing details. Parchment is not a good choice for very wet mixtures such as a thin royal icing or a pourable glaze, because the paper softens and the icing pushes through the seam. Parchment also cannot hold much weight, so keep it under halfway full.
What frosting works best in a makeshift piping bag?
A medium buttercream gives you the easiest control, since it holds a line without needing much pressure. Melted chocolate is forgiving and slow-moving. Thin royal icing and stiff American buttercream both need a very small opening, and a thin single-use sandwich bag will not survive the stiff one. Very runny glaze should be spooned on instead of piped.
How large should I cut the corner of the bag?
About a quarter inch from the corner gives a fine line for writing and thin borders. Half an inch gives chunky borders and rustic swoops. A small angled cut makes a leaf-like tip. Start more conservative than feels right, because you cannot make the opening smaller once it is cut and a wide opening always leaks.
Can I reuse a zip-top bag after piping frosting?
Yes, if you reverse the bag. Turn it inside out and squeeze the frosting back into the bowl or its original container, then wash the bag in warm soapy water and dry it open. Rinse out any remaining fat before reusing it for a different frosting, because old buttercream in melted chocolate will make it seize.
Conclusion
The fastest method takes about two minutes: put your frosting in one corner of a freezer bag, squeeze out the air, twist and secure the top, snip a quarter-inch opening, then test the flow on parchment before you touch the cake. Match the bag to the frosting, fill it halfway, and you can finish a cake, a batch of cupcakes or a cookie set tonight.
One last reminder. A makeshift piping bag is a decorating tool, not a serving container. Anything that touched the bag or the board outside the cake should be scraped away rather than eaten, and the bag itself gets binned unless you reversed it and washed it out.