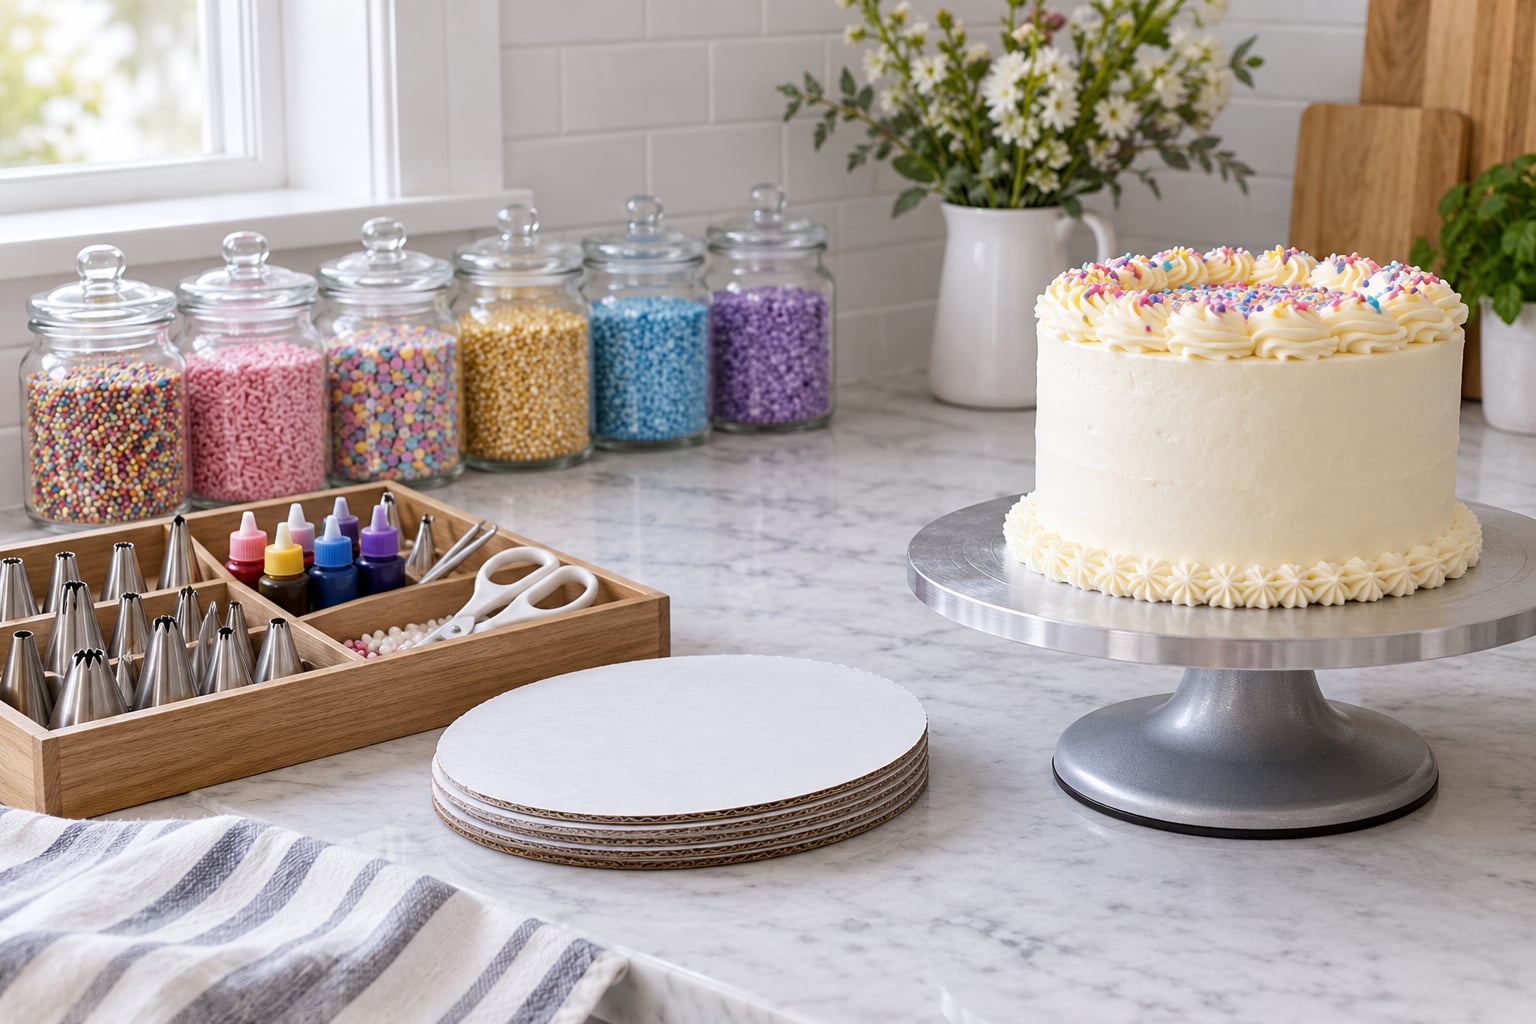
The fastest way to organize sprinkles and decorating supplies is to give every sprinkle type its own clear, airtight container, group everything by the job you do with it, label the front, and line your everyday containers up where you can see them all at once. Spend an hour on it and the payoff shows up every time you decorate: no duplicate jars in the pantry, no clumped color on a finished cake, and no digging through three drawers at nine at night looking for one piping tip.
I rebuilt my own collection twice before the current version stuck. The first attempt was beautiful and useless, because pretty opaque jars meant I could not see what I owned. The second attempt worked because I did the boring part first: sorted everything out, threw away what I would never use, and only then bought containers.
Table of Contents
- What You Need
- Step-by-Step: How to Organize Sprinkles and Decorating Supplies
- Step 1: Clear and Clean the Decorating Area
- Step 2: Organize Sprinkles and Decorating Supplies by Type and Use
- Step 3: Choose Containers That Fit the Supplies
- Step 4: Label and Inventory the Collection
- Step 5: Arrange Everyday Items Within Reach
- Step 6: Create a Restocking Routine
- Common Mistakes
- Frequently Asked Questions
- What is the best way to store sprinkles so they do not clump or spill?
- Should sprinkles be kept in their original packages or poured into new containers?
- What is the easiest way to organize piping tips and other small decorating tools?
- Where should I store cake-decorating supplies in a small kitchen?
- How can I tell whether sprinkles or edible decorations are still fresh?
- How do I stop buying duplicate decorating supplies after reorganizing?
- Conclusion
What You Need
Gather these before you start moving anything. Having them on the counter turns a two-hour project into a one-hour project.
- Airtight containers in a few sizes: glass jars with clamped or screw lids for jimmies and nonpareils, wide-mouth plastic tubs for sanding sugar and colored sugar, and squeeze or shake bottles for the sprinkles you use every single week.
- Matching clear containers where you can: same depth and same width means one row reads like a shelf of product. Mismatched sizes are fine for the overflow shelf.
- Labels plus a marker, or a label maker: one label per container with the color name, the sprinkle type, and the date you opened or decanted it.
- Dividers: small shelf risers, drawer dividers, a muffin tin, or an old egg carton for the tiny things that roll away.
- A small funnel and a square of parchment paper: this is how you decant a bulk bag into a jar without a sticky mess on the counter.
- Cleaning supplies: warm soapy water, a brush for jar threads, and a dry cloth for the cabinet shelf.
- Optional inventory help: a phone photo of the finished shelf, a notebook by the bin, or a simple spreadsheet if you bake for a cottage food business and reorder on a schedule.
Skip the matching-canister sets until you know your real inventory. Buying twenty identical containers before sorting is the single most common way this project turns into a second pile of clutter.
Step-by-Step: How to Organize Sprinkles and Decorating Supplies
Step 1: Clear and Clean the Decorating Area
Empty every container that currently holds sprinkles or decorating tools onto a bed of parchment paper or a clean counter. Group them in rough piles as you go, but do not make permanent decisions yet.
Discard anything dried out, faded to a color you would never buy, dented, or past the point where the packaging has no readable date. Compost clumped or chalky sugar rather than trying to nurse it back.
Wipe the shelf and drawer with warm soapy water and dry it fully. While you are there, look for the tiny escapees: one nonpareil rolled behind the flour bin, a coupler hiding under the cake turntable, a stray jimmie in the drawer seam. That is your real inventory problem in miniature.
Step 2: Organize Sprinkles and Decorating Supplies by Type and Use
Sort into six working groups: sprinkles, piping tips, couplers and tips cases, edible decorations like fondant shapes and gumpaste, color and edible glitters, and the hand tools such as offset spatulas, scissors and cake levels.
Then split each group by frequency. Everyday items get the prime real estate near the work surface. Occasional items go higher or in a bin. Truly seasonal things, like holiday-themed sprinkles or specialty cutters, go somewhere out of the way and get swapped in once a year.
Bakers on baking forums tend to group by usage rather than by product name, and that is the version that survives a busy month. If you never decorate with a coupler, it does not need to live next to your most-used tips.
Step 3: Choose Containers That Fit the Supplies
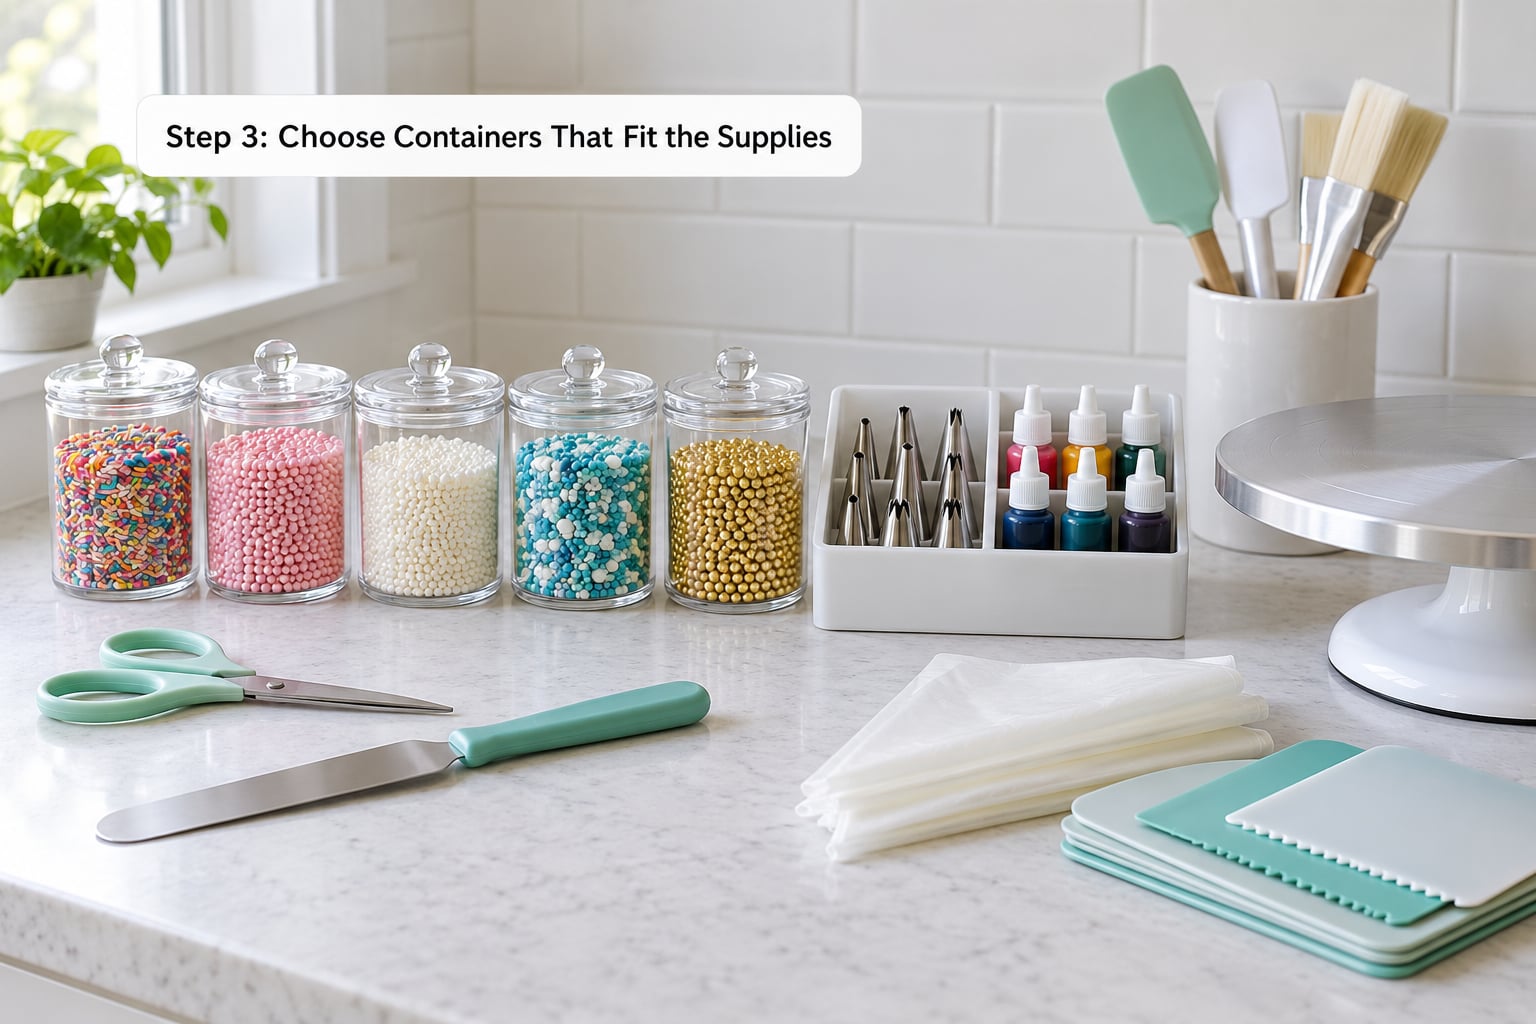
Match the container shape to what is going in it. This is where most collections fail, because one bin was supposed to hold everything.
| Container | Best for | Watch out for |
|---|---|---|
| Airtight glass jar | Jimmies, nonpareils, sanding sugar, older or heirloom blends | Heavy and breakable, so keep the ones you use most on eye level, not high up |
| Clear plastic tub with a snap lid | Confetti and large mix sprinkles, sanding sugar, colored sugar | Lids loosen in a warm car or garage, so test the seal before you decant |
| Shake or squeeze bottle | The one or two colors you apply over and over | Only works for small, uniform sprinkles that do not jam the opening |
| Shallow handled bin | Seasonal sprinkles, cake boards, ribbon, bulk sprinkles you decant from | Not airtight, so line it with a sealed bag inside for anything moisture-sensitive |
| Divided tray or muffin tin | Piping tips, couplers, small cutters, gel color bottles, edible glitter jars | Keep the whole tray on one shelf so the layout stays predictable |
| Upright holder or door-mounted rail | Rolling pins, rulers, long spatulas, sheet pans | Weight matters, so anchor anything heavy at waist height, not overhead |
A shallow container beats a deep one. When a jar is wide enough that you can see the color across the whole surface, you stop pulling things out just to check what is underneath. If you decant bulk bags, lay a parchment paper square over the rim and use a funnel so nothing lands outside the jar.
Step 4: Label and Inventory the Collection
Write the color name and the sprinkle type on the front of every container, then add the month and year you opened or decanted it. That date is what tells you whether a color has been sitting there long enough to fade.
Then take one photo of the finished shelf from straight on. That photo is your inventory: when a project calls for a glitter that you are not sure you own, you check the picture before you add it to the cart.
| Sprinkle type | Typical shelf life once opened | Storage note |
|---|---|---|
| Jimmies | About 3 years | Airtight jar, cool dark shelf; discard if the color looks chalky |
| Nonpareils | About 3 years | Keep sealed, because surface sugar picks up humidity fast |
| Sanding sugar and colored sugar | Effectively indefinite while dry | Seal tightly; any moisture turns it into a solid block |
| Sugar pearls | About 2 to 3 years | Separate from other colors so the dye does not transfer |
| Candy-coated and chocolate sprinkles | About 1 to 2 years | Store away from heat and strong odors, and never refrigerate |
Write the date on candy-coated and chocolate sprinkles first. Those are the ones that pick up odors and lose their snap, and they are also the ones most likely to have been sitting since your last holiday bake.
Step 5: Arrange Everyday Items Within Reach
Put your weekly sprinkles in a single row on the counter or on the first shelf of a dedicated baking zone. One row, all facing the same way, is the fastest inventory system there is.
Store the piping tips tray directly above or below that row so the whole decorating job happens in one spot. Reserve the back of a cabinet door or the inside of a lower cabinet for the tools you use monthly, and hang anything long and flat on a door-mounted rail.
Keep food away from heat. A shelf above the oven or a cabinet beside a dishwasher works harder against you than a shelf near a window does, because sprinkles are mostly sugar and sugar is hygroscopic, which is a polite way of saying it drinks moisture out of the air.
Step 6: Create a Restocking Routine
Set a ten-minute reset after every large decorating job and a longer thirty-minute audit once a quarter. The short version: return every container to the row, replace lids, wipe spilled sugar, and note anything running low.
The quarterly version is where you prevent duplicate buying. Empty each jar into a bowl, check for clumping and fading, and reset the date on anything you decant back in. Move the first container to the front when you fill it, so the oldest gets used first.
Two habits keep this honest. Wipe the jars rather than pouring them clean, so you can see the true amount remaining. And keep the one shelf that holds your full collection separate from the container you pour from, because a shared jar goes empty and then gets bought again.
Common Mistakes
Mixing colors in one bin. Nonpareils and jimmies rub against each other and transfer dye, and you end up with a bin of muddy colors nobody wants. Give each color its own sealed container, then group the containers together in a bin or handled basket for carrying.
Choosing containers that are too large. A big jar with a spoon of sprinkles at the bottom looks empty, hides the inventory, and encourages topping up instead of using what you have. Fill the container to roughly two-thirds and pick the next size down.
Skipping labels. Clear containers still need words, because “the blue one” is a different answer every time. Color, type, and date, written on the front.
Storing food near heat or in the sun. Direct sun fades colors within months and warmth softens candy coatings. A cool interior cabinet away from the oven and stove does the job.
Refrigerating or freezing sprinkles. This is the mistake most people make while trying to be careful. Chilling them and then opening them pulls condensation out of the warm air into the cold jar, and that moisture is exactly what causes the clumping you were trying to prevent. Cool room temperature, airtight, dry. That is the whole rule.
Buying before sorting. You end up with five jars of the same gold because you could not see the first four. Sort, photograph, then shop.
Over-organizing. Matching canisters, a lazy Susan for forty jars, and a cabinet built for a bakery you do not run is how a system dies in a month. Good enough and maintained beats perfect and abandoned. Most working collections I have seen use one row of jars and one bin per tool type.
Frequently Asked Questions
What is the best way to store sprinkles so they do not clump or spill?
Store sprinkles in airtight containers sized so the lid fits snugly, kept in a cool, dry cabinet away from the oven and direct sun. Wide-mouth glass jars with screw lids are the most reliable option, and a shallow tub beats a deep one because you can see the color across the surface. Fill each container only two-thirds full and always close the lid before you put it back.
Should sprinkles be kept in their original packages or poured into new containers?
Keep factory-sealed packages sealed if you have room, since they carry a printed date and color name. Once opened, pour them into airtight containers, because opened bags lose moisture and color faster than a jar does. Decanting also lets you put matching containers in one row so you can see your full inventory at a glance.
What is the easiest way to organize piping tips and other small decorating tools?
Use one shallow tray with dividers, or a muffin tin, and assign a section to each tool type: tips, couplers, small cutters, gel colors. Keep the whole tray on a single shelf so the layout never changes. Label the front edge, and store the tray near your everyday sprinkles so a decorating session happens in one spot.
Where should I store cake-decorating supplies in a small kitchen?
Claim one shelf or one cabinet as a dedicated baking zone and use vertical space around it. Hang long tools and sheet pans on an over-the-door rack, put occasional items in a bin on the top shelf, and keep only weekly items at eye level. Clear matching containers lined in one row take up far less space than a pile of mismatched bags.
How can I tell whether sprinkles or edible decorations are still fresh?
Look for dull or chalky color, hardened clumps stuck to the side of the jar, an off or musty smell, or a waxy film on candy-coated sprinkles. If the container was opened and dated more than two years ago and the color has faded noticeably, use it only on practice cakes or mix it into cookie dough. When in doubt, discard it.
How do I stop buying duplicate decorating supplies after reorganizing?
Take one photo of your finished shelf from straight on and keep it on your phone, so you can check what you own before adding anything to a cart. Date every container when you fill it, and keep the jar you pour from separate from the storage row. Once a quarter, empty each jar into a bowl, check the true amount, and reset the date.
Conclusion
Start with one category, not the whole kitchen. Pick just the sprinkles, empty every bag and jar onto a sheet of paper, throw out what is faded or clumped, and decant the rest into clear airtight jars with a label showing the color and the date. Line them up in one row where you can see them. When that row works, add a tray for piping tips and couplers, and stop there.
That is the whole system: sort first, containers second, labels always, everyday items at eye level, and a ten-minute reset after each project. Once it is in place, knowing how to organize sprinkles and decorating supplies becomes a ten-minute job instead of a lost afternoon, and you stop buying colors you already own twice.