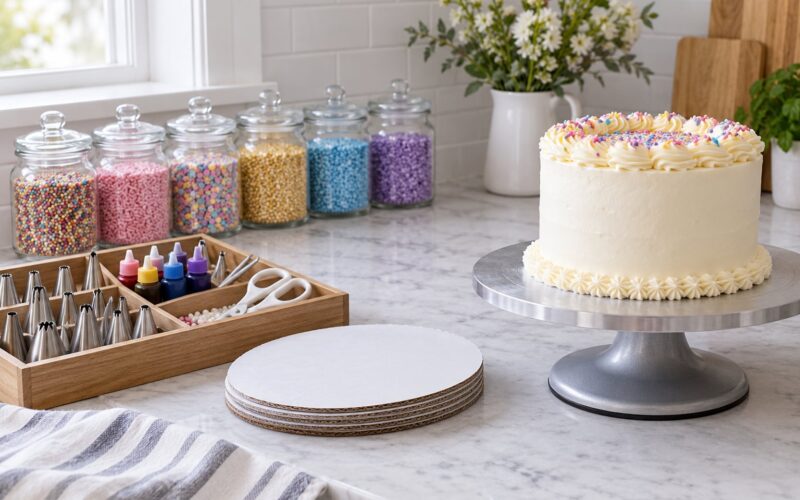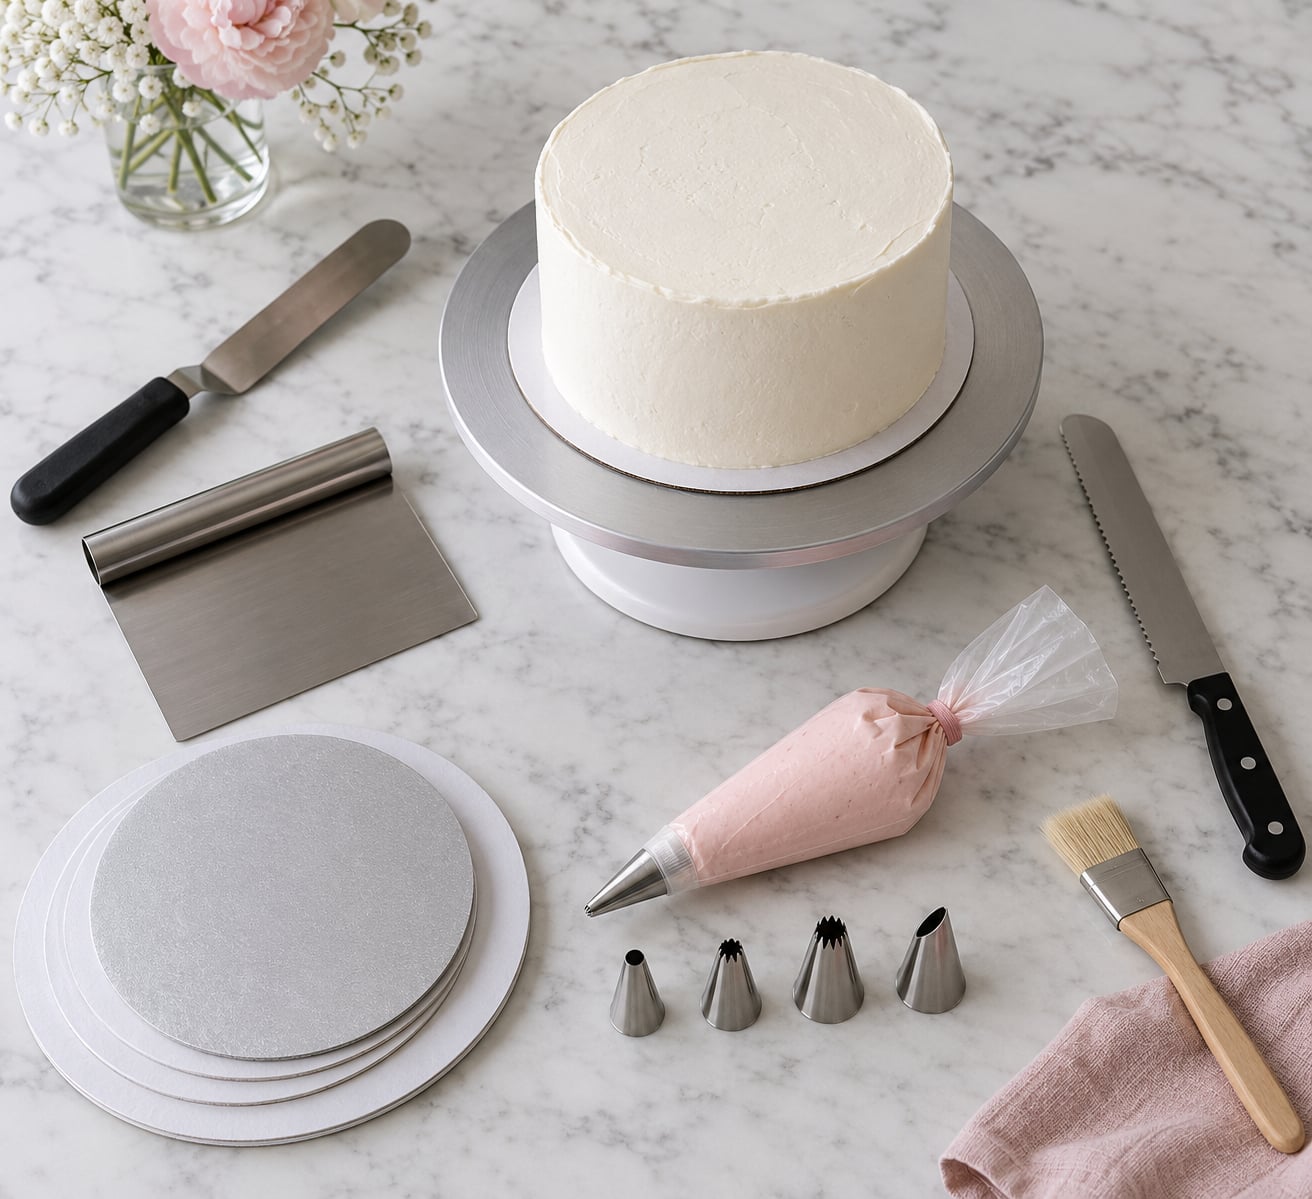
If you are new to cake decorating, the essential cake decorating tools for beginners are fewer than the shops would have you believe: a turntable, a small offset spatula, a bench scraper, piping bags with a coupler, four or five piping tips, a serrated knife for cutting even layers, sturdy cake boards, accurate measuring tools, gel food colouring, and a couple of small detail brushes. That core set covers smooth buttercream, clean piped borders and rosettes, and presentable cakes for a family gathering.
Buy those, learn them, then add tools as you decide you want a specific technique. More gear does not make a prettier cake, and most of what sits unused in a big drawer belongs to a technique you have not tried yet.
Table of Contents
- Essential Cake Decorating Tools for Beginners at a Glance
- 1. Offset Spatula for Smooth Frosting
- What to look for when you buy one
- 2. Cake Turntable for Steady Decorating
- 3. Bench Scraper for Clean Cake Sides
- 4. Piping Bag and Tip Set for Controlled Decorations
- 5. Cake Leveler for Even Layers
- 6. Rotating Cake Stand or Turntable Base
- 7. Decorating Spatula Set for Piping and Filling
- 8. Cake Boards and Supports for Transport
- 9. Measuring Spoons and Cups for Consistent Recipes
- 10. Food-Safe Brushes and Detail Tools for Finishing
- Frequently Asked Questions
- Which cake decorating tools should a beginner buy first?
- Should beginners buy a cake decorating kit or individual tools?
- Do I need a cake turntable to decorate a cake?
- How many piping tips do I need to start?
- What is the easiest cake decorating for beginners?
- How do I clean and maintain cake decorating tools?
- Start With Three, Add the Rest as You Go
Essential Cake Decorating Tools for Beginners at a Glance
The table below covers the tools in this guide, what each one actually does, and whether you should start with a basic version or step up later.
| Tool | Main job | Start here or step up later |
|---|---|---|
| Offset spatula | Spreads and smooths frosting without knocking the cake | Start with a small angled one |
| Cake turntable | Rotates the cake so your hand stays steady | Start with a weighted, non-slip base |
| Bench scraper | Straightens buttercream sides and top edges | Start with flat stainless steel |
| Piping bags and coupler | Turns frosting into something you can control | Start with disposable bags and two couplers |
| Piping tips | Decide the shape of what comes out | Start with round and closed star |
| Serrated knife or leveler | Cuts flat, even layers | Start with a long serrated knife |
| Rotating stand or fixed base | Holds the cake steady on the work surface | Only needed for large cakes |
| Palette knife and filling spatula | Spreads filling, loads bags, scrapes bowls | Start with one of each |
| Cake boards and dowels | Support the cake for moving and serving | Start with a board matched to your pan |
| Measuring tools | Keep frosting thick enough to hold a shape | Start with a full set, not guesses |
| Brushes and detail tools | Handle edible glue, shimmer dust and small pieces | Add once the cake is nearly finished |
1. Offset Spatula for Smooth Frosting
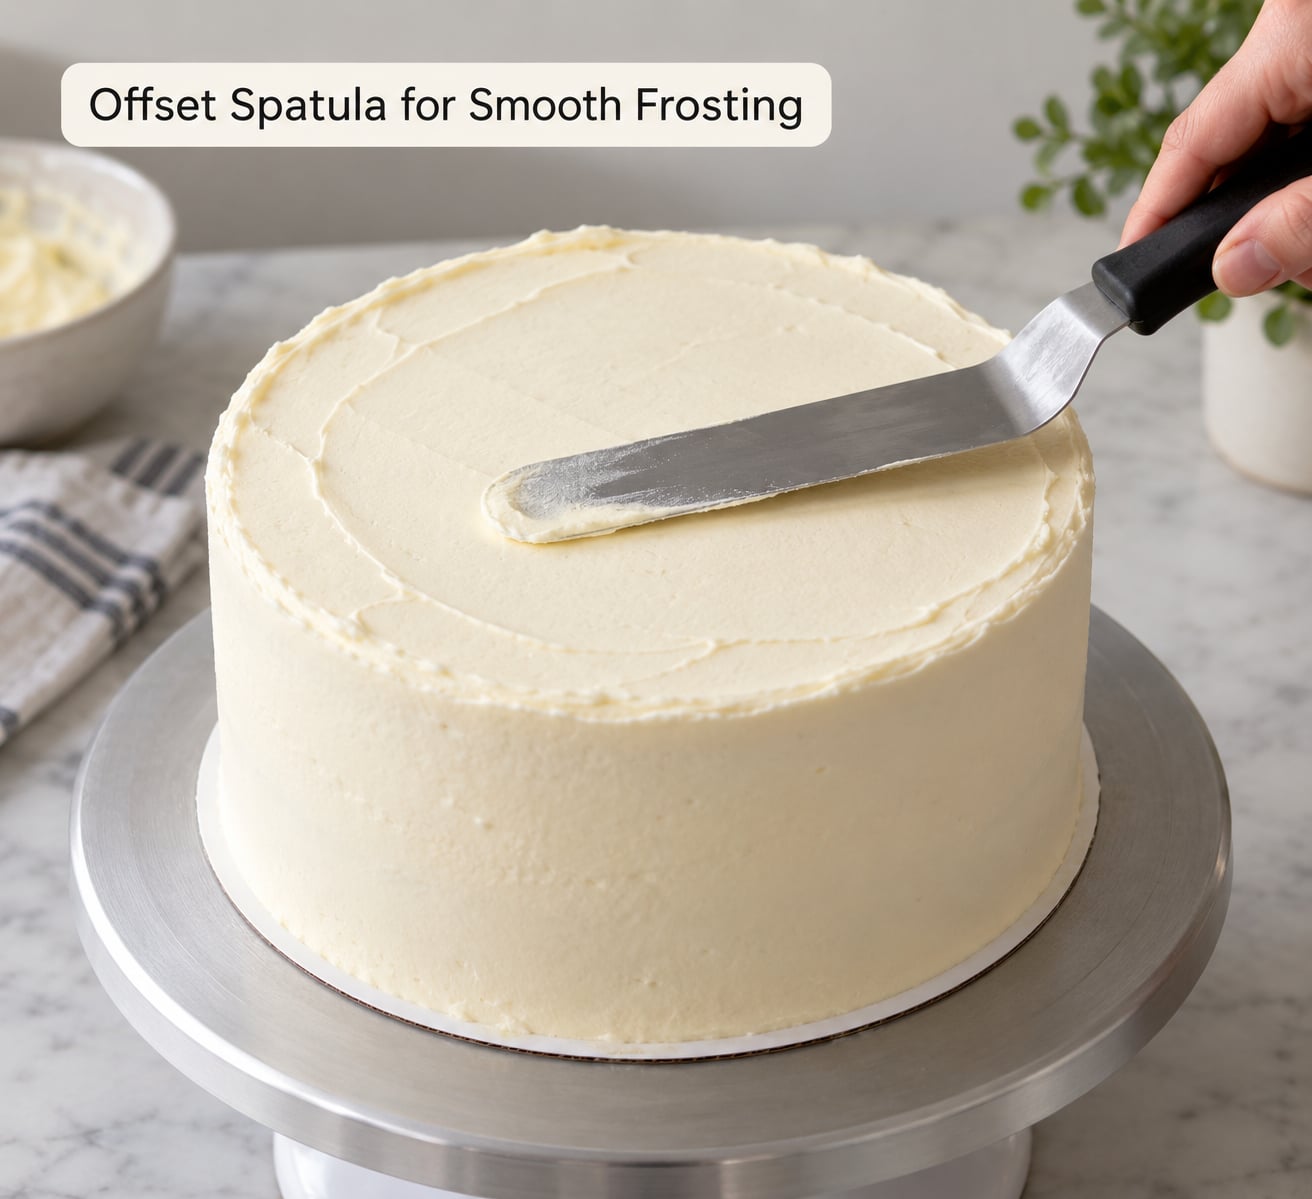
An offset spatula has a blade bent to one side, so the handle sits above the work instead of dragging your knuckles through the frosting. That small bend is why it is the first tool in most beginner lists.
Use it for spreading buttercream across a crumb coat, filling between layers, and nudging frosting into gaps at the edge of a cake. On a single round layer, spread a thin coat, chill the cake, then spread a thicker coat and let the excess hang over the sides before you scrape it off.
What to look for when you buy one
Thin, flexible stainless steel for spreading. A wider blade covers more area on a sheet cake, while a small angled blade gives you control around the top rim of a layer. Cheap plastic blades flex too much and drag the cake crumbs upward.
2. Cake Turntable for Steady Decorating
A cake turntable is a flat platform on a non-slip base that rotates with a lever. You turn the handle and the cake turns with it, which means the frosting stays under a steady hand instead of following a wobbling arm.
That single tool changes more about your results than anything else on this list. Smoothing a cake side becomes one continuous stroke instead of a series of patches, and piping a border takes one minute instead of five.
Check four things: a rubber or silicone base grip that stops the whole turntable wandering while you pipe, a weighted base so it stays put on a counter, bearings that spin without a wobble, and a surface you can wipe clean. A locking mechanism that holds position comes in handy when you frost a tall cake and need both hands free.
3. Bench Scraper for Clean Cake Sides
A bench scraper is a flat piece of steel or plastic with a straight edge, used to shave buttercream into a straight vertical surface. Hold it flush against the side of the cake while you turn the platform, and the ridges disappear as you go.
A cake comb is the taller, toothed version, used to add texture to a finished side. A cake leveler is a different tool again: a wire frame with a handle that you press through the top of a cake to slice it flat. Beginners usually need the scraper first and can skip the comb.
Two habits make the difference. Chill the cake for 20 minutes after the crumb coat so the buttercream firms up, and warm the scraper under hot water and dry it before each pass so it does not drag the frosting. If you are frosting a sheet cake, the scraper is the tool people most often search for by name.
4. Piping Bag and Tip Set for Controlled Decorations
A piping bag is a food-safe bag that holds frosting and forces it out through a small nozzle. The piping tip is the nozzle, and the coupler is the two-piece ring that joins the bag and the tip so you can swap tips without re-filling.
Disposable bags suit a beginner because there is nothing to wash afterwards. Reusable silicone bags cost more to start but suit people who pipe the same colour repeatedly, since you can scrape the sides and reuse it. Whichever you choose, keep a coupler fitted permanently so no frosting dries inside the twist.
Here is the short version of tip shapes. You do not need all of them at once.
| Tip shape | Best for | Skill needed |
|---|---|---|
| Small round | Writing, dots, thin borders | Low |
| Large round | Piping shells, ropes and dollops | Low |
| Closed star | Ruffled borders and rosettes | Low |
| Open star | Star borders on cupcakes | Medium |
| Petal | Drop flowers and layered petals | Medium |
| Leaf | Filling gaps and adding greenery | Medium |
| Flat edge | Straight lines and simple banners | Low |
Four tips cover most first cakes: a small round, a large round, a closed star and a petal tip. Add an open star later when you want star borders.
5. Cake Leveler for Even Layers
An uneven layer is the reason buttercream slides off a cake and the reason a stacked cake leans. A serrated knife with a long blade does the job well for a beginner: place the cake on the turntable, start a cut a little above the lowest point, and rotate while you saw slowly. You are drawing a level line around the whole cake rather than trying to judge the height in one spot.
A fixed cake leveler is more forgiving but still catches badly under domed layers. Widen the blade gap by adding a second dowel or ruler alongside it, or trim the dome before you level rather than fighting it later.
Wrap thin cake layers in cling film before chilling. A soft layer squashes under the weight of the filling and you lose the flat base you just cut.
6. Rotating Cake Stand or Turntable Base
A turntable rotates. A cake stand holds the cake still and can be ceramic, acrylic or metal. The confusion is common because kits often pair one turntable with a separate fixed base, and the base is what carries the weight of the finished cake when you lift it somewhere else.
For an 8-inch cake, a nonrotating stand with a non-slip mat is enough. Turntables start earning their keep with sheet cakes, tall layer cakes and anything you pipe a full border around.
Match the stand to the size of the cake rather than to the stand. Too small and the frosting overhangs the edge as you turn; too large and the cake wobbles when you touch the surface. If the stand rotates, put a thin non-slip mat under the cake board so the whole assembly turns as one piece.
7. Decorating Spatula Set for Piping and Filling
A palette knife is an offset spatula with a longer, narrower blade, and it handles thick fillings that a small angled blade would tear. A filling spatula is a wide, flexible, blunt-edged tool that spreads jam or curd between layers without pushing it out the sides.
Between them they cover three jobs: spreading filling evenly, scraping the last of the frosting out of the mixing bowl, and packing frosting into a piping bag. Push the bag into a tall cup, load the frosting in with the palette knife, then twist the top and fit the coupler.
Buy two sizes rather than one. A narrow one reaches into jars and small bowls, and a wide one moves a lot of buttercream quickly. Both should be stainless steel with no plastic handles that loosen in the dishwasher.
8. Cake Boards and Supports for Transport
A cake board is a round or square disc of food-safe card that sits under the cake. It is not optional for any decorated cake. Without one, moving a frosted cake means lifting it by an edge that will slide.
Choose a board a little larger than your cake and secure it with a small amount of icing smeared on the underside. For a single layer you can stop there. For a filled layer cake, dowels cut from straws or dowel rods go inside the filling to spread the weight downward, so the top layer does not sink into the bottom one.
For tall cakes or stacked tiers, a second set of dowels and a support board above them carries the load. That step is where a stable, level cake becomes a cake you can actually move to the table.
9. Measuring Spoons and Cups for Consistent Recipes
Frosting that behaves differently every time is usually a measuring problem, not a technique problem. Buttercream needs a set ratio of fat to powdered sugar, and a couple of tablespoons of difference changes it from soft to stiff to gluey.
Use a proper set of measuring cups and spoons, including a small spoon that measures a teaspoon rather than a rounded tablespoon. Liquid extracts and vanilla need a tiny spoon, and gel food colouring is far stronger than liquid drops, so a wrong measure stains a whole batch.
A small kitchen scale is the better tool if you bake often, since weighing flour and sugar removes the packing variation that makes two cups differ by a noticeable amount. For decoration specifically, the tools that matter most are the ones that keep frosting stiff enough to hold a ridge.
10. Food-Safe Brushes and Detail Tools for Finishing
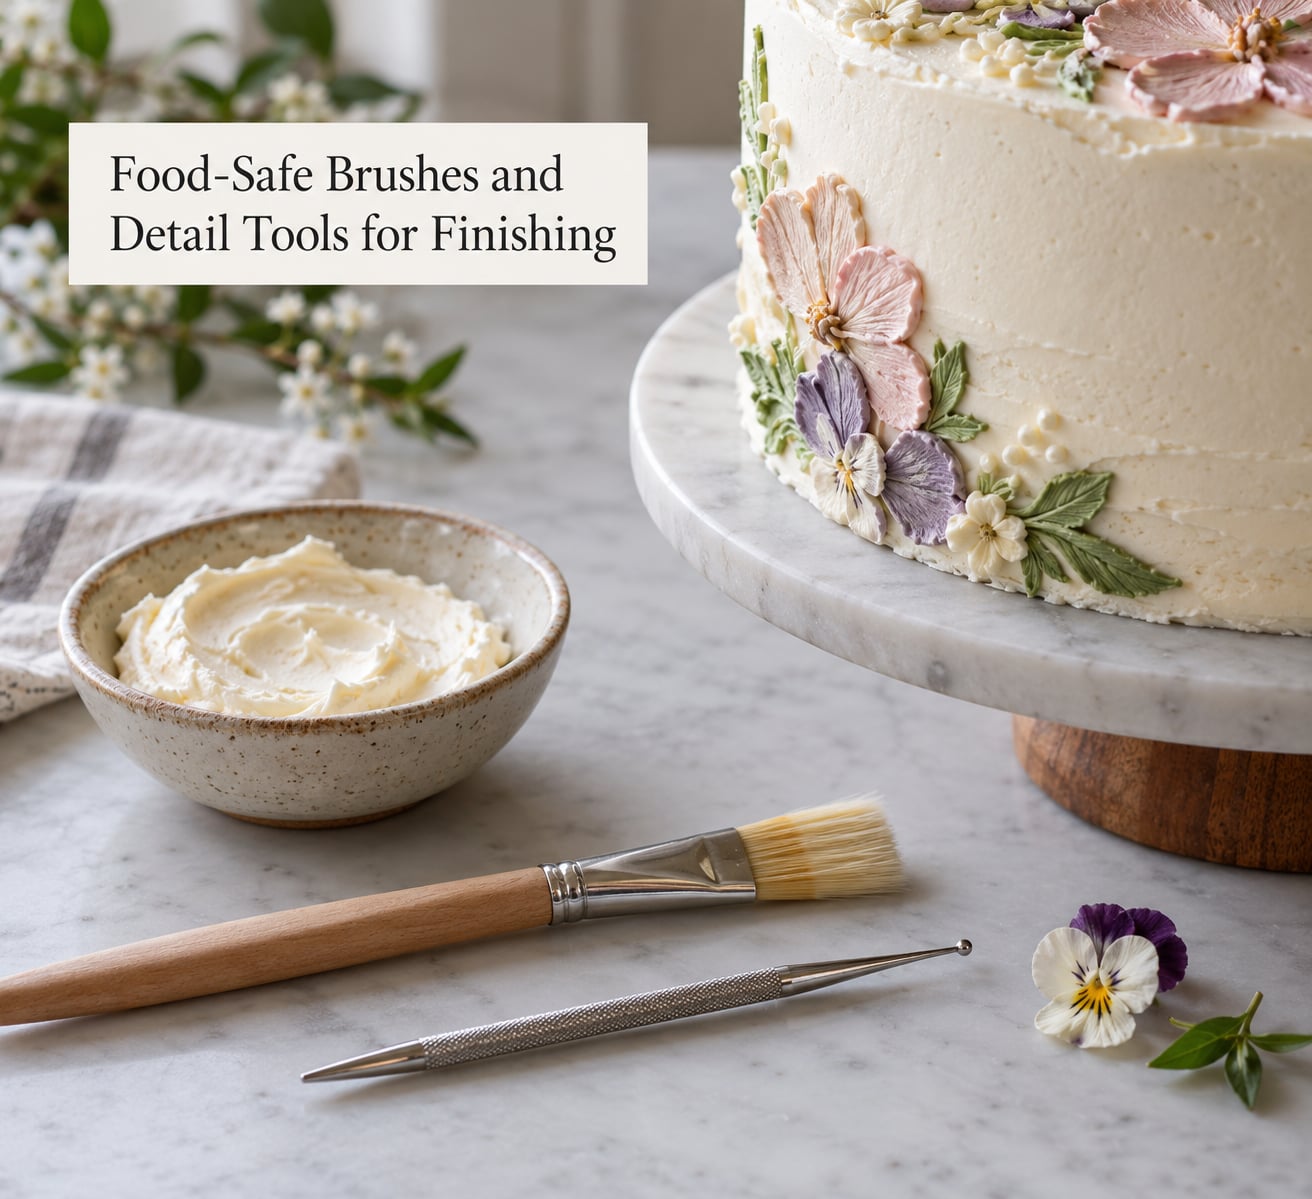
Small pastry brushes with soft natural bristles apply edible glue, flavour extract, shimmer dust mixed with a little alcohol, or a wash of gel colour to a fondant surface. Anything that touches food should be labelled food-safe, and no brush used for pastry should go back into an oil or paint pot.
Tweezers place sugar flowers and small nonpareils in gaps a fingertip cannot reach. A parchment or acetate square cut to the diameter of the cake makes a simple guide for a neat top border, and a small pair of scissors trims parchment guides and ribbon.
These are finishing tools rather than decorating tools, which is why they sit at number ten. Add them when you want the last five percent, not on day one.
Frequently Asked Questions
Which cake decorating tools should a beginner buy first?
Three tools cover most first cakes: a bench scraper, a small offset spatula and one or two piping tips. That is the consensus advice beginners get on decorating forums, where experienced decorators suggest starting small and adding tools only when they want a specific technique. Add a turntable and more tips once your base layer is smooth enough to build on.
Should beginners buy a cake decorating kit or individual tools?
Individual tools are usually the better choice for a beginner. Kits marketed for beginners and pros often run to a hundred or more pieces, and the majority will sit unused. A small kit is fine if it contains a turntable, spatulas, a scraper, a serrated knife and a handful of numbered tips. Check the piece count and the material before buying anything.
Do I need a cake turntable to decorate a cake?
You do not need one for a small single layer, though it changes your results more than most beginners expect. It lets the cake rotate while your hand stays still, which turns patchy smoothing into one continuous stroke and makes a piped border far quicker. If you only ever make one small cake, a stand with a non-slip mat works for now.
How many piping tips do I need to start?
Four is plenty for a beginner: a small round, a large round, a closed star and a petal tip. Together they cover writing, dots, shells, ropes, ruffled borders, rosettes and simple drop flowers. Add an open star later for star borders on cupcakes. Buying individual tips in the shapes you need beats a large numbered set you will not open.
What is the easiest cake decorating for beginners?
Cupcakes and a single round or sheet cake covered in buttercream are the easiest entry points. Smooth frosting, a simple border and a few sprinkles need the fewest tools and forgive the most mistakes. Fondant is a step up because every fingerprint shows, and stacking tiers is a further step once single layers look reliable.
How do I clean and maintain cake decorating tools?
Wash stainless steel spatulas, scrapers and tips in warm soapy water right after use and dry them straight away so they do not spot. A dishwasher is fine for metal tools marked dishwasher safe, but check first, since cheap plated scrapers tarnish and dull. Store tips in their numbered case or a sealed container so grease does not collect on the openings.
Start With Three, Add the Rest as You Go
Buy a bench scraper, a small offset spatula and a large round tip first. Those three cover smooth frosting and a simple border, and they are the combination beginners on decorating forums recommend before anything else.
Then add a turntable, a closed star tip, a long serrated knife and a cake board. The rest of the essential cake decorating tools for beginners, from pastry brushes to cake combs and leaf tips, earn their place once you know which technique you want to try next.