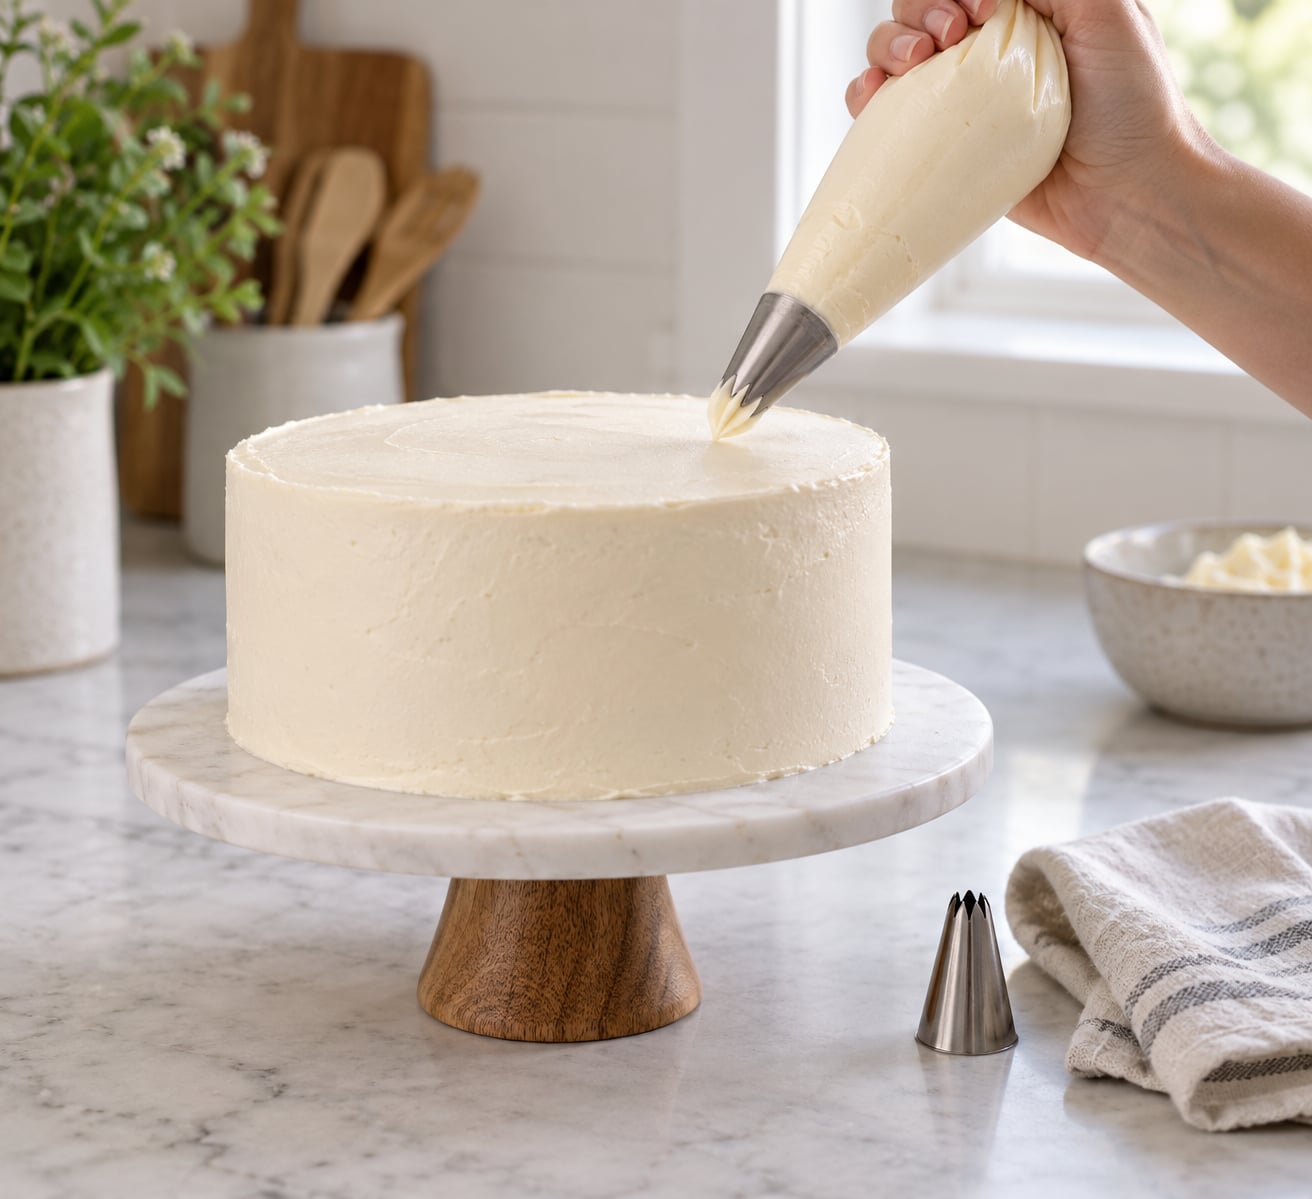
How to hold a piping bag correctly comes down to three things: wrap your dominant hand high on the twisted top, squeeze with palm pressure rather than your fingertips, and rest your other hand under the nozzle as a guide. Keep your wrist straight and the tip angled about 45 degrees above the surface. Ten minutes of practice on a lined tray beats an hour of guessing on a finished cake.
Most uneven piping has nothing to do with the frosting and everything to do with the grip. Once the hand position clicks, the same buttercream that used to blob will pull into steady ribbons.
Table of Contents
- What You Need
- Step-by-Step: How to Hold a Piping Bag Correctly
- Step 1: Prepare the Piping Bag
- Step 2: Position Your Hand
- Step 3: Apply Steady Pressure
- Step 4: Practice the Grip
- Step 5: Adapt the Grip for Different Techniques
- Common Mistakes and How to Fix Them
- Frequently Asked Questions
- Should I hold a piping bag with my dominant or non-dominant hand?
- How tightly should I squeeze a piping bag?
- Why does my wrist get tired when I use a piping bag?
- How high should I hold the piping bag above the frosting?
- Does the way I hold the piping bag change with different tips?
- How do I keep frosting from leaking while practicing?
- Conclusion: Start With a Comfortable Grip
What You Need
Set everything up before the bag is full. Working with one hand while the other hunts for a tip is how frosting ends up on the ceiling.
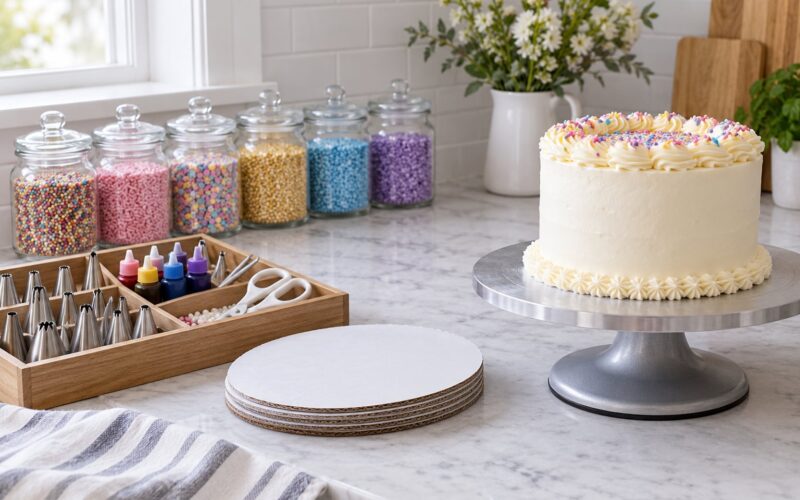
- A piping bag — disposable 16-inch bags are the easiest starting point, and reusable nylon bags wash well and keep their shape over time.
- Frosting at a workable consistency — stiff enough to hold a shape, soft enough to push through the tip without force.
- A piping tip plus a coupler if you plan to swap tips mid-session.
- A clip or twist tie to lock the bag shut so nothing backs up past the twist.
- A damp kitchen towel to wipe the nozzle and your fingertips as you go.
- A lined tray, board or silicone mat as a practice surface, plus a cup of warm water for rinsing the tip.
Skip zip-top bags if you can. They are cheap and they work for a single line of icing, but they slide, split at the corner, and give you almost no wrist stability once the filling shifts.
Step-by-Step: How to Hold a Piping Bag Correctly
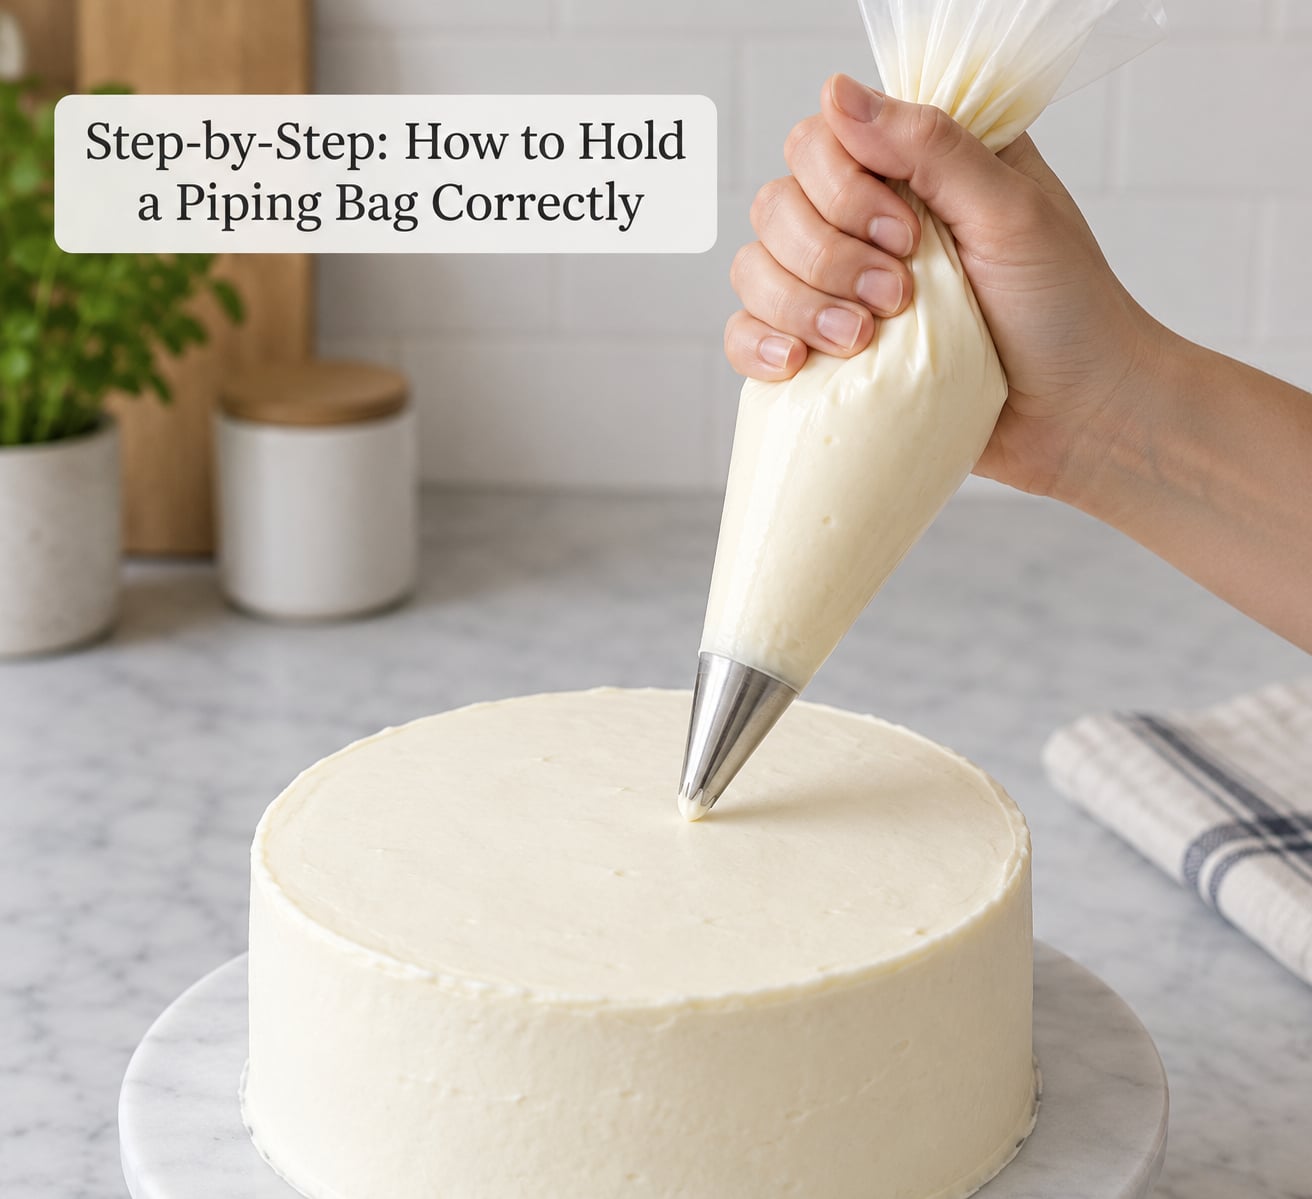
Step 1: Prepare the Piping Bag
Fill the bag about two-thirds full. More than that and the frosting gets squeezed up into the twist, which is the single most common reason beginners leak frosting out of the top.
Push the frosting down into the tip with the back of a spoon or an offset spatula so there is no trapped air, then twist the bag just above the frosting line and clip it. A second clip at the very top gives you something to grip as the bag empties.
Step 2: Position Your Hand
A good piping bag hold starts about a third of the way down from the twist, not down by the tip. Slide your dominant hand up so the bag rests in the space between your thumb and index finger, with the other three fingers curled underneath for support.
Keep the wrist in line with your forearm. If you can see a bend at your wrist, that is the reason your arm will ache twenty minutes in.
Place your other hand so two fingers rest lightly against the underside of the nozzle, about a centimetre back from the opening. That hand steers and lifts, it does not squeeze. Squeezing with both hands is what causes the jerky, lumpy lines most beginners produce.
Step 3: Apply Steady Pressure
Squeeze from the top of the bag downward with the whole hand, not from the fingertips. Palm pressure is slower, more even and far easier on your hand because you are using the muscles of the forearm rather than pinching.
Hold the nozzle still while the frosting moves. If the tip travels as you squeeze, the line will wobble. Lift away to stop the flow, and lower to start again — that single movement is what keeps a border from having blobs at each corner.
If the frosting stops coming out, do not squeeze harder. Push the frosting down toward the tip with your other hand or the guide hand fingers, then resume the same pressure.
Step 4: Practice the Grip
Set a lined tray flat on the counter, stand or sit so your elbow has room, and pipe a straight line the length of the tray. Keep your guide hand on the nozzle the entire time. Most beginners lift that hand away the moment they feel the bag move, and that is where the wobble starts.
Then pipe a row of dots: squeeze, lift, move, squeeze. Add a second row and try to match the first. Five minutes of this will teach you more pressure control than an hour of reading about it.
Step 5: Adapt the Grip for Different Techniques
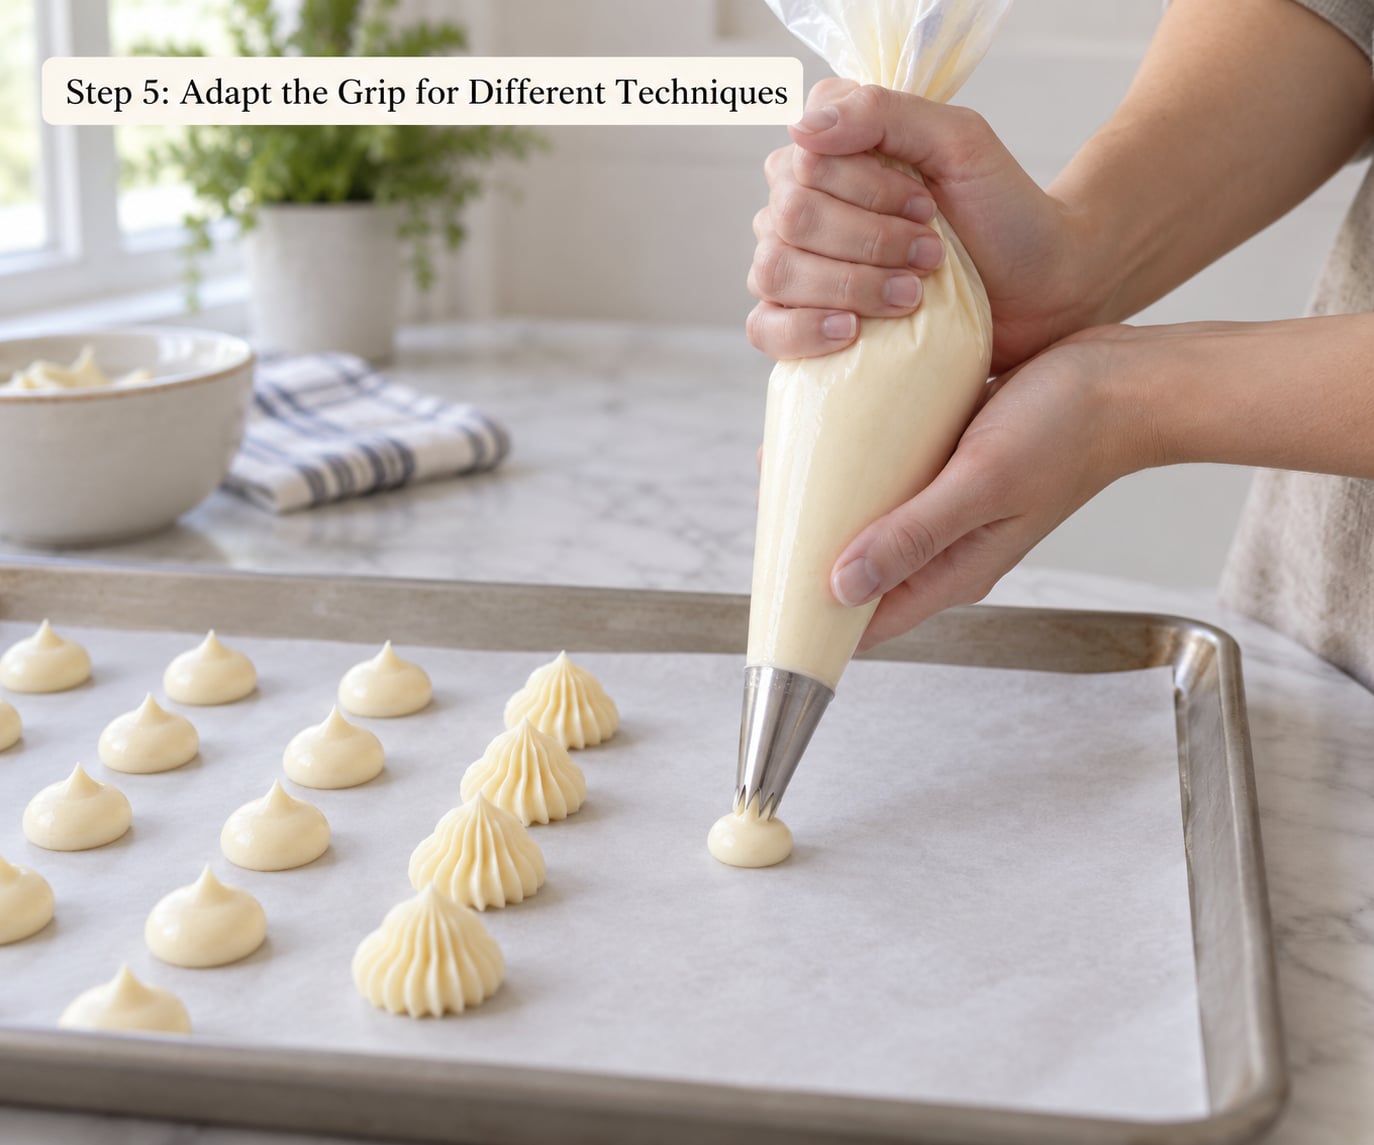
Keep the hand position the same and change two things: how much pressure you apply and where the tip sits relative to the surface.
- Borders and shells: hold the tip about a centimetre above the surface at a steady 45-degree angle, squeeze, and stop with a quick lift for shells or a sideways sweep for a border.
- Dots and stars: hold the bag more upright, closer to 60 to 70 degrees, and squeeze straight down for round dots or straight up for pointed stars.
- Writing: lower the bag close to the surface, almost flat, so the line comes out thin. Move the bag instead of trying to steer it from the wrist.
- Filling cupcakes: hold the tip well inside the bag, past the frosting, and skip the guide hand entirely. Use a steady squeeze-and-stop rhythm rather than a continuous stream.
- Royal icing or thin glazes: lighten up. These run easily, so reduce pressure and keep the bag higher. Buttercream needs more pressure and a closer tip.
Left-handed bakers use exactly the same grip, mirrored. The dominant hand still holds and squeezes, the guide hand still supports the nozzle — just on the other side.
Common Mistakes and How to Fix Them
Frosting leaking out of the top. Almost always overfilling plus squeezing too low. Fill to two-thirds, keep your hand high on the bag, and squeeze the frosting downward rather than pushing it upward. A bag clip at the twist stops the backup entirely.
Your hand cramps after fifteen minutes. You are pinching with your fingertips. Move your grip higher, curl the rest of your fingers under the bag for support, and let the heel of your palm do the work. Take a break every twenty minutes; hands recover faster than people expect.
A bent wrist. Your elbow is tucked into your ribs. Move it out slightly and away from your body until your hand, wrist and forearm form one straight line.
You are holding too low. If your hand is near the tip, you have almost no leverage and you are squeezing the frosting sideways. Slide up to the third closest to the twist.
The line gets thicker and thicker. You are re-twisting the bag while piping, which moves the frosting toward the tip. Stop, set the bag down, tighten the twist, then carry on from where you left off.
The tip touches the frosting. Dragging the nozzle through your own work melts the ridges and pulls up crumbs from a cake. Hover just above the surface and let gravity finish the line.
Border lines that bulge at the corners. You are squeezing while turning. Stop the pressure first, pivot on your guide hand, then resume squeezing as the direction changes.
Frequently Asked Questions
Should I hold a piping bag with my dominant or non-dominant hand?
Your dominant hand holds and squeezes; the other hand guides. Keep the squeezing hand high on the twisted top, about a third down from the twist, and rest two fingers of your non-dominant hand under the nozzle about a centimetre from the tip. The guide hand steers, lifts and stops the flow. Squeezing with both hands gives you the jerky lines most beginners struggle with.
How tightly should I squeeze a piping bag?
Only enough to keep a steady flow coming out. Squeeze from the top of the bag with the whole hand, using palm pressure rather than your fingertips, and release as soon as the frosting stops. If you are straining or your knuckles are white, you are squeezing too hard. Thin royal icing needs very little pressure; stiff buttercream needs more. If the frosting stops moving, push it toward the tip instead of squeezing harder.
Why does my wrist get tired when I use a piping bag?
Usually one of three things: a bent wrist, a grip that is too low on the bag, or squeezing with your fingertips instead of your palm. Slide your hand higher toward the twist, curl your free fingers underneath for support, and let your elbow hang slightly away from your ribs so your hand and forearm form one straight line. Take a short break every twenty minutes during a long decorating session.
How high should I hold the piping bag above the frosting?
About a centimetre for most work, closer to two centimetres when you want a thicker, softer line. Borders and shells work best at that one-centimetre distance with a 45-degree angle. For writing and fine detail, drop the bag lower and closer to flat so the line comes out thin. For filling cupcakes, push the tip well inside the bag past the frosting so nothing spills on the rim.
Does the way I hold the piping bag change with different tips?
The grip stays the same. What changes is the angle and the distance from the surface. Round tips sit at roughly 45 degrees and a centimetre up. Stars and other textured tips are held more upright, around 60 to 70 degrees, so the ridges build up. For writing, lay the bag nearly flat and close to the surface. Practice each new tip briefly on a lined tray before it touches the cake.
How do I keep frosting from leaking while practicing?
Fill the bag only two-thirds of the way, push the frosting down toward the tip so there are no air pockets, then twist and clip the bag just above the frosting line. A second clip at the very top gives you something solid to grip as it empties. Practice on parchment or a silicone mat rather than a cake so any mess costs nothing, and keep a damp towel nearby to wipe the nozzle and your fingers.
Conclusion: Start With a Comfortable Grip
Fill the bag two-thirds full, clip it at the twist, and set your dominant hand high on the bag with your wrist straight. Let the guide hand support the nozzle and squeeze with your palm, not your fingertips.
Then spend five minutes piping lines and dots on a lined tray before you touch a cake. Once the pressure feels boring rather than difficult, you are holding a piping bag correctly, and every technique after that gets easier. Updated for 2026.