The short answer: to dry gum paste flowers you need moving air and low, steady warmth, not heat. Air drying on foam takes 24 to 48 hours, a food dehydrator at 115F (46C) turns thin pieces around in about 30 minutes and thick ones in 4 to 6 hours, and a fan-assisted oven at 40-50C (104-122F) with the door left ajar does the job in an afternoon.
Gum paste itself is confectioners’ sugar worked into a dough with gum tragacanth, or with tylose (CMC) for a smoother version. That gum is what lets you roll it paper-thin without tearing and what makes the finished flower hard, brittle and shelf-stable, which is why flowers have to be bone dry before you dust, colour or attach them.
I have ruined more flowers with impatience than with technique, so this guide walks through the whole sequence: conditioning the paste, shaping petals thin, drying them in conditions that suit the flower you made, and storing them so they stay dry. It takes about 20 minutes of active work per flower and then the waiting does most of the job.
Table of Contents
- What You Need
- Step-by-Step
- 1. Condition and Roll the Gum Paste
- 2. Cut and Shape the Petals
- 3. Add Colour and Form the Flower
- 4. How to Dry Gum Paste Flowers in the Right Conditions
- 5. Check, Handle and Store the Dried Flowers
- Common Mistakes
- Frequently Asked Questions
- How long does it take gum paste flowers to dry?
- Can I dry gum paste flowers in the oven?
- Why are my gum paste flowers cracking as they dry?
- Should gum paste flowers be completely dry before decorating a cake?
- How should I store dried gum paste flowers?
- Can I use food colouring to colour gum paste flowers before drying?
- Conclusion
What You Need
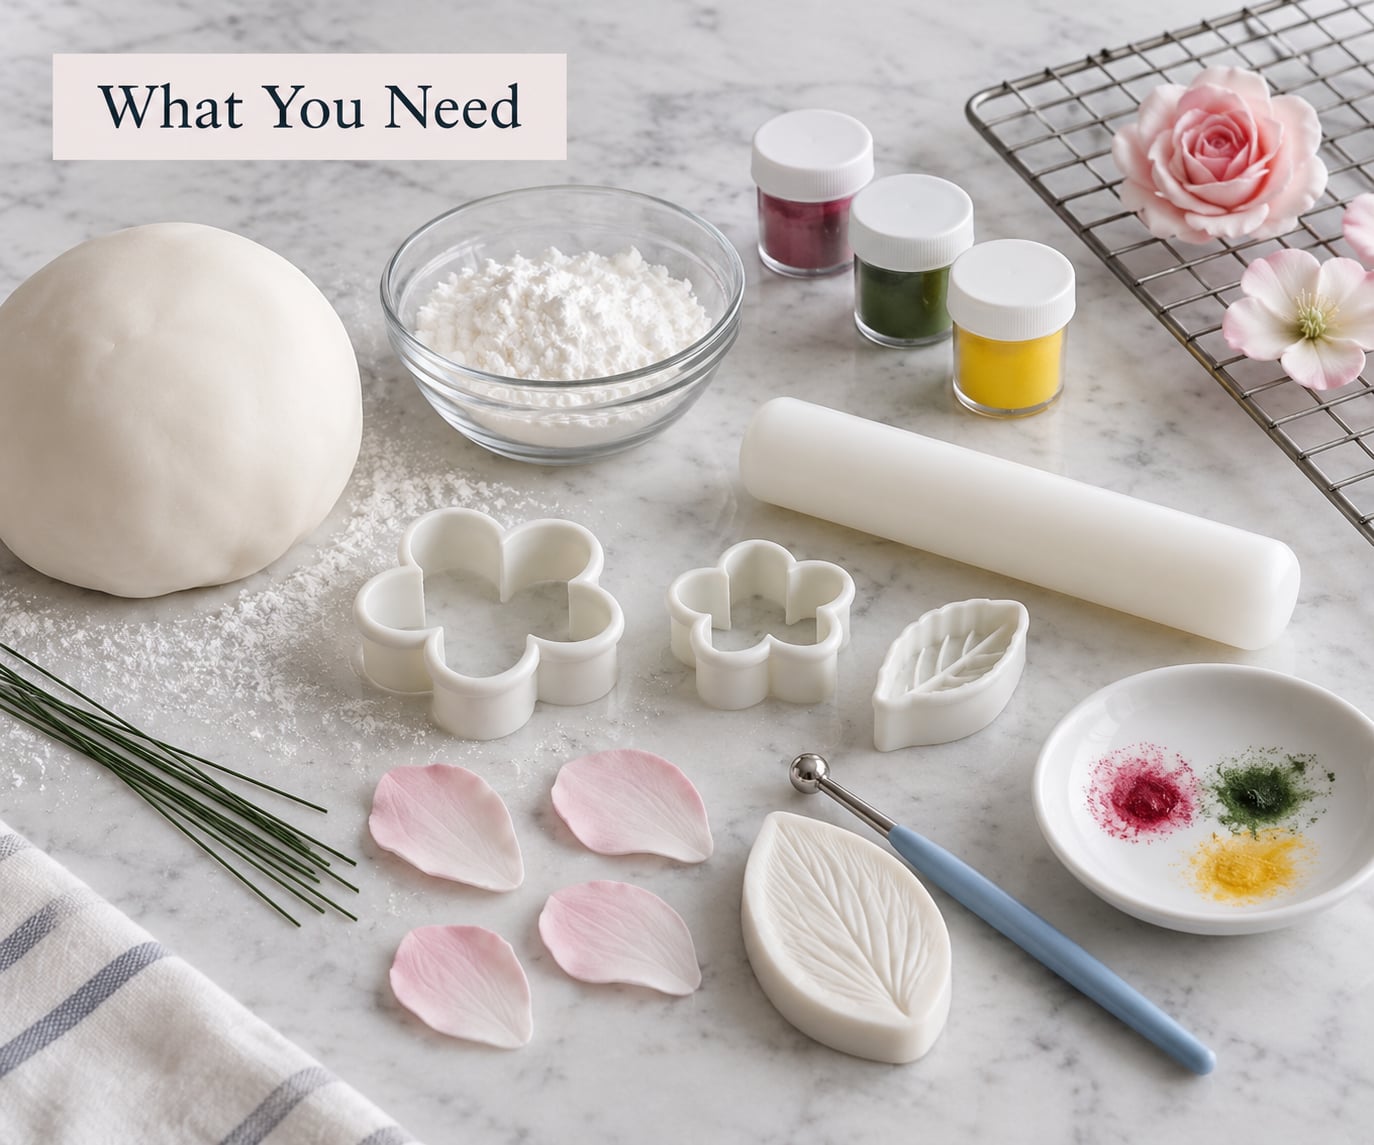
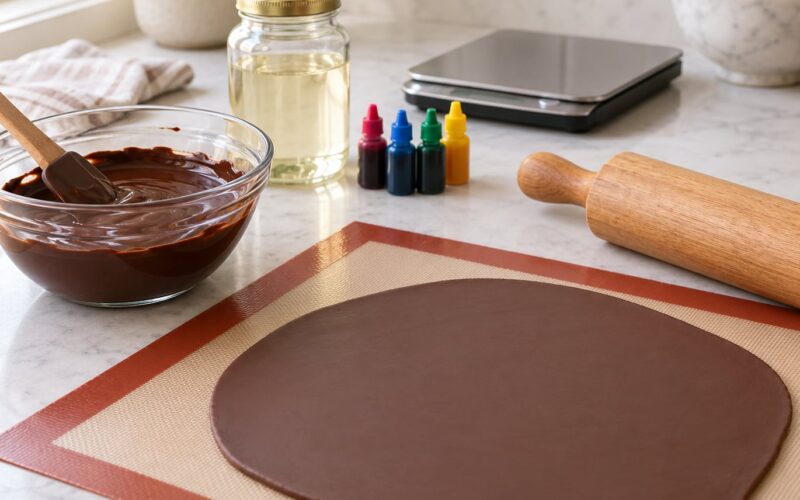
You can start with very little. Gum paste, a rolling pin, a cutter and somewhere to leave the flowers will get you through your first batch, and everything else just makes the drying step easier to control.
- Gum paste with gum tragacanth or tylose. Traditional gum paste is stretchier and thinner; CMC-based paste is smoother and easier for beginners.
- Cornflour or icing sugar for dusting the work surface and for lightly dusted drying pads.
- A small rolling pin so you can control thinness. A long pin makes it too easy to roll one spot paper-thin and leave the rest thick.
- Petal cutters, a ball tool and a veining tool. The veiner is what stops petals looking like flat cutouts, and you can make one at home from a skewer with two bent wires.
- Food-safe gel or powder colouring, plus a fine brush. Liquid colouring goes on after drying; gel and powder can be worked in beforehand.
- Florist wire, florist tape and small foam blocks to support petals and larger flowers while they set.
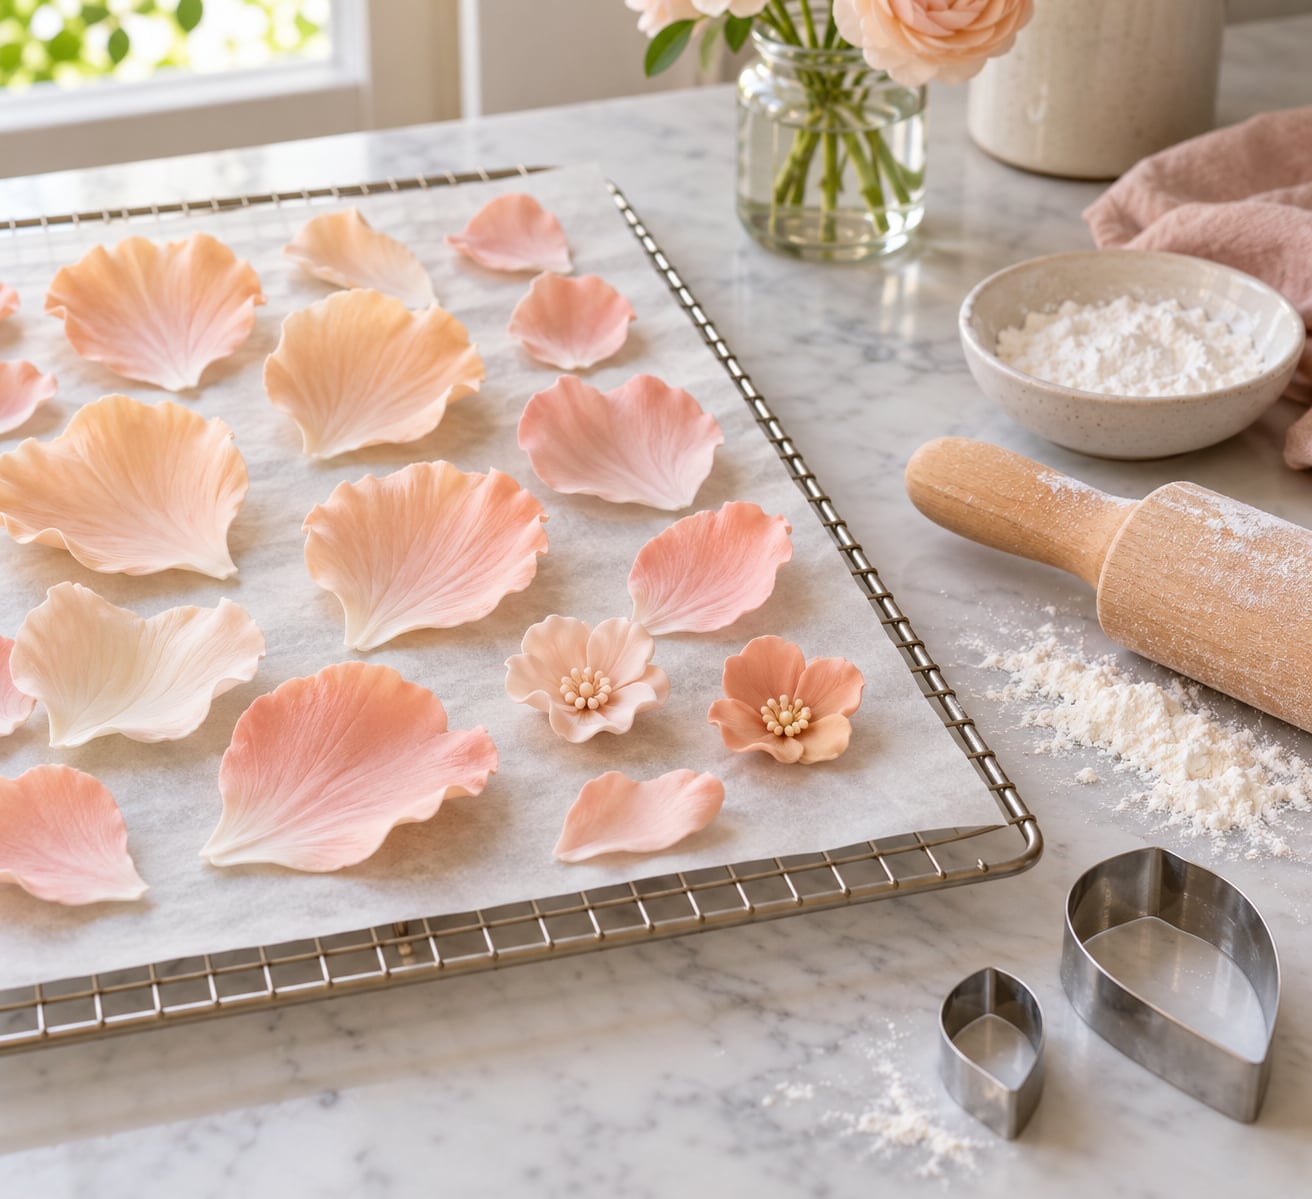
- Parchment or baking paper and a wire rack or cooling rack for air drying.
- An airtight container plus silica beads or silica gel packets for storage.
Optional but genuinely useful: a food dehydrator, a small desk fan, a packet of desiccant, and cake turners or a soft artist’s brush for lifting finished flowers without snapping them.
Step-by-Step
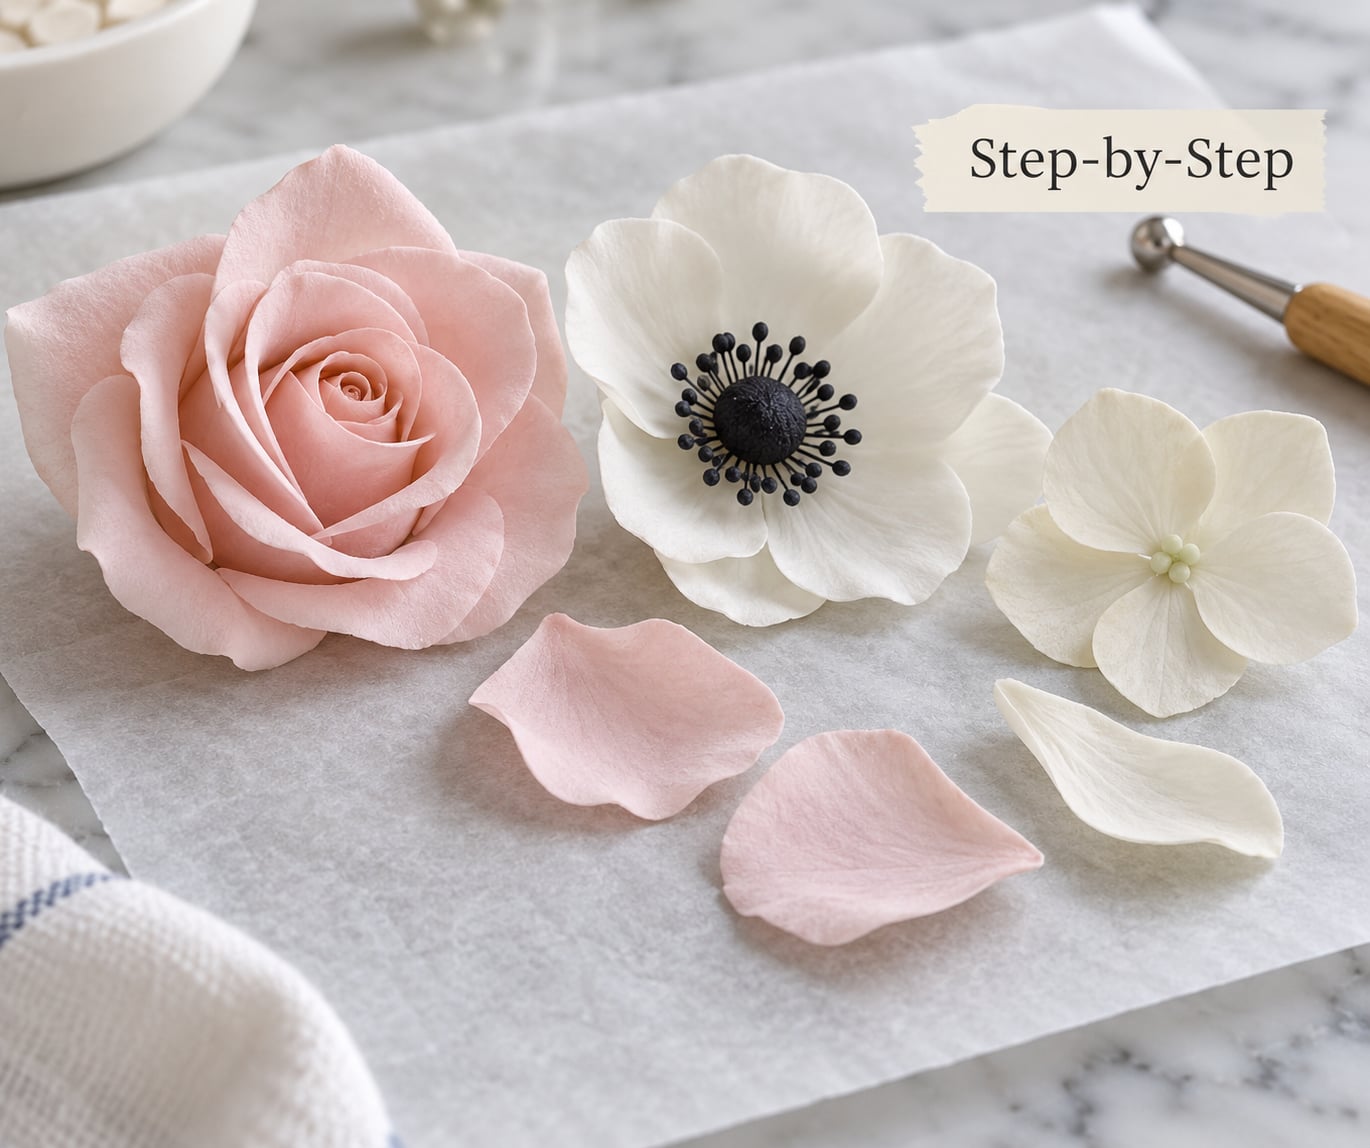
The table below is the whole method at a glance. Pick one row, then follow the numbered steps underneath it.
| Method | Temperature | Time | Best for |
|---|---|---|---|
| Air drying on foam | Room temperature | 24 to 48 hours | First attempts and small batches |
| Food dehydrator | 115F (46C) | 30 minutes to 6 hours | Large wired flowers and tight deadlines |
| Low oven or warming drawer | 40-50C (104-122F), door ajar | 2 to 4 hours | No dehydrator, small and thin pieces |
| Air conditioner or dehumidifier | Cool moving air | 12 to 24 hours | Humid homes, basements and lofts |
1. Condition and Roll the Gum Paste
Knead the paste for a minute or two until it is pliable and no longer cracks at the edges. Traditional gum paste goes from crumbly to stretchy in your hands as you work it, and you cannot rush that.
Dust the surface lightly with cornflour, then roll from the centre outwards. Aim for a consistent thinness, roughly 1 to 1.5 mm for most petals, and lift the sheet a couple of times to stop it sticking. Uneven thickness is the single biggest reason petals crack later, because thin areas dry in minutes while thick areas are still damp the next day.
If the paste sticks to your hands it is too wet; work in a little cornflour. If it cracks as you roll it, it needs more kneading, not more force.
2. Cut and Shape the Petals
Cut the shapes with your cutter and set them on a lightly dusted surface. Every piece should be the same thickness and none should have a heavy edge where the cutter pressed down, because those rims curl and dry with a visible ridge.
Thin the edges with a ball tool or your finger, cup each petal over a foam block or the back of a spoon, and press a vein down the centre with the veining tool. Cupping is what gives a flower its curve, and it needs to happen while the paste is still soft. Dry petals are brittle and will not bend.
You are aiming for a paste that is soft and slightly tacky but not sticky enough to grab your palm. If it clings to everything, dust it lightly and let it rest a few minutes.
3. Add Colour and Form the Flower
For the cleanest colour, dry the flowers first and dust them with petal dust or apply gel colour afterwards, because brushing wet colour onto a petal while it dries leads to bleeding and blotches. If you want to colour before drying, use a small amount of gel colour kneaded into the paste itself, or dust dry powder colour onto the paste after rolling and before cutting.
Layer the petals smallest at the centre and largest at the outside, cupping each one, and wire the base if the flower will travel or be transported. Add a little thread-strengthener or dried gum paste to the base to glue the layers, and wrap with florist tape.
Watch the thickness. Every layer adds bulk to the middle, and a thick centre is the part that stays soft longest, so keep the inner layers smaller and thinner than the outer ones.
4. How to Dry Gum Paste Flowers in the Right Conditions
Air drying: place petals or loose flowers on parchment over foam blocks, or on a wire rack, with space between each one so air can move around them. Turn big flowers after a few hours so both sides dry evenly. Expect 24 to 48 hours, and use a dehumidifier or a fan pointed at the rack if your house is humid. Small pieces such as leaves and lace work dry in about an hour in warm moving air, while large thick pieces can take the full 48 hours or more.
Dehydrator: set it to 115F (46C), place flowers on the trays with tulle netting or an aluminium foil form to hold curved petals in place, and keep small pieces off the vents so they do not fall through. The bottom of the machine is the hottest spot and the top tray is the coolest, so rotate trays partway through. Expect about 30 minutes for thin bows and lace, around 1 hour for wired peony petals, roughly 3 hours for hydrangea leaves or a pinecone, and 4 to 6 hours for large or extra-thick pieces. Check the pieces when you open the door rather than trusting the clock alone.
Low oven or warming drawer: heat to 40-50C (104-122F) or the very lowest setting, prop the door open with a wooden spoon, and use a fan to move the air. Some decorators go as low as 150F with the door ajar for a few hours for thick pieces. Never go higher, because above that the sugar browns, petals slump and colours shift.
One thing that catches everyone out: pieces feel warm and slightly soft when they come out of the dehydrator or oven. That is normal. The gum sets as the piece cools, so let them sit untouched for 15 to 20 minutes before you judge them or try to move them.
5. Check, Handle and Store the Dried Flowers
Test the surface and then the underside and the centre. A dry flower feels hard and room temperature all the way through, with no give when you press the back of a petal. Slightly cool to the touch or a hint of softness in the cup means there is still moisture inside, and putting it on a cake at that point lets the flower go limp and stain the frosting.
Handle dry flowers with dry hands. They snap rather than bend, so lift them with a cake turner or the flat of a palette knife instead of pinching an edge.
Store them in an airtight container at room temperature with silica beads or gel packets, away from the fridge and away from direct sun. Gum paste is hygroscopic, so it pulls moisture out of the air, and condensation from a fridge is what turns hard flowers soft again. Properly dried flowers stored this way keep for months, which is what makes them safe to make weeks ahead of a wedding or event.
Common Mistakes
Cracking as they dry. The petals were too thick, or they dried too fast on the surface. Roll thinner, thin the edges more, and slow the drying down with better ventilation rather than more heat.
Wrinkles and puckering. Usually uneven thickness, or petals dried while still sitting in a cupped shape with no support. Roll to an even sheet and prop the curves with foam or foil forms.
Sticking to the surface or to each other. Lightly dust the drying paper with cornflour or icing sugar and leave a finger’s width between pieces. Pieces touching each other leave flat spots and merge.
Uneven drying. Turn large flowers partway through, space trays properly, and rotate dehydrator trays since the bottom runs hotter than the top.
Bleeding colour. You applied wet colour to a damp petal. Colour after drying with petal dust or a thin gel colour, and keep each petal separate while painting.
A soft or squishy centre. The thickest part of the flower has not finished. Put it back in the dehydrator or low oven for another hour, supported so it does not flatten, and re-test when cool.
Flowers hardening, then going soft again. This is humidity, and it is the most common complaint in the decorating forums. Run the air conditioner, aim a fan at the flowers, and store them airtight with desiccant. Rescue softened flowers by reshaping them gently first, then drying them again; trying to bend a bone-dry petal will snap it.
Browned edges or a collapsed shape. Too much heat. Use the lowest oven setting with the door ajar, or move to air drying next time.
Frequently Asked Questions
How long does it take gum paste flowers to dry?
Air drying takes 24 to 48 hours for most flowers, longer in humid weather. In a dehydrator at 115F (46C), thin pieces such as leaves and lace work take about 30 minutes, wired petals roughly 1 hour, and thick or large flowers 4 to 6 hours. Judge by touch rather than the clock, and remember pieces feel soft when hot and only harden as they cool.
Can I dry gum paste flowers in the oven?
Yes, but only on the lowest setting you have, ideally 40-50C (104-122F), with the door propped open and a fan moving the air across the tray. Expect two to four hours for small pieces and longer for thick flowers. Anything hotter browns the sugar, collapses the petal curve and shifts the colour, so the oven is a slower backup to a dehydrator rather than a shortcut.
Why are my gum paste flowers cracking as they dry?
Cracking almost always comes down to thickness and drying speed. Petals rolled too thick shrink unevenly as the water leaves, and a fast dry hardens the outside while the inside is still moving. Roll thinner, thin the edges more with a ball tool, and dry with better airflow at a gentler temperature. Cracked petals can sometimes be repaired with a little glue mixed with CMC while they are still slightly damp.
Should gum paste flowers be completely dry before decorating a cake?
Yes, bone dry, all the way through the centre, not just on the surface. Press the back of a petal and the base of the flower. If there is any give, or if the piece feels cool against your fingers, moisture is still inside. Attaching a damp flower lets it absorb moisture from the frosting and go limp, and it can stain or bleed colour onto the cake.
How should I store dried gum paste flowers?
Keep them in an airtight container at cool room temperature with silica beads or gel packets, out of sunlight and away from the fridge. Gum paste is hygroscopic, so it draws moisture from the air, and fridge storage creates condensation that softens hard flowers again. Stored this way, dried flowers keep for months, so making a large batch weeks before an event works well.
Can I use food colouring to colour gum paste flowers before drying?
You can, but wet liquid colouring bleeds and blotches. Colour the paste itself by kneading in a small amount of gel colour, or dust the rolled sheet with powder colour before you cut it. The cleanest result is to let the flowers dry first and then apply petal dust or a thin gel colour with a soft brush, giving you sharper edges and more control over the shade.
Conclusion
Start by rolling your petals thin and even, because nothing you do later will fix uneven thickness. Then dry them in moving air at 115F (46C) in a dehydrator, or at 40-50C (104-122F) in the oven with the door ajar, and fall back on a fan and a dry room if you have neither.
Give a piece the full time it needs, let it cool before you touch it, and press the centre before you call it done. Once it is hard and room temperature all the way through, dust, colour and store it airtight with silica beads, and it will be ready on the cake whenever you need it.