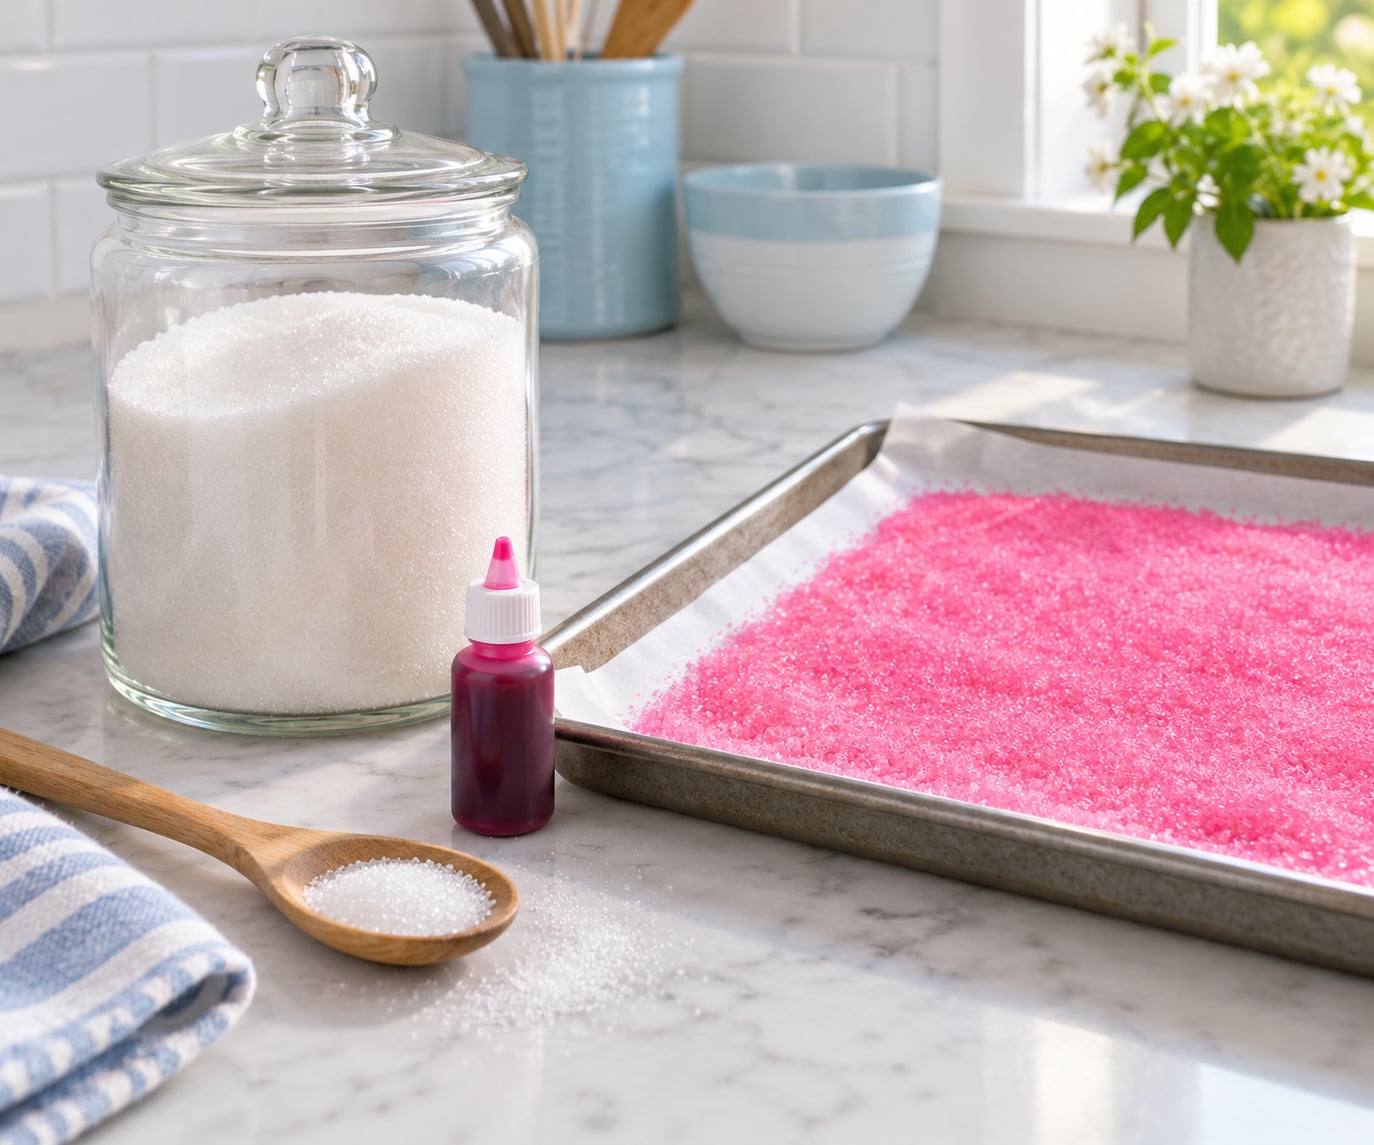
Colored sugar for cookies is just granulated sugar tinted with a few drops of food coloring, then dried so the crystals separate again and go crunchy. To make it, add 1/4 cup sugar to a bag or jar, add 1 to 3 drops of coloring, shake or massage until the color is even, spread it on a parchment-lined sheet, and let it dry for about 20 minutes. Active time is under five minutes, and the hardest part is judging how much color to add.
That last part trips up a lot of people. Too little and the cookies look flat, too much and the sugar turns into a sticky dye blob that never loosens up. Once you know the drop counts by color depth and how long each one needs to dry, the rest is just repetition.
Table of Contents
- What You Need
- How to Make Colored Sugar for Cookies: Step-by-Step
- Step 1: Choose the Right Coloring Method
- Step 2: Mix the Sugar and Coloring
- Step 3: Spread and Dry the Colored Sugar
- Step 4: Break Up and Store the Sugar
- Step 5: Use Colored Sugar on Cookies So It Sticks
- Choosing Your Sugar and Coloring
- Common Mistakes and How to Fix Them
- Frequently Asked Questions
- Can I use food coloring to make colored sugar for cookies?
- How much food coloring should I add to sugar?
- How long does colored sugar need to dry before using it?
- Can I bake colored sugar on cookies, or should I add it after baking?
- How should I store homemade colored sugar?
- Why is my colored sugar sticky or clumpy?
- Conclusion
What You Need
The whole supply list is short, and every item is either already in a pantry or cheap to pick up.
- Granulated sugar, 1/4 cup per color. White sugar takes dye more evenly than brown or raw. Superfine works too, and coarse sanding sugar gives a chunkier crunch.
- Liquid food coloring or gel coloring. Gel gives you the saturation with a fraction of the volume, which means less moisture in the sugar.
- A resealable plastic bag or a glass jar with a lid. Either one works. The bag is better for larger batches, the jar is easier for a single small batch.
- A baking sheet and parchment paper. Parchment matters for pink and purple, because those shades can bleed onto foil.
- A toothpick or a small spoon. For scraping a pinhead-sized amount of gel out of the bottle.
- Optional: a food dehydrator or a low oven. Useful in winter or in a humid kitchen, where air drying alone takes too long.
Scale the recipe for bigger jobs without changing the method: 1 cup of sugar takes roughly 4 to 12 drops depending on the color, and dries faster when spread thinner, so two sheets beat one crowded one.
How to Make Colored Sugar for Cookies: Step-by-Step
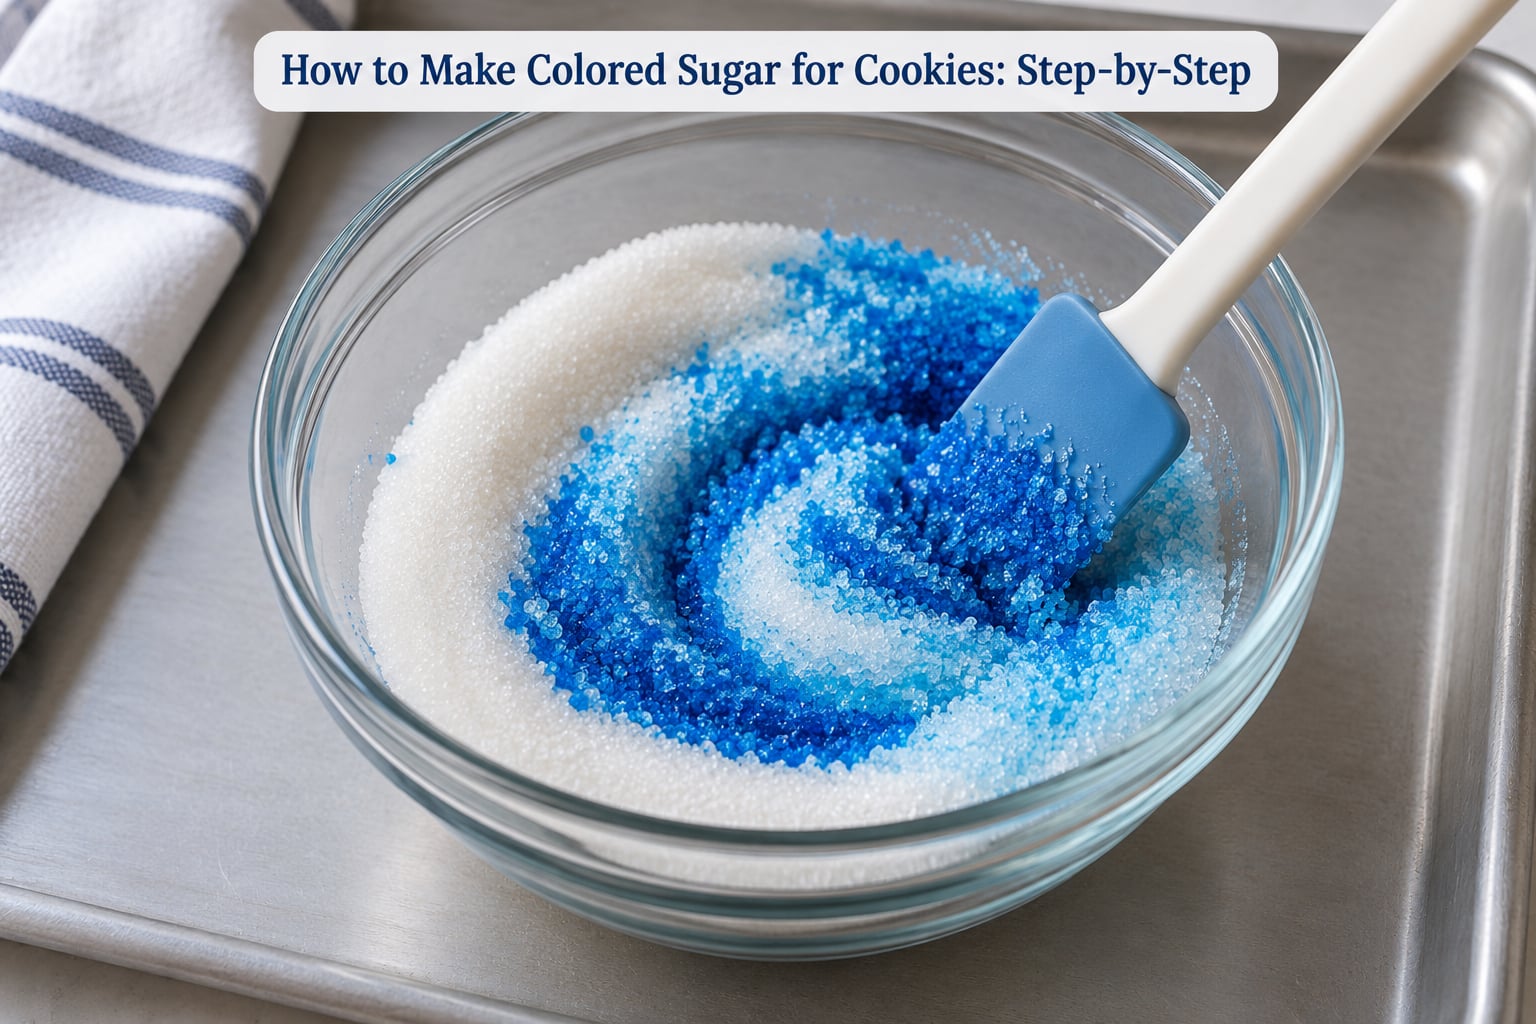
Read all five steps before you start. The drying and de-clumping stage is the part that decides whether the sugar ends up sparkling or sticky.
Step 1: Choose the Right Coloring Method
Gel coloring is the better choice for sugar, and the reason is volume, not quality. A single drop of liquid coloring carries a lot of water, and that water has to evaporate out of the crystals before you sprinkle them. Gel is roughly ten times more concentrated, so a pinhead-sized smear does the work of several drops of thin liquid dye.
Liquid coloring still works fine for light colors. Start low, because you can always add more, and once sugar is wet it cannot be dried back to a clean crystal without going through the recovery step below.
Black is the outlier and it catches everyone. A cup of black sugar takes roughly 8 to 10 drops of liquid coloring or a full toothpick scrape of gel, and it needs about 30 minutes of drying. Anyone who tries to rush black usually ends up with grey sugar.
Step 2: Mix the Sugar and Coloring
Put the sugar in the bag or jar first, then add the coloring. This order matters. Coloring into an empty container lets you use less dye, and adding sugar on top of a puddle of gel means you are mixing against a sticky patch instead of loose crystals.
Seal the bag and massage it with your fingers, working the sugar around the corners until every crystal looks tinted. A jar takes a hard shake: hold it with both hands, shake for a full 30 seconds, then roll it a few times to redistribute. Open, check, and repeat if you still see white patches.
Some people prefer a wet-mix instead: dissolve the coloring in a teaspoon of water or a splash of clear alcohol, stir that into the sugar, then spread it thin. It tints faster but it takes longer to dry, and it is the route that most often ends clumpy.
Step 3: Spread and Dry the Colored Sugar
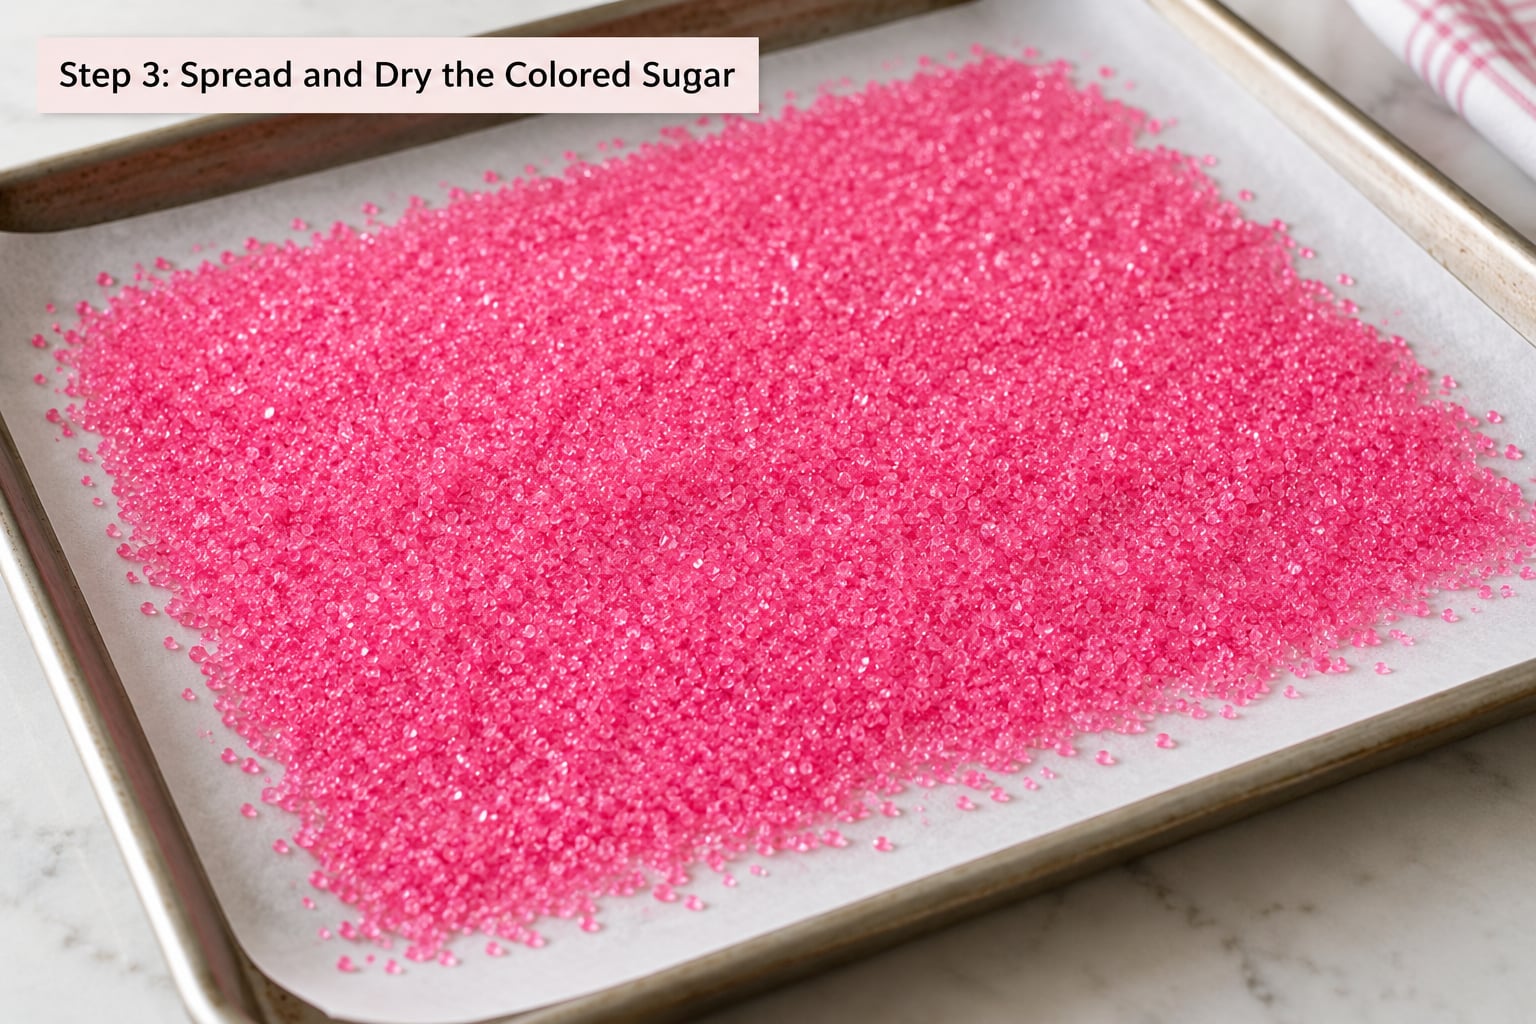
Tip the sugar onto the lined sheet and push it into a thin, even layer with the back of a spoon. Piles dry from the outside in, so the middle of a mound stays damp long after the edges look done. One loose layer dries in about 20 minutes; a thick pile can take half a day.
Turn the oven to its lowest setting and dry the sugar there if you need it in a hurry. Around 120°F for 5 to 8 minutes is enough for granulated sugar, and closer to 15 minutes for a thicker spread. Let it cool fully before you touch it, because warm crystals clump together when you move them.
Air drying works, and it leaves the color a touch brighter, but only if your kitchen is dry. In a humid room or during monsoon season, a dehydrator set low is the more reliable option.
Step 4: Break Up and Store the Sugar
This is the step people skip, and it is the difference between sanding sugar and lumpy sugar. Scrape the dried layer off the parchment with the back of a spoon and put it back in the jar or bag. Shake hard, then run a fork or your fingers through it to break up any dye blobs.
Store it airtight. A mason jar or a sealed bag keeps the crystals free-flowing for months, and the color does not fade as long as it stays dry and out of direct sunlight.
If the sugar still feels tacky after a full drying cycle, spread it out again and give it another 10 to 15 minutes. A few extra minutes of patience beats trying to fix it later with a brush.
Step 5: Use Colored Sugar on Cookies So It Sticks
Colored sugar falls off a cookie the moment you lift it unless something gives it a grip. There are four approaches and they are not equally good.
- Press it on before baking. Roll the dough balls in colored sugar, or press the sugar onto the tops with a sugar-dipped flat cup. It bakes into the surface and never moves. This is the most reliable option and the standard choice for cut-out sugar cookies.
- Brush with a thin layer of corn syrup or light icing, then sprinkle. The frosting layer gives full coverage and gives you a place to work with a pattern. This is the approach most decorators use when they want heavy, even color.
- Use a very light brush of water. Water works, and it will not over-brown the cookie the way a full egg wash does, which is the warning bakers hear most often. Keep it thin and press the sugar on gently.
- A thin layer of egg white. Egg white gives the strongest bond. Use it sparingly on light-colored cookies because it darkens anything it touches during a long bake.
Sand sugar goes on before baking, and the earlier the better if you want it fused on. For a softer, shimmery finish, add it after the cookies come out of the oven and the icing is still wet.
One more trick worth knowing: layer colors only after each one is completely dry. You can absolutely build up multiple colors, but applying the second color while the first is still damp smears them together.
Choosing Your Sugar and Coloring
Sanding sugar is not a specialty product. It is granulated sugar with a coarser crystal, and any of these will take color.
| Sugar type | Crystal | Takes color well? | Best for |
|---|---|---|---|
| Granulated sugar | Medium | Yes | Everyday decorating, cookie edges, filling jars |
| Superfine sugar | Fine | Yes, fastest | Macarons, royal icing, dusting |
| Coarse or sanding sugar | Large | Yes, with more dye | Raised crunch on the cookie edge |
| Raw or turbinado sugar | Medium, sticky | Poorly | Not worth coloring |
Shimmer sugar is a related term you will see in stores. It is sugar with edible luster dust mixed in, used to get a metallic or pearl finish on royal icing and on polished fondant work.
Here is the drop-count calibration that saves guessing, based on 1/4 cup of sugar:
| Color depth | Liquid drops | Gel | Air dry time |
|---|---|---|---|
| Pastel or light | 1 | Small smear | 20 minutes |
| Bright or medium | 3 | Toothpick scrape | 20 to 25 minutes |
| Dark, red, brown | 5 to 6 | Two scrapes | 30 minutes |
| Black | 8 to 10 | Full scrape | 30 minutes or more |
Different methods, same sugar, different tradeoffs:
| Method | Equipment | Active time | Best for |
|---|---|---|---|
| Bag massage | Resealable bag | 3 minutes | Large batches, minimal cleanup |
| Jar shake | Glass jar with lid | 1 minute | Single small batch |
| Wet mix | Bowl and spoon | 4 minutes | Even tinting without a jar |
| Oven dry | Baking sheet, low oven | 8 minutes | Wet or humid kitchens |
Common Mistakes and How to Fix Them
Nearly every problem with homemade colored sugar traces back to too much liquid or too little drying time.
| Problem | Why it happens | Fix |
|---|---|---|
| Sugar is sticky or clumpy | Too much liquid coloring, or not dry enough | Spread it thinner and dry it again at 120°F for 10 to 15 minutes, then shake hard to break up the clumps |
| Hard dye blobs | Gel sat in one spot and dried into a crust | Scrape the color off with a toothpick before sealing the bag, and massage from the start |
| Uneven or patchy color | Not enough shaking, or the sugar was damp when you started | Shake for 30 seconds at a time, checking between rounds |
| Color bleeds onto the baking sheet | Parchment was missing, or the sugar was still wet when you moved it | Always line the sheet, and wait until the sugar is fully dry and cool |
| Dull or grey-looking color | Too little dye for a dark shade, usually black | Add dye in increments and let the sugar re-dry between additions |
| Sugar falls off the cookie | It was sprinkled on a dry, unbaked cookie | Press it on before baking, or add syrup, icing or a light water brush as a base |
| Finished sugar looks grainy or gritty | Coarse crystals will not dissolve | Use superfine sugar if you want the color to disappear into icing; keep coarse for crunch |
| Color fades over time | Sunlight or a damp container | Store airtight in a cupboard away from windows |
If you want color inside the cookie rather than on it, tint the dough instead. Dyed sugar folded into a dough behaves differently in the mix and can leave a gritty cookie, so coloring the dough directly gives a cleaner result and a more saturated shade.
Bake for color, not for browning. Sugar cookies with colored sugar on top should come out of the oven before the edges take on much color, or the dye will darken and the crisp sugar will turn bitter.
Frequently Asked Questions
Can I use food coloring to make colored sugar for cookies?
Yes, and it is the normal way to do it. Add 1 to 3 drops of liquid food coloring per quarter cup of sugar, or a pinhead-sized smear of gel coloring, then shake until the color is even. Gel is better because it carries far less water, which means the sugar dries faster and the crystals stay separate. Food coloring is fully edible, so it is safe on cookies meant for children.
How much food coloring should I add to sugar?
For a quarter cup of sugar, use 1 drop for a pastel, 3 drops for a bright medium tone, and 5 to 6 drops for a dark color. Black is the exception and needs 8 to 10 drops of liquid coloring or a full toothpick scrape of gel. Always start at the low end, because you can add more and re-dry, but you cannot take dye back out once the sugar is wet.
How long does colored sugar need to dry before using it?
Spread in a thin layer, most colors dry in about 20 minutes at room temperature. Dark shades, especially black, need 30 minutes or more. A low oven at around 120°F speeds it up, taking 5 to 8 minutes for granulated sugar. Let it cool completely before shaking it, since warm crystals clump together the moment you move them.
Can I bake colored sugar on cookies, or should I add it after baking?
Both work, and the timing changes the result. Add it before baking if you want the sugar fused to the surface and crunchy all the way through. Roll the dough in the sugar, or press it on with a sugar-dipped cup. Add it after baking for a softer, brighter finish, pressed onto icing that is still wet.
How should I store homemade colored sugar?
Store it in an airtight jar or sealed bag, somewhere dry and out of direct sunlight. Properly dried colored sugar keeps for months and the color stays even. If it starts to clump or feel heavy in the jar, spread it on a lined sheet, let it dry again, and shake it back to loose crystals before putting it away.
Why is my colored sugar sticky or clumpy?
Almost always too much liquid. Water from food coloring has to evaporate fully, and when it does not, the crystals glue together and dry as a solid mass. Spread the sugar thinner next time, use gel coloring instead of liquid, and let it dry longer. To rescue a batch, spread it out again, dry it at 120°F for 10 to 15 minutes, then shake hard to break up the clumps.
Conclusion
Making colored sugar for cookies comes down to three things: start with a small amount of gel coloring, spread the sugar thin enough to dry all the way through, and shake it hard once it is cool. Test a single quarter cup first, get the shade right, and only then mix a full batch for the cookies. Once you have the color you like, the same method works for macarons, royal icing, cupcakes, and cocktail rims.