To make Halloween cupcakes for a party, you bake a simple vanilla or chocolate base, let every cupcake cool completely, frost with a stable buttercream, then decorate while the icing is still soft. The whole batch takes about 90 minutes of active work, and most of it can be done the night before.
The trick to a party batch is not fancy technique. It is planning quantities, chilling the frosting so it holds a shape, and picking one decoration idea per dozen so you are not switching designs 30 times. Here is the method, step by step.
Updated for 2026, and tested on a 12-cup tin, a 24-cup tin and a very warm October kitchen.
Table of Contents
- What You Need
- The easy Halloween cupcake base
- Your frosting options
- Decorating supplies
- How many cupcakes to plan per guest
- Step-by-Step: How to Make Halloween Cupcakes for a Party
- 1. Prepare the Cupcake Liners and Baking Area
- 2. Mix the Batter Until Smooth
- 3. Fill the Liners and Bake the Cupcakes
- 4. Cool the Cupcakes Completely
- 5. Frost a Smooth Halloween Finish
- 6. Add Simple Halloween Decorations
- 7. Store, Transport, and Serve
- Common Mistakes
- Make-ahead plan: night before vs day of
- Frequently Asked Questions
- Can I make Halloween cupcakes the day before the party?
- What is the easiest Halloween cupcake decoration for beginners?
- Can I use boxed cupcake mix for Halloween cupcakes?
- How do I keep frosting from melting on warm cupcakes?
- Are there allergy-friendly substitutions for Halloween cupcakes?
- How long can decorated Halloween cupcakes stay at room temperature?
- Conclusion
What You Need
The equipment list is short, and most of it already lives in your kitchen. A 12-cup muffin tin, a mixing bowl, an electric or handheld mixer, a piping bag with a star tip, a wire cooling rack and a spatula cover the whole job. Paper cupcake liners mean no greasing and no baking cups to wash afterwards.
The easy Halloween cupcake base
This is a plain vanilla cupcake meant to hold weight on top, so it stays deliberately simple. It makes 12 cupcakes.
- 175g plain flour
- 2 teaspoons baking powder
- 150g caster sugar
- 115g unsalted butter, softened
- 2 large eggs
- 1 teaspoon vanilla extract
- 4 tablespoons whole milk
For a chocolate version, swap 40g of the flour for cocoa powder and add 30g of dark chocolate melted into the batter. For orange, add a quarter teaspoon of orange zest along with a drop of orange gel colouring.
Your frosting options
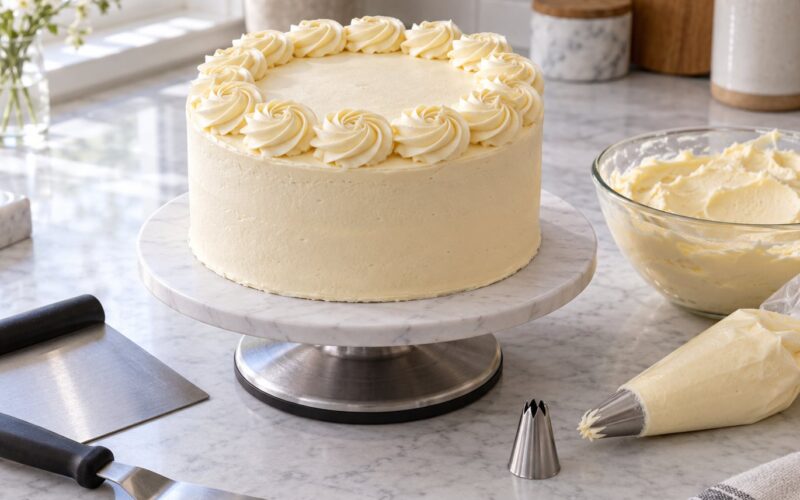
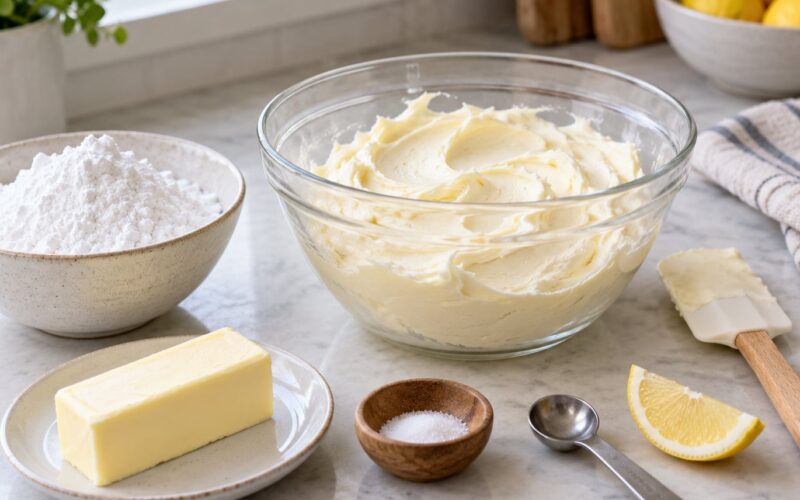
- American buttercream: 170g butter, 400g icing sugar, 2 tablespoons milk, food colouring. Holds a piped swirl for hours and travels well. Best all-round choice for a party.
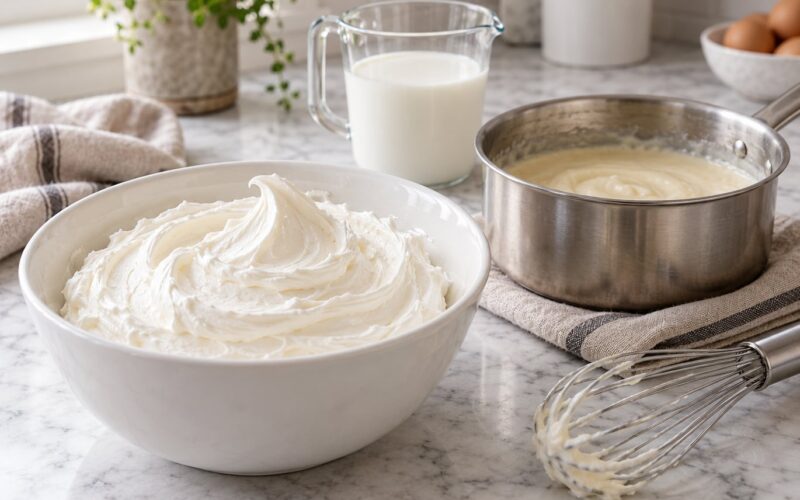
- Cream cheese frosting: 225g cream cheese, 180g butter, 350g icing sugar. Tangier and softer, so keep it chilled until serving.
- Whipped cream frosting: 250ml double cream, 100g icing sugar, one teaspoon of gelatine. Light and sweet, but it needs the gelatine and a fridge.
- Store-bought icing: two tubs plus a teaspoon of gel food colouring makes a fast coloured frosting for last-minute parties.
Decorating supplies
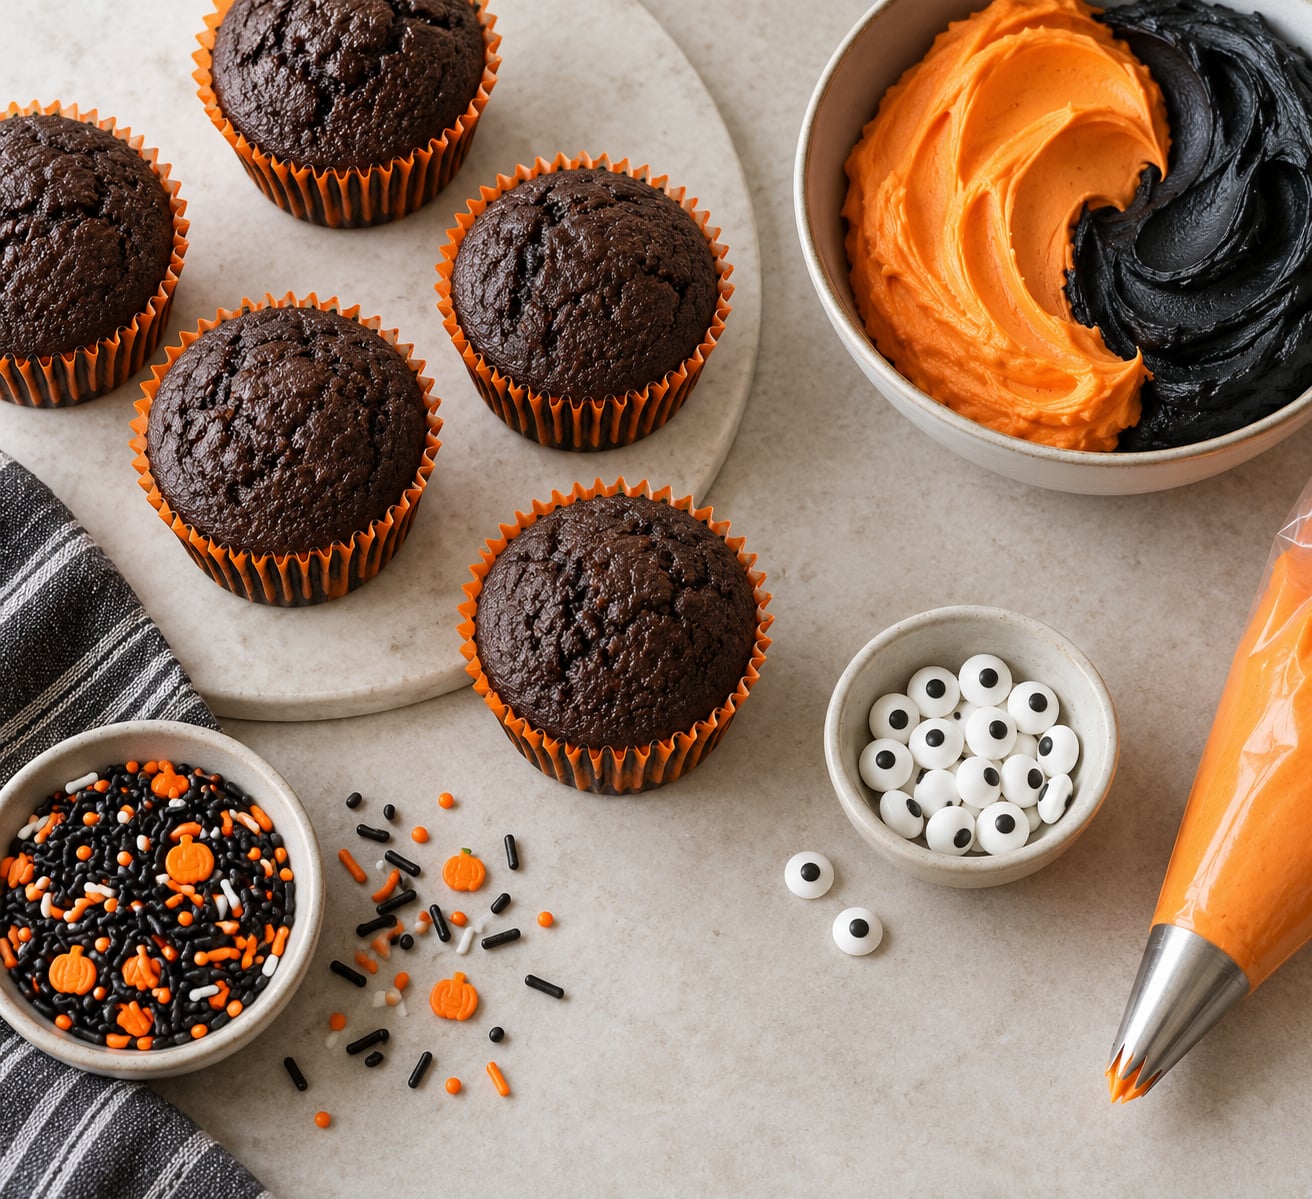
Orange and black sprinkles, white chocolate or candy melts, candy eyes, a black gel colour pen, sanding sugar, cookie cutters for toppers and a box of toothpicks or cake pop sticks. Add a piping bag and one large star tip for swirls, mummy bandages and spider webs.
How many cupcakes to plan per guest
One per adult guest is the minimum. Most hosts land on 1.5 for mixed parties and 2 for anything with children.
| Party type | Cupcakes per guest | Worked example |
|---|---|---|
| Adult party, cupcakes are one of several desserts | 1 to 1.5 | 20 guests, 24 cupcakes |
| Kids party or classroom treat | 2 | 15 children, 30 cupcakes |
| Dessert table or mixed guest list | 1.5 | 50 guests, 75 cupcakes |
| Adult Halloween party, cupcakes are the main treat | 2 | 50 guests, 100 cupcakes |
For 50 guests, plan on 75 to 100 cupcakes. That is seven 12-cup tins of batter for 75, or nine for 100. Bake the batches 15 minutes apart so every cupcake is fresh, and line the tins while the oven is running.
Step-by-Step: How to Make Halloween Cupcakes for a Party
1. Prepare the Cupcake Liners and Baking Area
Heat the oven to 180C (160C fan, 350F). Put a case in every well of the tin so you are not hunting for liners with wet batter on your hands. Set out the flour, sugar, butter, eggs and milk in the order the recipe lists them.
Everything except the eggs and milk should be at room temperature. Cold butter will not cream properly and you end up with a dense, heavy cupcake.
2. Mix the Batter Until Smooth
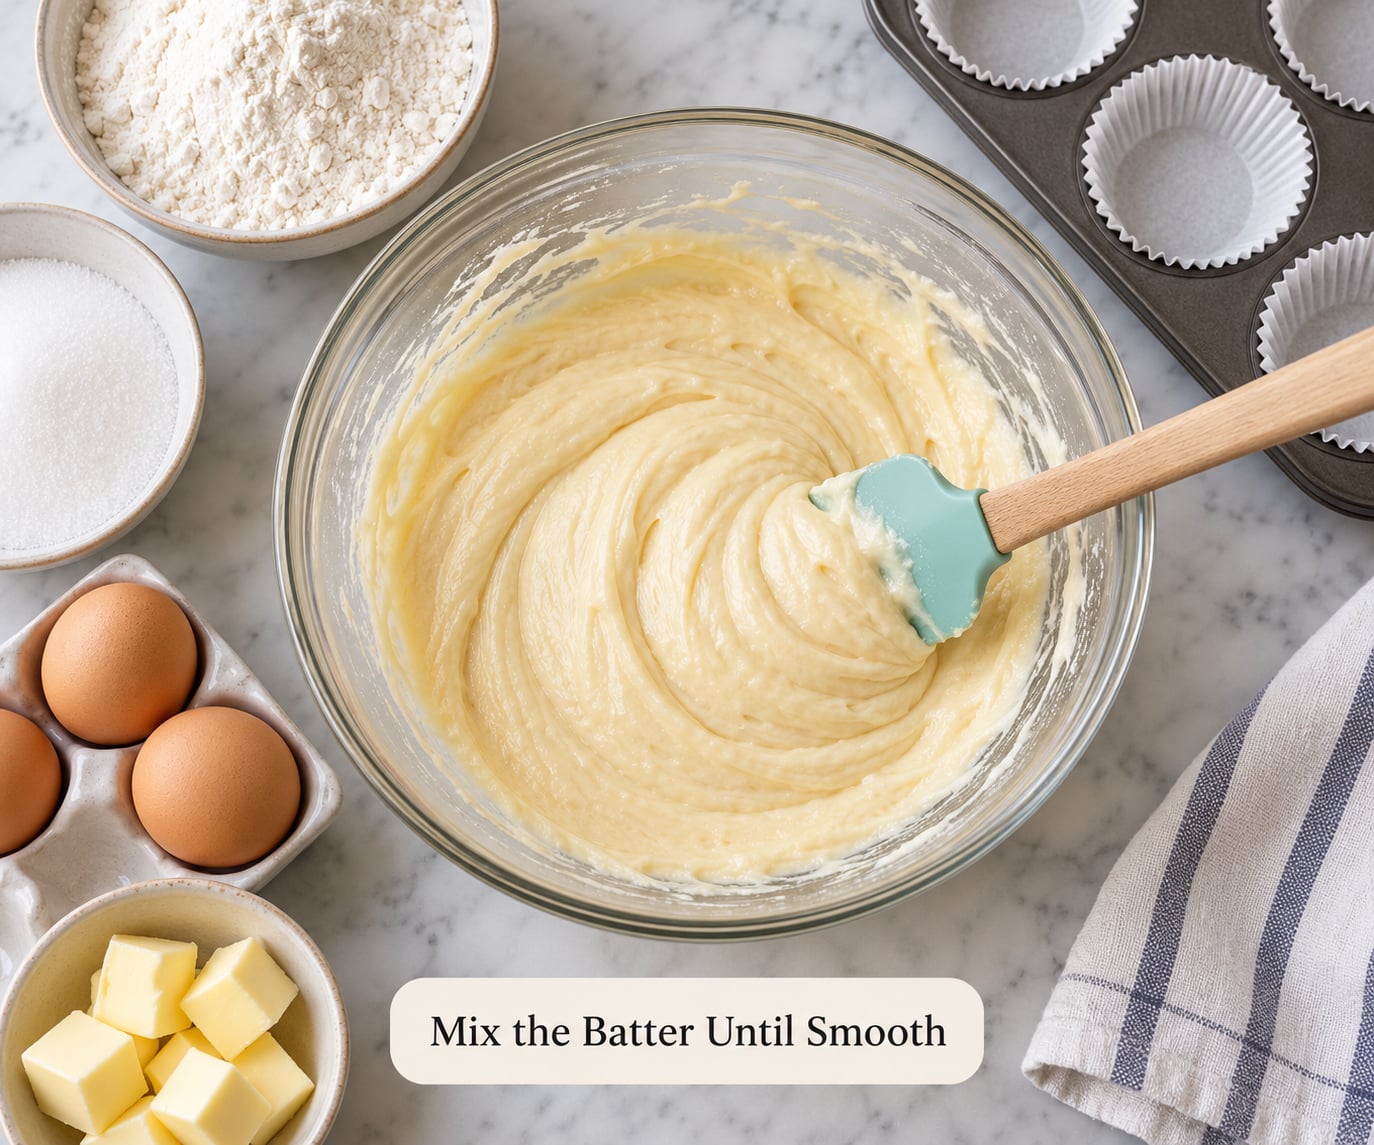
Beat the butter and sugar for 2 minutes until pale, then add the eggs one at a time. Sift in the flour and baking powder and fold with a spatula until you can just see a streak of flour. Add the vanilla and milk and fold again.
Stop mixing the moment the batter comes together. Overworked batter develops gluten, and that is what gives you tough, dense cupcakes with domed tops that crack.
3. Fill the Liners and Bake the Cupcakes
Fill each liner two-thirds full. Two-thirds is the fill line for a cupcake; any higher and the cakes rise over the rim and split down the sides.
Bake for 16 to 19 minutes at 180C. A skewer or toothpick pushed into the centre should come out clean or with a couple of moist crumbs. Wet crumbs mean another 2 minutes; a clean skewer going straight through means you went too far and the cupcake is dry.
One 12-cup tin takes about 20 minutes including handling. A 24-cup tin holds two tins at once, so it drops to roughly 22 minutes for 24 cupcakes.
4. Cool the Cupcakes Completely
Leave them in the tin for 5 minutes, then turn out onto a wire cooling rack. They need 45 to 60 minutes to cool to room temperature.
Test by touching the base of a cupcake with your wrist. If there is any warmth at all, put it back on the rack. Frosting on a warm cake melts, slides down the sides and drags every decoration with it. This is the single most common reason a batch of Halloween cupcakes looks tired.
5. Frost a Smooth Halloween Finish
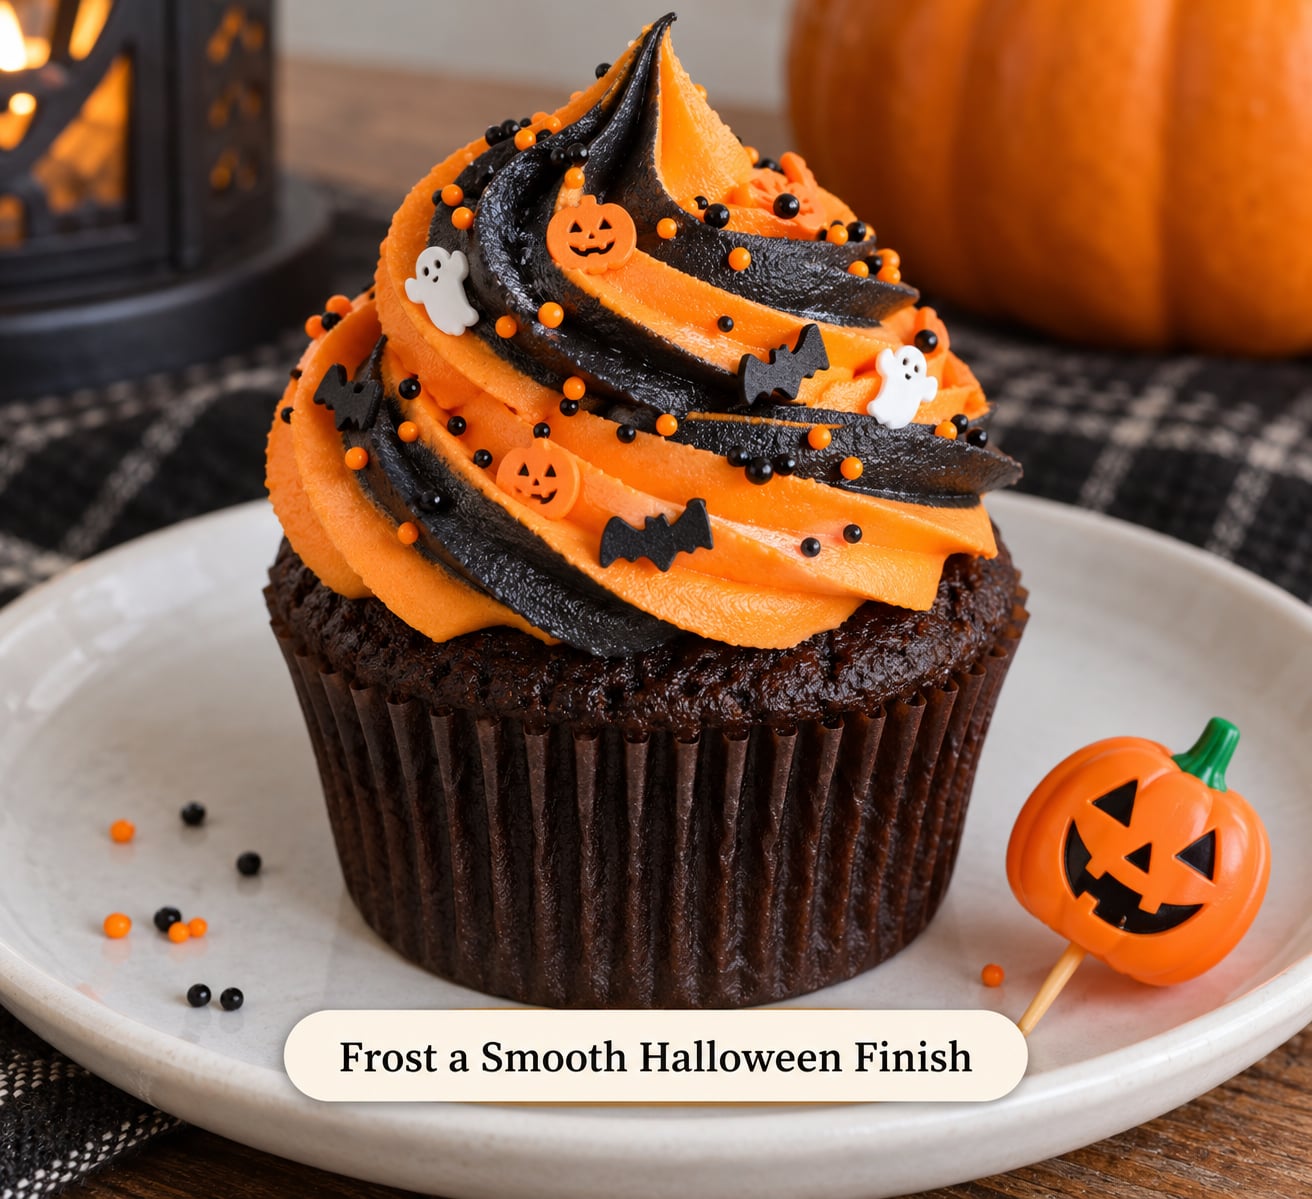
Beat 170g butter until light, then add 400g icing sugar a spoonful at a time. Add two tablespoons of milk and a little gel colouring, and keep beating until the frosting holds a peak that curls at the tip.
There are two ways to apply it. The scrape-and-smooth method uses an offset spatula: spread a generous mound on top, rotate the cupcake in your other hand, and sweep the frosting level with the blade. The result is a flat disc that takes sprinkles cleanly.
The swirl method fills a piping bag with a star tip, starts in the centre and spirals outward to the edge, lifting away as you go. Chilled cupcakes frost more cleanly, since the cold holds the buttercream firm while you work.
6. Add Simple Halloween Decorations
Add decorations while the frosting is still soft, then chill the tray for 10 minutes so everything sets. Pick the design that matches the skill you actually have that afternoon.
| Decoration idea | Skill level | Time per dozen | You need |
|---|---|---|---|
| Orange and black swirls with sprinkles | Beginner | 10 minutes | Star tip, gel colouring, sprinkles |
| Eyeball cupcakes | Beginner | 12 minutes | White frosting, large candy eyes, black gel pen |
| Mummy bandages | Beginner | 15 minutes | White frosting, small tip or piping bag |
| Ghosts | Beginner | 10 minutes | White frosting, black gel pen |
| Graveyard cupcakes | Intermediate | 25 minutes | Chocolate cookies crushed as dirt, biscuit tombstones |
| Fondant toppers | Intermediate | 40 minutes | Fondant, cutters, edible glue or water |
| Spider web piping | Intermediate | 20 minutes | Fine tip, black gel colouring |
| Bats and pumpkins | Advanced | 45 minutes | Fondant or white chocolate, cutters, food colouring |
For mummy cupcakes, pipe irregular white lines across the cupcake with a small tip, spacing them randomly and letting some run down the sides. Two candy eyes near the top finish it. Eyeball cupcakes need only a smooth white dome and two candy eyes of different sizes; a thin red gel line adds bloodshot veins.
Sprinkle the edges of a chocolate or orange swirl with orange and black sprinkles by holding the cupcake tilted and running them around the rim. For a spider web, pipe a small circle in the centre, then add loops in quarter turns, dragging a toothpick through each one.
Skip hard candy shells, small jaw breakers and loose sweets on cupcakes served to under-fives. Candy eyes and sprinkles are the safer decorations for a kids party, and label nut-free toppings clearly for school treats.
7. Store, Transport, and Serve
Undecorated cupcakes keep at room temperature for two days in an airtight container, and three months in the freezer if you wrap each one individually.
Frosted but undecorated cupcakes last about 24 hours at room temperature, or three days in the fridge. Buttercream survives better than cream cheese or whipped frosting, which both need refrigeration and firm up hard in the fridge. Frost and decorate on the day if you are serving the batch later than that.
For transport, put decorated cupcakes in a single layer in a rigid box with cupcake slots and a layer of parchment or non-slip mat under each one. Skip the tall bakery boxes with domed lids unless the decorations are very tall; the lid presses everything flat. A car boot in October gets hot, so keep the box out of direct sun and take it straight in when you arrive.
Set the tray on a cake stand with the tallest decorations facing backwards, away from the edge of the table. Cupcakes with loose toppers on toothpicks go on last, right before guests arrive.
Common Mistakes
Cupcakes are dense and heavy. Usually overmixing, or cold butter that never creamed. Return to room temperature and fold dry into wet only until combined.
The tops cracked or spilled over the liner. You filled past two-thirds. Use an ice cream scoop and stop when the liner is two-thirds full, and check the oven temperature with an oven thermometer if it runs hot.
The frosting slid off. The cupcakes were not fully cool. Do the wrist test, or park the tray in the fridge for 10 minutes to speed things up.
The frosting looks lumpy and uneven. Too little liquid. Add a teaspoon of milk at a time, then beat again for a full minute. Uneven crumb colour usually means the colouring was added before the sugar had fully blended.
Decorations turned soft or sank. Sprinkles and fondant were added hours ahead on a warm day, or the cupcakes were not chilled after decorating. Add sugar decorations within a few hours of serving and chill the finished tray for 10 minutes.
Someone ate a cupcake with an allergen in it. Shared boards and bowls are the usual culprit. Use separate cutters and boards, keep nut-free toppings in separate containers, and tell the host in advance what the cupcakes contain.
Make-ahead plan: night before vs day of
Bake the night before and decorate on the day. That split keeps the cake fresh and gives you a calm decorating job instead of a baking-and-decorating marathon on party morning.
- Two days before: buy liners, sprinkles and candy eyes. Pick your theme. Check your guest numbers so you know whether you are baking 24 cupcakes or 100.
- Day before: bake the cakes, cool them completely, store unfrosted in an airtight container. Make the buttercream, cover it and refrigerate it.
- Party morning: bring the frosting out and beat it for a minute until it is spreadable again. Frost, decorate, chill for 10 minutes, then box and transport.
Short on time? A box cake mix plus two tubs of store-bought icing is a legitimate shortcut for a party. The cakes are slightly sweeter, but the decorating carries the whole result. Add one teaspoon of gel colouring per tub so the colour is strong enough to read as Halloween orange or black.
Frequently Asked Questions
Can I make Halloween cupcakes the day before the party?
Yes, but split the job. Bake the cakes the night before, let them cool completely, and store them unfrosted in an airtight container at room temperature. Keep the buttercream covered in the fridge and beat it again in the morning. Frost and decorate on the day, ideally within a few hours of serving, because sprinkles and fondant soften overnight and toppings can slide.
What is the easiest Halloween cupcake decoration for beginners?
Orange and black swirls with sprinkles take about ten minutes a dozen and need nothing more than a star tip, gel food colouring and a jar of sprinkles. Eyeball cupcakes are almost as easy: a smooth white frosting dome, two candy eyes of different sizes, and a thin red gel line if you want bloodshot veins. Pick one idea for the whole batch.
Can I use boxed cupcake mix for Halloween cupcakes?
Yes, and for a large party it saves real time. Follow the box instructions for the cakes, then tint two tubs of store-bought icing with gel colouring, about one teaspoon per tub. Box cake tends to be sweeter and moister than a from-scratch cupcake, so halve the sugar if you are sweet-toothed. The decorating is what makes them look Halloween.
How do I keep frosting from melting on warm cupcakes?
Cool the cupcakes fully first. Test the base with your wrist and if there is any warmth left, give them another 20 minutes on the wire rack. Ten minutes in the fridge also helps, because cold cupcakes hold buttercream firm while you spread it. If the party room is hot, keep the finished tray in the fridge until ten minutes before guests arrive.
Are there allergy-friendly substitutions for Halloween cupcakes?
For a nut-free bake, replace any nut-containing cake with a plain flour mix and check that your sprinkles, chocolate and icing are labelled nut-free. Dairy-free works with plant-based milk and vegan butter in most standard recipes. For gluten-free, use a 1-to-1 flour blend and bake for two minutes less. Tell the host what is in the batch so nobody serves them to the wrong child.
How long can decorated Halloween cupcakes stay at room temperature?
Plain or buttercream-frosted cupcakes stay good for about 24 hours at cool room temperature, or up to three days in the fridge. Cream cheese and whipped cream frosting need refrigeration after two hours. Beyond that, freeze unfrosted cupcakes individually and decorate after thawing, which takes about a minute in a warm kitchen.
Conclusion
Start by counting guests and picking one theme. Fifteen minutes of planning is the difference between a calm evening bake and a frantic party morning.
Bake the night before and frost on the day. Cool the cakes properly, keep the frosting stiff, and use one decoration idea per dozen so the batch looks deliberate rather than busy. Plan 1.5 cupcakes per adult guest and 2 per child, and if anyone at the party has a food allergy, make that batch separately and tell the host what is in it.