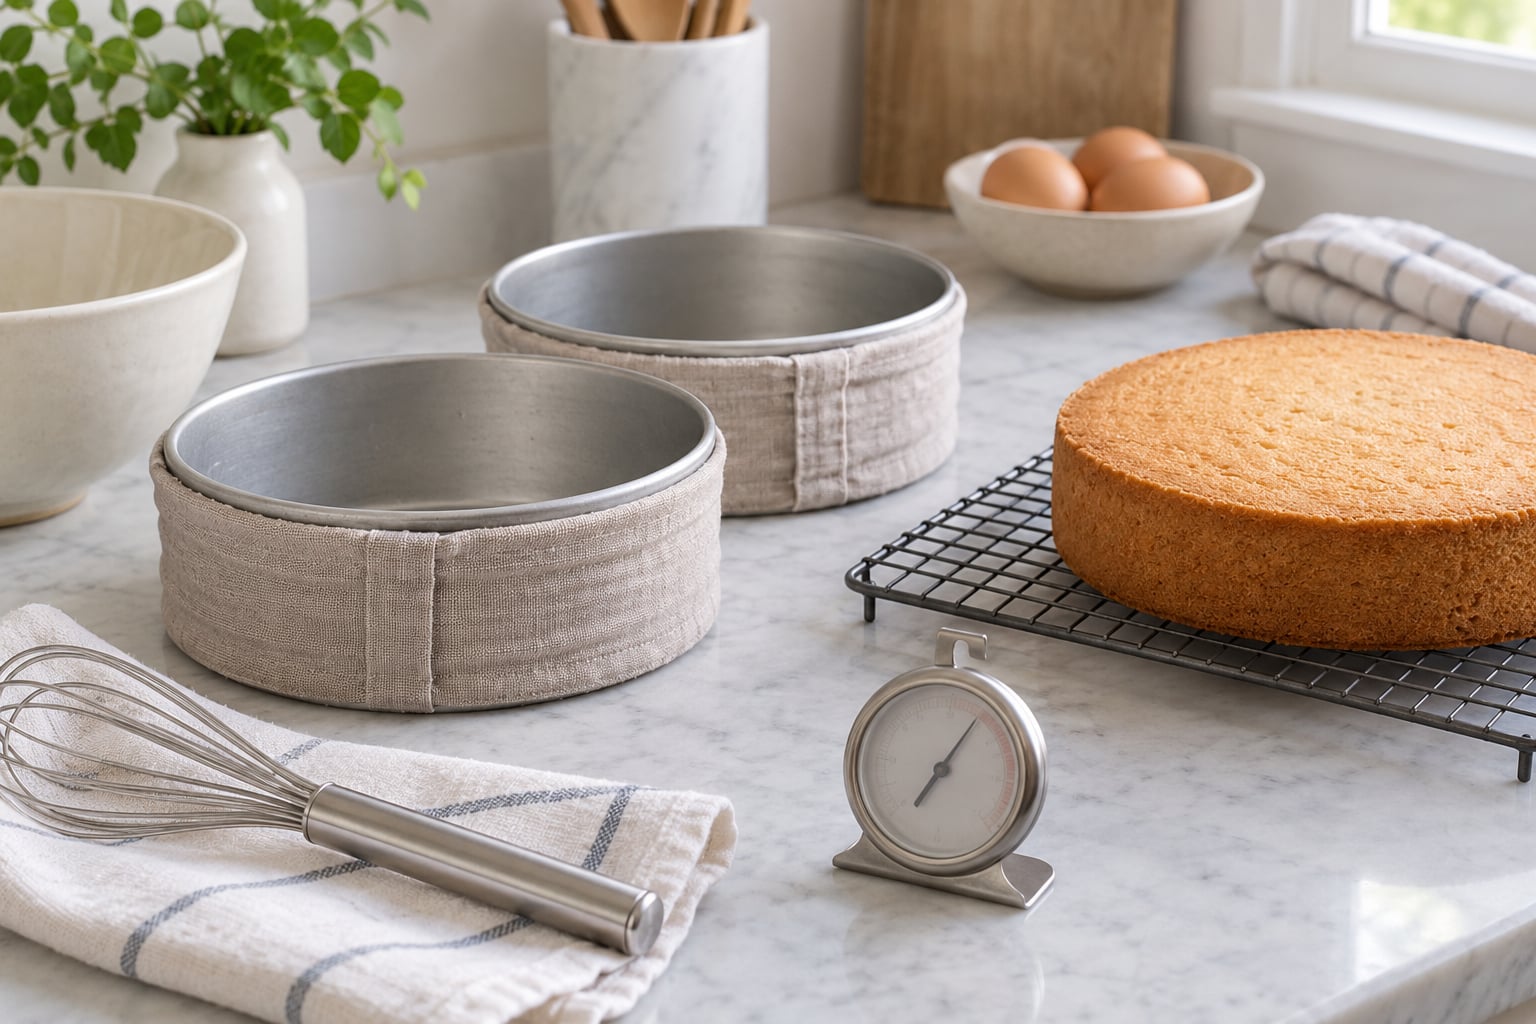
Cakes rise from the outside in, so the edges of the batter set and stop climbing while the still-warm center keeps pushing upward. That is why the fix for learning how to make a cake rise evenly is to slow the edge heat: wrap the pans in damp baking strips, drop the oven to 325°F, weigh your batter between pans, and use light aluminum pans. Most domed and sunken cakes come down to one of those four things, and all four are cheap to fix.
Here are the moves that do the most work, in the order I would try them.
- Wrap each pan in damp baking strips at mid-height so the outer edge stays flexible long enough to rise with the center.
- Bake at 325°F instead of 350°F, then add bake time so the cake still sets properly through the middle.
- Weigh your batter on a kitchen scale and split it to the gram so every layer comes out the same height.
- Use light-colored aluminum pans, not dark non-stick, because dark metal pushes the sides up faster.
- Bring eggs, butter and milk to room temperature so the batter emulsifies smoothly instead of curdling.
- Mix only until the flour disappears, because overworked batter rises fast, then collapses in the oven.
There is one more that costs nothing and gets skipped constantly: a full preheat, verified with an oven thermometer. A pan sitting in a half-hot oven does not spring in one clean push, and the layer you get out is a record of every mistake in the first 20 minutes. For a full breakdown of the science, from oven spring to metal conduction, the step-by-step below walks through the whole bake in order.
Table of Contents
- What You Need
- Step-by-Step: How to Make a Cake Rise Evenly
- 1. Prepare the Pan and Oven Correctly
- 2. Use Room-Temperature Ingredients
- 3. Measure and Mix the Batter Evenly
- 4. Spread the Batter to Equal Thickness
- 5. Bake at a Stable, Verified Temperature
- How to Make a Cake Rise Evenly in a Convection Oven
- 6. Cool Without Creating a Collapse
- 7. Adjust the Recipe for Future Bakes
- Common Mistakes and How to Fix Them
- Frequently Asked Questions
- Why is my cake rising unevenly?
- How do I stop a cake from doming in the middle?
- Should I use an oven thermometer for an even cake rise?
- Can I fix an unevenly risen cake after baking?
- Does opening the oven door make a cake sink?
- Why are the edges of my cake rising faster than the center?
- Conclusion
What You Need
None of this needs a specialty store run. Everything below is either already in a normal kitchen drawer or costs less than a box of cake mix.
- A kitchen scale. Volume measurements are the single biggest source of batter that behaves unpredictably, and weighing flour and sugar removes the guesswork.
- An oven thermometer. A dial oven that is 25°F out changes how your cake rises more than any ingredient tweak. Put it on the middle rack and leave it there during preheat.
- Two identical light aluminum pans. Matching pans matter for layer cakes. If your recipe yields two layers and you have one 9-inch and one 8-inch pan, the layers will never be the same height.
- Parchment paper and a pastry brush. A properly greased and lined pan releases cleanly, and a clean release prevents the tearing that ruins an otherwise flat top.
- An offset spatula and a sharp serrated knife. The spatula spreads batter to an even depth; the knife is what you use afterwards to level a slightly domed layer.
- A wire cooling rack. A cake cooling on the counter bottom sets unevenly and steams itself damp.
- A damp towel or a roll of foil. This is the raw material for DIY baking strips.
On the ingredient side, fresh baking powder really is worth checking. Baking powder loses potency once it has been open for months, and under-powered leavening is a leading cause of cakes that rise partway and stop.
Step-by-Step: How to Make a Cake Rise Evenly
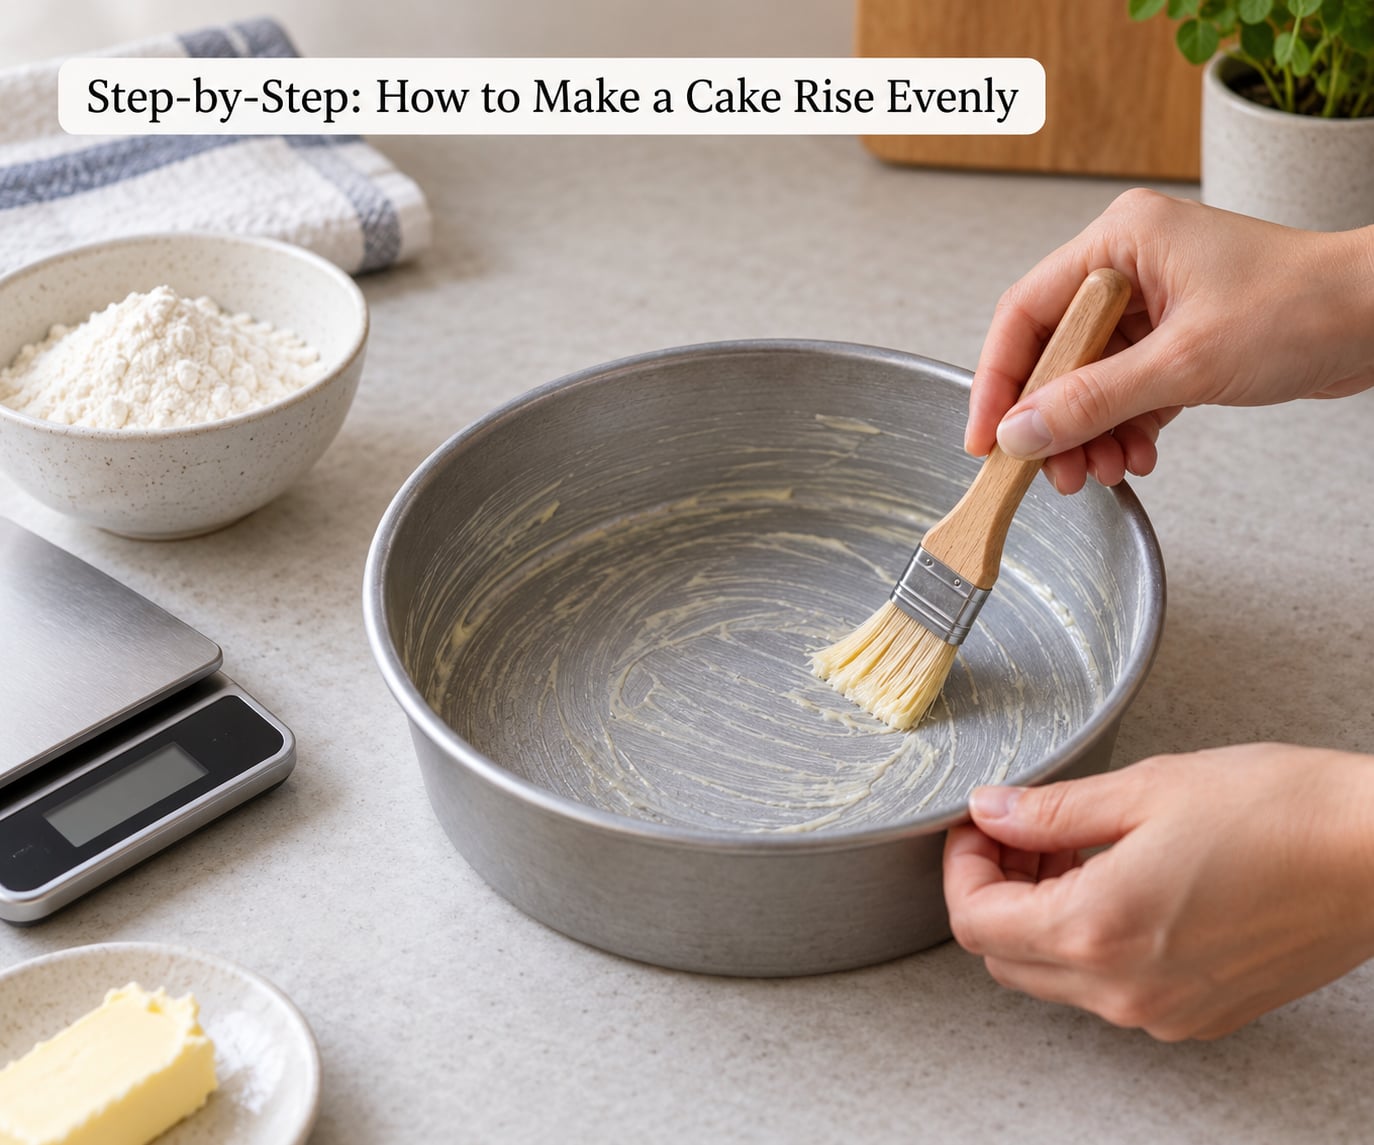
Order matters here. Each step protects the structure built by the one before it, and skipping ahead is what produces a dome followed by a collapse. Work through all seven in order and the fix usually sticks on the first bake.
1. Prepare the Pan and Oven Correctly
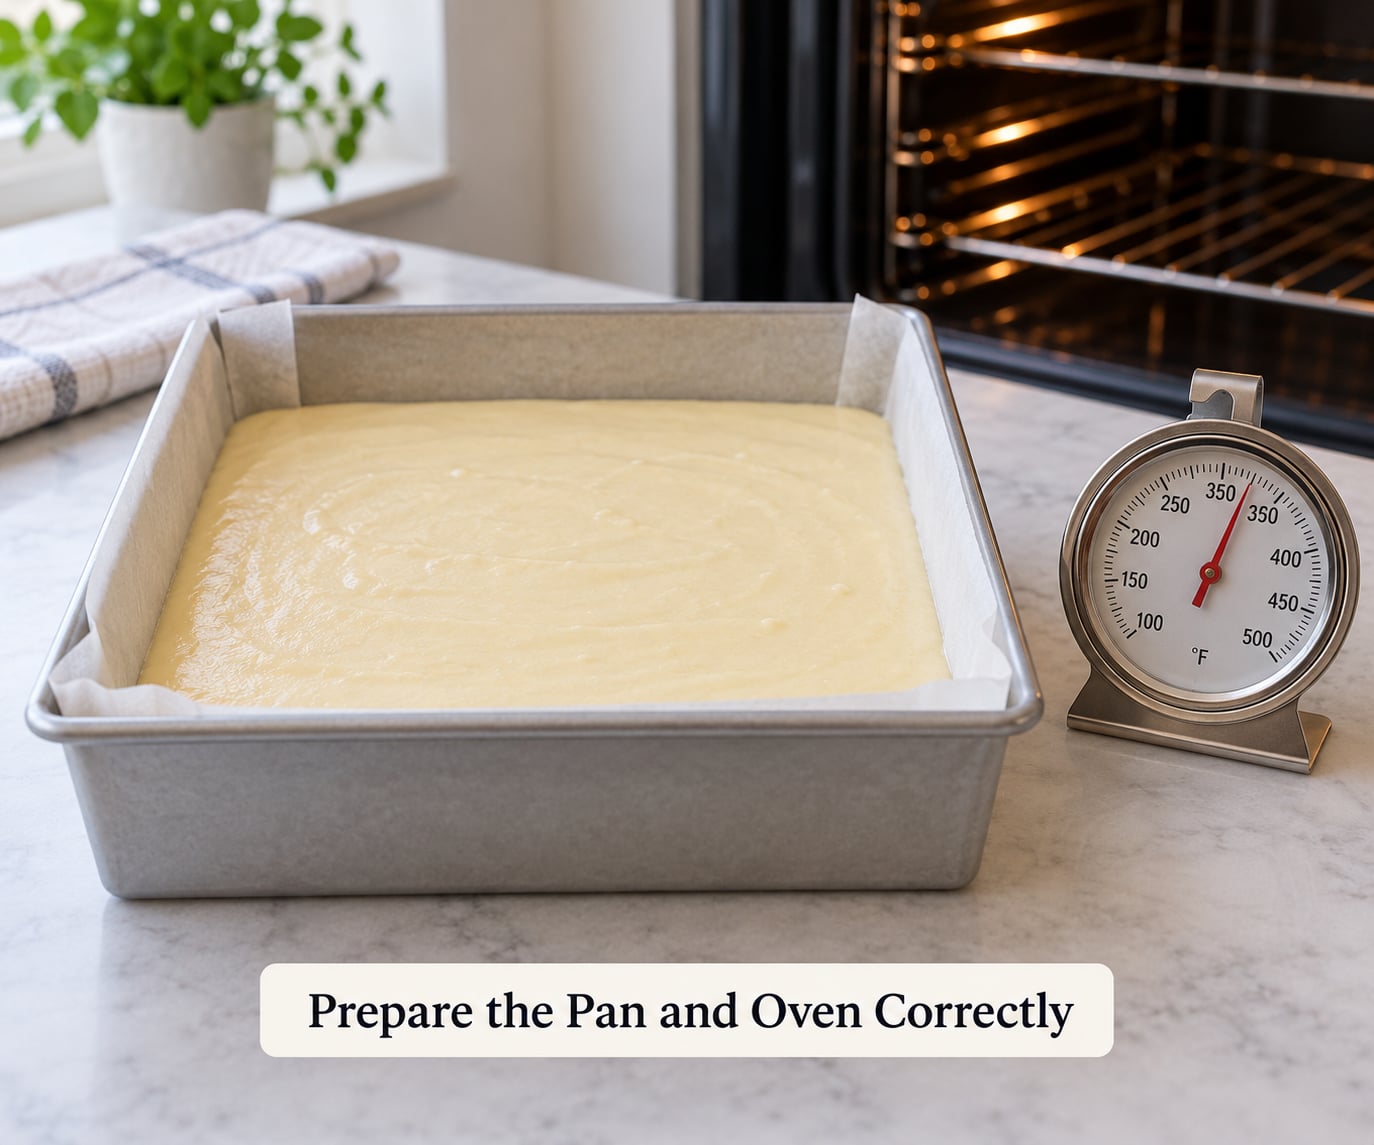
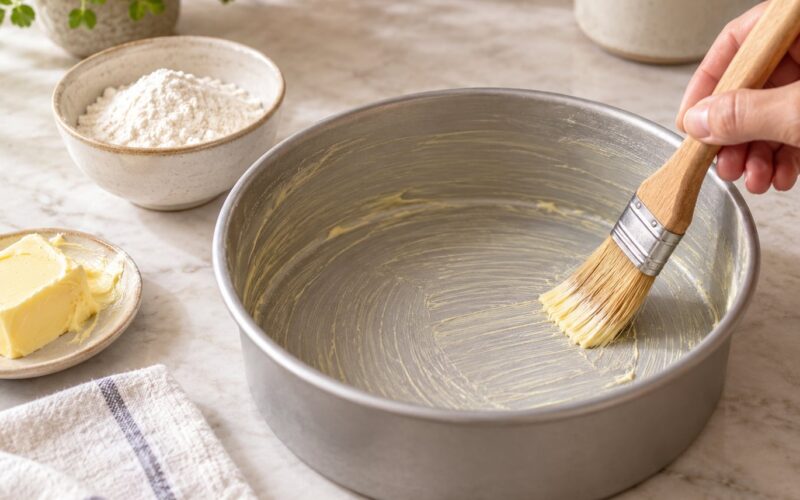
Grease the pan, then line the base with parchment, leaving a small overhang you can lift the layer by. The success signal is a pan with no bare metal showing in a single spot, because a bare patch is exactly where a layer will tear away when you try to turn it out.
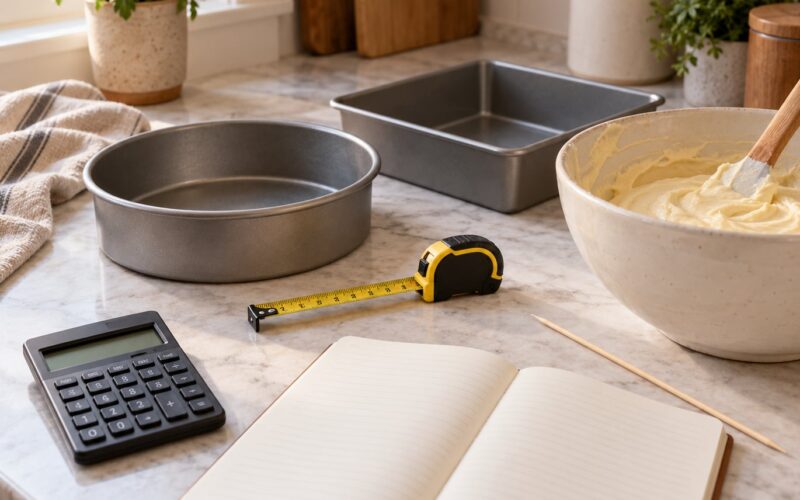
Fill pans to a consistent depth. Two thirds full is the usual target; more than three quarters gives the leavening no room to travel upward, and the batter pushes the lid off instead. When you are baking two layers, weighing the batter is the cleanest guarantee: divide the total weight by two and give each pan the same number to the gram.
Now verify the oven. Put the thermometer on the middle rack, set the oven, and give it a full 15 minutes to finish heating. If the needle sits 25°F above or below what you set, adjust the dial. Then use the middle rack, never the top or bottom element, and never two racks with a cake on each.
Success signal: the thermometer matches the dial before the batter goes anywhere near the oven.
2. Use Room-Temperature Ingredients
Take eggs, butter and milk out 60 to 90 minutes before you start. Cold butter stays in solid pieces and never emulsifies properly, and cold eggs make the sugar dissolve more slowly, which leaves a batter with pockets of unblended fat.
That uneven fat distribution is why cold-ingredient cakes often dome and crack: the fat in some spots is solid and pushes harder against the pan wall than the fat in other spots, so the sides set at a different rate than the center. Warm ingredients blend into one smooth, uniform batter, and a uniform batter rises evenly.
If you forgot, 20 seconds in the microwave softens cold butter without melting it. Milk gets a quick 30-second nudge too.
Success signal: the batter is smooth and glossy with no visible lumps of butter or streaks of milk.
3. Measure and Mix the Batter Evenly
Weigh your flour. Scooping straight into the bag with a cup gives you anywhere from 10 to 20 percent more flour than the recipe wants, and excess flour is dry, heavy and prone to cracking on top. Sift when the recipe calls for it, mainly to break up lumps in cake flour and to aerate cocoa powder.
Stop mixing the moment the last streak of flour disappears. Overmixing develops gluten, the batter turns stretchy and heavy, and it rises hard in the first ten minutes then collapses under its own weight in the middle. Success signal: a spoon dragged through the batter leaves a clean line that stays visible for a few seconds.
For a quick test on whether you have gone too far, the finished batter should drop off the spoon in a slow ribbon. Thick, ropey, sticky batter that clings to the spoon is overworked.
4. Spread the Batter to Equal Thickness
Smooth the batter across the pan with an offset spatula, pushing it out to the corners and pulling the excess back toward the center. Batter that lands in one spot cooks in that spot, and you get a thick edge and a thin center.
Tap the pan once or twice on the counter to release large air pockets, then check the depth with a ruler at the edge and the middle. Deep pans bake the middle last, and by the time the center sets, the edges have over-baked into a dark rim. If your batter is too deep for the pan, split it into more layers rather than baking one thick one.
Success signal: a straight edge drawn across the top of the pan would sit level on the batter everywhere.
5. Bake at a Stable, Verified Temperature
This is where the 325°F versus 350°F argument gets settled. A hotter oven pushes the outer edges of the batter to set faster, which locks in the dome before the center has finished rising. Dropping 25°F slows that outer set and lets the center catch up.
Lower temperature means longer bake time. If a recipe says 350°F for 35 minutes, try 325°F for 45 to 50 minutes and start testing early. Give the oven a full 15-minute preheat, and resist opening the door for the first 20 minutes, since a drop in temperature in the middle of oven spring is a common cause of a cake that sets and then falls in the center.
That said, some bakers bake at 350°F and rely on strips and pans instead, and they do get flat results. The temperature is not magic on its own. What matters is that the heat reaches the batter at an even rate, which is what strips and pan material control more directly. If your oven is well calibrated and your pans are light, 350°F with DIY strips works fine.
For very large or deep cakes, a heating rod or a flower nail driven into the center of the batter gives the middle a head start. Both work, and both let you keep a slightly higher temperature without a raw middle.
How to Make a Cake Rise Evenly in a Convection Oven
Convection moves air past the cake, which speeds up the outer edge again and pushes doming. Most bakers drop the temperature by 25°F for convection and shorten the bake time by about a quarter, then start testing early. If your oven runs a fan you cannot switch off, low and slow plus gentle mixing is the safer pairing, and that is the combination bakers land on most often for fan-only ovens.
Rack position deserves one more note: hot spots are real in a lot of home ovens, and the usual culprit is the back or the top corner. A cheap way to find yours is to bake a tray of evenly spaced crackers on the middle rack for ten minutes and see which ones come out darkest. Rotate the pan halfway through the bake on subsequent cakes, and keep using the same rack position so you are learning one oven rather than fighting three different ones.
Success signal: a skewer or tester inserted into the center comes out clean or with a few moist crumbs, the edges pull away from the pan, and a finger pressed lightly on the center springs back.
6. Cool Without Creating a Collapse
Let the cake sit in the pan for 10 to 15 minutes, then turn it out onto a wire rack. Cooling on the counter traps steam under the cake and the bottom stays damp and dense, which is a separate problem from uneven height but shows up in the same layers.
Never wrap a hot cake in plastic or foil. Condensation forms under the wrap, soaks back into the crumb, and leaves a gummy top that reads as a failed bake. Cool fully on the rack, two to three hours for a thick layer, before wrapping or frosting.
If the center dips as it cools, that collapse happened while the crumb was still setting. It cannot be reversed, but it can be stabilized, so move to the salvage steps below.
Success signal: the layer is completely cool to the touch in the center, not just at the edges.
7. Adjust the Recipe for Future Bakes
Write down what actually happened while the details are fresh: the real temperature from the thermometer, the true bake time, the pan you used. Most repeat offenders are one specific variable, and a two-line note in the margin saves you guessing next time.
The adjustments worth making are usually one of these. Weigh the ingredients instead of scooping. Match the pan to the recipe, since a smaller pan gives a thicker batter that domes more. Drop the temperature 25°F and add time. Add DIY strips. And for cupcakes, halve nothing but expect less of a problem, since the batter is shallower and the edges barely set before the center rises.
Cake type does change the approach. Pound cakes and dense fruit cakes want a lower temperature and a longer bake because there is little leavening to spare. Sponge cakes rely entirely on whipped egg whites and air, so overmixing and a hot oven hurt them most. Butter cakes and standard layer cakes are the most forgiving of everything above.
Success signal: the second bake of the same recipe comes out closer to level than the first, with a flatter top and no crack down the middle.
Common Mistakes and How to Fix Them
Start by matching what you see. Nearly every uneven rise falls into one of these six patterns.
- Dome with a crack down the middle. The cause is an oven running hot or a pan that is too deep, so the outer edge sets before the center finishes rising. Bake 25°F lower for longer and wrap the pan in damp strips.
- Sunken center after baking. Overmixed batter, a dropped oven door mid-bake, or a center that collapses on cooling all do this. Mix only until combined, keep the door shut for the first 20 minutes, and cool on a rack.
- Edges much higher than the center. Metal conducts heat from the outside in, and a dark non-stick pan makes it worse. Switch to light aluminum and insulate the pan edge with foil or damp strips.
- Dark rim with a pale, wet middle. The batter is too deep for the pan, or the temperature is too high for that volume. Bake shallower layers in more tins, or add a heating rod to the center.
- Wet or tacky middle with set edges. Baked too short, or pulled at the clock instead of tested for doneness. Extend by 5 minutes and test with a skewer, not the timer.
- Torn or stuck patches on the release. The pan was under-greased, or the layer was turned out before it had set. Grease and line fully, and rest 10 to 15 minutes before turning out.
Two more mistakes deserve a mention because they are so common. Baking straight from a cold fridge gives cold batter into a hot pan, and the temperature shock encourages a violent first rise followed by a slump. And a pan that is greased only around the sides lets the edges climb freely, which is a frequent culprit in high-rising cakes that end up lopsided on top of everything else.
The fastest way to see progress is to change one variable per bake. Adjusting the temperature, the pan and the mixing all at once means that if the cake improves, you have no idea which change did it, and the next bad bake sends you back to square one.
Frequently Asked Questions
Why is my cake rising unevenly?
Uneven rising happens because heat enters the cake from the outside first, setting the edges while the wet center is still expanding. Common triggers are an oven running hot, a dark or heavy pan, a pan too deep for the batter, cold ingredients, and overmixing. Lowering the temperature 25 degrees, using light aluminum pans, wrapping the pan in damp strips, and mixing only until combined address all of them.
How do I stop a cake from doming in the middle?
Drop the oven 25 degrees below the recipe temperature and add bake time, so the outer edge sets more slowly. Wrap the pan in damp baking strips or foil at mid-height to insulate the sides, and switch to a light-colored aluminum pan. Weigh your batter so layers cook at the same rate. Most domes come from heat, not from the recipe itself.
Should I use an oven thermometer for an even cake rise?
Yes, it is the cheapest diagnostic in the kitchen. Home ovens commonly run 25 degrees off the dial in either direction, and that shifts how fast the edges of the batter set compared with the center. Put a thermometer on the middle rack during a full 15-minute preheat, adjust the dial to match, and bake on that same rack every time so you are working with one known oven.
Can I fix an unevenly risen cake after baking?
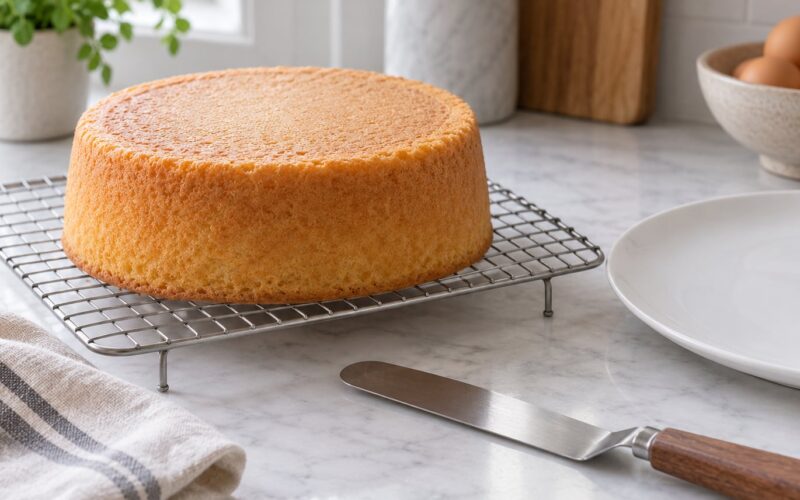
You cannot un-dome a cake, but you can make it level. Chill it first, then trim with a long serrated knife held upright and turned with a rolling motion. The most efficient trick for two layers is to flip one layer so its flat baked bottom faces up. For a sunken center, cut it out, fill the dip with buttercream, and dust the surface with cocoa or powdered sugar.
Does opening the oven door make a cake sink?
Opening the door in the first 20 minutes can, because the cake is in the middle of oven spring and a temperature drop interrupts the rise before the structure has set. Later openings are safer but still slow the bake and can make a tall layer dome more. Wait until the minimum bake time has passed, then test with a skewer in one quick motion rather than holding the door open.
Why are the edges of my cake rising faster than the center?
Metal conducts heat from the outside inward, so the batter at the pan wall receives heat from the pan, the air, and the element at once. The edges set into a firm shell early and stop climbing, while the center keeps rising, producing a dome. Light aluminum pans, foil or damp strips around the pan, and a lower oven temperature all reduce the gap between how fast the edge and center bake.
Conclusion
If you do one thing before your next bake, do these three: weigh the ingredients on a scale, grease and line the pan with no bare metal showing, and put a thermometer on the middle rack through a full preheat. That combination removes the three variables behind most uneven rises.
Then work through the seven steps in order, since each one protects the structure the last one built. Change a single variable per bake and note what happened, and the cake you pull out should be flat enough to stack, frost, and cut into even slices. It is a small habit, and by the third or fourth cake you are not thinking about it at all.