To grease and flour a cake pan properly, spread a thin, even layer of fat over the bottom and sides, dust on a small amount of flour, then tap the pan so only a faint coating stays behind. It takes about two minutes, works with any standard cake pan, and it is the difference between a layer that slides out whole and one that tears in half.
The method looks simple enough to skip, which is exactly why so many cakes end up welded to their pans. Most failures I see in home bakers come down to three things: fat that sits in thick streaks, flour left behind in chalky patches, or a cake flipped out while it is still too hot to hold its own weight.
Grease and flour works for fat-based cakes, layer cakes, loaf cakes, quick breads and most bundt batters. It is the wrong move for angel food, sponge and chiffon, which rise on egg-white foam and need bare metal to climb. That exception gets its own section below.
Table of Contents
- What You Need
- How to Grease and Flour a Cake Pan Step by Step
- Step 1: Prepare the Pan and Choose the Right Fat
- Step 2: How to Grease and Flour a Cake Pan Properly
- Step 3: Add a Thin, Even Layer of Flour
- Step 4: Remove Excess Flour
- Step 5: Check the Coating Before Adding Batter
- Step 6: Fill, Level, and Release the Cake
- Common Mistakes That Prevent Clean Release
- How to Grease Every Part of the Pan
- How Much Flour Should You Leave in the Pan?
- Quick Tips for Better Cake Release
- Frequently Asked Questions
- Do you need to grease and flour a cake pan if the recipe includes parchment paper?
- Should I use oil, butter, or shortening to grease a cake pan?
- Why is my cake sticking even though I greased and floured the pan?
- Do you grease the sides of a removable-bottom cake pan?
- How long should a cake cool before turning it out of the pan?
- Can I grease and flour the pan ahead of time?
- Conclusion
What You Need
You need very little, and most of it is already in your kitchen. Everything here is optional except the fat your recipe calls for.
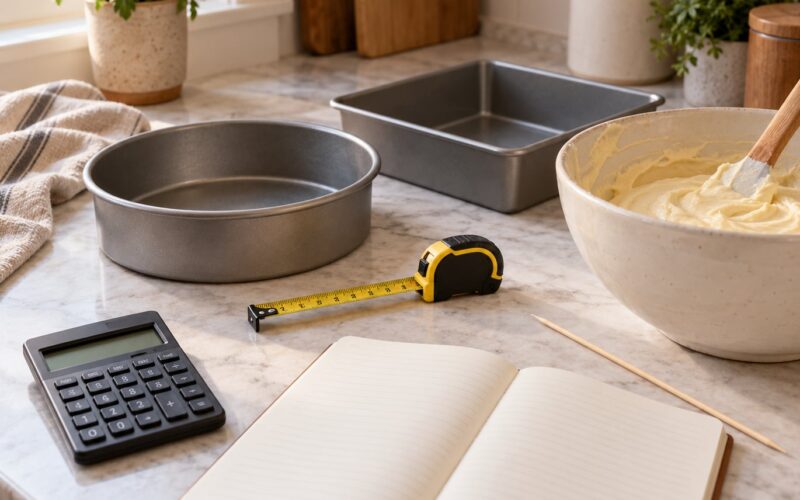
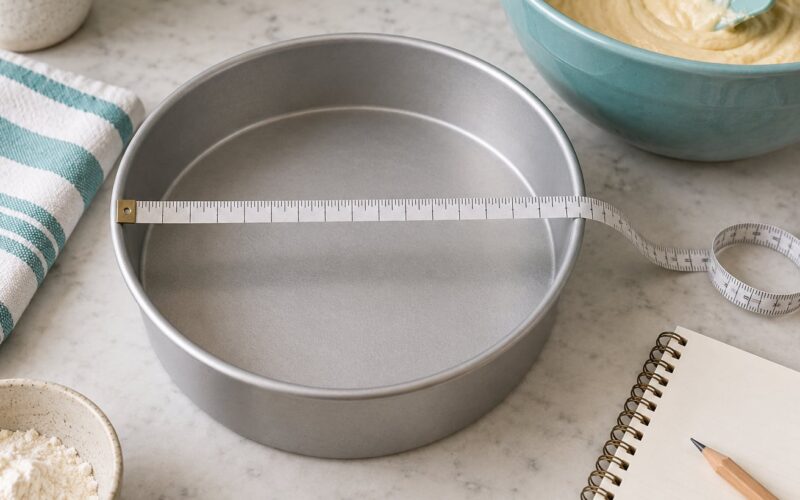
- The cake pan — the exact pan called for in the recipe, since a different size changes the baking time more than the greasing ever will.
- Recipe-specified fat — softened butter, vegetable or canola oil, shortening, clarified butter, or a flour-and-oil baking spray. Check the ingredient list before you start; some recipes ask for one specific fat on purpose.
- A little flour — about 1 tablespoon of the flour called for in the recipe, measured loosely. Cocoa powder works in place of flour for a chocolate cake.
- Parchment paper — a round for a layer cake, or strips for a bundt or tube pan, if you want the most reliable release available.
- A pastry brush or paper towel — for spreading the fat into corners, seams and the nooks of a tube pan.
- A clean, dry towel — for brushing off any loose flour sitting on the surface.
- An oven thermometer — optional, but a pan prepped perfectly in an oven running 25 degrees cool still gives you a cake that sticks.
How to Grease and Flour a Cake Pan Step by Step
Here is the full sequence. Work in this order and the coating comes out even every time, because each step exists to fix a specific failure in the one before it.
Step 1: Prepare the Pan and Choose the Right Fat
Most cake pans need greasing. Exceptions are silicone molds, good-quality non-stick pans used for their first few bakes, and aluminum pans lined with parchment. If the recipe says “do not grease,” follow it, because that instruction is almost always tied to how the cake rises.
Take the pan out of the oven’s reach and let it sit at room temperature. Greasing a pan straight from the hot oven melts the butter into a thin smear that leaves bare patches; greasing a refrigerator-cold pan makes the butter too stiff to spread.
Soften solid butter until it dents under a finger but does not shine. Room-temperature butter spreads without tearing and without melting, which is the whole job. Oil and melted shortening need no softening, and neither brings any flavor of its own.
Step 2: How to Grease and Flour a Cake Pan Properly
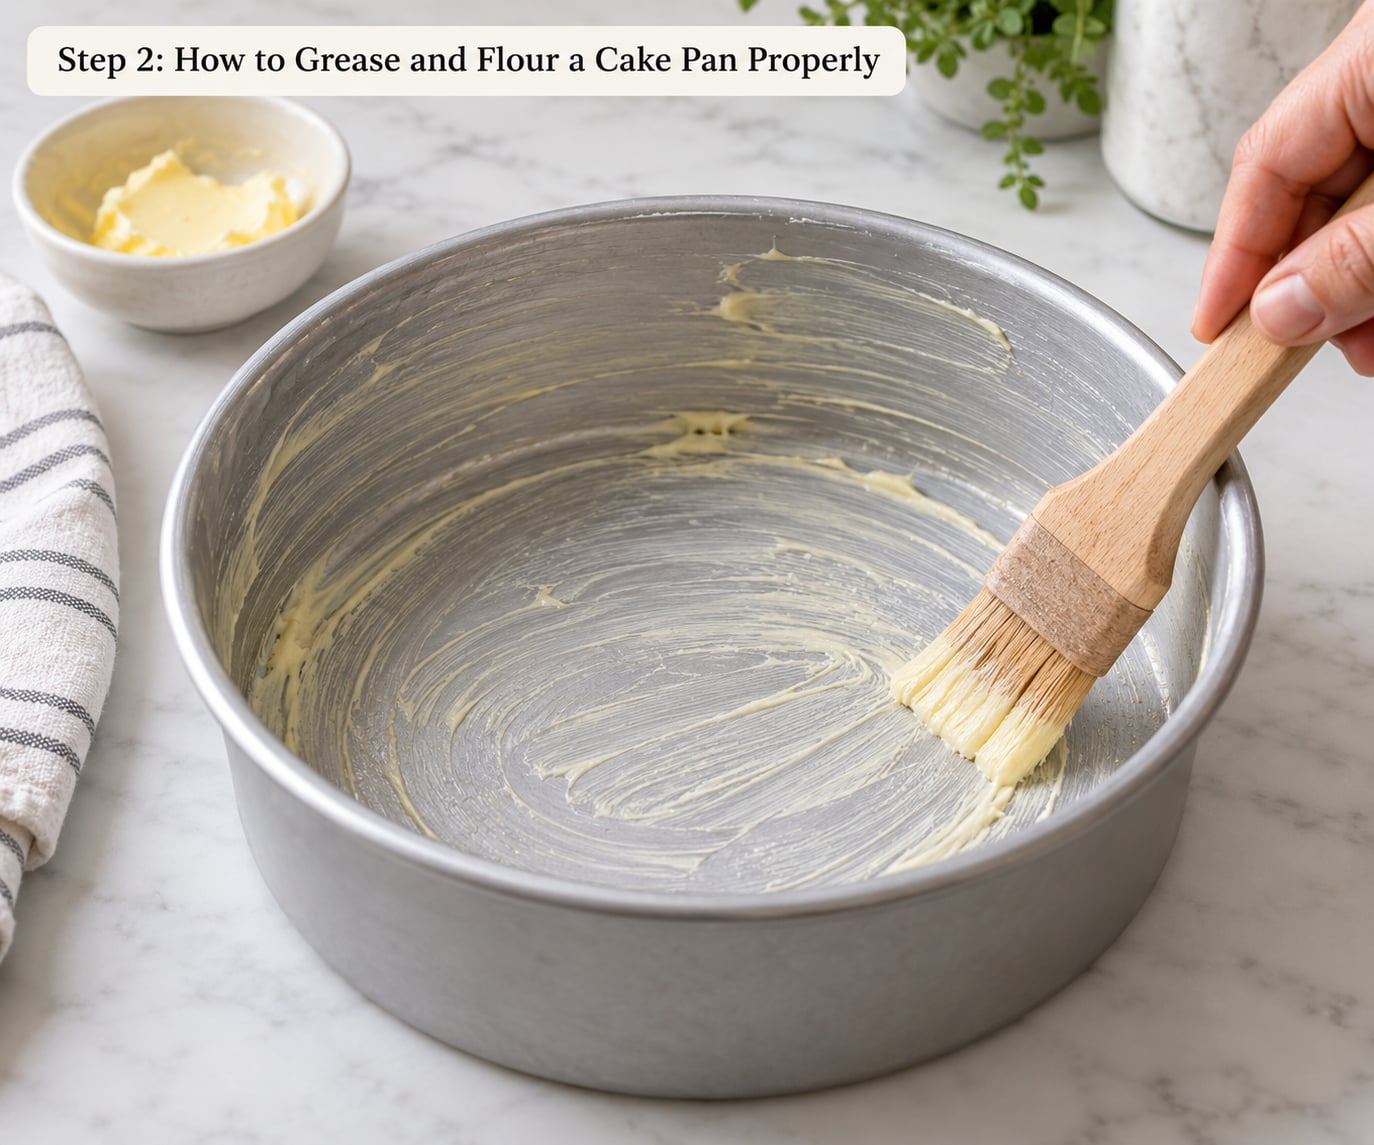
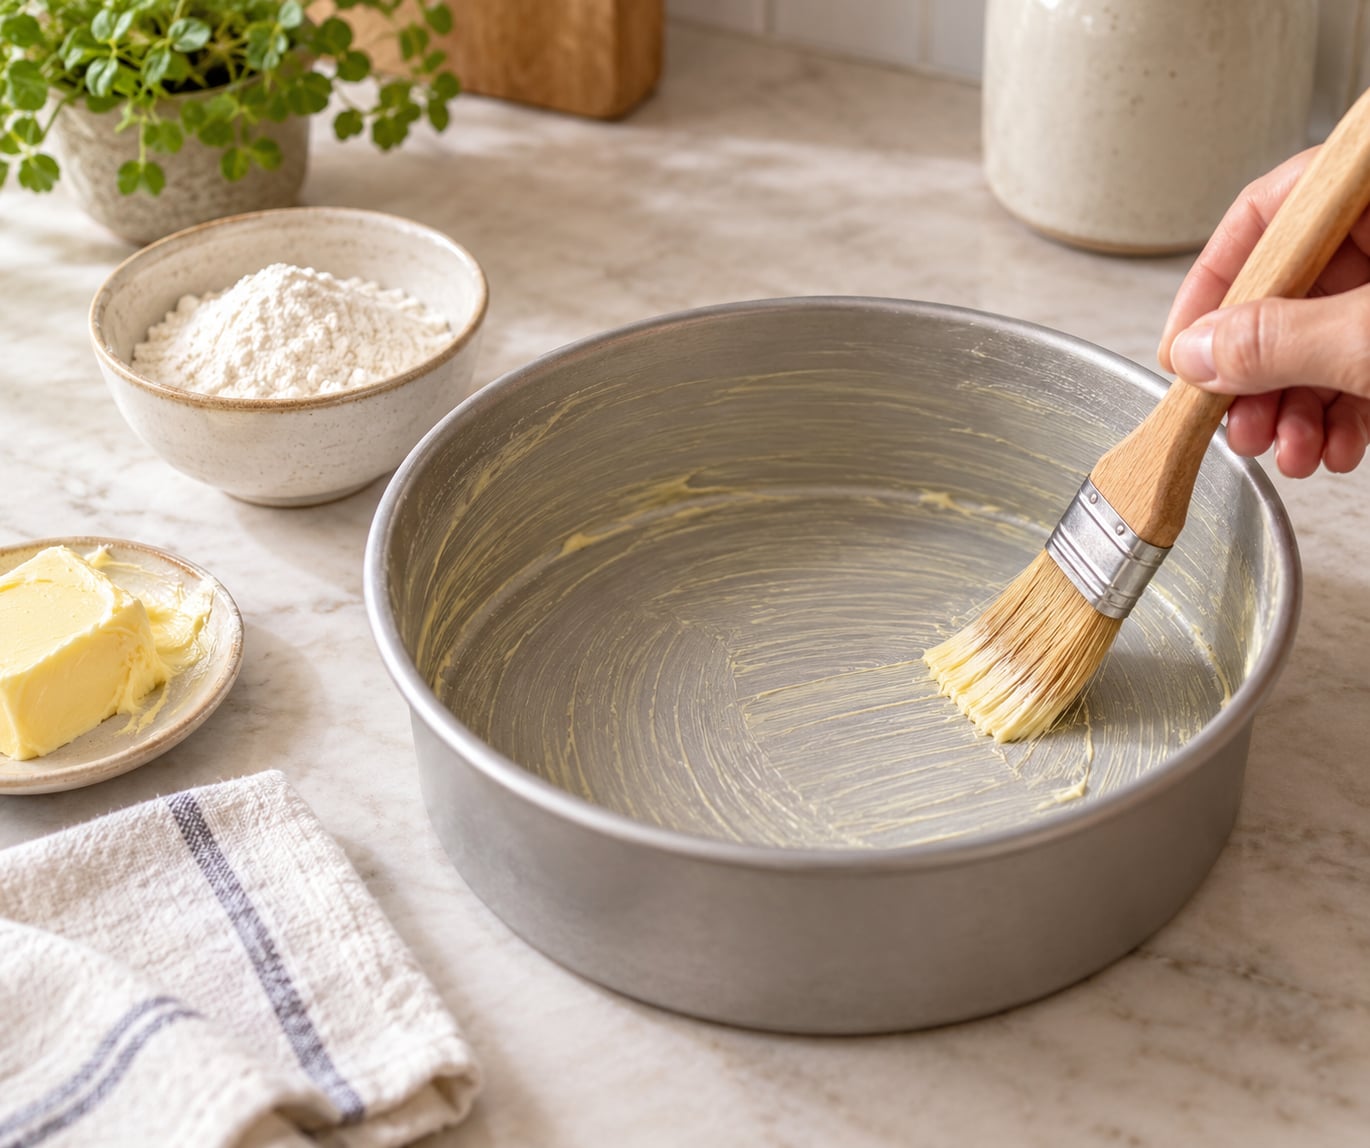
Add 1 to 2 tablespoons of softened butter, or about 1 tablespoon of oil, to the pan. Work it around with a pastry brush, a folded paper towel, or a piece of parchment paper so the fat covers the bottom, the sides, the seam where the side meets the base, and the outer lip of a removable-bottom pan.
The goal is a film you can barely see. A pan that looks greasy is holding too much fat, and thick fat in the corners turns into a fried, bitter edge on the cake. If you can see a glossy pool anywhere, wipe that spot back with a dry paper towel.
Give the pan a quick tilt and a shake over the counter to let any excess fat run off before flour goes in. That single motion removes the streaks that a brush leaves behind.
Step 3: Add a Thin, Even Layer of Flour
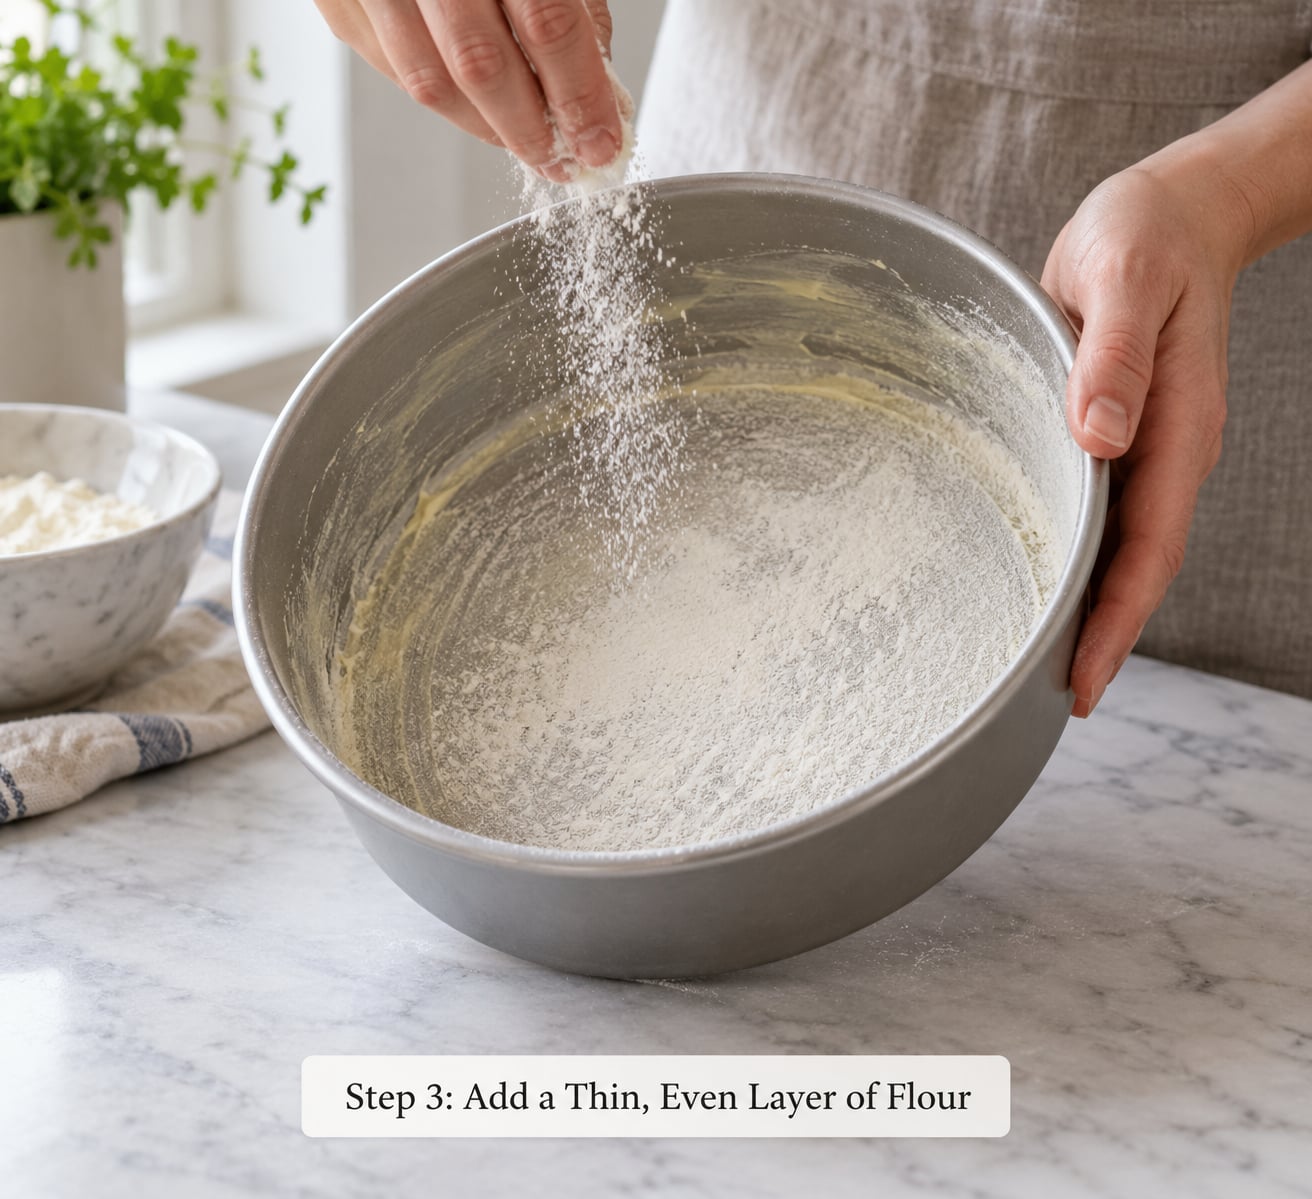
Sift or spoon about 1 tablespoon of the flour from your recipe into the greased pan. Sifted flour falls as a fine dust and settles into a continuous layer; flour dumped straight from a cup lands in clumps with bare patches between them.
Turn the pan a quarter turn and tap it gently on the counter each time, letting the flour travel along the bottom and up the sides. Keep going until the sides look faintly dusty all the way to the rim.
For a chocolate cake, dust with cocoa powder or a combination of cocoa and a little flour. For a nut allergy, use only flour, and keep the flour container well away from the nut products, because cross-contact turns a safe cake into an unsafe one.
Step 4: Remove Excess Flour
Hold the pan upside down over the sink or trash and tap the bottom firmly two or three times. Loose flour drops out in a cloud, and what remains should be a film your fingertip can barely detect.
Wipe the rim and any inside surface with a clean, dry towel to lift off clumps and stray dust. This is also the answer to the chalky film on top of a cake: loose flour sitting in the pan drops onto the surface of the batter during baking and dulls the finish.
When flour is the barrier you want, this thin remnant is doing its job. It keeps the fat from melting into the batter in the oven, which means the side crust stays drier and more tender instead of going greasy.
Step 5: Check the Coating Before Adding Batter
A properly prepared pan shows a faint, continuous sheen with no bare metal showing through. Run your finger along the seam and the corners. If the finger comes away clean, the coating is thin enough; if it comes away tacky, you have too much fat or flour sitting in that spot.
Fix problem areas now, with a dry paper towel for fat and a soft brush for flour. A correction takes five seconds, and doing it after the batter is in the pan means scraping the coating back off again.
For a pan you want absolutely certain results from, skip flour entirely and line the bottom with a parchment round. Cut it to fit with a small overlap, press it flat, then grease the parchment itself so it lies against the batter.
Step 6: Fill, Level, and Release the Cake
Pour the batter in gently down one side of the pan rather than dumping it into the center, so the coating underneath is not scraped away by the weight of the batter. Level the top, then tap the pan once or twice on the counter to release large bubbles.
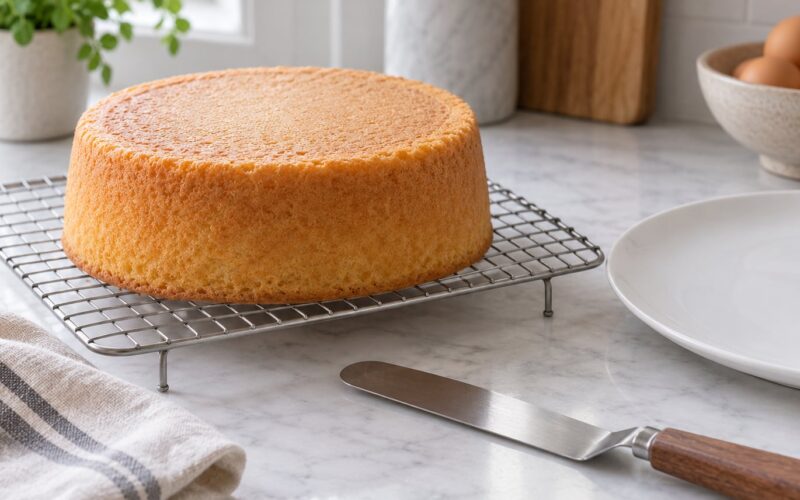
Let the cake cool in the pan for 10 to 15 minutes for a single layer, and closer to 20 for a tall or dense cake. Then run a thin knife around the edge and flip it onto a rack. Warm but not hot is the sweet spot; a cake turned out while steaming tears its own crumb.
If you bake multiple layers in one session, re-grease and re-flour the second pan while the first cake bakes. Pan prep takes less time than the oven takes to cool a layer, so there is no reason to reuse the same prepared pan twice.
Common Mistakes That Prevent Clean Release
Every failed release traces back to one of a handful of habits. Nearly all of them are fixable in under a minute, before the batter goes in.
How to Grease Every Part of the Pan
The corners, the seam, and the rivets are where cakes grab hold. Batter creeps into those lines during baking and welds itself there, so a pan that looks perfectly greased can still hold a layer hostage.
The fix is the pastry brush and the paper towel. Both reach places a buttered finger misses. For a bundt or tube pan, run the brush down every ridge and rotate the pan as you go, then sweep the seam between the base and the tube last.
Removable-bottom pans need extra attention on the outer lip, because batter rises up and over the rim during baking. Grease that band even if the recipe does not mention it.
How Much Flour Should You Leave in the Pan?
Only a barely visible coating. After the final tap, the flour should read as a soft haze on the surface rather than a layer you could draw in.
Too much flour creates a gritty, floury taste on the sides and a dull, dusty film on the top of the cake. Bakers working with gluten-free batters hit this hardest, since nut and rice flours are grittier than wheat and show up more in the crumb.
A thicker coat is deliberate in one case: sticky molasses, gingerbread and fruitcake batters that are refrigerated before baking. There the flour is meant to soak up surface moisture over hours, so use a slightly heavier hand and expect to skip it entirely for a short bake.
Quick Tips for Better Cake Release
Parchment changes the process rather than replacing it. Cut to fit, press flat with no wrinkles, grease the paper itself, and grease the sides of the pan as usual. On a tall layer cake, run the knife down the seam between paper and wall to be sure the batter did not climb the gap.
Switch fats by batter type. Oil suits cakes where you do not want butter flavor, such as chocolate or carrot. Shortening suits molasses and spice cakes because it stays solid and neutral at oven temperature. Avoid a plain buttered flour smell in a savory loaf by using oil instead.
Do not grease foam-based cakes. Angel food, sponge and chiffon rise on whipped egg whites, and fat on the pan wall breaks the foam and blocks the climb. Line the bottom with parchment and leave the sides dry, then run a knife around the edge after cooling.
If a cake still welds itself down, the pan was probably too cool from the fridge, the coating was too thin in the seam, or the edges were under-baked. Warm metal and hot sugar are what bind, so the repair is usually a slightly thicker fat layer and a few minutes closer to done.
Frequently Asked Questions
Do you need to grease and flour a cake pan if the recipe includes parchment paper?
Grease the sides, line the bottom. Parchment handles release on the flat surface but does nothing about the walls, and batter that climbs a dry side wall is what pulls a layer apart as it bakes. Press the paper flat, leave a small overlap, and grease the parchment itself so it sits against the batter without sliding.
Should I use oil, butter, or shortening to grease a cake pan?
Butter adds flavor and browns the edges nicely. Oil stays neutral and is easier to spread in a thin, even film. Shortening is solid and neutral, which suits sticky molasses and spice batters that sit for a while. Follow the recipe when it names a specific fat, and use oil when you want no butter flavor in the finished cake.
Why is my cake sticking even though I greased and floured the pan?
The usual causes are a thin film in the corners or seam, a pan straight from the refrigerator, excess sugar caramelizing at the edge, or edges that were under-baked. Check for bare metal in the corners first. Next time, warm the pan to room temperature and give the seam a slightly heavier coat of fat.
Do you grease the sides of a removable-bottom cake pan?
Yes, and the outer lip especially. Batter rises over that band during baking, and if the lip is dry the cake grips the rim and tears as you turn it out. Run a little fat along the seam between base and wall, up the sides, and around the entire outside edge of the removable base.
How long should a cake cool before turning it out of the pan?
Ten to fifteen minutes for a single layer, and closer to twenty for a tall or dense cake. The cake needs enough time to firm up so it holds its own weight during the flip. Turn it out while it is still steaming and the crumb tears, then leave it on the rack until it is barely warm.
Can I grease and flour the pan ahead of time?
Yes, within the same session. A pan prepared up to an hour ahead keeps its coating, though the flour may pick up a little moisture from the air. Avoid overnight preparation in a humid kitchen, and skip it entirely for batters you plan to refrigerate, since the coating and the dough need different treatment.
Conclusion
How to grease and flour a cake pan properly comes down to restraint: a thin, even film of the fat your recipe calls for, about a tablespoon of flour, and enough tapping that only a faint coating remains. Do those three things, cover the corners and the seam, and let the cake sit 10 to 15 minutes before you turn it out.
If you only change one thing in your next bake, start with the fat. Give the seam and the outer lip a proper coat rather than a quick wipe, and most sticking problems disappear before the oven door closes.