You adjust baking time for a different pan size by scaling every ingredient by the ratio of the new pan’s base area to the original pan’s base area, then baking at the same oven temperature and starting your doneness checks a little earlier or later than the recipe’s stated time. Area and batter depth decide how long a bake takes, not the pan’s diameter alone. Most of the guesswork disappears once you do that one division.
It takes about ten minutes with a measuring tape and a calculator, and it is far less risky than pouring a full recipe into whatever tin you have and hoping. This guide covers cakes, cookies, bars, loaf cakes and sheet cakes, and it works whether you are going bigger or smaller.
Table of Contents
- What You Need
- Step-by-Step: How to Adjust Baking Time for a Different Pan Size
- 1. Find the Original Pan’s Dimensions
- 2. Calculate the New Pan’s Volume
- 3. Compare Batter Depth Instead of Time Alone
- 4. Estimate the New Baking Time
- 5. Adjust the Oven Temperature
- 6. Check Doneness
- 7. Let the Bake Cool and Rest
- Common Mistakes
- Frequently Asked Questions
- How to reduce baking time for different size pans?
- How do I convert baking times for different pans?
- Can I use a 9×9 pan instead of 9×13?
- Can I use 2 9 inch pans instead of 3 8 inch pans?
- Do you change the oven temperature when you change pan size?
- What happens if I overfill my cake pan?
What You Need
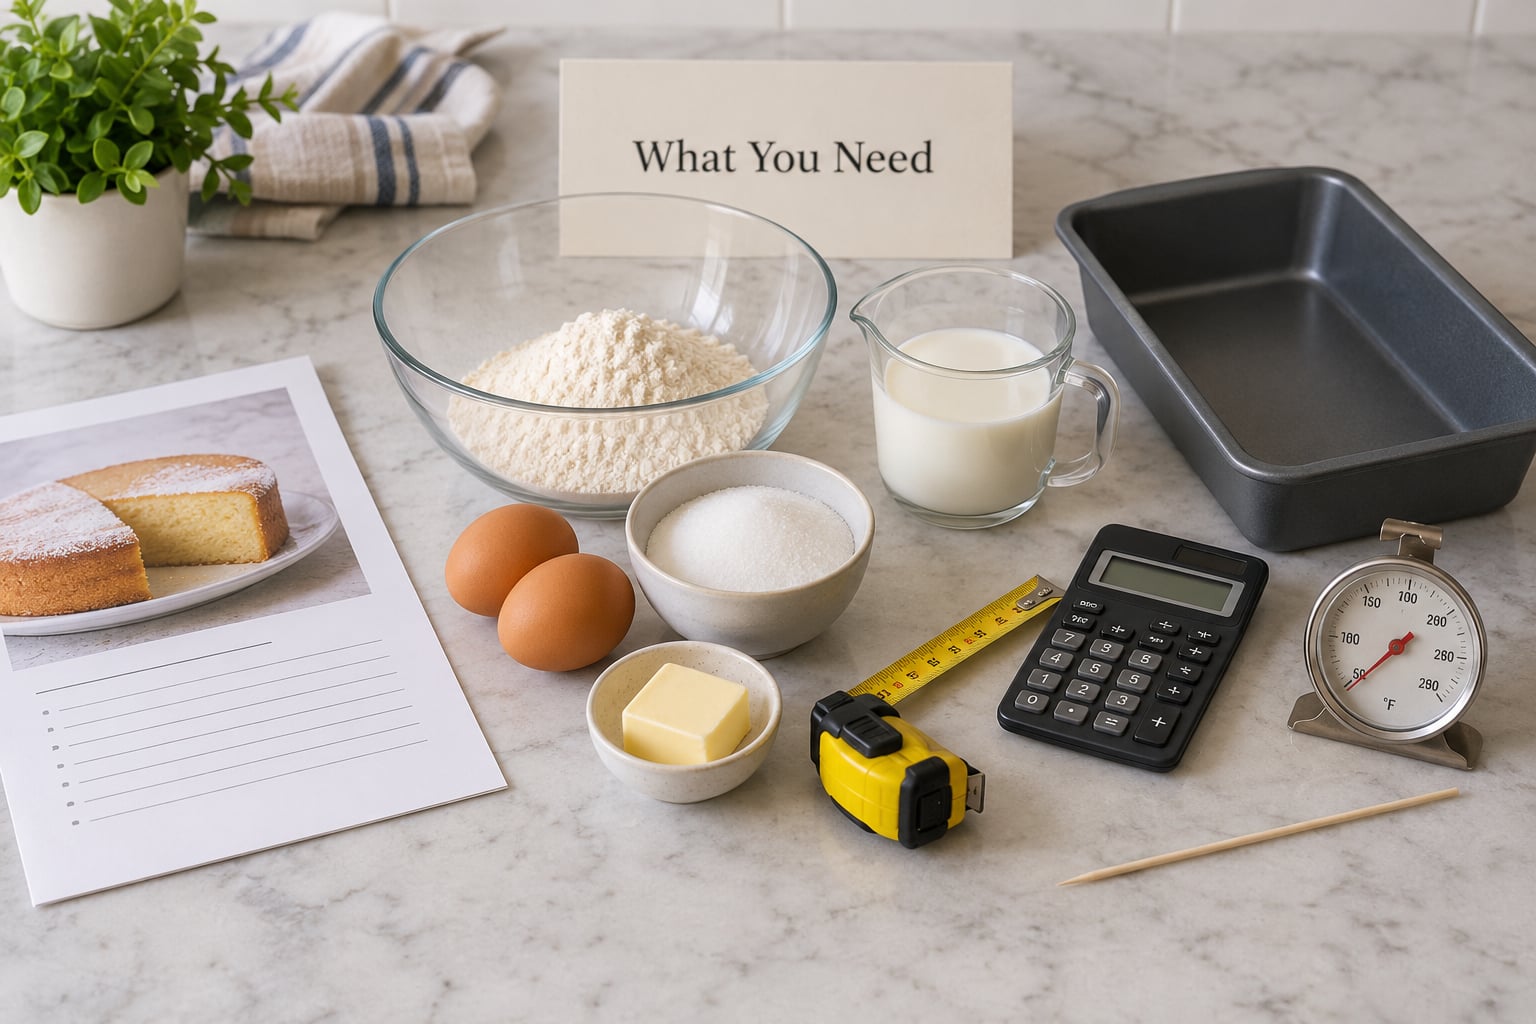
Start by pinning down the numbers before you touch any batter. Most recipes are silent about what to do when the specified pan is not in your cupboard, so you supply the missing information yourself.
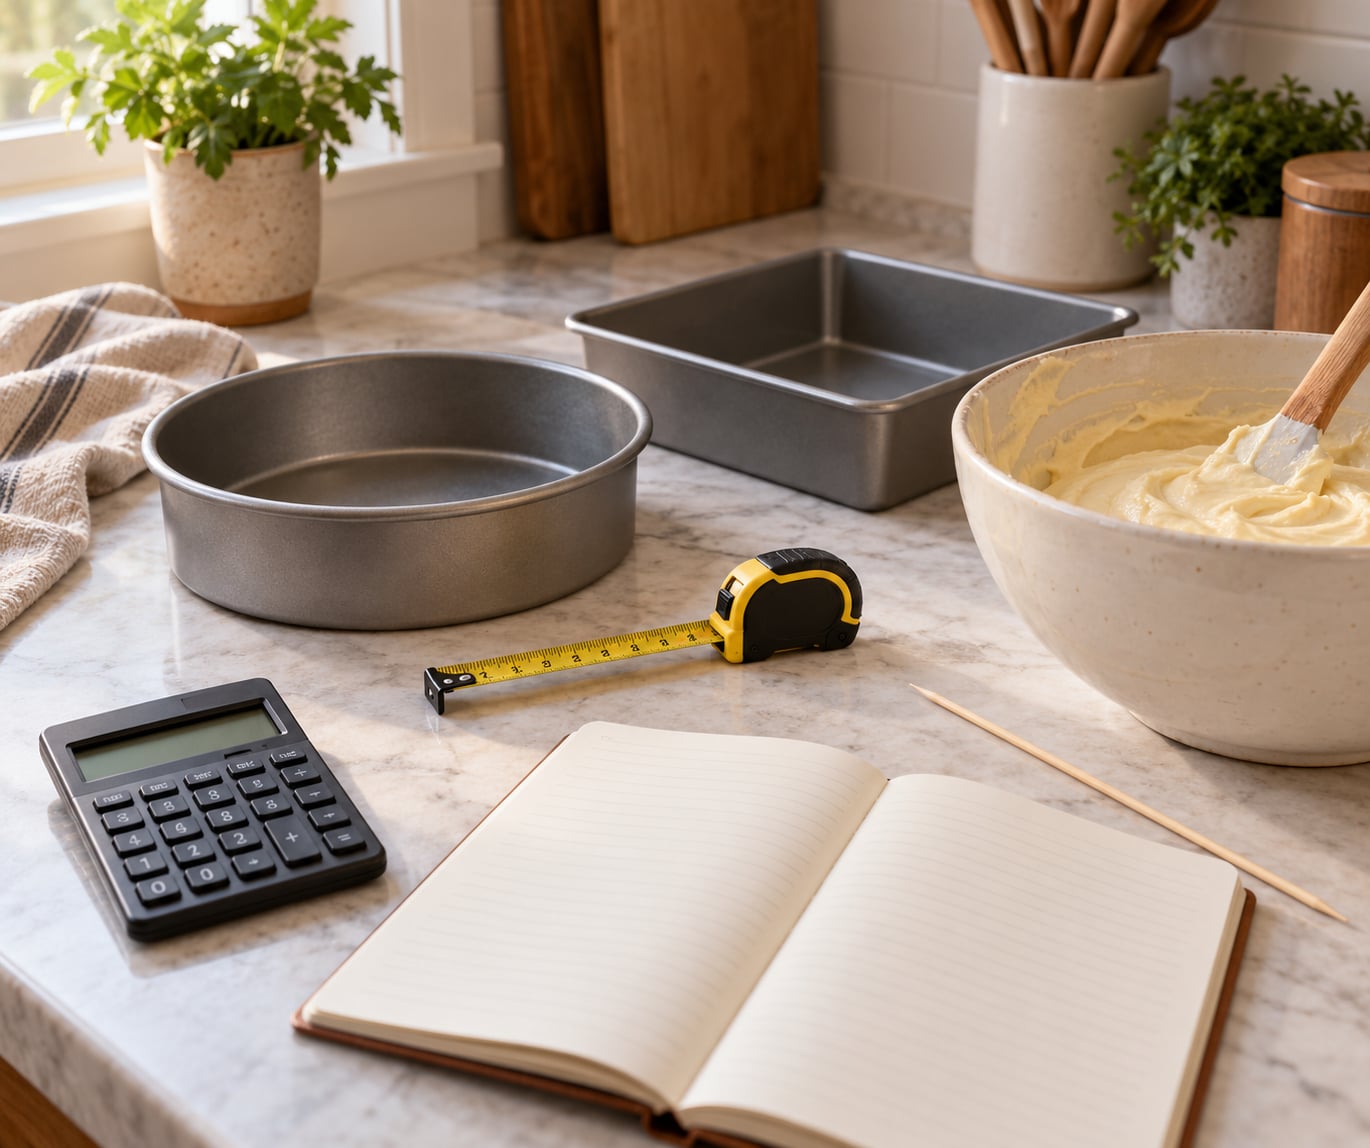
- The original pan’s interior dimensions — measure the inside base, not the outside rim, and note the pan’s depth.
- The new pan’s interior dimensions — same measuring job, plus how many pans you actually have.
- A measuring tape or ruler and a basic calculator.
- The recipe itself, so you can see whether it is structured as a ratio recipe or a fixed-ingredient list.
- An oven thermometer, if you own one. Cheap ones pay for themselves the first time your oven runs 20 degrees cool.
- A wooden skewer or cake tester for doneness checks.
- A wire cooling rack, because a deeper or larger bake changes how long the cake needs to cool in the pan.
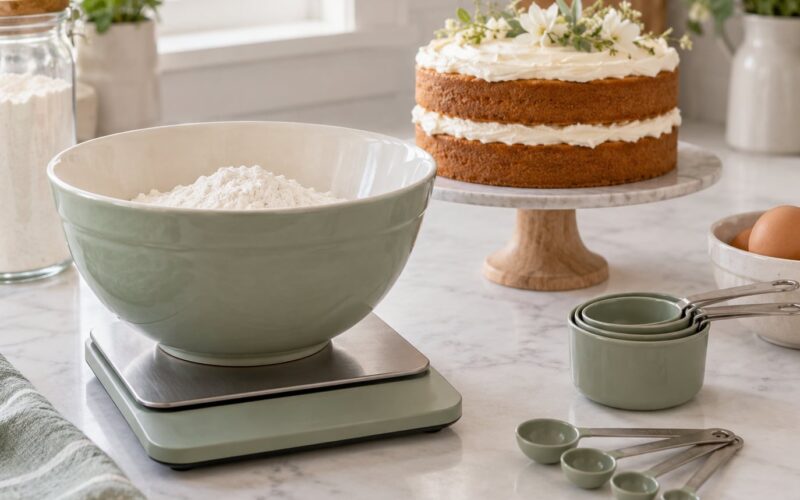
A bowl and a scale are useful too. Measuring batter volume in cups gives you a cross-check when the arithmetic says a pan is going to overflow.
Step-by-Step: How to Adjust Baking Time for a Different Pan Size
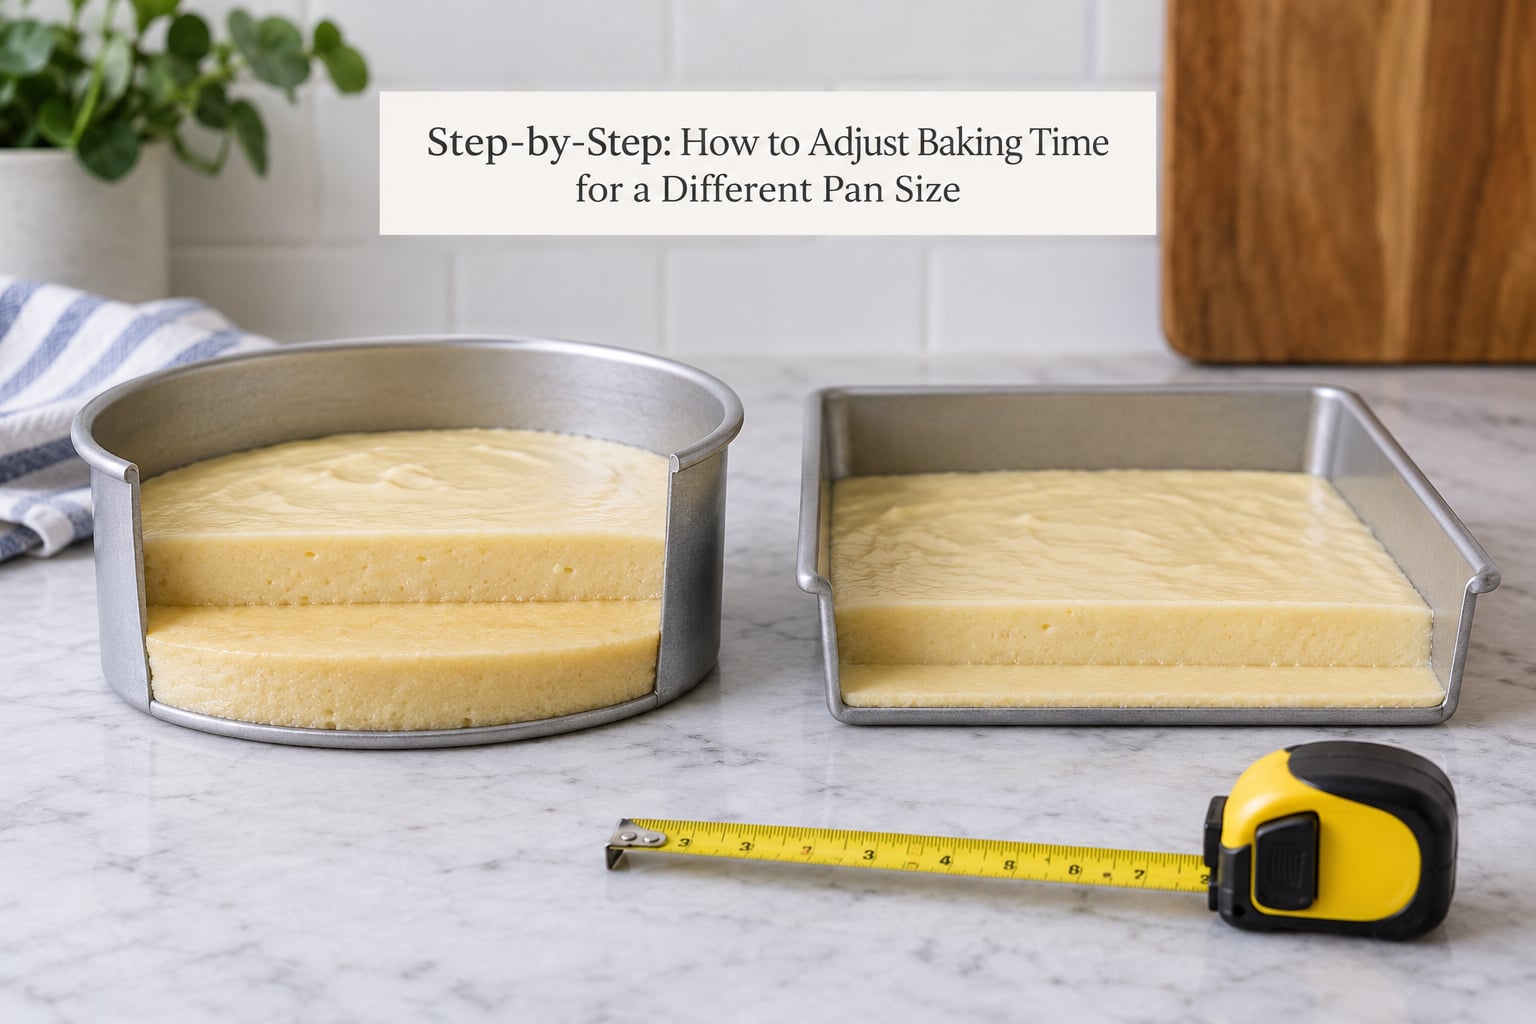
Baking time is a consequence of two things: how wide the pan is, which sets how much surface area the oven is heating, and how deep the batter sits, which sets how far heat has to travel to the centre. Change one without the other and you get the familiar disasters — a burnt ring with a raw middle, or a thin dry cracker. The steps below put depth back where it belongs.
1. Find the Original Pan’s Dimensions
Measure the inside base of the pan the recipe was written for. For a round pan, measure the diameter across the flat inner floor and multiply by itself, then multiply by 3.14. For a square or rectangular pan, multiply length by width. That number is the base area, and it is the single most important figure in the whole conversion.
A 9-inch round pan gives roughly 64 square inches of base area. An 8-inch square pan gives 64 as well, which is why those two swap so cleanly. Note the original depth too, because a 9×13 is only about 2 inches deep while a 9-inch round is closer to 1.5 inches, and that shallow sheet-style bake sets faster than its area suggests.
2. Calculate the New Pan’s Volume
Work out the base area of the new pan the same way, then multiply by its usable depth if you want cubic inches. Most of the time the base area is the figure you actually need, because you are holding the batter depth roughly constant.
Here is the reference most home bakers need:
| Pan | Base area (sq in) | Batter capacity (approx.) |
|---|---|---|
| 8-inch round | 50 | 5 to 6 cups |
| 9-inch round | 64 | 7 to 8 cups |
| 10-inch round | 79 | 9 to 10 cups |
| 12-inch round | 113 | 13 to 14 cups |
| 8×8 square | 64 | 7 to 8 cups |
| 9×9 square | 81 | 9 cups |
| 9×12 rectangular | 108 | 12 cups |
| 9×13 rectangular | 117 | 13 to 14 cups |
| 5×9 loaf pan | 45 | 5 to 6 cups |
| 10-inch tube or bundt pan | 79 | 9 to 12 cups |
| 12-cup muffin pan | about 15 per cup | 2 to 2.5 cups per cup |
For round pans, the same logic works if you square the diameter before multiplying by 3.14, so a 10-inch round pan is about 1.23 times the area of a 9-inch pan. People are often surprised that ten inches only buys 23 percent more cake, but the number is right, and it is why doubling a cake means roughly doubling the recipe rather than bumping the diameter by an inch.
3. Compare Batter Depth Instead of Time Alone
Divide the new pan’s base area by the original pan’s base area. That decimal is your scaling factor, and you apply it to every ingredient to keep the batter at the same depth. A 9×9 replacing a 9×13 gives 81 divided by 117, or about 0.69, so you use roughly 69 percent of the batter and the rest does not get made.
Two things should not be scaled by that factor. Baking powder or soda gets reduced only slightly, or the cake tastes soapy, because leavening loss matters more at small volumes. Seasonings — salt, spices, extracts — stay at full strength for the same reason. As a practical alternative to doing arithmetic at all, pour the batter and aim for a pan that is half to two-thirds full, which is the most repeated rule on home baking forums.
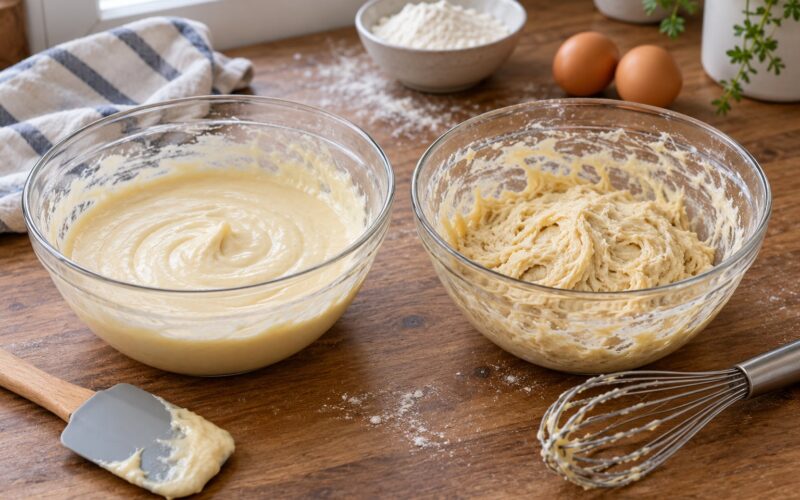
If you cannot scale the batter, or you simply do not want to halve a recipe, then depth changes and you should expect it. A too-full pan bakes the outside long before the centre sets, which is how cakes sink in the middle.
4. Estimate the New Baking Time
Once depth matches, the original time is roughly right and only needs nudging for the new surface area. Use this as a starting estimate, then confirm with doneness cues:
| Area ratio (new to original) | What to do to the recipe time |
|---|---|
| 0.50 or less | Start checking 25 to 30 percent earlier |
| 0.75 | Cut about 10 to 15 percent |
| 0.90 to 1.10 | Keep the same time |
| 1.25 | Add roughly 10 percent |
| 1.50 | Add 25 to 30 percent |
| 2.00 or more | Add 40 to 50 percent and expect two bakes if the pan is deep |
Do not multiply or divide the time mechanically by the area ratio. Heat does not travel linearly, so a pan with twice the area does not take twice as long. The table above is a starting point and nothing more, which is why the doneness checks in the next section matter more than any conversion chart.
One community strategy works better than any table: set the timer for the original recipe time, then start probing every 3 to 5 minutes from there. That approach works for cakes, brownies, meatloaf and anything else you would rather not waste.
5. Adjust the Oven Temperature
Keep the recipe temperature in most cases. Change it only when the geometry or the metal gives you a reason, and make the change small.
- Going smaller with the same batter amount: the pan is shallower and hotter per unit of cake, so adding about 25 degrees Fahrenheit gives the centre time to set before the edges take colour. Home bakers who go smaller often land on 375F for a recipe written for 350F.
- Going taller or deeper: drop about 25 degrees and add time, so the outside crust forms gently instead of setting hard around a wet centre.
- Dark or nonstick metal: dark surfaces brown fast. Drop 25 degrees or tent the edges loosely with foil after the halfway mark.
- Glass or ceramic: these conduct more heat than light-coloured aluminium, so many recipes bake at 25 degrees lower or a little faster.
- Convection ovens: usually shave about 25 degrees off the recipe temperature, independent of any pan change.
Preheat fully, and if you have an oven thermometer, check it once. An oven running 20 degrees off quietly changes every time estimate in this article.
6. Check Doneness
Run the checks in order and stop at the first clear pass. Start with the tests earlier than the recipe says when the new bake is shorter, later when it is longer.
- Skewer or toothpick: insert it into the deepest part of the centre. It should come out clean or with a few moist crumbs, never with wet batter. Test in two or three spots, not just the middle.
- Instant-read thermometer: for dense cakes, cheesecakes and meatloaf, aim for the centre temperature your recipe specifies, since colour tells you very little at that stage.
- Edge pull-away: a fully baked cake has begun to shrink slightly away from the sides of the pan.
- Surface spring-back: press very lightly on the centre with a fingertip. A gentle spring that leaves no dent means done; a dent that stays means more time.
- Crumb clues: a peek at the cracked top or the edge should show a set, even crumb rather than a wet seam.
Resist opening the oven door for the first 20 minutes of a cake bake. Every opening drops the temperature and can sink a rising batter.
7. Let the Bake Cool and Rest
A different pan size changes the cooling plan as much as the baking plan. A cake baked in a deeper pan holds heat in the middle for longer, so give it a full 10 to 15 minutes in the pan before you touch the edges. Shallow sheet-style bakes usually release in about 8 to 10 minutes.
Cool on a wire rack rather than in the pan, and leave 60 to 90 minutes before frosting or slicing. Thin cakes actually need a full hour so the crumb sets enough to cut cleanly. Frosting a still-warm cake melts the frosting and pulls crumbs out of the top.
Common Mistakes
Almost every bad pan-size bake traces back to one of these. Each one has a straightforward fix.
| Symptom | Likely cause | Fix |
|---|---|---|
| Burnt dark edges, raw centre | Batter too deep for the pan area | Scale the batter down to the pan area, or split it across two pans |
| Cake sank in the middle | Pan filled more than two-thirds full | Pour a thinner layer or use a larger pan |
| Thin, dry, tough crumb | Batter spread thin across a wide pan | Use a smaller pan or add depth with a collar; check 10 minutes earlier |
| Edges overcooked, centre underbaked | Dark metal pan, or convection used as written | Drop 25 degrees or tent with foil after halfway |
| Cake tears when turned out | Left in the pan too long | Cool 10 to 15 minutes only, then turn onto a rack |
| Pale, flat cake | Baking powder scaled down like flour | Scale flour and sugar by area; hold leavening nearly flat |
Two more mistakes come up constantly. Scaling only the diameter is the big one: going from a 9-inch to a 10-inch round pan does not give you 22 percent more cake, it gives you 23 percent more area, and by 12 inches it is closer to 78 percent. And covering the batter with foil to stop it browning traps steam and softens the top, which is only a rescue for a cake that is genuinely over-browning.
A quick habit that prevents most of it: before mixing, pour your estimated batter into the new pan and check the level with a ruler. Two-thirds full is the sweet spot for a layer cake, a little less for brownies and bars, and a fuller pan for loaf cakes and quick breads.
Frequently Asked Questions
How to reduce baking time for different size pans?
Reduce the time when the batter stays at the same depth but sits in a smaller or shallower pan. Keep the recipe temperature, cut the stated time by 10 to 15 percent for a pan with about 75 percent of the original area, and start probing 10 minutes early. If you are also cutting the batter amount, the depth is thinner, so check even earlier. The doneness checks matter more than the clock.
How do I convert baking times for different pans?
Convert by area, not by diameter. Divide the new pan’s base area by the original pan’s base area, scale every ingredient by that number, then use the area ratio to set a starting time: same time near a ratio of 1.0, about 25 to 30 percent longer at 1.5, and roughly 10 to 15 percent shorter at 0.75. Then verify with a skewer instead of trusting the timer.
Can I use a 9×9 pan instead of 9×13?
Yes. A 9×9 pan has 81 square inches of base area against the 9×13’s 117, so multiply your ingredients by about 0.69 to keep the same batter depth. Set the timer for roughly 15 to 20 percent less than the 9×13 time and start checking early, since the shallower square pan sets its edges faster than the deeper rectangular one.
Can I use 2 9 inch pans instead of 3 8 inch pans?
You will come up a little short. Two 9-inch rounds give about 128 square inches of base area; three 8-inch rounds give about 151. To fill two 9-inch pans properly, use about 85 percent of the three-layer batter, and leave a thinner, crisper cake. Keep the same oven temperature and check doneness about 5 minutes earlier than the original layer time.
Do you change the oven temperature when you change pan size?
Usually not. Keep the recipe temperature unless the change is extreme: go about 25 degrees higher when you move to a much smaller, shallower pan, and about 25 degrees lower for a much deeper pan, a dark metal tin, or glass. Convection ovens are the exception, since they usually bake 25 degrees cooler than a conventional oven at the same setting.
What happens if I overfill my cake pan?
Overfilling is the most common way a substituted pan fails. Batter past two-thirds full rises over the rim, the centre cannot set before the outside overcooks, and the cake usually collapses in the middle. Frosting or chocolate that is poured on a raw centre will slide off. Scale the batter to the new area, and if it will not fit, bake it in two pans instead.
Measure the new pan, divide the base areas, scale the batter, and set the timer for the original time so you can probe from there. That single habit is how you adjust baking time for a different pan size without wasting a batch, and it works the same way for a layer cake, a loaf of quick bread, a half-pan of brownies or a sheet cake for a crowd.