Most broken buttercream is not ruined. It happens because the fat and the sugar-and-liquid phase stop holding together, almost always from temperature, and the fix is to change that temperature while the mixer keeps running. If the frosting is greasy, split or chunky, warm the outside of the bowl. If it is loose and sliding off the spoon, chill it for 10 to 20 minutes and whip again. Either way you are usually ten minutes away from a usable frosting.
A quick triage before you touch anything:
- Oily sheen, yellow streaks, curdled look — too cold. Warm the bowl.
- Drips off the spatula, no body — too warm. Chill the bowl.
- Sandy or gritty, especially on the tongue — undissolved sugar. Sift and add liquid.
- Firm, chalky, tears the paper when you spread it — too stiff. Add liquid a little at a time.
Most of these take under 15 minutes of work. Here is what to have on hand and the five repairs, in the order you should try them.
Table of Contents
- What You Need
- How to Fix Broken Buttercream: Step-by-Step
- Repair 1: Fix Greasy or Separated Buttercream
- Repair 2: Fix Grainy or Lumpy Buttercream
- Repair 3: How to Fix Broken Buttercream That Is Too Stiff
- Repair 4: Thicken Watery Buttercream
- Repair 5: Restore Deflated or Airy Buttercream
- Common Mistakes
- Frequently Asked Questions
- Can I fix cold buttercream?
- Why is my buttercream greasy or split?
- How much milk should I add to stiff buttercream?
- Can I fix buttercream after storing it overnight?
- How do I know when buttercream is smooth enough to decorate with?
- Conclusion
What You Need
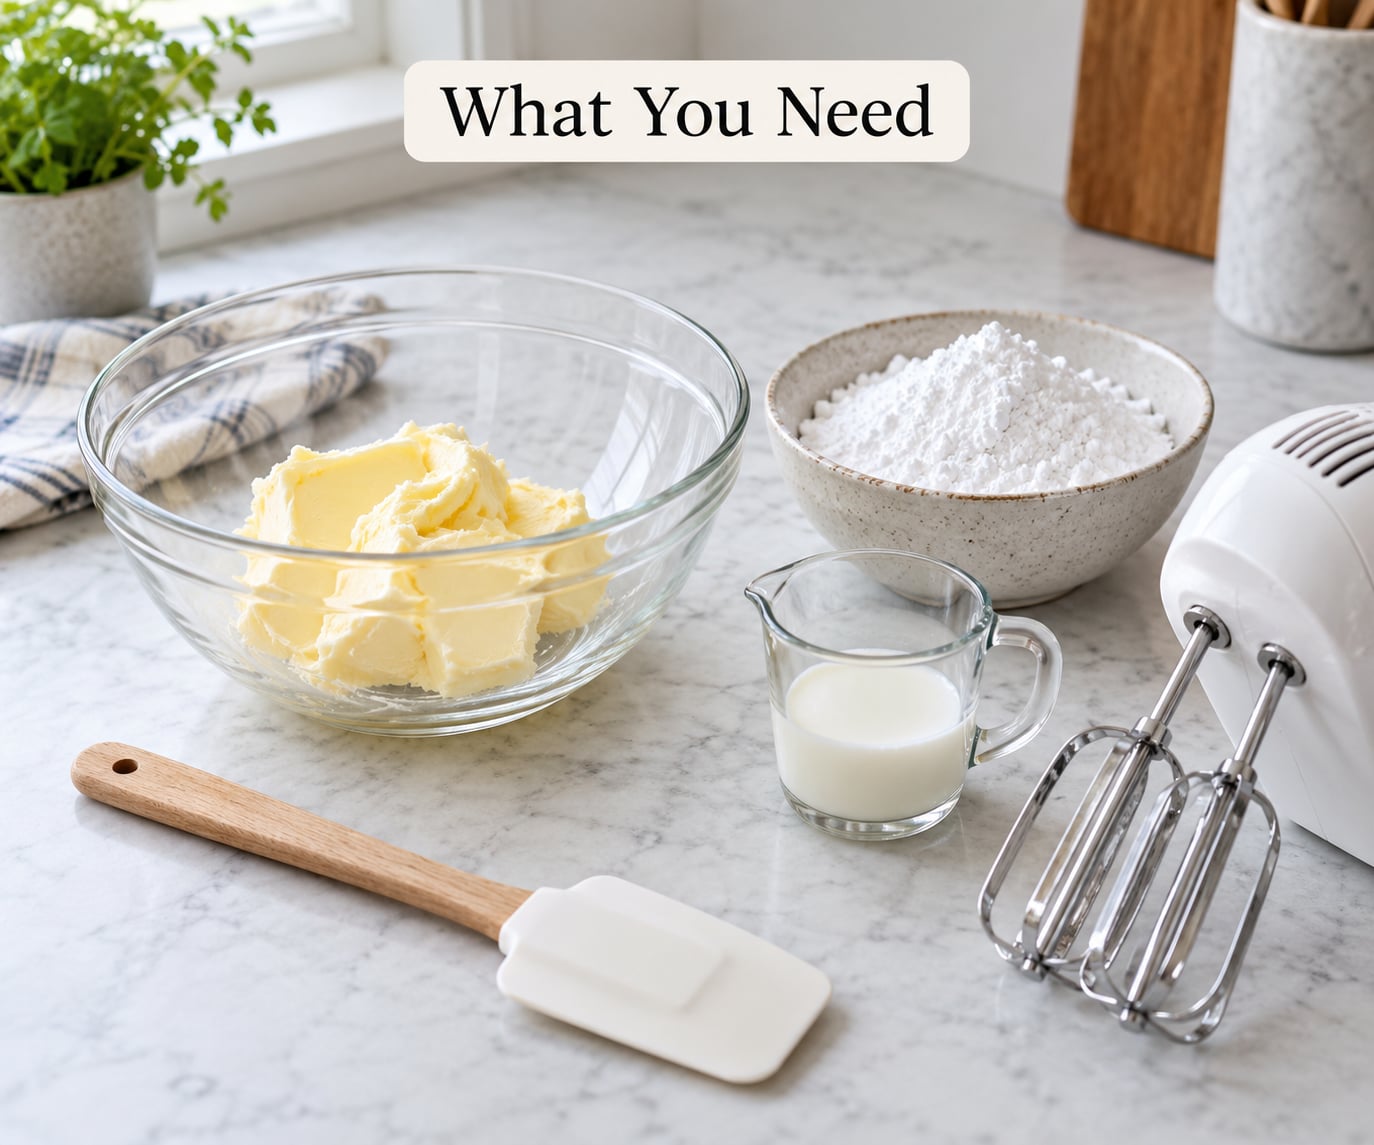
The repair depends entirely on how the buttercream failed, and you cannot pick the right method until you know which of those four things you are looking at. So gather the basics first. It is a short list, and most of it is already in your kitchen.
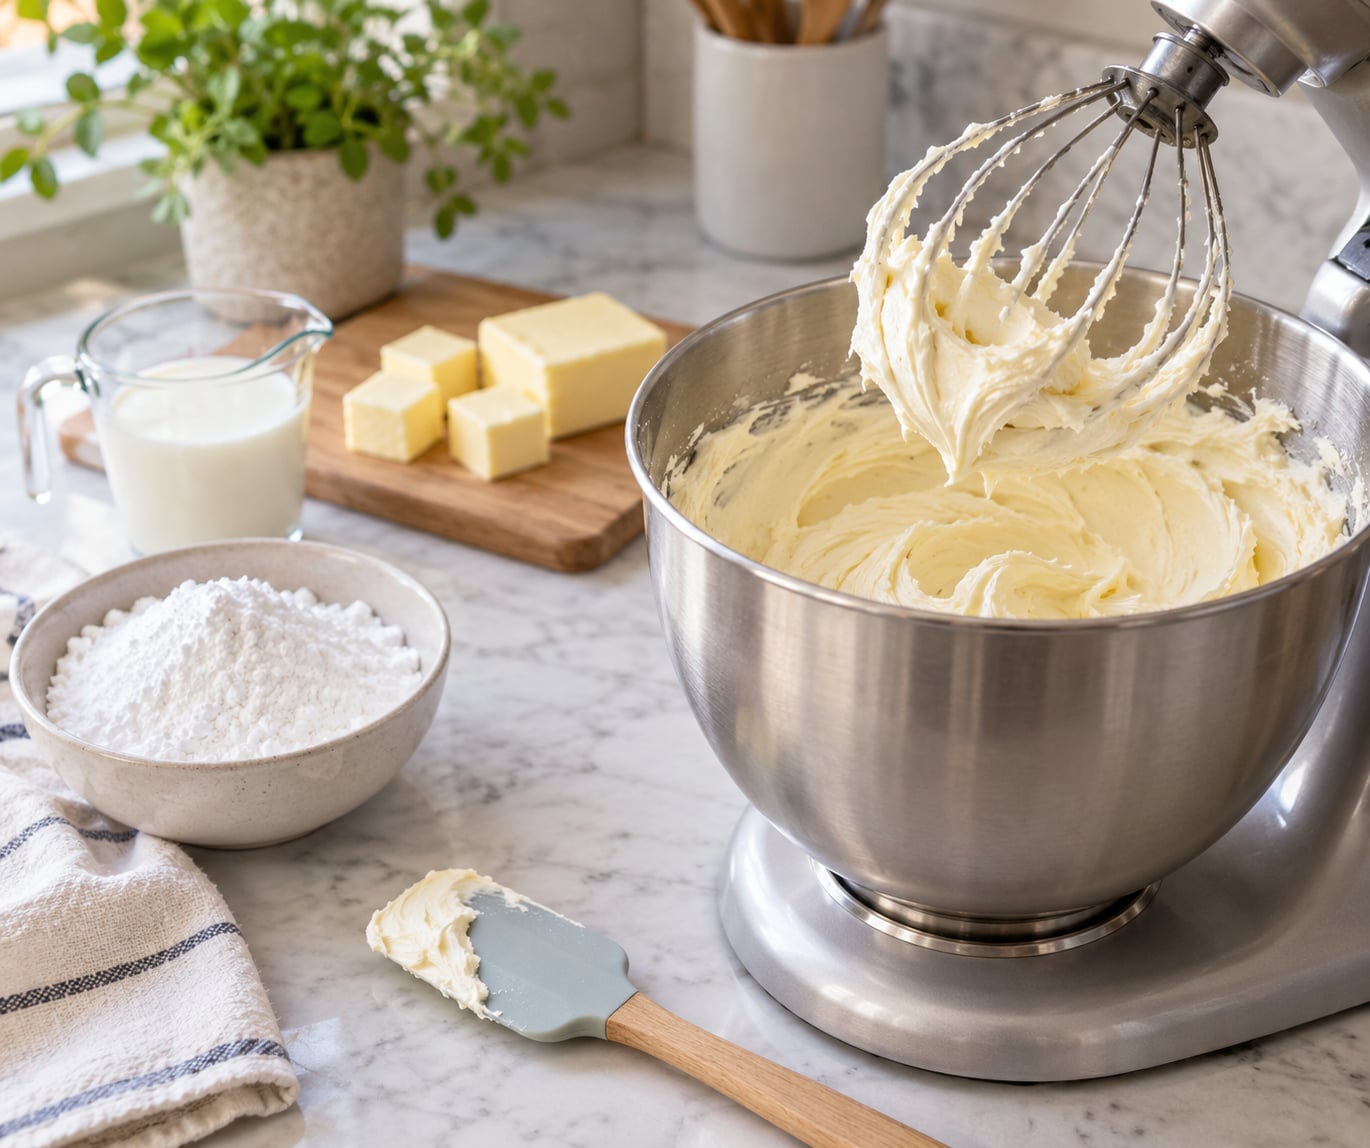
- Softened butter — cool enough to feel firm, soft enough that your thumb dents it without pushing through, roughly 65 to 68°F (18 to 20°C). This is your heat source for a split frosting.
- Powdered sugar — the same bag you already used, sifted. For grittiness you want a pure cane sugar rather than beet sugar, which dissolves more slowly and leaves a sandy finish.
- A liquid — milk, water, heavy cream or vanilla extract. Milk and water are the reliable choices because they are already in most American buttercreams.
- A spatula, for scraping down the bowl walls and for pressing stubborn powder against the side.
- An electric mixer, ideally a stand mixer, because you need a free hand for the hairdryer, the warm water or the fridge.
- Two tools for temperature — a hair dryer or a bowl you can sit in a warm water bath. An ice pack covers the opposite problem.
- Optional: gel food coloring, added at the very end once the frosting is smooth. It is one more thing that can thin a finished batch.
One more piece of gear is worth having: a second bowl and a spatula, in case you end up dividing a split batch into smaller portions. Whipping a smaller amount warms up faster than a full mixer bowl.
How to Fix Broken Buttercream: Step-by-Step
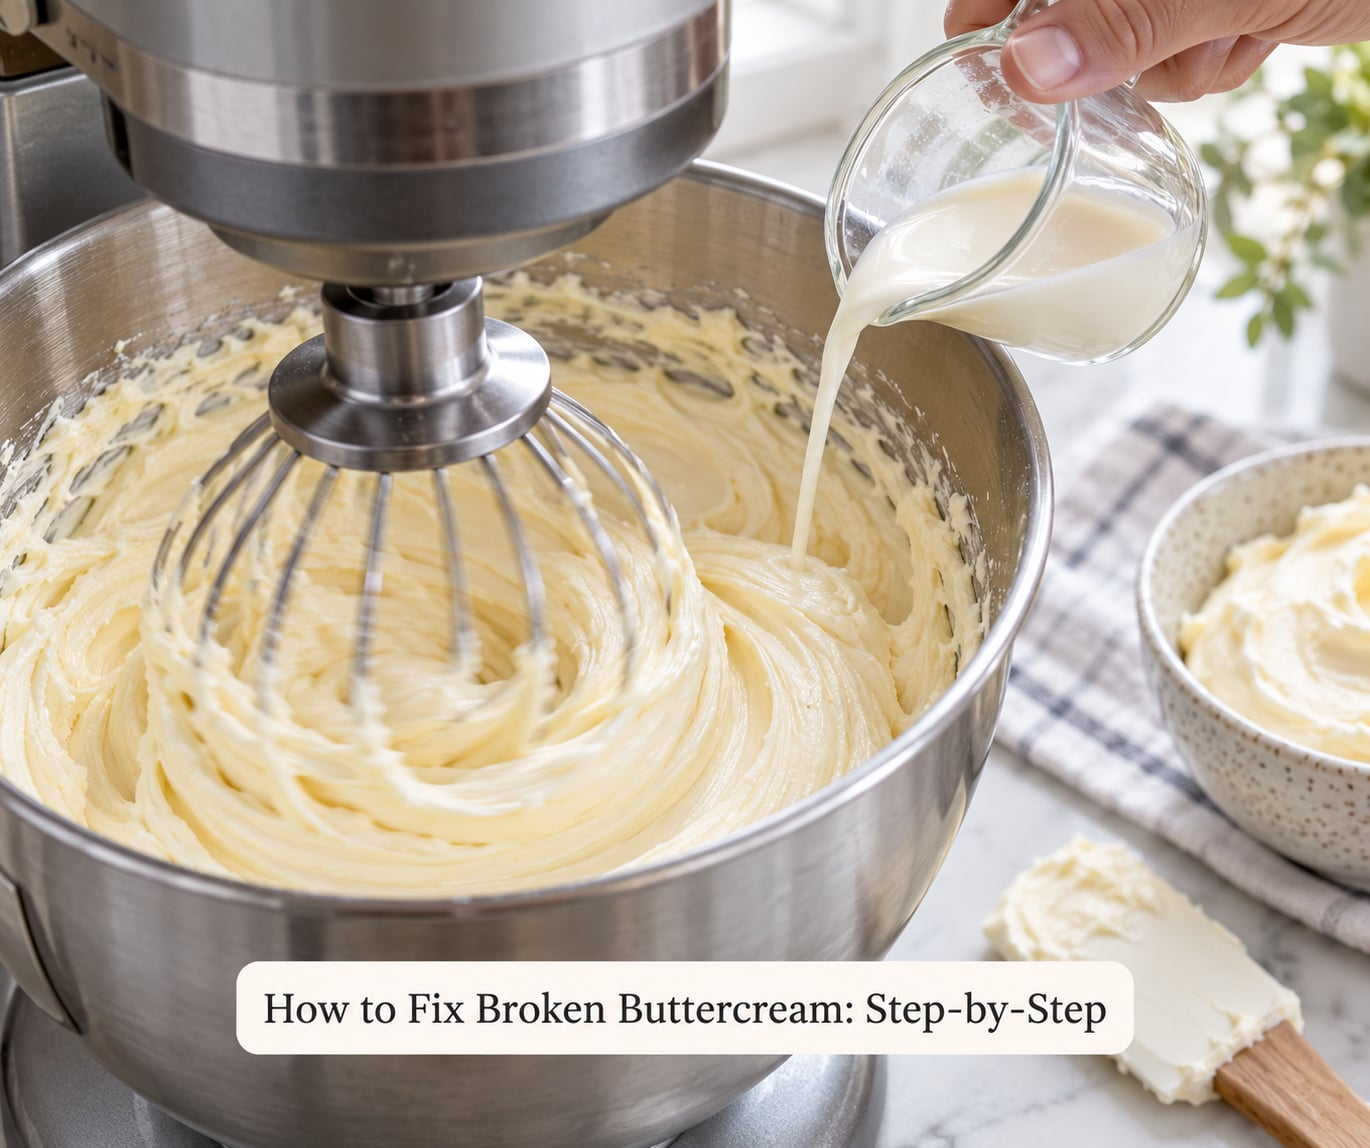
Work through these five repairs in order, and only move on when the previous one has clearly failed. Most frostings need exactly one. Start the mixer on medium speed for every method below except where I say otherwise.
Repair 1: Fix Greasy or Separated Buttercream
This is the split or curdled stage, and it looks dramatic: a thick layer of butter floating on top of a watery layer below, or yellow streaks through pale icing. It happens when cold butter hits liquid that is warmer than it can absorb.
Keep the mixer running on medium and warm the outside of the bowl. A hair dryer is the fastest option — pass it over the outside of the metal bowl for 30 to 60 seconds, keeping it moving so no single spot gets dangerously hot. A warm water bath works just as well: set the bowl in a larger bowl of hot water, not touching the water, and let the frosting warm from the outside in while you beat.
The frosting will look worse for about a minute. Then it starts pulling together into one glossy mass. Keep beating another 2 to 3 minutes after that happens and stop before you turn it to high speed, which pushes air into it and makes it fragile later.
If you do not have a hairdryer or water bath, the melted-scoop trick works. Scoop a quarter cup of the cold frosting into a microwave-safe bowl, heat it in 5-second bursts until loose, and pour it back into the running mixer. Five seconds is often enough; go longer and you are back to soup.
The sign you are finished: the color is uniform, the surface is smooth with no oily film, and it holds a soft peak when you lift the paddle.
Repair 2: Fix Grainy or Lumpy Buttercream
Gritty buttercream is a sugar problem, not an emulsion problem. You will feel it on your tongue as a fine sand, and sometimes you will see white lumps in the frosting. It usually means icing sugar went in without sifting, or you are using beet sugar, which dissolves more slowly than pure cane sugar.
Put the mixer back on medium and add liquid one teaspoon at a time. After each addition, beat for a full 30 seconds before you judge it. The grittiness usually fades within a minute or two of the liquid working into the sugar, even though the frosting looks unchanged from above.
If lumps are still floating on the surface after two additions, stop the mixer and use a spatula. Scrape the frosting to one side and press the lumps firmly against the inside of the bowl with the back of the spatula, then whip again. That mechanical pressure breaks up lumps that the beater is just pushing around.
Do not keep adding liquid hoping to dissolve sugar. Eventually you cross from gritty to watery, and now you have a second problem to fix. Two teaspoons is a sensible ceiling for a single batch.
Repair 3: How to Fix Broken Buttercream That Is Too Stiff
Frosting that tears the parchment when you try to spread it has gone too far the other way, and it is the easiest problem to fix. You are looking for a frosting that drags slightly and still holds a sharp edge.
Add milk, water or vanilla a teaspoon at a time with the mixer on medium. Beat 30 to 60 seconds between additions so the liquid fully incorporates before you add more. You are watching for the frosting to move from crumbling to smooth, and that change usually shows up a full minute after you think it should have.
Stop adding the moment it spreads without tearing. The right consistency depends on the job. For crumb coating you want it a touch firmer so it does not slide. For piping borders, slightly softer than you think, because piping bags squeeze. For spreading textured finishes, soft enough to pull cleanly off the spatula.
The mistake here is adding a whole tablespoon “to get it over with.” You cannot remove liquid once it is in, and a thin batch usually ends up grainy after you throw powdered sugar at it to fix it.
Repair 4: Thicken Watery Buttercream
Runny frosting that runs off the spatula and puddles instead of holding a line is too warm or too wet. Before you add anything, put the bowl in the fridge for 10 to 20 minutes with the paddle still turning slowly, or hold a flexible ice pack against the outside of the bowl while you beat. Butter fat has to firm up before sugar will stack on it.
If cooling alone does not do it, add powdered sugar in small portions. Half a tablespoon at a time, sifted directly into the bowl, beaten for at least a minute on medium. Sifting matters here more than the quantity: sugar dumped in on top stays in clumps and gives you a grainy finish to deal with next.
For American buttercream that still slumps after cooling and sugar, a tablespoon of cold butter works well. Cube it, add it, and beat until it disappears completely. That is often the cleanest route because it thickens without loosening at the same time.
Know your type before you reach for sugar. A thin Swiss or Italian meringue buttercream gets its structure from cooked egg whites, not fat, so cooling the bowl and whipping hard on medium is the whole fix. Pouring more sugar into a meringue buttercream only makes it sweet without making it stiffer.
Repair 5: Restore Deflated or Airy Buttercream
Buttercream that went flat, collapsed or is deflated has lost the air that gave it volume. It happens when it was over-beaten, when a thin batch was mixed too long, or when too much liquid forced the fat and sugar apart.
Start at low speed to knock out the large bubbles, then move up to medium for short bursts of about 30 seconds, checking in between. Warming the bowl as you go helps, since warm fat traps air better than cold fat. A spoonful of powdered sugar gives the foam something to hang onto.
Stop while it is still spreading smoothly. Airy frosting that you push past this point turns dull and grainy, and the volume you gained in the first two minutes will be gone.
Splitting a very large batch into two bowls sometimes rescues frosting nothing else touches. Smaller volume warms faster, and the emulsifying action of the paddle reaches the whole batch sooner.
Common Mistakes
Most failed repairs come from doing too much at once. These are the moves that turn a fixable problem into a bin.
Adding liquid in a pour rather than a teaspoon. You cannot take it back out. Every method above adds one teaspoon and then beats for 30 seconds, and that patience is the difference between smooth frosting and a puddle.
Using melted butter to loosen stiff frosting. Liquid butter cools and solidifies into a soft lump, which gives you a new broken texture to fix. Softened butter works because it is already at the temperature you want.
Turning the mixer to high speed. Over-mixing heats the fat and air, speeds up separation and deflates the frosting. Medium is the working speed for every repair here.
Ignoring temperature and reaching for ingredients instead. This is the big one. If you fix a temperature problem with sugar or cream, you have not fixed anything, you have added a second failure to the first one.
Treating a condensation problem as an emulsion failure. A cold bowl straight from the fridge picks up moisture from a warm kitchen, and that water can make an otherwise good frosting weep. Let the bowl lose its chill before you decide it is broken.
Adding more icing sugar as the first move for a split batch. It works sometimes, but it raises the sweetness of the frosting and you will taste it in the finished cake. Temperature first, sugar second.
And when a frosting is curdled or separated, it is generally safe to eat. It is an emulsion that came apart, not a food-safety problem. Discard it if the butter smelled off before you mixed, or if the frosting has sat at room temperature for more than 2 hours after handling. Cream, egg and milk-based buttercream belongs in the fridge and used within about 4 days.
To stop it breaking next time, use butter that dents under a thumb without glistening, sift the icing sugar, add liquid slowly with the mixer already running, and work in a kitchen between roughly 68 and 75°F (20 and 24°C). Plant-based butter carries more moisture than dairy butter, so vegan batches break more often, and brands vary widely, so treat the first one from a new tub as a trial run.
Frequently Asked Questions
Can I fix cold buttercream?
Yes, and this is the easiest fix of all. Put a bowl of buttercream straight from the fridge back on the mixer at medium speed, then warm the outside of the bowl with a hairdryer for 30 to 60 seconds or by sitting it in a bowl of hot water. Keep beating until it is glossy and holds a soft peak. It usually comes back within five minutes.
Why is my buttercream greasy or split?
Buttercream is an emulsion, and grease means the fat and the sugar-and-liquid phase have pulled apart. Cold butter added too fast into a warm mixture is the usual cause, especially with plant-based butter, which holds more moisture than dairy butter. If the frosting is greasy, warm it. If it is sliding off the spatula, the opposite happened and it needs chilling instead.
How much milk should I add to stiff buttercream?
Add one teaspoon at a time, beating 30 to 60 seconds between additions so the liquid works in fully. Most stiff American buttercream needs two to four teaspoons across the whole batch. Stop the moment the frosting spreads without tearing the paper, because extra milk cannot be removed. If you are buttering a cake layer, aim slightly firmer than feels natural; piping bags squeeze the frosting thinner as you go.
Can I fix buttercream after storing it overnight?
Yes. Cold storage makes even good buttercream stiff and dull, but it is not broken. Bring it to the mixer, leave it just long enough to lose the fridge chill, and beat on medium. If it seizes into a stiff, lumpy mass, warm the outside of the bowl while it turns. If it loosens as it warms, stand the bowl in an ice bath and keep whipping. Both directions usually take under ten minutes.
How do I know when buttercream is smooth enough to decorate with?
Scoop a tablespoon and turn the paddle or spoon upside down. The frosting should cling without running off, and its surface should look glossy and even with no oily film. For piping borders, it should hold a soft peak that bends at the tip when you lift the spoon. For spreading and crumb coating, it needs to drag a faint line and leave a clean, straight edge on the cake without tearing the surface.
Conclusion
Start by naming the problem, not the fix. Greasy and split means cold, runny means warm, gritty means sugar, stiff means it needs liquid. Then make one small adjustment, beat it fully, and test against the job you are actually doing, whether that is a crumb coat or a border.
Repair only the amount you need rather than the whole bowl, and keep cream, egg and milk-based buttercream in the fridge, used within about four days. Most broken frosting is ten minutes of work away from the cake it was meant for.