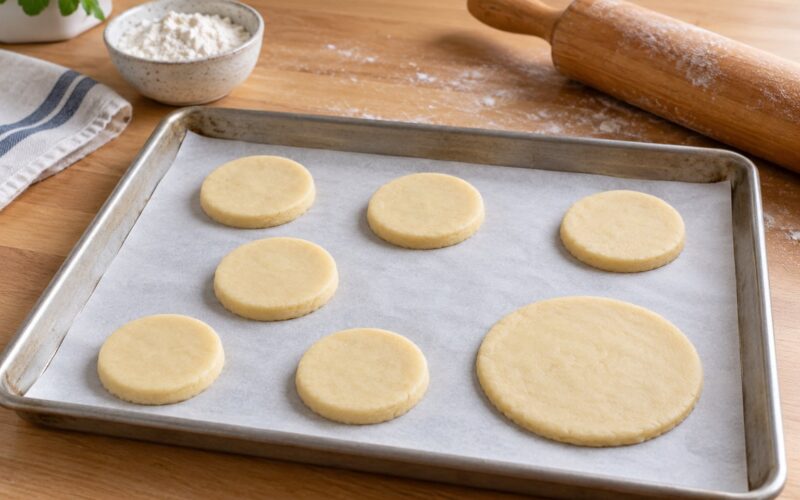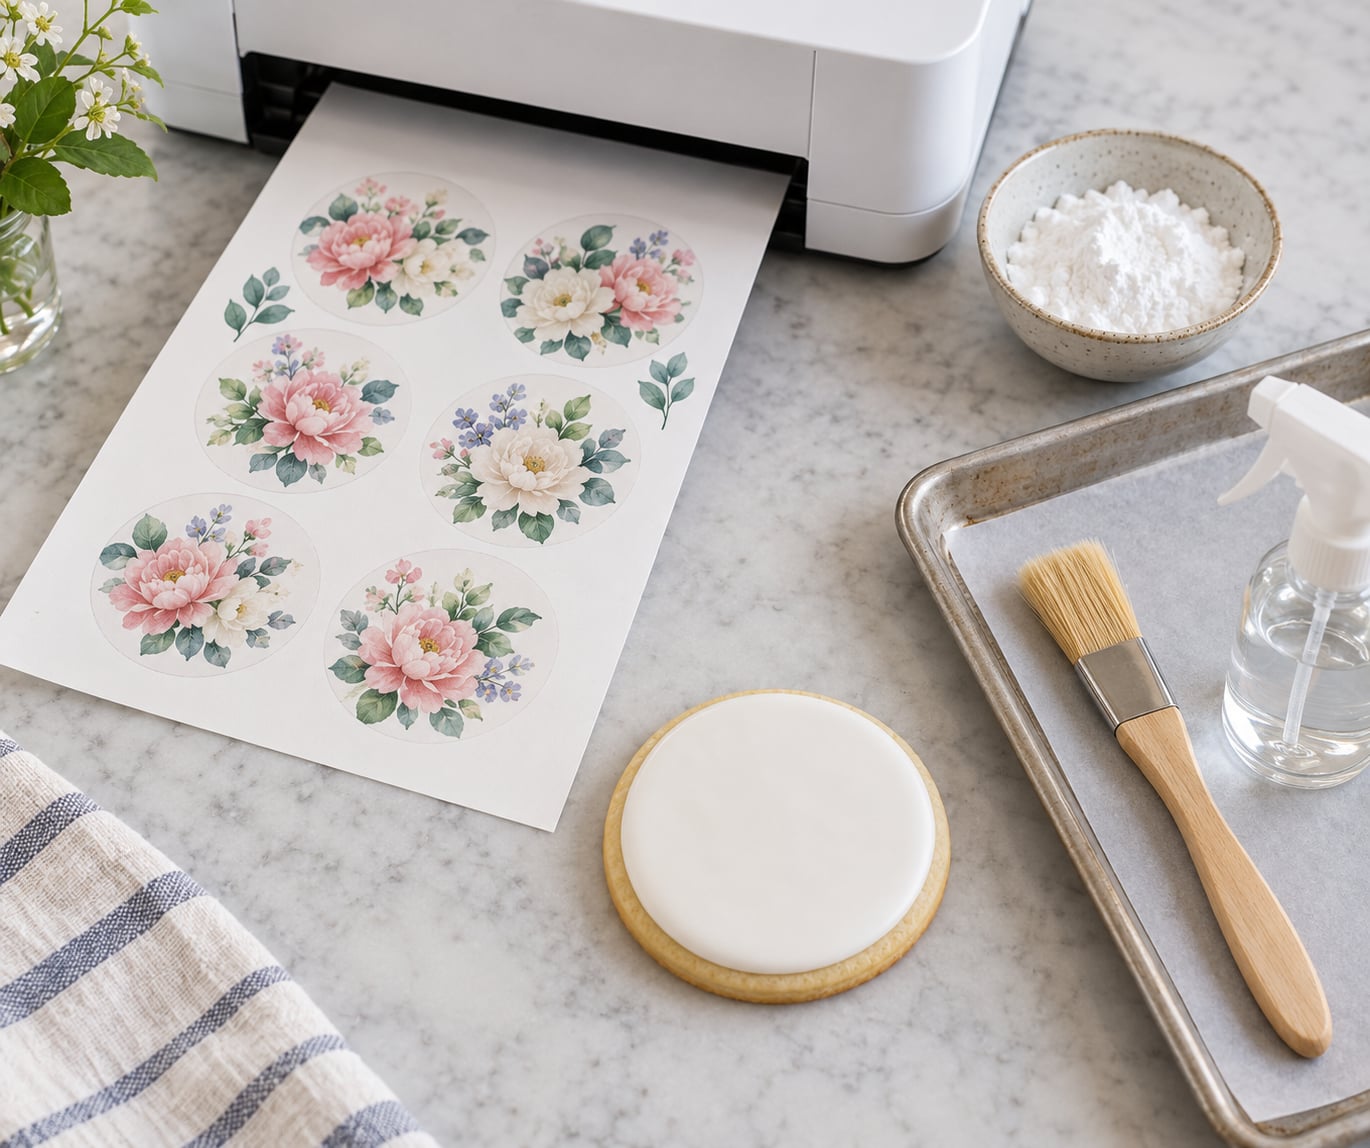
How to use edible ink printing for cookies is mostly about preparation: food-safe ink only touches an edible surface, the design is sized for the printer, and the cookie is flat, cool, and dusted before anything gets printed on it. Most of the smudged, blurry results people complain about come from skipping those three things. The whole process takes about 20 minutes of setup per batch plus drying time, and the first attempt is easier than it sounds.
I do this for personalized birthday cookies and school events, and the routine settles fast once you stop treating it like a craft project. Here is the workflow I use, in the order that matters, including the places where things go wrong.
Table of Contents
- What You Need
- Step-by-Step: How to Use Edible Ink Printing for Cookies
- Step 1: Prepare a Printer-Friendly Design
- Step 2: Set Up the Edible Ink System
- Step 3: Print the Design
- Step 4: Transfer the Image to the Cookie
- Step 5: Finish and Store the Cookies
- Common Mistakes
- The print is patchy or streaked
- The image looks blurry or pixelated
- The paper sticks to the cookie when lifting
- Colors bleed into each other
- The finished image cracks when the cookie moves
- Cookies go soft in storage
- Frequently Asked Questions
- Can you use a regular printer to print edible ink for cookies?
- What type of icing works best for edible ink cookie printing?
- Do you need a special edible ink transfer sheet?
- How long should printed edible images dry before transfer?
- Can edible ink printing be used on any cookie shape?
- Is edible ink printing safe for cookies served to children?
What You Need
Gather everything before you start printing, because mid-batch hunting for a mister is how icing ends up on your keyboard.
- A printer. A standard inkjet printer with manual or rear-feed tray works for frosting sheets and wafer paper. Direct-to-food printers like Primera’s Eddie go further and print straight onto an iced cookie with no paper step at all.
- Food-safe edible ink. Either refillable edible cartridges that fit your printer model, or the cartridge set that came with a direct-to-food printer. Only use ink labelled food-safe and FDA compliant.
- An edible surface. Frosting sheets (also called icing sheets) for sheet printing, wafer paper for a lighter taste, or a cookie with a flat royal icing or buttercream base for direct printing.
- Adhesive. Edible glue, light corn syrup, or a fine water mist in a spray bottle.
- Cornstarch and a soft pastry brush for dusting the cookie.
- Design software. Any layout program works. Swift Publisher, Canva, or even a Word document set to the exact cookie size handles sizing and centering well.
- Drying gear. A small fan, parchment-lined trays, and airtight containers once the cookies are finished.
- Finishing extras. Piping bag and tip, food-safe luster dust, tweezers, and gloves if you are working for someone with allergies.
One safety habit worth building in: keep the edible ink cartridges and any regular ink cartridges in separate labelled containers, and never print a document with edible ink loaded that is not food-related. A misfired page is not recoverable.
Step-by-Step: How to Use Edible Ink Printing for Cookies
Step 1: Prepare a Printer-Friendly Design
Size the image to the exact cookie you are printing on, not to the screen.
Set your document to the cookie’s diameter and drop the image in to fill it. When I print edible images, I keep the photo area slightly smaller than the cookie so a thin border of icing shows around it, which hides any edge that transfers imperfectly.
Check the pixel math before you print anything. An image 1000 pixels wide printed at 3 inches lands around 330 DPI, which is sharp. That same image printed at 6 inches drops to roughly 170 DPI and looks soft on paper and worse on icing.
Simplify the artwork too. Fine grain in a face, thin lettering, and busy backgrounds all fill in with ink and blur together. Flat color blocks and bold type survive the process best.
Step 2: Set Up the Edible Ink System
Install the edible cartridges, shake them gently, and confirm the printer recognises them before you waste a sheet.
Printers behave differently with edible ink. Most run a setup cycle on first use and some refuse to print until you select the new cartridge in the print dialogue and choose the correct paper type, usually plain or matte photo paper in the driver settings.
Print one plain test line on a scrap sheet of frosting paper. You want solid, even color with no gaps and no regular pinstripe pattern. Pinstripes that appear in one direction across the page usually mean a cartridge needs another shake or a second priming cycle.
For direct-to-food printers, run the nozzle cleaning cycle the manufacturer specifies instead. A blocked nozzle shows up as a clean vertical stripe through every image, and clearing it early is faster than reprinting twenty cookies.
Step 3: Print the Design
Print on the edible surface using normal or best quality, with the color saturation turned down slightly.
Heavy ink sits on the surface as a raised film, which cracks when the cookie flexes. Turning saturation down about 15 to 20 percent gives a flatter deposit that stays bonded to the icing.
Check the fresh sheet under good light before it dries. You are looking for full coverage inside every line, colors that are saturated but not shiny-wet, and no feathering at the edges of solid shapes. If it looks right, leave it flat and undisturbed while it dries to the touch, usually a few minutes depending on your humidity.
Step 4: Transfer the Image to the Cookie
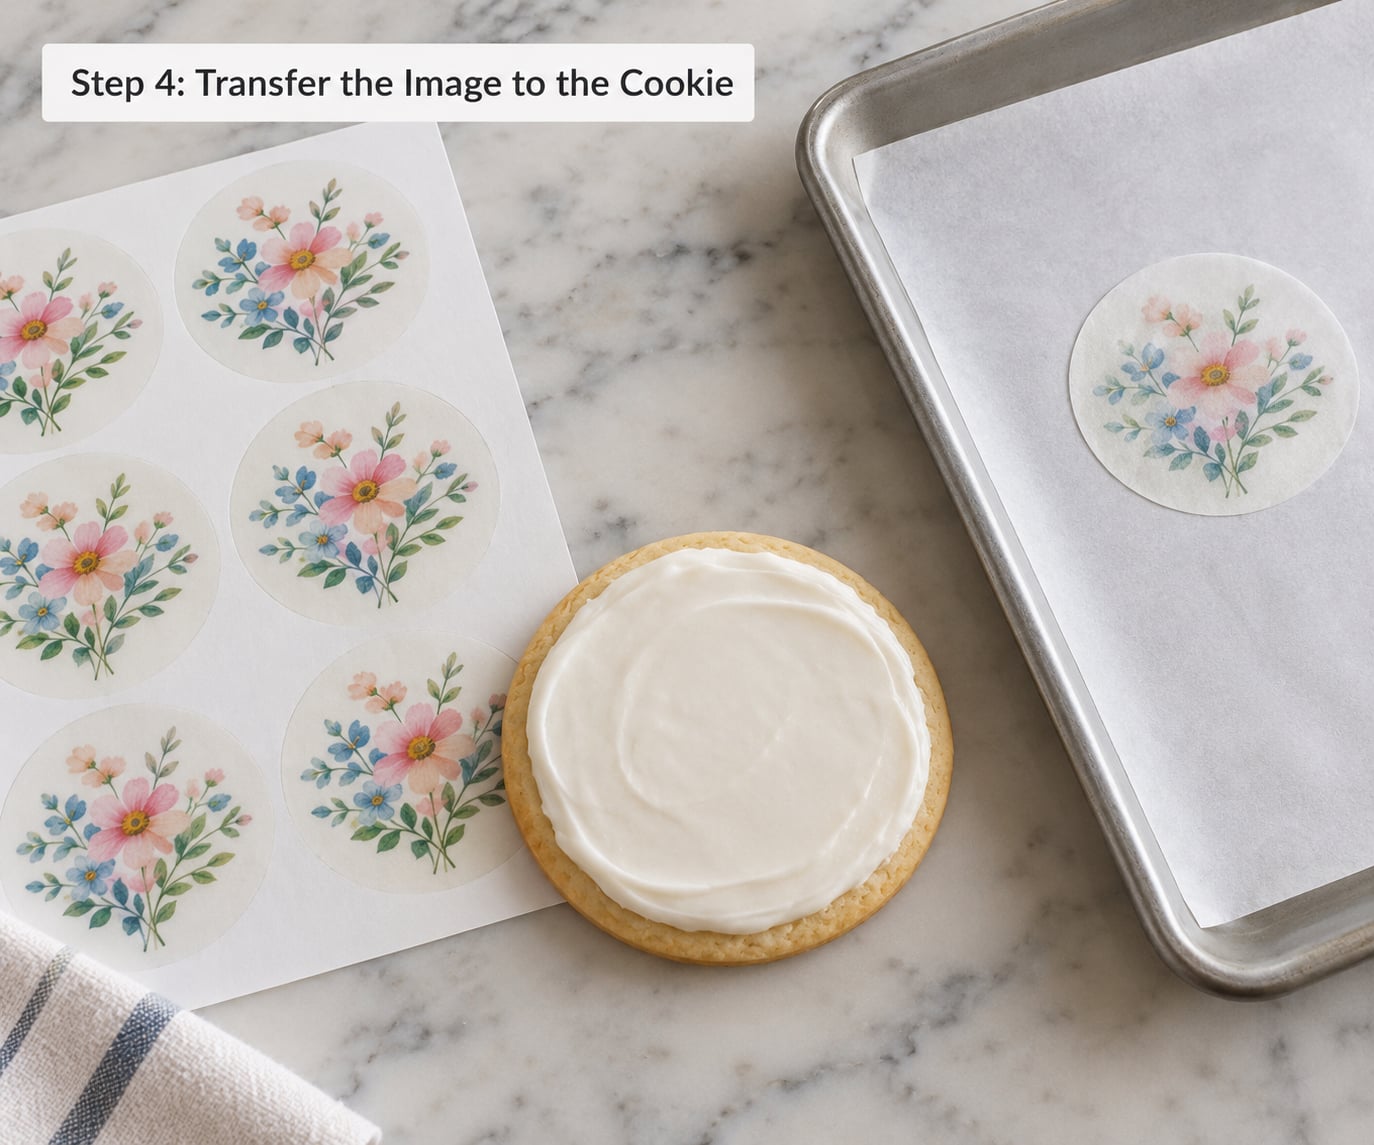
Transfer the dried print by icing the cookie, laying the sheet on top, and pressing gently.
First the cookie has to be ready. Cool it completely, then dust it lightly with cornstarch using a soft brush. The cornstarch absorbs surface moisture and gives the ink something dry to grip. Tap off the excess so no white powder shows through the finished image.
For sheet transfers, spread a thin layer of royal icing or buttercream on the cookie, about the thickness of a coat of paint and no more. Pipe a little icing around the outer edge of the cookie so the sheet has a border to stick to.
Lay the printed sheet face up, pick it up by the edges, and set it down in one motion. Press with the flat of your fingers across the whole surface, working from the center outward in small circles. Bubbles get pushed to the edge instead of staying trapped under the middle.
Lift the paper slowly from one corner while holding the cookie down. If the sheet drags or the icing sticks to the paper, stop, press again, and try a drier surface. Pulling fast takes the top layer of icing with it.
For direct-to-food printing, skip all of this. The printer lays the image onto the iced cookie itself, so your only job is a clean, level surface underneath.
Step 5: Finish and Store the Cookies
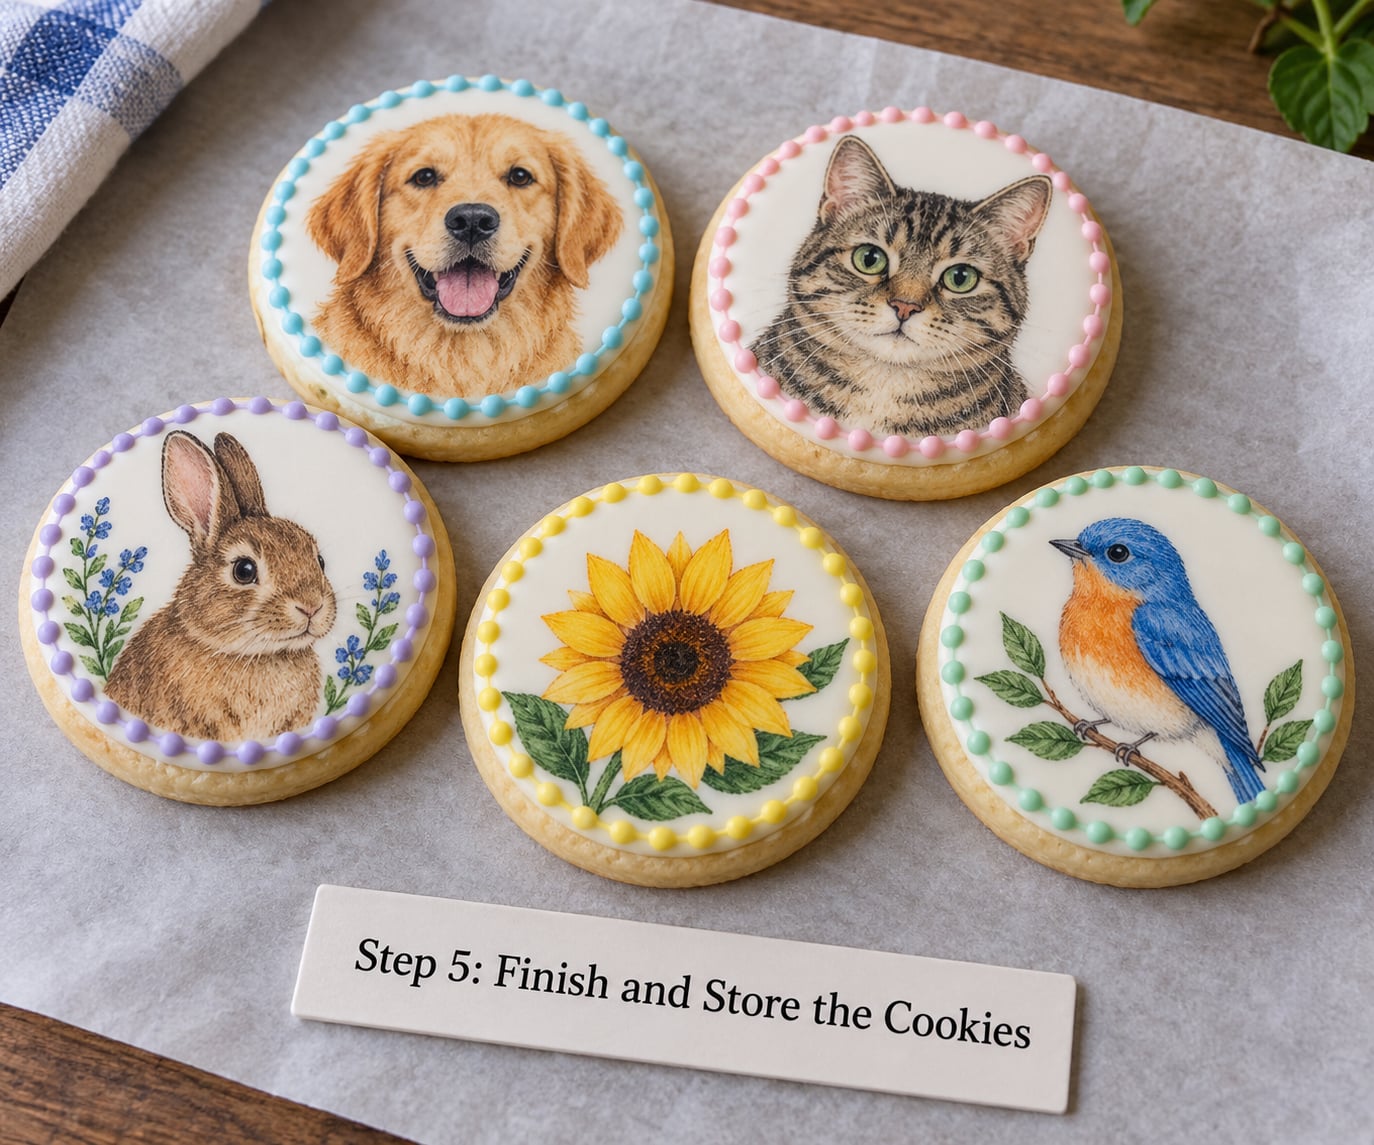
Dry each print fully before you touch, pipe, or package it.
Let the cookies sit on a flat tray under a gentle fan for about an hour, until the surface is dry to a light touch with no tack. Then you can finish them. Piping a thin border over the edge of a dry print hides transfer imperfections and makes a flat photo cookie look intentional, which is the trick most decorated-cookie videos use.
Luster dust brushed over a fully dry print gives it a metallic finish. It needs its own setting time before you stack anything.
Store finished cookies in a single layer or separated by parchment in an airtight container at room temperature. Keep them out of the fridge, where condensation forms as the temperature cycles and softens the icing. A crisp cookie can go stale long before the printed image does.
If a cookie will not be eaten within a few days, freeze it in a single layer, move it to a bag, and thaw at room temperature with the container closed so no condensation lands on the image.
Common Mistakes
Almost every failure in edible ink printing has a short fix. Work down this list in order when something looks wrong.
The print is patchy or streaked
The ink did not cover the surface evenly. Shake and re-prime the cartridge, run a nozzle cleaning cycle, and raise the print quality setting. Thin, striped gaps usually mean a partially clogged nozzle rather than a low ink level.
The image looks blurry or pixelated
The source image was too small for the print size. Rebuild the design from a higher-resolution file or print it smaller, and keep solid shapes instead of fine detail.
The paper sticks to the cookie when lifting
The icing under the sheet was still wet. Use a thinner icing layer, dust the surface with cornstarch first, and lift the paper slower from a corner while pressing the cookie down with your other hand.
Colors bleed into each other
The surface was still damp or too warm. Cool the cookie fully before printing and let the fresh print dry on its sheet longer than feels necessary. Printed sheets that go onto a warm cookie will blur immediately.
The finished image cracks when the cookie moves
The ink deposit was too thick. Reduce color saturation at print time so the ink sinks into the icing instead of sitting on it as a film.
Cookies go soft in storage
Moisture got in. Store fully dry cookies in an airtight container, avoid the fridge, and let condensation-free cookies cool before you close the lid.
Two habits cover most of it: dust the cookie with cornstarch before it goes near the printer, and be patient with drying at both stages. The print that fails almost always fails at one of those two points.
Frequently Asked Questions
Can you use a regular printer to print edible ink for cookies?
Yes, as long as it is an inkjet printer that takes refillable cartridges. You load food-safe edible ink instead of standard dye ink and print onto a frosting sheet, icing sheet, or wafer paper, then transfer the design onto the cookie. Laser printers cannot use liquid edible ink at all, because the toner is melted onto the page with heat.
What type of icing works best for edible ink cookie printing?
A thin, smooth layer of royal icing gives the sharpest result because it sets into a hard, flat surface that does not absorb the ink. Buttercream works too, but it is softer and absorbs more color, so prints come out slightly less vivid. Whatever you use, apply it thin, let it set, and dust the surface with cornstarch before printing.
Do you need a special edible ink transfer sheet?
For sheet-based printing, yes, you need an edible surface such as a frosting sheet or wafer paper to carry the image to the cookie. Direct-to-food printers do not need one, since they print straight onto the iced cookie and skip the paper step entirely. A separate adhesive, such as edible glue, light corn syrup, or a water mist, is what bonds that sheet down.
How long should printed edible images dry before transfer?
Let the printed sheet dry flat and undisturbed until it is dry to a light touch, which usually takes a few minutes. Thick or heavily saturated areas take longer. If you are working in a humid kitchen, give it extra time rather than rushing it, because a damp sheet transfers as a blur instead of a clean image.
Can edible ink printing be used on any cookie shape?
Round and flat cookies work best, because a curved edge or a domed top catches the sheet and leaves gaps or wrinkles. Squares and rectangles print well as long as the surface is level. For store-bought sandwich cookies, print a smaller image and use it as a topper rather than trying to wrap the print around the whole cookie.
Is edible ink printing safe for cookies served to children?
Buy only ink and edible sheets labelled food-safe and FDA compliant, and never mix standard printer ink and edible ink in the same session. Printed cookies are safe to eat once the surface is fully dry. For children with allergies, check the ingredient list on the ink and sheets and keep your printer and utensils dedicated to food printing.
Start with the part that matters most: pick one cookie, size the design to it, and get a clean test print on a scrap sheet before you bake anything. Once that one print transfers without streaks, the rest is repetition at whatever scale you need. If you are new to decorated cookies, flat royal icing on a fully cooled cookie is the most forgiving surface to start on.