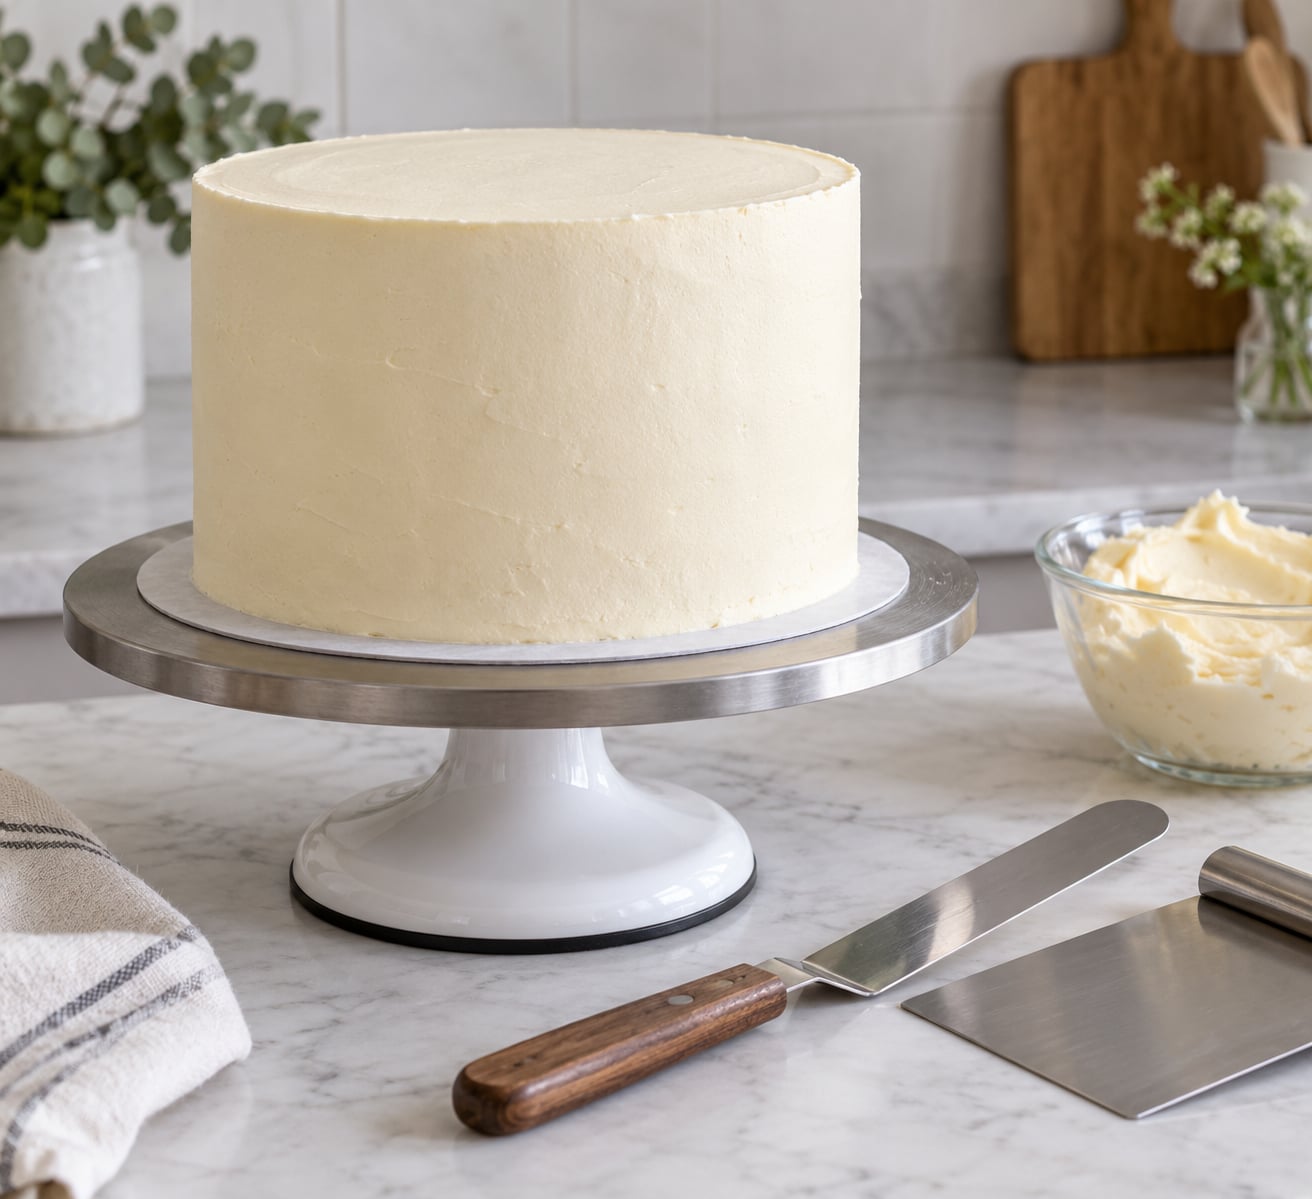
A smooth, fondant-style finish comes down to three things: a cold cake, buttercream at a spreadable consistency, and a straight-edge scraper held at roughly a 45-degree angle while the cake rotates. Thin crumb coat, a full chill, then one generous final coat. Set aside 45 to 90 minutes of active work the first time you do it.
Fondant is not the ingredient doing the work here. It is just a thick, smooth sheet of sugar that somebody rolls and drapes. Buttercream gives you the same flat sides and crisp top edge once you control the temperature, the thickness and the blade.
The three complaints that come up over and over in baking forums are streaks in the final coat, pinholes showing through the finish, and top edges that stay soft no matter how many passes you make. Each one has a different cause, so this guide works through the method first and then matches each symptom to its own fix.
Table of Contents
- What You Need
- Step-by-Step: How to Frost a Cake With a Smooth Finish Without Fondant
- 1. Chill the Cake and Firm Up the Frosting
- 2. Apply a Thin Crumb Coat
- 3. Add the Final Layer of Frosting
- 4. Smooth the Sides With a Bench Scraper
- 5. Shape the Top and Bottom Edges
- 6. Finish and Check the Smooth Surface
- How to Get the Fondant Look Without Fondant
- Common Mistakes and How to Fix Them
- Frequently Asked Questions
- Can I get a smooth cake finish with buttercream instead of fondant?
- What is the best frosting for a smooth cake without fondant?
- How do I keep crumbs out of buttercream frosting?
- Should I chill a cake before frosting it?
- How do I make buttercream frosting easier to spread?
- How do I fix a cake with uneven frosting?
- Conclusion
What You Need
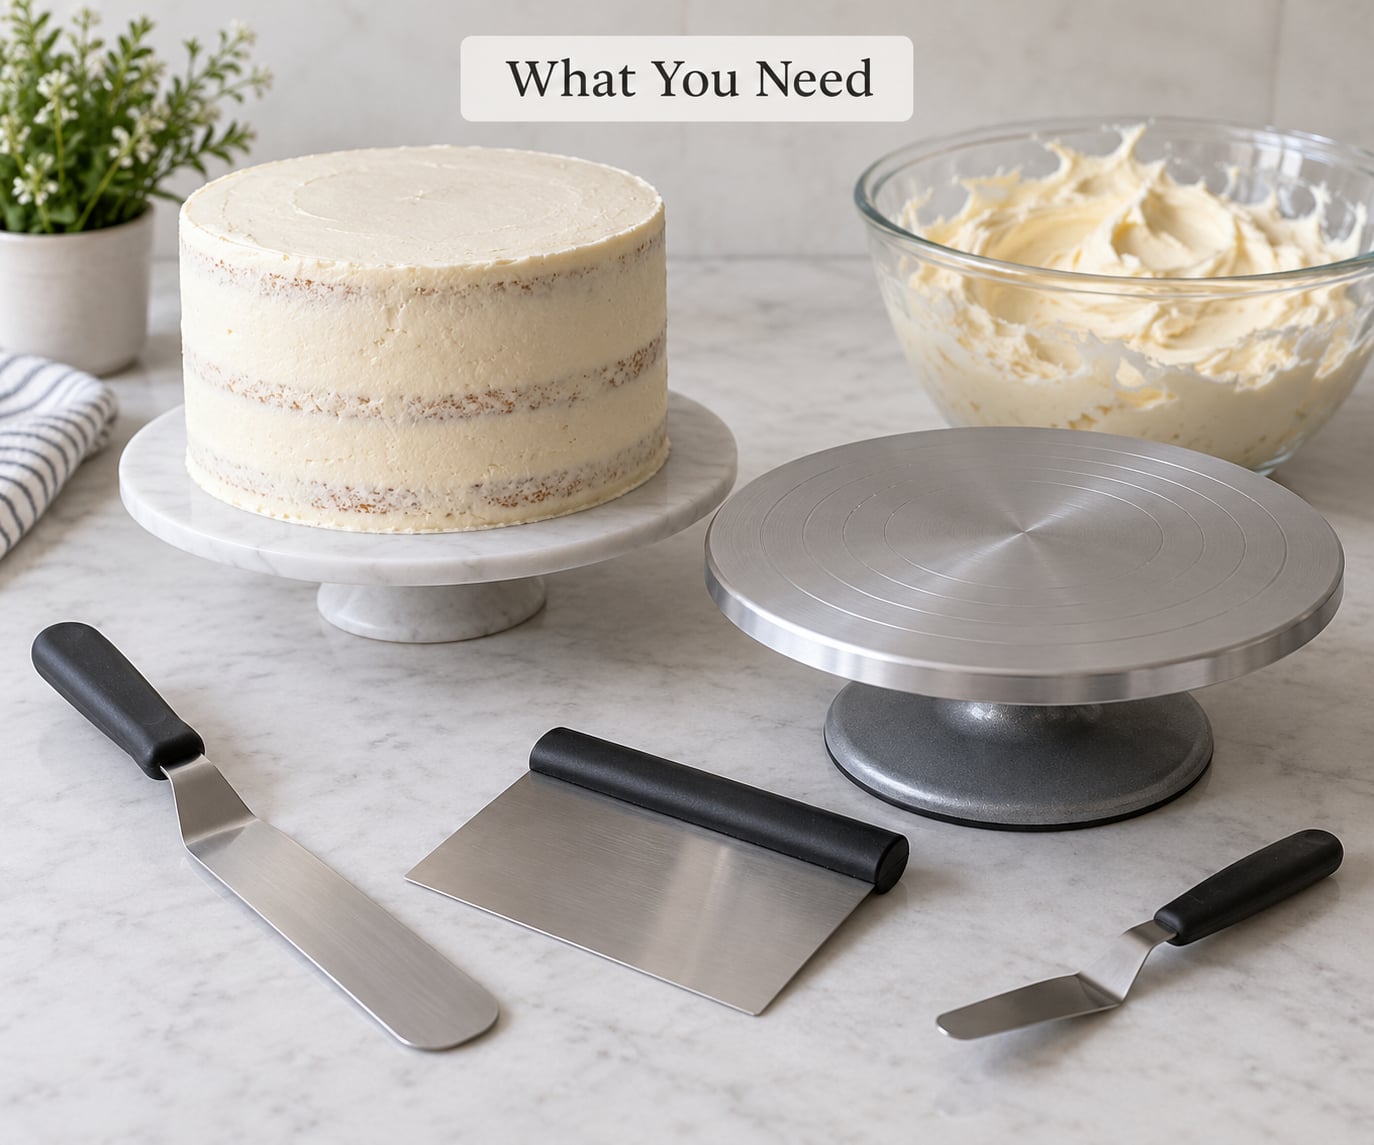
The tool list is short, and almost everything on it has a cheap stand-in. What you cannot substitute is the cold cake and the straight edge.
- Fully cooled cake layers. Warm layers melt the frosting and the crumb coat slides straight off. If you are impatient, 20 minutes in the freezer beats waiting.
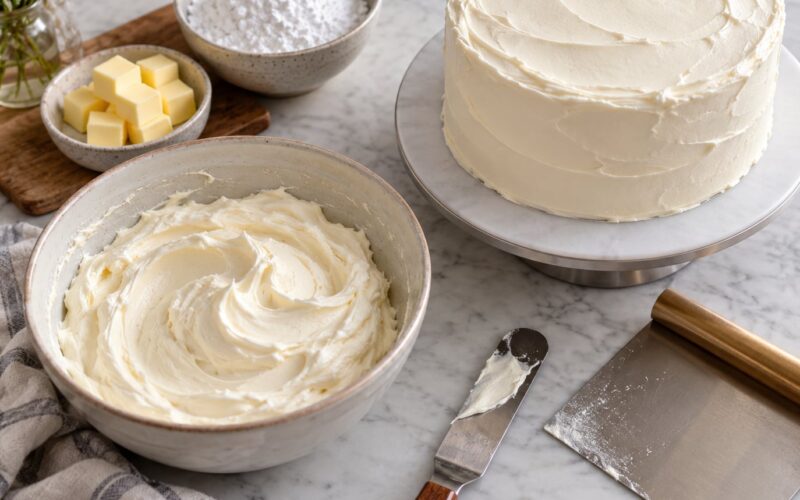
- Buttercream at a spreadable consistency. It should hold a soft peak and bend at the tip without snapping. See the consistency notes below.
- Offset spatula. Broad, thin blade for spreading the coat and shaping the top edge. A table knife works in a pinch.
- Straight-edge icing scraper or comb. The single most useful item on the list. A metal dough scraper from a kitchen drawer does the same job.
- Turntable. A rotating cake stand means you turn the base and keep the blade still. A flat plate on a damp towel works nearly as well.
- Cake board and a spare cardboard disc. The spare disc rests on top of the frosted cake to press that top edge crisp while the frosting sets.
- Small sharp knife, hot water, clean paper towel. For trimming, warming the blade and burnishing out pinholes.
Which frosting you pick changes how forgiving the process is. Sifted American buttercream smooths the easiest and can be reheated and patched. Swiss meringue buttercream is silkier and holds a sharper edge, and it barely slides once it sets. Ganache looks glossy but stays too soft for a crisp corner. Whipped cream and cream cheese frostings are the softest of the lot and will not hold a straight top edge, so plan on a rustic finish with those.
Test the consistency before you commit. Dab a little onto the side of the cake with the spatula. If it drags and pulls up crumb, add a tablespoon of butter at room temperature. If it slumps and puddles, sift in another spoonful of powdered sugar or chill the bowl for 10 minutes.
Step-by-Step: How to Frost a Cake With a Smooth Finish Without Fondant
1. Chill the Cake and Firm Up the Frosting
Wrap the cooled layers and refrigerate them for at least an hour, or freeze them for 20 minutes. Cold cake keeps the buttercream firm for longer, so you get more working time before the frosting softens and starts to crust over.
Chill the frosting too, in the sense of firming it up: store it covered at cool room temperature, or refrigerate it for 10 to 15 minutes and let it soften with a few stirs before you start. You want it spreadable, not stiff. The sign you are there is when the spatula glides through with almost no resistance and the frosting stays where you put it.
2. Apply a Thin Crumb Coat
Trim the chilled layers level, stack them with filling, and set the stack on the board. Spread a thin coat of buttercream about 2mm thick over the top and sides, pushing it into the seams between layers. This crumb coat is deliberately thinner than you want the final cake to look.
Freeze the crumb-coated stack for 15 to 20 minutes, or refrigerate it for 30 minutes, until it feels set to a light touch. When you press a fingertip into it and no dent forms, it is ready. Skip this step and crumbs will travel up into the final coat no matter how steady your hand is.
3. Add the Final Layer of Frosting
Sit the chilled crumb coat on the turntable and pile on more buttercream than you think you need. Spread it across the top with the offset spatula, push it over the edge, then down the sides in handfuls rather than thin smears. Thick application is what gives the scraper something to level.
Do not scrape this coat yet. What you are looking for is frosting sitting proud of the cake in soft ridges about 5mm above the surface with no bare sponge showing anywhere. Those ridges are the raw material your scraper pass will flatten.
4. Smooth the Sides With a Bench Scraper
Hold the straight-edge scraper vertically against the side of the cake, leaning the top edge out so the blade sits at about 45 degrees rather than 90. Hold it still and turn the turntable instead. Every pass that moves the blade sideways drags frosting and creates streaks.
Each rotation shaves the high spots and pushes the excess into the low spots. Wipe the blade on a damp cloth every few turns, then keep going. The frosting builds up in a ring around the base; that ring is your filling dam for the top edge.
No turntable and no scraper? A spoon held flat and drawn around a slowly turning cake, a warm damp hand on a set crumb coat, or a strip of acetate card held taut works surprisingly well. Acetate gives the straightest edge of the three.
5. Shape the Top and Bottom Edges
Lay the offset spatula flat on the top and pull it gently across the surface to flatten the dome without cutting into the crumb. Wipe the blade each pass. The frosting at the top edge should gather into a clean ridge above the cake’s rim rather than sloping into it.
For a crisp corner, set the spare cardboard disc flat on top of the frosting and press it down gently so the frosting squeezes out to form a sharp lip. For the base, run a clean knife along the board where frosting has collected, holding the blade vertical to keep the bottom edge flat.
6. Finish and Check the Smooth Surface
Return the cake to the fridge for 10 minutes so the surface firms enough to take a final pass. Then dip the clean blade in hot water, dry it, and sweep it across the frosting. A warm blade melts the top layer into a thin skin that closes pinholes and leaves a slightly glossy, very even finish.
Turn the cake at eye level and look at it from all four sides plus one overhead glance. You know it worked when the surface reflects light in one continuous sheet, the top edge reads as a single sharp line all the way round, and there are no visible holes, drag marks or exposed crumbs. Anything short of that gets one more warm-blade pass or a paper-towel burnish.
How to Get the Fondant Look Without Fondant
The finish people associate with fondant is that continuous reflective sheet. Two cheap tricks close the gap. Lay a piece of clean paper towel smooth-side-down over the finished frosting and burnish it with a flat plastic card to press out pinholes and flatten the texture, then lift it away. Second, repeat the warm-blade pass after chilling, which melts micro-ridges into the surface.
Common Mistakes and How to Fix Them
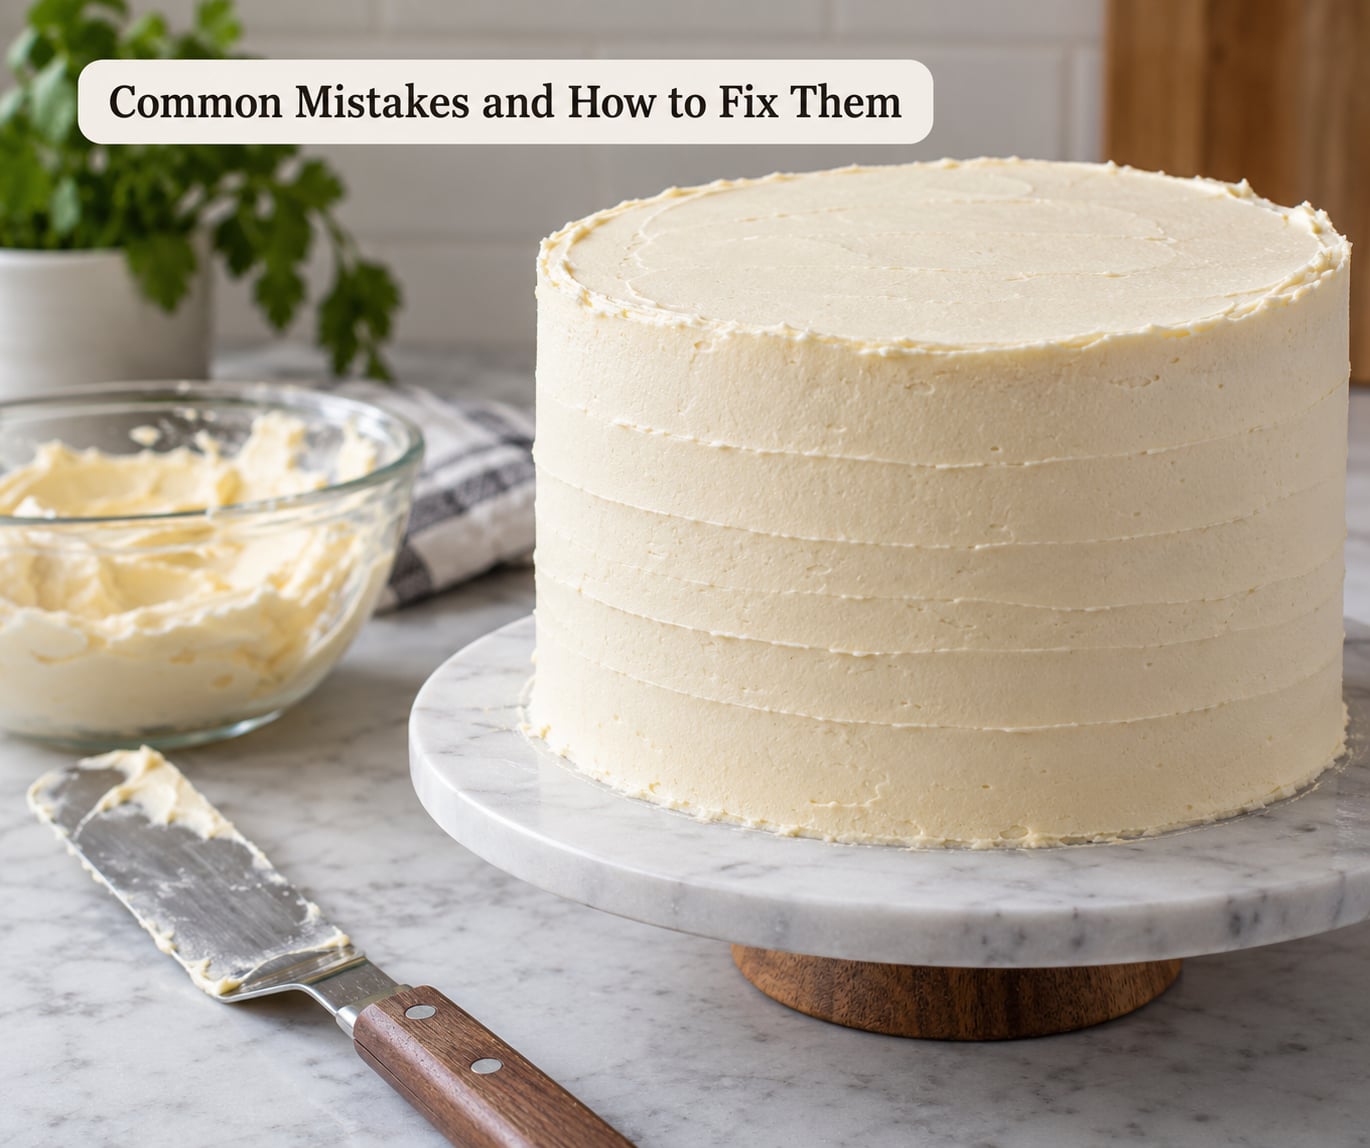
Each of these failures has a specific cause, and treating the wrong one costs you an afternoon.
Streaks that reappear every pass. You are moving the blade sideways instead of only rotating the cake. Lock your elbow and turn the turntable with one hand; the scraper should not travel across the surface at all.
Pinholes and air bubbles. Air is trapped under the frosting and the blade is dragging it open. Fix it with the hot-water blade pass, then burnish with paper towel. Prevent it next time by tapping the frosting bucket on the counter and stirring from the bottom with a spatula until no bubbles rise.
Torn sponge and pulled-up crumb. The frosting is too stiff or the cake is too warm. Let the buttercream sit out for 10 minutes and stir it, or hold a warm damp cloth against the cake for 30 seconds before the next pass. Low and slow always beats pressure.
Soft, sagging top edge. The frosting is too soft, the edge was never formed, or humidity got to it. Chill the cake for 15 minutes, build the ridge up with more frosting, and press the spare board on top while it sets again.
Frosting sliding off or slumping. The layers are warm or the filling is loose. Chill the stack before you frost it, build a thick dam of frosting above the filling line, and leave a 5mm gap at the base so frosting cannot wick into the board.
Frosting crusting over mid-process. Speed is the only cure. Work in small sections, keep the bowl covered with a damp cloth, and keep scraping the frosting back into the pile rather than spreading it thin.
Hot or humid weather. Heat softens frosting faster than any technique can fix. Work in short bursts, return the cake to the fridge between stages, hold the bowl in an ice bath while you spread, and re-smooth just before serving. Chill the cake itself more deeply than usual, about 30 minutes, because a colder surface holds its shape longer.
Unsmooth sides with no equipment. A bench scraper is worth picking up before anything else, but a warmed acetate strip held vertically while the plate turns will get you most of the way there. A table knife works if you keep it straight and wipe it every turn.
Frequently Asked Questions
Can I get a smooth cake finish with buttercream instead of fondant?
Yes. Buttercream gives a fondant-smooth result when the cake is cold, the frosting sits at a spreadable consistency and the scraper stays at a 45-degree angle while the cake rotates. The finish comes from temperature and pressure control, not from the icing type. Many home bakers use American or Swiss meringue buttercream on cakes that would otherwise have been covered in fondant.
What is the best frosting for a smooth cake without fondant?
Swiss meringue buttercream gives the smoothest, most stable finish and holds a sharp top edge, but it needs a thermometer and a little patience. American buttercream is the easier starting point: sift the powdered sugar, beat the butter to room temperature, and it smooths well and can be patched later. Ganache and whipped-cream frostings look glossy but stay too soft for crisp edges.
How do I keep crumbs out of buttercream frosting?
Freeze the crumb-coated stack for 15 to 20 minutes before the final coat so the thin layer becomes a sealed shell. Apply the final frosting thick rather than thin so the scraper lifts crumbs instead of dragging them across the surface, and always wipe the blade between passes. If crumbs still show, press them back in with a warm fingertip while the frosting is soft.
Should I chill a cake before frosting it?
Always, if you can spare the time. Refrigerate wrapped layers for at least an hour or freeze them for 20 minutes, then frost while still cold. Cold cake keeps the buttercream firm so you get more working time before it slumps or crusts over. Chill the crumb-coated stack the same way before the final coat, and chill the finished cake briefly at the end to firm the surface before you decorate.
How do I make buttercream frosting easier to spread?
Sift the powdered sugar so no lumps drag across the cake, and use butter at room temperature rather than melted, since melted butter makes a runnier mix. Thin the finished frosting with warm milk a teaspoon at a time until it bends at the tip of the spatula. A warm damp blade cleans up drag marks, and a little extra powdered sugar firms a batch that is too loose.
How do I fix a cake with uneven frosting?
Chill the frosted cake for 15 minutes so the surface firms, then add a thin even layer of fresh frosting over the whole cake rather than patching the thin side. Scrape again with the straight blade held at a 45-degree angle while the cake turns, filling low spots with excess frosting from the dam at the base. Trim the top edge with a warmed knife held flat, then do a final hot-blade pass.
Conclusion
A smooth finish without fondant is four decisions made in the right order. Chill the layers, keep the frosting firm enough to hold a mark, seal everything with a crumb coat that gets its own chill, then hold a straight blade at a 45-degree angle and rotate the cake rather than the blade. Do those four things and the sides come out flat, the top edge stays crisp and the pinholes close with a warm-blade pass.