A cake stays moist when the batter holds onto enough water all the way through baking: the right ratio of fat, sugar and flour, ingredients measured by weight, minimal mixing, and a bake time that ends before the water has all escaped as steam. That is the whole answer to how to make a cake moist, and every step below is a piece of it.
Most dry cakes are not a recipe problem. They are three small problems stacked: flour scooped too generously, a pan that drinks moisture from the edges, and ten extra minutes in a hot oven. Fix those and the crumb turns tender without any trick ingredient at all.
Table of Contents
- What You Need
- How to Make a Cake Moist Step by Step
- Step 1: Measure Ingredients Accurately
- Step 2: Use the Right Fat and Cream It Properly
- Step 3: Add Eggs Gradually
- Step 4: Avoid Overmixing the Batter
- Step 5: Bake at the Right Temperature
- Step 6: Cool the Cake Without Drying It Out
- Step 7: Frost and Store to Keep a Cake Moist for Days
- The Syrup Ratio, Simply
- What Is the 3:2:1 Rule in Baking?
- Common Mistakes and How to Fix Them
- Frequently Asked Questions
- How do I keep a cake moist overnight?
- Is oil or butter better for a moist cake?
- Should I wrap a cake before refrigerating it?
- How can I revive a dry cake?
- Can these moisture tips work for cupcakes and other cakes?
What You Need
None of this is expensive, and every item on this list earns its place. If you only own one thing, make it the scale.
- A digital kitchen scale. Volume measurement can be off by up to 20 percent for flour depending on how you scoop it. Weight cannot.
- An oven thermometer. Consumer ovens routinely run 25 degrees Fahrenheit hot or cold, and you cannot feel the difference from inside the door.
- Room-temperature eggs and butter. Take them out of the fridge 45 to 60 minutes before you mix.
- A light-coloured pan. Dark metal pulls moisture out of the edges faster than a pale aluminium pan does.
- A wire cooling rack. A cake cooling on a flat board steams itself wet and then dries the top.
- A small saucepan, a pastry brush and a wooden skewer. These turn simple syrup into a rescue tool.
- Cake board, plastic wrap and a cake carrier. Storage is where most cakes lose the moisture you worked for.
How to Make a Cake Moist Step by Step
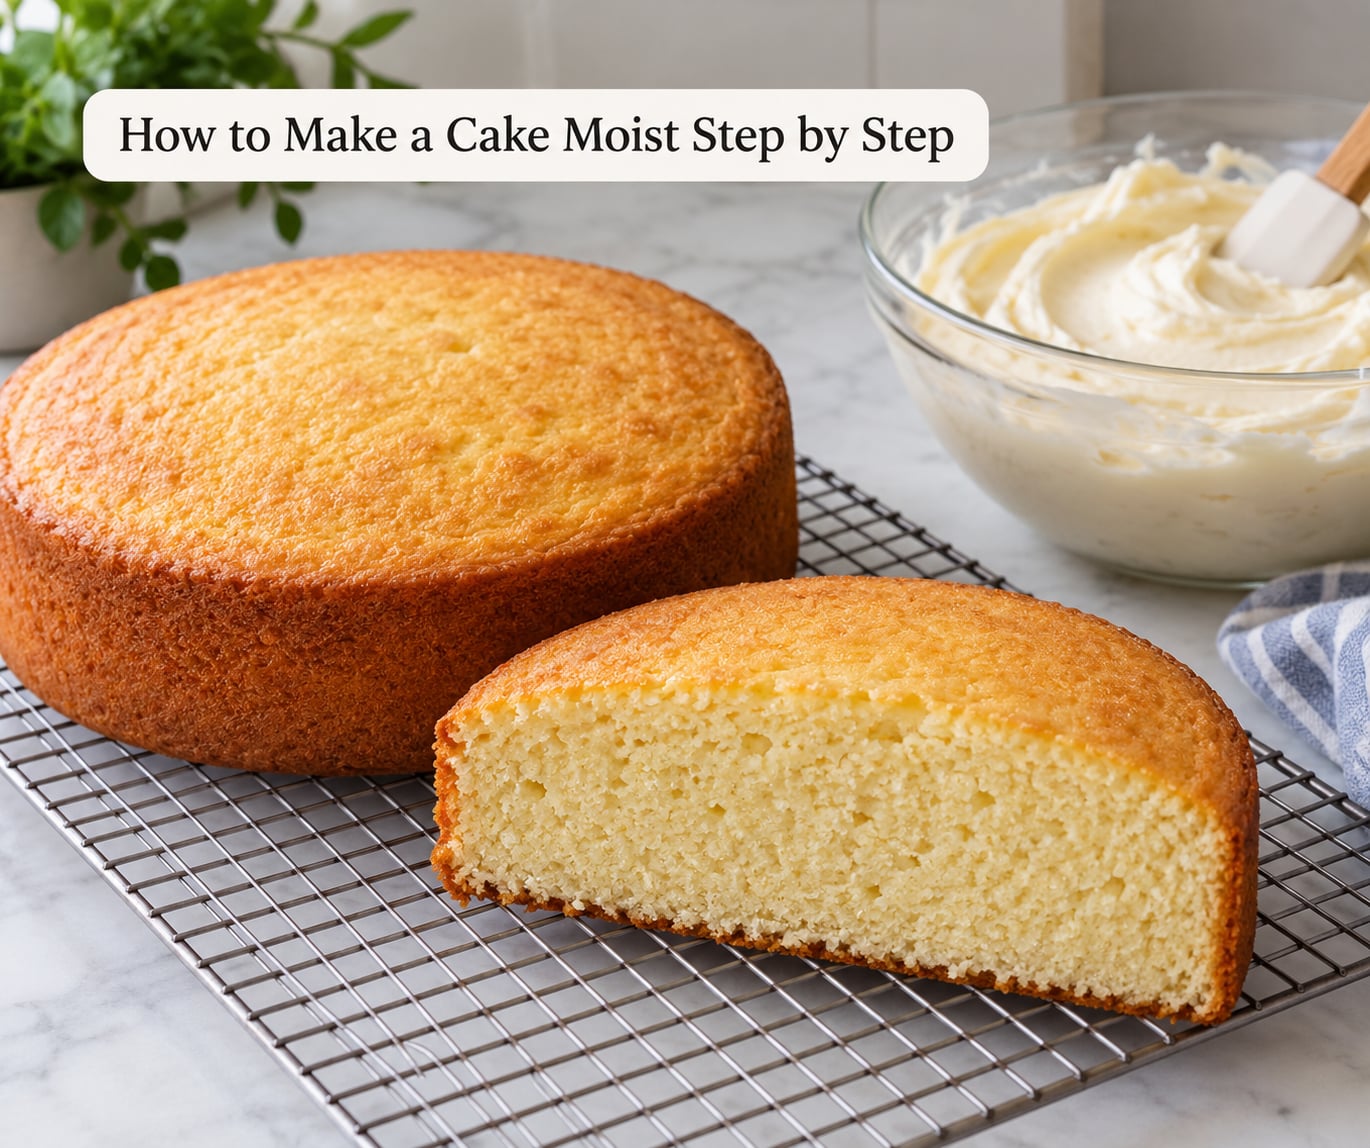
Moisture control happens in three stages: get the formula right, get the oven right, then protect what you baked. If your edges are dry but the centre is moist, the problem is in stage two. If the whole cake is tight and crumbly, it starts in stage one.
Step 1: Measure Ingredients Accurately
Put the flour in the measuring cup with a spoon and level it off with a knife, or weigh it. Scooping straight from the bag packs in roughly a quarter more flour than the recipe wants, and excess flour is the single most common reason home cakes come out dry.
How to tell it worked: the batter should sit slightly domed in the bowl before you level it. If you tap the cup to settle the flour first, you have already added too much.
Step 2: Use the Right Fat and Cream It Properly
Butter gives flavour, but oil stays liquid at room temperature and coats the starch with fat that slows moisture escaping. Cakes made with all-oil batter stay softer a day longer than creamed-butter cakes, though the crumb is slightly tighter.
If the recipe uses butter, beat it until it is pale, fluffy and no lumps remain, then add sugar until the mixture is noticeably lighter in colour. Under-aerated butter means under-aerated batter.
Sour cream, yogurt and buttermilk are the useful middle ground: fat plus acid plus water. The acid reacts with baking soda and gently tightens the gluten, so the crumb stays tender instead of rubbery.
Step 3: Add Eggs Gradually
Room-temperature eggs emulsify into the fat instead of sitting in lumps, which gives a more even crumb. Beat them in one at a time, letting each disappear into the batter before the next goes in.
An extra egg yolk adds fat and protein that slow starch from absorbing water, so the cake ages more slowly. An extra whole egg mostly adds structure, not moisture.
If the mixture curdles, it broke because it was cold or because you added the eggs too fast. Warm the bowl with a hot towel, add a tablespoon of the flour mixture, and beat briefly on low. Do not reach for more flour.
Step 4: Avoid Overmixing the Batter
Gluten is what gives cake its structure, and it also gets stronger the longer you beat it. Beat flour into wet ingredients only until no dry streaks remain, then stop.
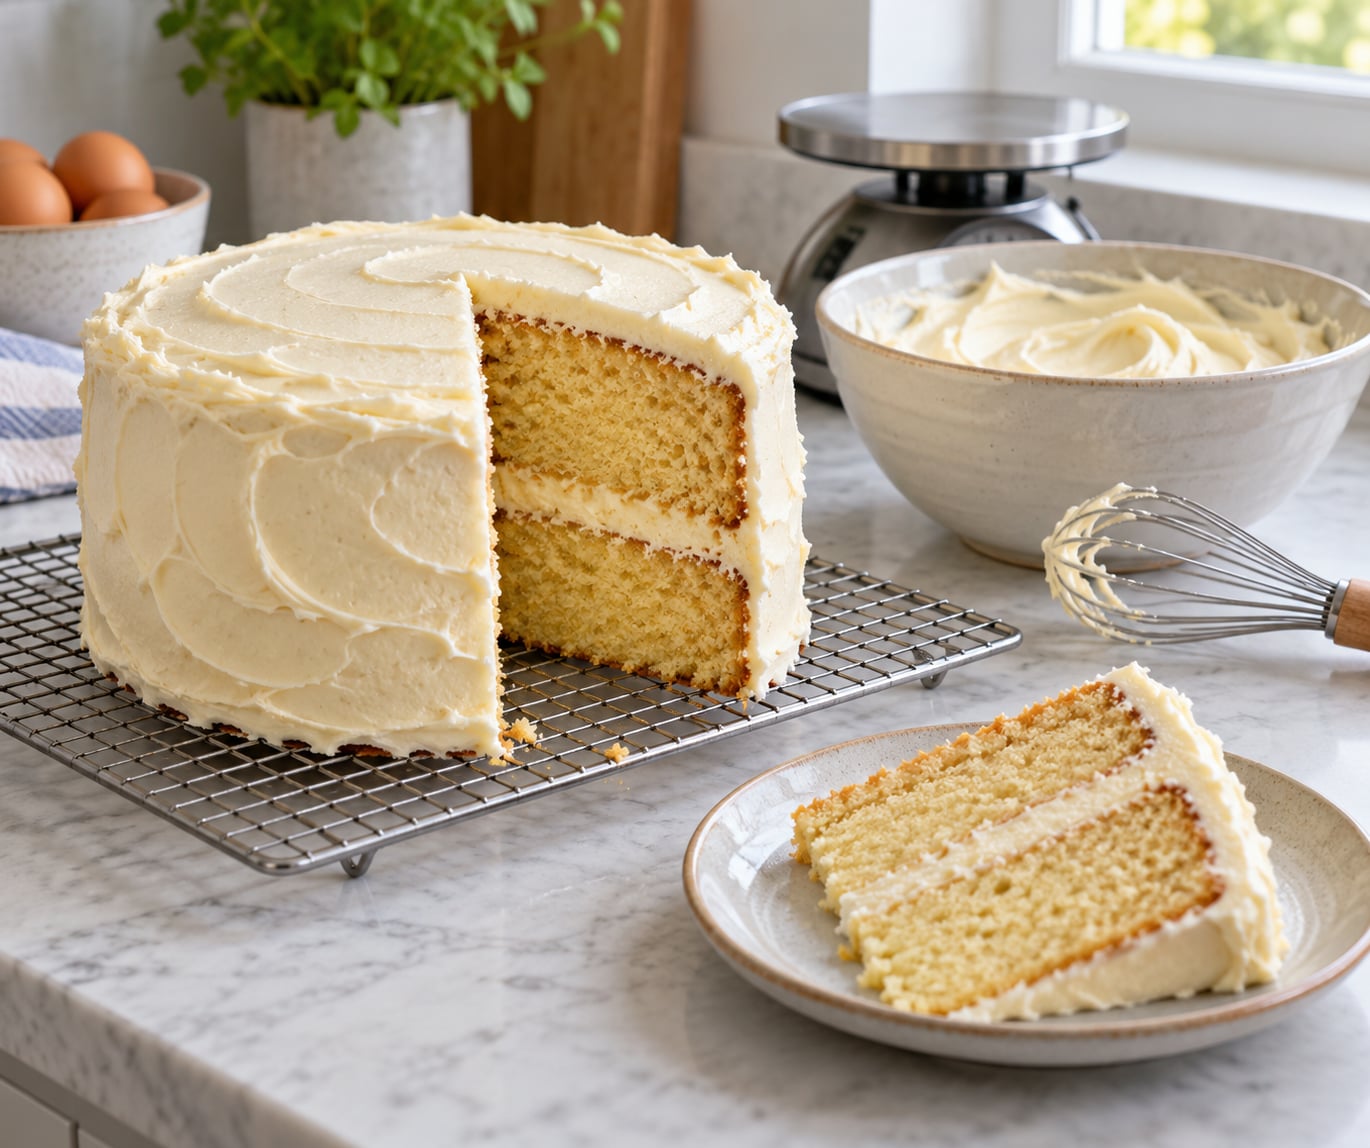
What to look for: the moment the last streak of flour disappears. A batter that looks smooth and glossy after a long mix has more gluten than you want, and it bakes into a tight, chewy crumb that dries out faster, not slower.
Step 5: Bake at the Right Temperature
Verify your oven with a thermometer and adjust for the whole box. Baking hotter sets the crumb structure quickly on the outside, so the edges firm up before the middle can finish setting, and those hard edges dry first.
Convection fans move hot air faster and pull moisture out of the surface. Turn it off for cakes unless your recipe says otherwise, and use the conventional setting.
Check doneness with a toothpick in the deepest part of the centre, not near the edge. A few moist crumbs are the target; a clean toothpick means you have gone too far.
Step 6: Cool the Cake Without Drying It Out
Let the cake rest in the pan for 10 to 15 minutes. Then turn it onto a wire rack so air circulates underneath, and let it cool completely before frosting or wrapping, usually one to two hours.
For a pound or bundt cake, wrap it in plastic while it is still slightly warm. The escaping warmth gets trapped instead of drying the surface, and the crumb absorbs moisture rather than losing it.
Do not slice a warm cake. Warm crumb is fragile, and cutting it compresses the crumb structure that holds water.
Step 7: Frost and Store to Keep a Cake Moist for Days
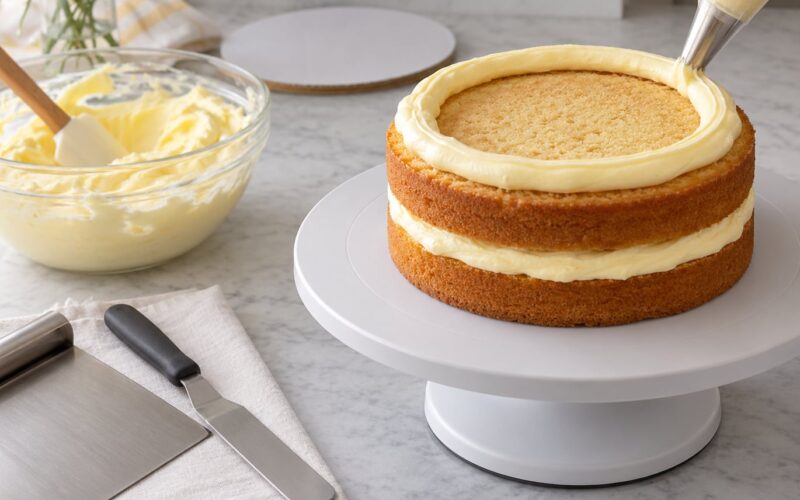
Mix equal parts sugar and water, heat to a simmer until the sugar dissolves, and cool it. While the layers are still barely warm, poke holes with a skewer and brush the syrup over, or use a pastry brush on the cut face.
Coffee works for chocolate cake where water would for vanilla; the bitterness disappears during baking and the extra liquid behaves the same.
Choose a frosting that seals rather than one that sits on top. Buttercream and ganache form a barrier that slows the movement of moisture out of the crumb, which is why a frosted layer cake holds up longer than a naked one.
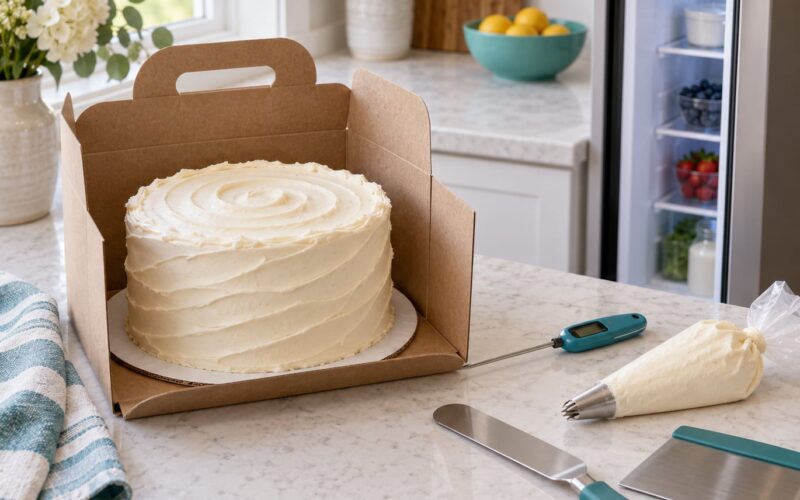
Store frosted cakes at cool room temperature in a cake carrier, ideally within a day or two of baking. Put perishable fillings such as whipped cream, custard or curd cakes in the fridge, wrapped tightly in plastic wrap so the cake cannot absorb refrigerator odours.
The Syrup Ratio, Simply
For a standard two-layer cake, 100 grams sugar and 100 grams water is plenty. In a mug, that is about a quarter cup of sugar to a quarter cup of water. It should feel thin, not syrupy, because the cake is dry and needs to drink it in.
What Is the 3:2:1 Rule in Baking?
It is an informal ratio bakers use by weight for a classic pound cake: 3 parts fat, 2 parts sugar, 1 part flour. So 450 grams of butter, 300 grams of sugar and 150 grams of flour. It is a starting point for a specific style of dense buttery cake, not a rule for sponge or layer cakes, which need more leavening and less fat.
Common Mistakes and How to Fix Them
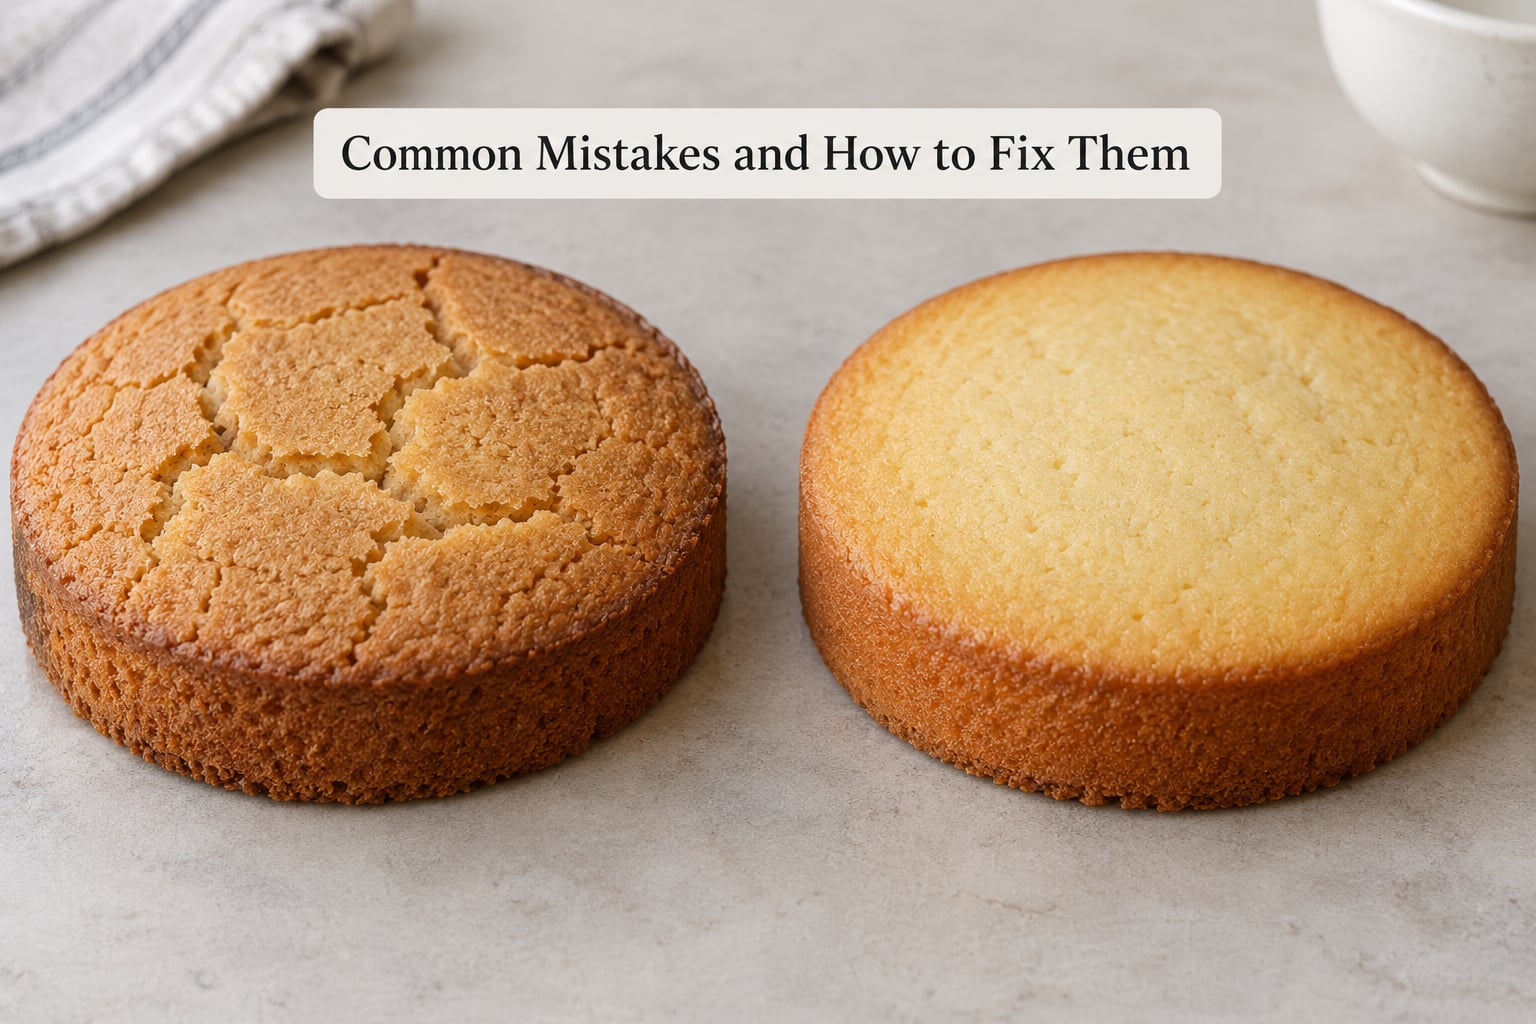
Each of these has a symptom you can identify in the finished cake, so you can work out which one happened to you.
- Scooping flour from the bag. Too much flour absorbs liquid the batter needed, leaving the crumb tight. Fix: spoon and level, or weigh. Prevention: keep a flour scoop inside the flour bag.
- Overbaking. The edges harden, the crumb turns grainy and the cake crumbles when you cut it. Fix: pull it 5 to 10 minutes earlier next time and use the toothpick test rather than the clock. Prevention: write your oven’s real bake times down.
- An oven that runs hot. The top darkens early, the sides brown faster than the middle sets. Fix: check with a thermometer and bake at the corrected temperature. Prevention: verify once a season.
- Overmixing. The whole cake, not just the edges, feels tight or chewy. Fix: stop mixing at the first disappearance of dry flour. Prevention: sift dry ingredients separately, then fold them in.
- Dark or non-stick pans. Dry edges, damp centre. Fix: drop the temperature about 25 degrees and check earlier, or switch to a light-coloured pan.
- Convection by default. Dry top, slightly domed surface. Fix: switch to the conventional bake setting.
- Covered storage and no frosting. The cake goes stale overnight. Fix: brush with syrup, frost, and store in a cake carrier or airtight box.
Now the mirror problem, because too much moisture is a real failure and not a flex. A gummy, dense centre usually means underbaking or too much liquid, and the fix is not more sugar or a longer oven preheat but a full bake at the right temperature, confirmed with a toothpick in the middle.
To rescue a cake that already baked dry: make a thin syrup, cool it, then poke holes across the top and pour or brush it over while the cake is still warm. A fruit curd or thick berry compote filling also works, and a layer of frosting will hold moisture in from the outside. A dry cake cannot be made fresh again, but it can be made pleasant again.
Frequently Asked Questions
How do I keep a cake moist overnight?
Wrap it while it is still slightly warm, then store it airtight. If the cake is frosted, put it in a cake carrier on the counter and it will stay tender for a day or two. If it is a naked layer cake, wrap it tightly in plastic wrap, which traps the warmth and steam that would otherwise escape. Refrigeration is for cakes with perishable fillings, and only after wrapping.
Is oil or butter better for a moist cake?
Oil keeps a cake softer for longer because it stays liquid at room temperature and coats the starch with fat, so moisture escapes more slowly. Butter gives you a better flavour and a slightly more open crumb. For a celebration cake that needs to survive two days unfrosted, oil is the safer bet. Many bakers split the difference and use oil in the batter with butter for flavour.
Should I wrap a cake before refrigerating it?
Always wrap before refrigerating. An unwrapped cake absorbs refrigerator odours and dries faster in cold, moving air than it does on a counter. Press plastic wrap directly onto the surface, then add a layer of foil or a cake lid. Take it out about 20 minutes before serving so it is not cold and dense when you cut it.
How can I revive a dry cake?
Warm the cake slightly, then poke holes across the top with a skewer and brush or pour over a simple syrup made from equal parts sugar and water. Use it while the cake is still warm so it soaks in. You can also split the layers and sandwich them with curd, compote or a thin frosting. These steps will not make a stale cake taste freshly baked, but they take the edge off.
Can these moisture tips work for cupcakes and other cakes?
Most of them transfer directly. Measure by weight, keep ingredients at room temperature, stop mixing as soon as the flour disappears, and test doneness with a toothpick in the centre of a cupcake. Brush cupcakes with a light sugar syrup straight out of the oven if you want the same effect as a syrup-brushed layer cake. Pound and bundt cakes benefit most from being wrapped while warm.
Start tomorrow’s cake with the scale and the oven thermometer. Weigh the flour, let the eggs sit out, mix only until the flour disappears, and pull the cake when the toothpick still holds a couple of damp crumbs. Do those five things and you will learn how to make a cake moist in a way that holds up for the whole party, not just the first slice.