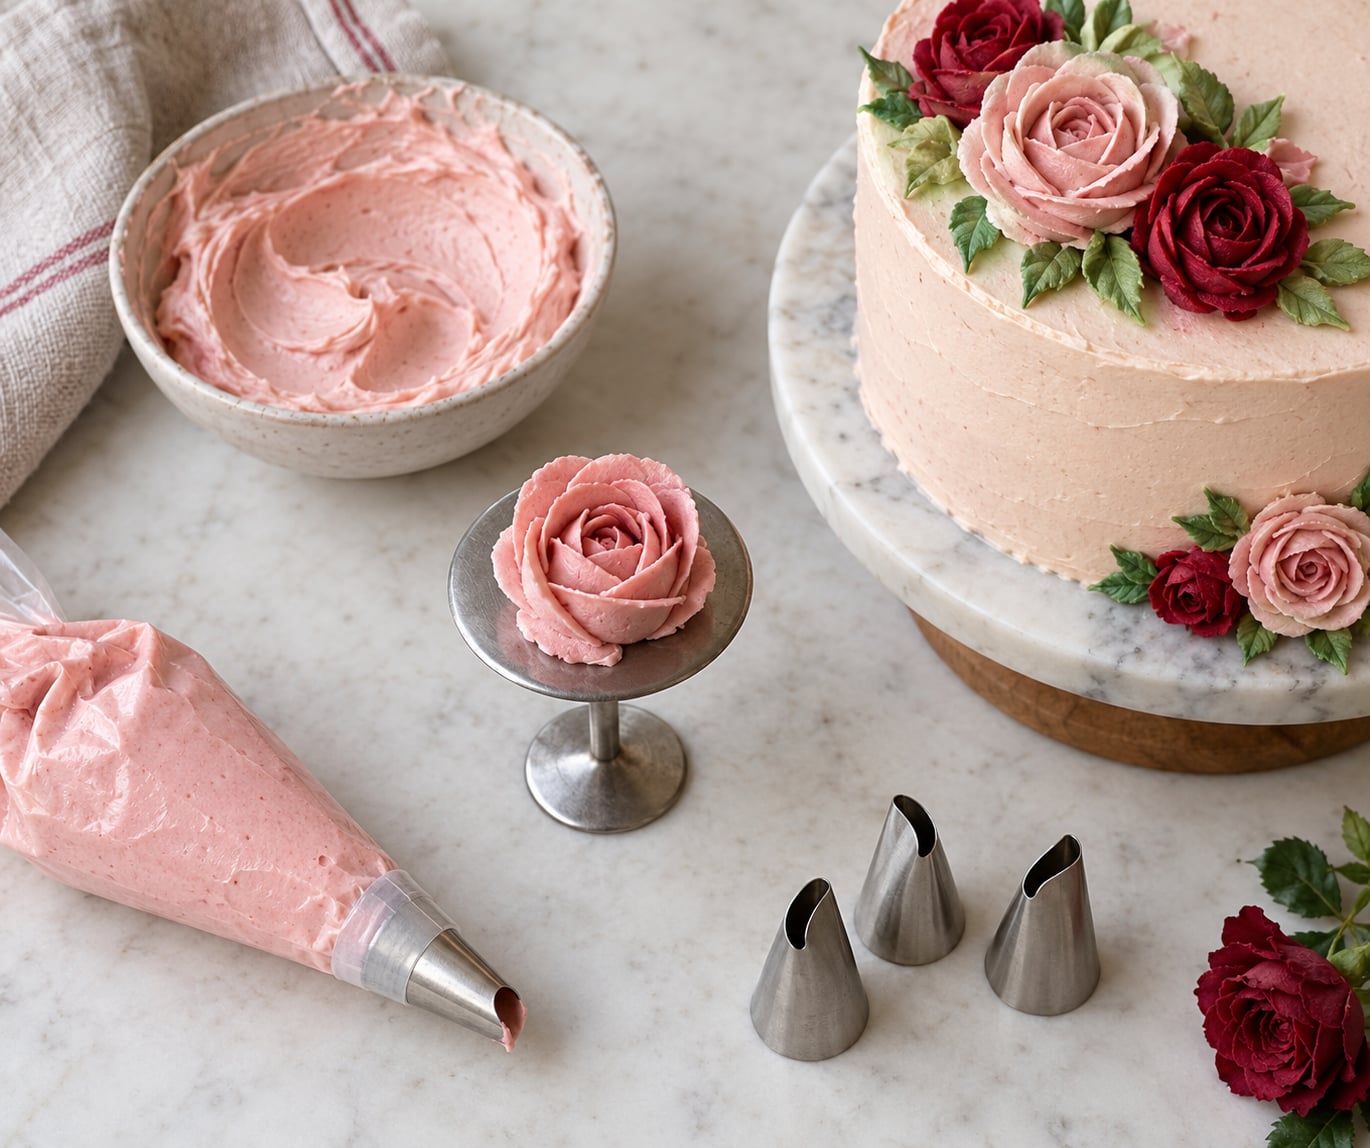
To pipe a buttercream rose you pipe a firm cone of stiff buttercream onto a flower nail, build a tight spiral center bud, then add two or three staggered rows of overlapping petals. You rotate the nail with one hand while squeezing the bag with the other, tilting the petal tip further outward with each row.
That is the whole method. What makes it look hard is that nobody shows you the first four attempts, which usually look like cabbages. Give yourself 20 or 30 minutes of practice on parchment squares before you touch a cake, and count on the tenth rose looking like the ones you have seen online.
This guide walks through how to pipe buttercream roses for beginners, from the tools worth buying to the two seconds of hand movement that decide whether a petal looks crisp or torn.
Table of Contents
- What You Need
- Step-by-Step
- 1. Prepare the Buttercream
- 2. Fit the Piping Bag and Practice Your Grip
- 3. Pipe the Center Cone
- 4. Add the Inner Petals
- 5. Build the Outer Petals
- 6. Finish and Refine the Rose
- Common Mistakes
- Frequently Asked Questions
- What is the easiest piping tip for buttercream roses?
- Can I pipe buttercream roses on cupcakes?
- How do I keep buttercream roses from melting?
- What color should I use for a realistic buttercream rose?
- Can buttercream roses be made ahead of time?
- Why are my buttercream petals tearing?
- Conclusion
What You Need
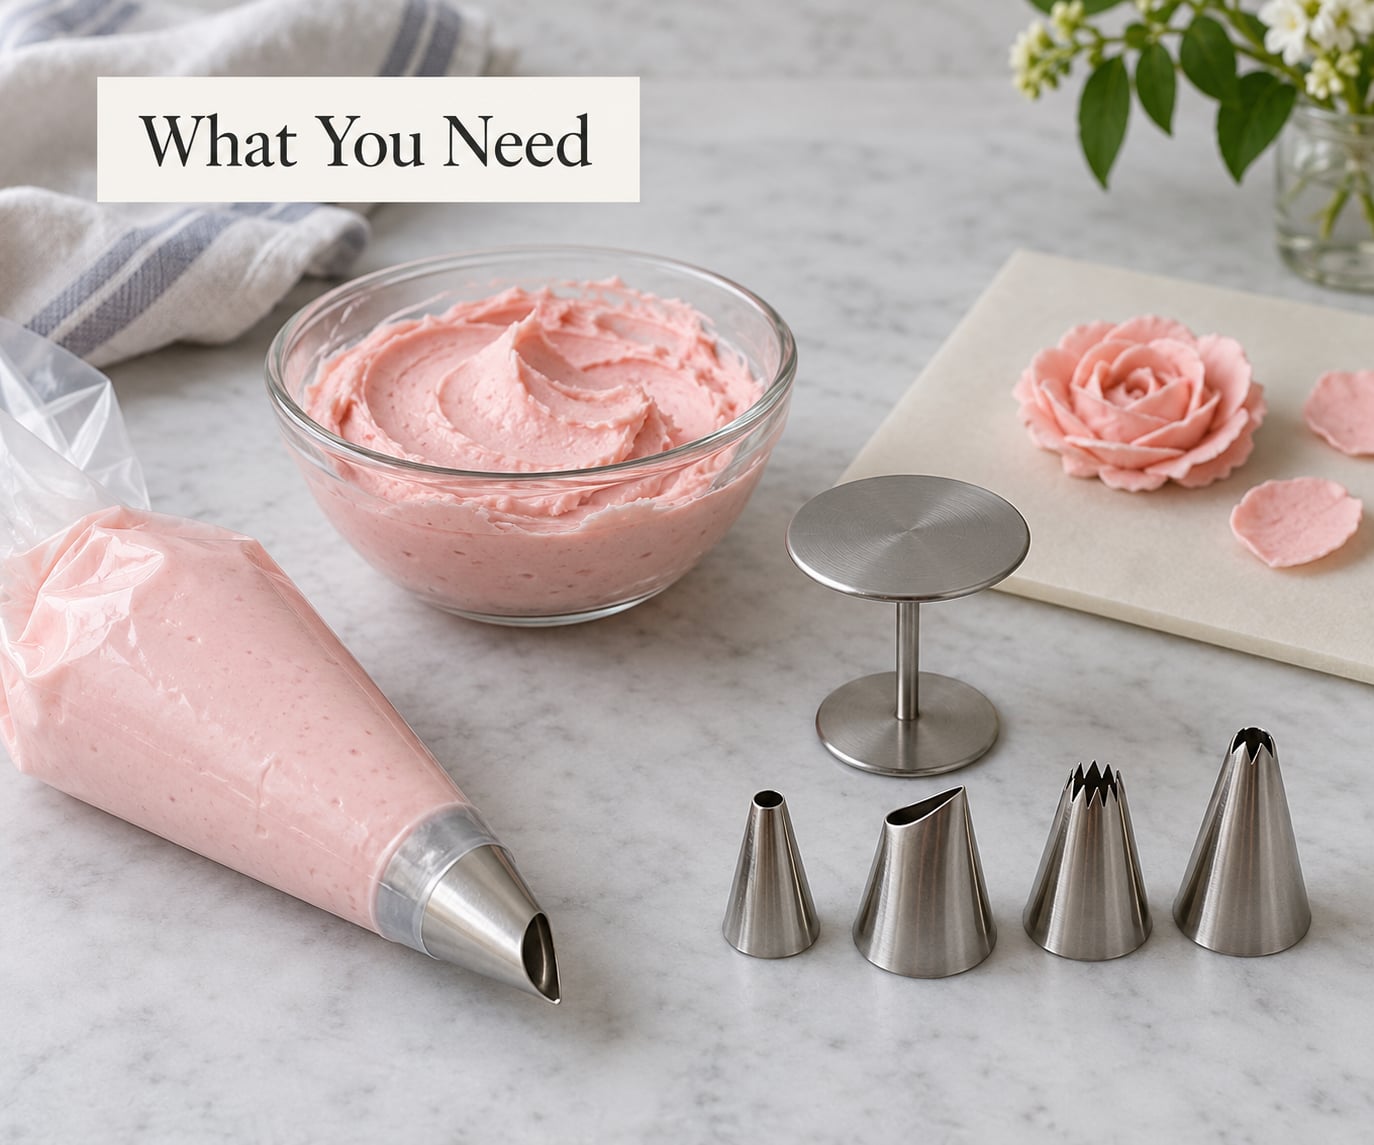
You can get started with four items and add the rest later. The flower nail and the offset spatula matter more than beginners expect.
- A piping bag and coupler. Disposable bags are fine. Fill the bag only about one third full, or the pressure will split the seam when you squeeze.
- A petal tip. Petal tips have an open, curved side that flattens frosting into a thin ruffled petal instead of a round ribbon.
- A flower nail. This is a small stand with a flat metal top that spins. Piping on it means you build the rose in the air and rotate it smoothly instead of turning your wrist into a pretzel.
- A flower lifter or small offset spatula. A thin one lifts a finished rose off the nail without squashing the base.
- Parchment or wax paper squares. These are your practice surface and your make-ahead surface. Pipe onto a square, chill, and the flower slides off later.
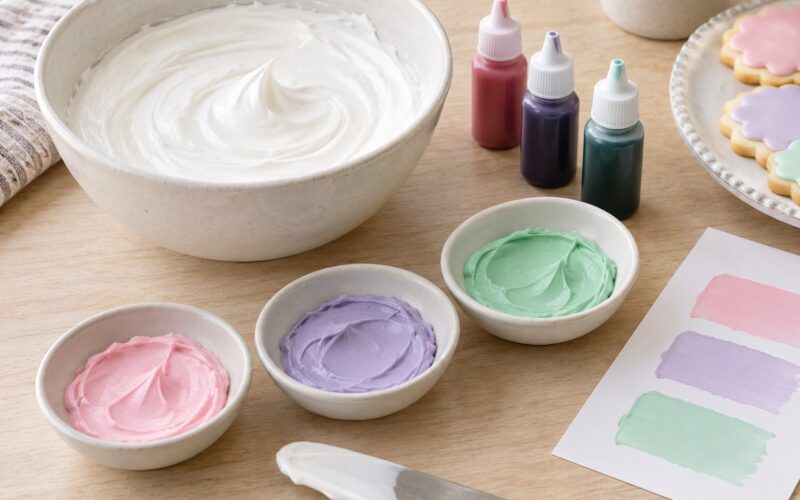
- Gel food coloring. Liquid drops are weak and thin enough to loosen stiff buttercream. Gel keeps the consistency intact.
- A leaf tip, such as a Wilton 366 or 352. Optional, but leaves hide the seam where a rose meets the cake.
Which petal tip you pick changes the flower more than any other tool choice, so it is worth a quick comparison before you buy a set.
| Tip | Result | Best for |
|---|---|---|
| Wilton 104 | Loose, classic rose with visible layers | Your first rose and anyone who wants a traditional look |
| Wilton 1M | Rounder, denser petals | Cupcake toppers and roses you want to stand up on their own |
| Wilton 123 | Full, ruffled petals with a frilled edge | Fuller flowers once you can hold a consistent angle |
| Ateco 124K | Small, tight rose | Mini roses, bouquets and practice drills |
| 12 or 16 petal tip | Wide, flat, showy petals | Open garden-style roses on larger cakes |
One more thing no tip fixes: the room. Buttercream softens as you work, and a rose piped in a warm kitchen slumps on the cake. If your kitchen runs warm, work in batches and keep finished flowers in the fridge.
Step-by-Step
1. Prepare the Buttercream
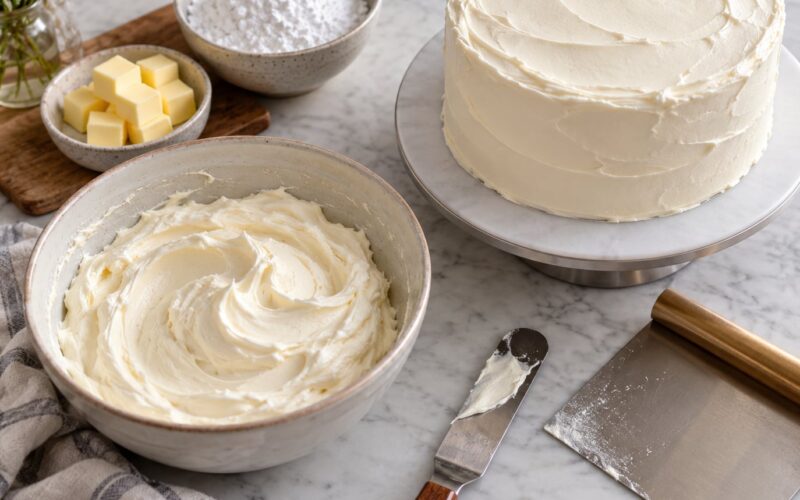
Use American buttercream made with butter and confectioners’ sugar. It is the most forgiving type for beginners because it holds a shape, spreads smoothly and repairs easily when a petal smudges. Swiss and Italian meringue buttercreams hold sharper petal definition, but they are less forgiving to handle.
Work the frosting until it is smooth and just stiff enough to hold a peak when you turn the bowl upside down. If it slumps, add confectioners’ sugar a tablespoon at a time and chill for five minutes. If it cracks the bag or fights you, add cream a teaspoon at a time.
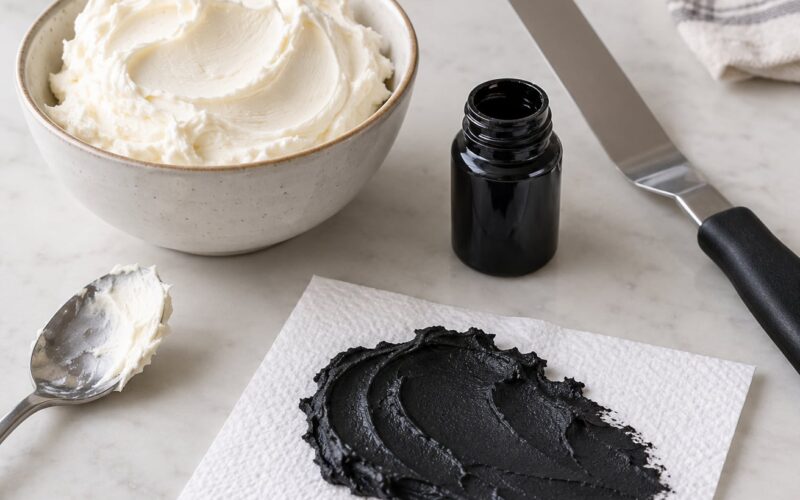
Color it with gel food coloring, then scrape it into the bag and push it down into the tip. Fill no more than a third of the bag. Twist the top and clip it with a bag clip or your fingers.
2. Fit the Piping Bag and Practice Your Grip
Hold the bag in your dominant hand with your fingers about an inch from the tip, squeezing with your thumb and index finger rather than your whole fist. Keep the tip almost touching the nail. A gap of half an inch is where beginners lose control.
Squeeze and lift, squeeze and lift on the parchment square until your pressure feels even. If the frosting tears as it comes out, you are squeezing too hard. If it puddles, you are squeezing too gently.
3. Pipe the Center Cone
Squeeze a small cone onto the flower nail with the tip held nearly straight up. Widen the base, then ease off the pressure at the top so it tapers to a point about half an inch tall. This cone is the structure that carries the whole flower, so make it narrow and tall rather than short and wide.
Hold the nail between your thumb and fingers so it turns easily with a light twist. You will use that twist constantly.
4. Add the Inner Petals
Now build the bud. Hold the tip almost upright and squeeze a short ribbon of frosting against the cone, starting at the base. Keep the pressure steady and let the petal taper off as you squeeze, then lift the tip away and rotate the nail a few degrees.
Two or three tight wraps make the center. You will know it worked if the bud stands straight up and looks narrow, not like a soft-serve swirl.
5. Build the Outer Petals
Tilt the tip outward to about 45 degrees and pipe a wider petal starting low on the bud, half overlapping where the last one ended. Rotate the nail a fraction each time so every join is covered. Three to five petals fill this row.
Add a final row with the tip tilted further out and the petals started even lower, closer to the base. That last row is what makes a rose read as open rather than closed.
6. Finish and Refine the Rose
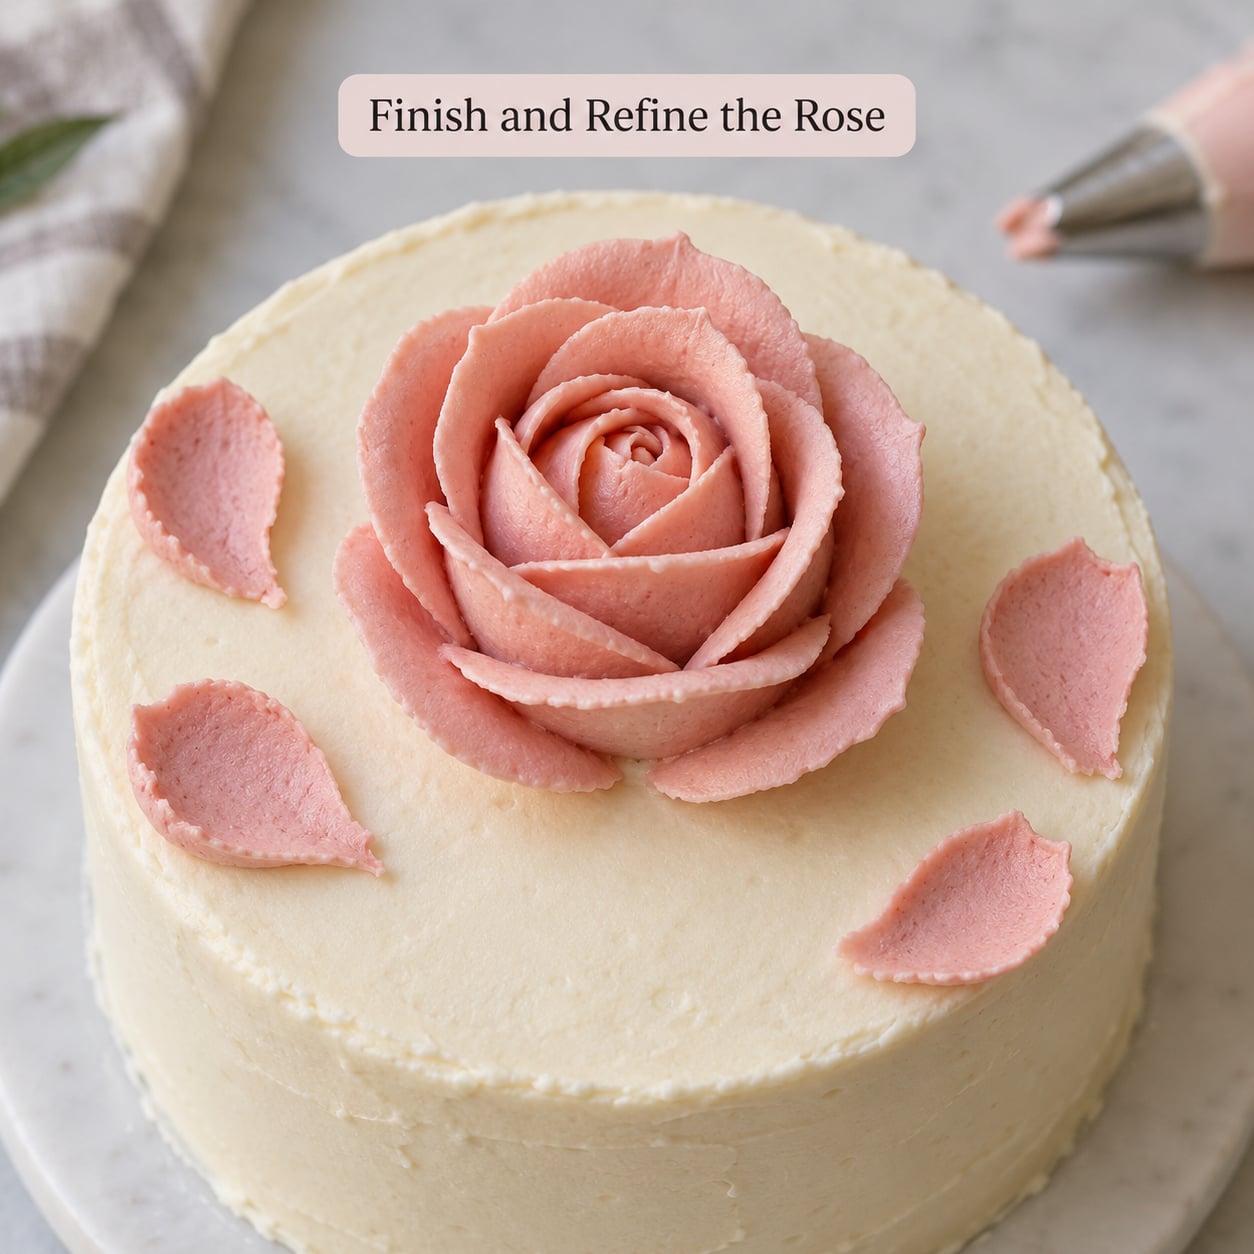
Slide the flower lifter under the base and lift the rose off the nail in one motion. Straight down, then away, without dragging it sideways. If it sticks, chill the nail for five minutes rather than prying.
Set it on the cake or cupcake, then adjust the outer petals with the lifter until the base disappears into the frosting. A leaf piped at the base hides the join and makes a flat rose look intentional.
Common Mistakes
The rose slumps or the petals merge. The frosting is too soft or the room is too warm. Add powdered sugar, chill the bowl for five minutes, and pipe one test petal to check before you commit.
Petals tear as they come out. The buttercream is too stiff, or you are squeezing too hard. Warm hands help too. Warm the bag between your palms for a few seconds before loading.
It looks like a cabbage. Almost always the tip is tilted too far outward from the start. Hold it straight up for the bud and only lean out as you add outer rows.
The rose is lopsided. You are rotating by wrist and elbow instead of twisting the nail. Keep the nail turning with your non-piping hand and everything comes out even.
Petals are too tall. A tall cone makes a rose lean. Keep the base cone under half an inch and start every outer petal low on the bud.
The colored edge comes out streaky. The two colors need near-identical consistency. Match them before loading, and keep the stripe thin.
One drill beats an hour of tutorials. Pipe twenty single petals in a row on a parchment square, chill it, and look at them together. The spacing problem shows up instantly that way.
Frequently Asked Questions
What is the easiest piping tip for buttercream roses?
A Wilton 104 is the easiest starting point. Its petal shape is open enough to see your layers clearly and forgiving enough that small pressure errors still look fine. Move to a Wilton 1M for tighter, rounder roses once your grip is steady.
Can I pipe buttercream roses on cupcakes?
Yes, and cupcakes are the best place to practice because a wrong rose costs nothing. Pipe a small mound of frosting first so the rose has something to sit on, then set the rose on top. Mini roses made with an Ateco 124K suit cupcakes best.
How do I keep buttercream roses from melting?
Work in a cool room and keep finished roses in the fridge while you pipe the rest. If the frosting softens as you work, refrigerate the bowl for five minutes and test a petal before continuing. Soft frosting and warm hands are the only two usual causes.
What color should I use for a realistic buttercream rose?
Start with a mid-tone color and always add a darker shade rather than a lighter one. Mix the deep color into the outer edge of the petal for depth, and dust the very outside with a dusting color for a soft, shaded finish.
Can buttercream roses be made ahead of time?
Yes. Pipe them on parchment or wax paper squares and chill for 30 minutes, then freeze solid in a single layer. Store frozen in an airtight container for up to three months and thaw in the fridge before placing them on a cake.
Why are my buttercream petals tearing?
The frosting is usually too stiff or you are squeezing too hard. Add cream a teaspoon at a time and test a petal, and warm the bag in your palms before loading. Tearing also happens when the tip is too far from the surface, so bring it closer.
Conclusion
Practice the petal on a flat parchment square first, not the rose. Once a single petal comes out smooth with an even taper, the flower follows from the same motion repeated with the tip tilted a little further each round.
Keep the buttercream stiff, keep the nail turning, and stop looking for the perfect petal count. Ten small roses on a sheet will teach you more than ten minutes of tutorials.