Royal icing is a hard-setting cookie icing made from confectioners’ sugar, meringue powder or egg whites, and a small splash of water and vanilla. Mix them until smooth and thick, and you get a paste that dries to a brittle, edible shell — which is the only reason it holds piped borders, flat flood fills and multi-layer designs that will survive a car ride to a party. This guide covers how to make royal icing for cookie decorating from scratch, how to judge consistency by hand, and how to fix the mistakes that ruin most first batches.
The whole job takes about ten minutes, five of them at the mixer. The hard part isn’t the ingredients, it’s knowing when to stop adding liquid.
Here is the short version before the details:
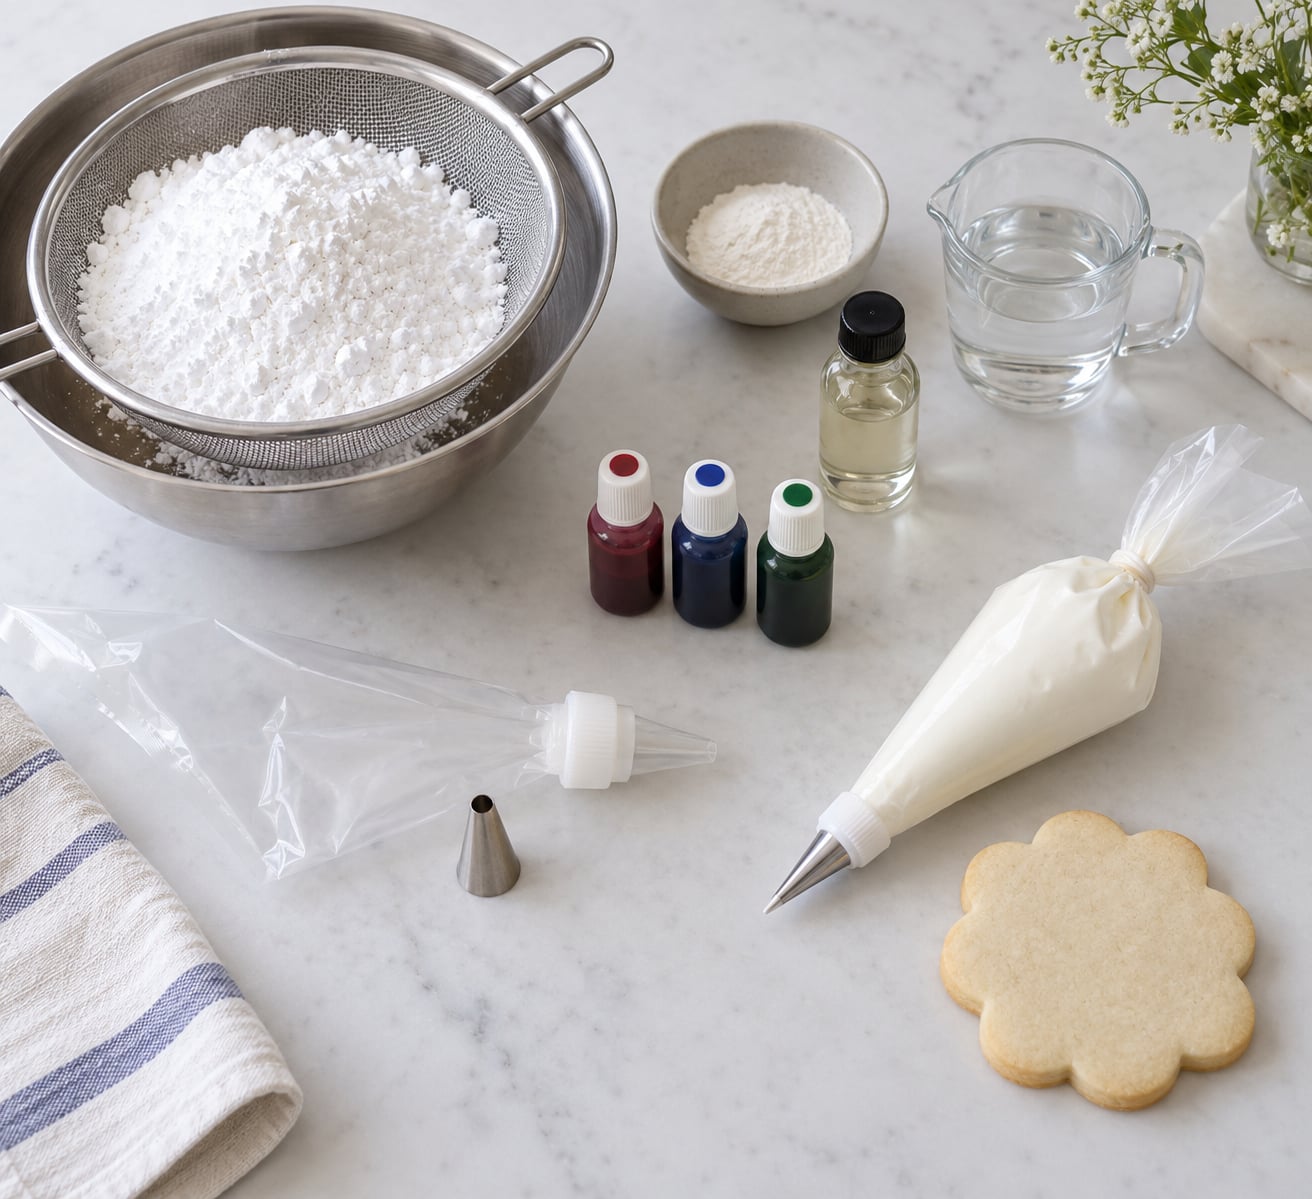
- 4 cups (about 480 g) confectioners’ sugar
- 3 tablespoons (about 21 g) dried egg white powder, also sold as meringue powder
- 1 teaspoon clear vanilla extract
- 2 to 4 teaspoons water, added a drop at a time
- 1 teaspoon glycerin, optional, for a little extra shine and a slightly softer set
That batch makes roughly 1.5 cups of icing, which covers about 24 medium sugar cookies with a flood and a border, or about 30 small ones. Everyone wants this number and almost nobody tells you.
Table of Contents
- What You Need
- Ingredients, with weights and swaps
- Meringue powder, egg whites, or a boxed mix
- Tools worth having
- How to Make Royal Icing for Cookie Decorating, Step by Step
- How to Make Royal Icing for Cookie Decorating: Sift and Combine the Dry Ingredients
- Add Liquid Gradually: The Step That Decides How to Make Royal Icing for Cookie Decorating Pipeable
- Mix Until Smooth and Dense
- Color, Taste, and Adjust
- Pipe, Spread, and Store
- Common Mistakes
- Frequently Asked Questions
- Do I need meringue powder to make royal icing?
- How do I make royal icing thicker without making it lumpy?
- Why is my royal icing too thin to hold a piping tip?
- Can I use royal icing on cookies that contain nuts?
- How long does homemade royal icing take to dry?
- Can I make royal icing ahead of time?
- Conclusion
What You Need
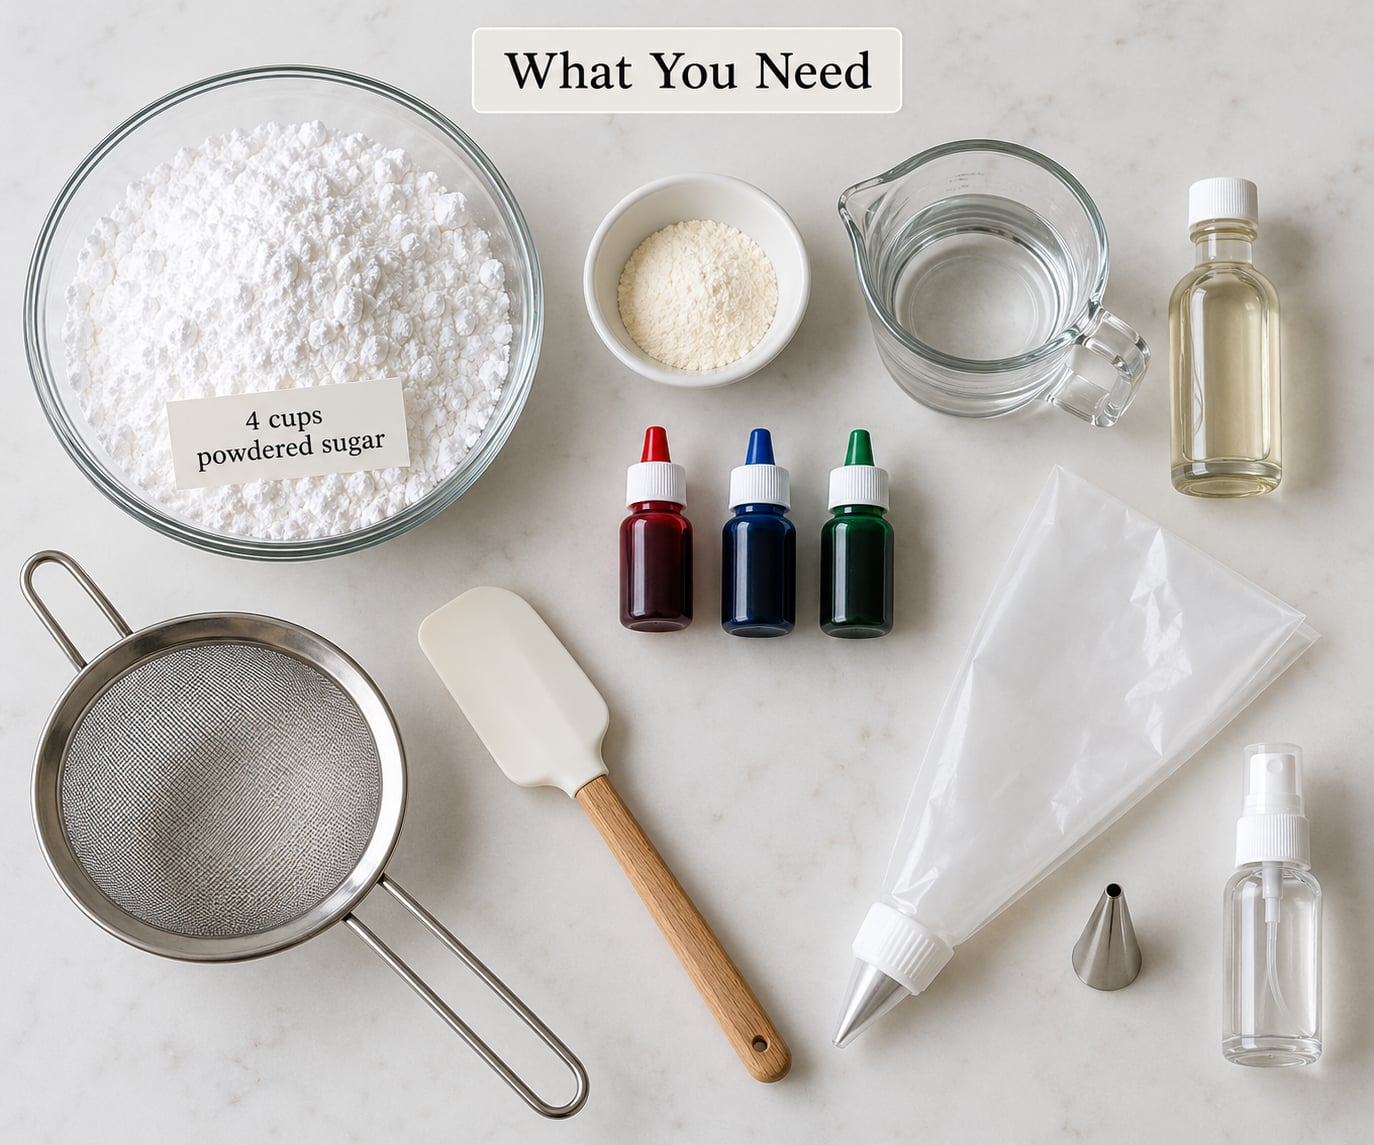
Ingredients, with weights and swaps
Weigh the sugar if you can. Cups of confectioners’ sugar vary by a surprising amount between brands, and that variation is the number one reason home bakers think their meringue powder is faulty when it isn’t.
| Ingredient | Amount | Metric | Swap |
|---|---|---|---|
| Confectioners’ sugar | 4 cups | 480 g | None. Granulated sugar will not work. |
| Meringue powder | 3 tbsp | 21 g | 4 large egg whites, about 120 g, with only 1 to 2 tbsp water |
| Clear vanilla extract | 1 tsp | 5 ml | Almond or lemon extract for a different cookie |
| Water | 2 to 4 tsp | 12 to 24 ml | Milk or lemon juice for a softer, less crisp set |
| Glycerin | 1 tsp | 5 ml | Leave it out for the crunchiest shell |
| Gel food coloring | To taste | — | Liquid drops work but will thin the icing and dull the color |
Meringue powder, egg whites, or a boxed mix
Meringue powder is dried, pasteurized egg white with sugar and gums added, so it is shelf-stable and it does not carry the salmonella risk that raw egg white does. It is more forgiving than fresh egg whites and more stable in the bag, but it needs slightly more sugar to reach the same piping thickness. Many bakers add an extra tablespoon of sugar when they use it.
Fresh egg whites are slightly cheaper and they produce a very slightly more tender shell. The catch is that raw whites are a food-safety question and the volume varies with the eggs themselves, which is exactly the kind of unpredictability that makes beginners give up on the recipe.
A boxed royal icing mix behaves like meringue powder with the ratios already worked out. It is a good first run if you have never piped before, mainly because you cannot over-thin it by much before something goes wrong.
Tools worth having
A stand mixer or hand mixer with a whisk attachment, a fine sieve, a rubber spatula, small food-safe bowls, and a small spray bottle of water. The spray bottle is the single most useful beginner tool there is, because it lets you add water one drop at a time instead of guessing by the teaspoon. Nobody ever overthinned by one drop — they overthinned by one whole drizzle.
For tips, a #3 round is the workhorse for borders, dots and shells, and a #2 gives you a finer line for writing and detail. A coupler lets you swap tips without rebuilding the bag.
On allergies: meringue powder and pasteurized egg whites avoid raw egg, and royal icing contains no nuts, so it suits a nut-free decorating table. Always check the label on your meringue powder, since some brands process it in a facility that handles nuts.
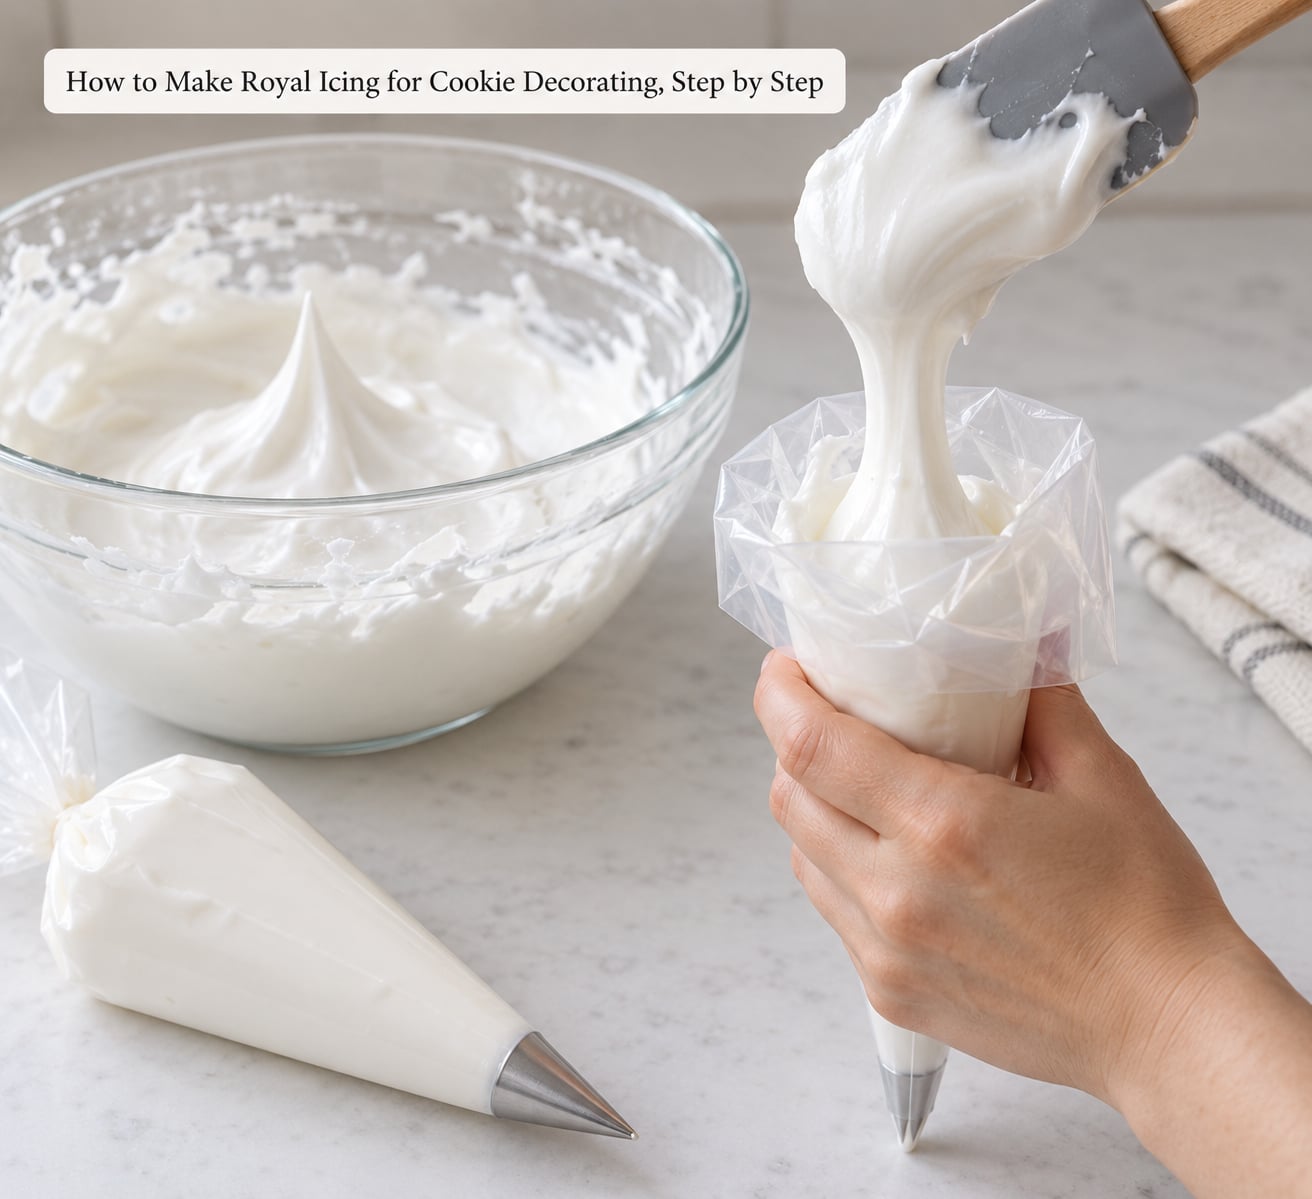
How to Make Royal Icing for Cookie Decorating, Step by Step
How to Make Royal Icing for Cookie Decorating: Sift and Combine the Dry Ingredients
Sift the confectioners’ sugar through a fine sieve into a large bowl. It takes an extra minute and it is the difference between smooth icing and gritty icing, because powdered sugar clumps into hard little nodules that never break down in the whisk.
Add the meringue powder and whisk it through the sugar until the dry mix is uniform, with no white streaks sitting on top. Everything should look like one pale, even powder before any liquid goes in.
Add Liquid Gradually: The Step That Decides How to Make Royal Icing for Cookie Decorating Pipeable
Pour in the clear vanilla, then set the mixer to low. Add water one teaspoon at a time with the mixer running, and stop to scrape the bowl down after every addition. Sugar takes time to hydrate, so the icing often loosens a minute or two after you think it is finished.
Here is where most people go wrong. The instinct is to keep adding liquid until the icing drips nicely off the spoon, which produces a glaze, not royal icing. You want the thickest icing you can still pipe, and the difference between those two things is about two teaspoons.
Mix Until Smooth and Dense
Beat on medium-high for a full 5 minutes, scraping the bowl two or three times. Sugar is abrasive and it needs that time to break down fully; under-mixing leaves you with a slightly gritty paste no matter how long you sift.
Lift the spatula and the icing should hold a stiff peak that curls over but keeps its point. Turn the bowl upside down over the counter and nothing should fall out. Stop at five minutes. Beat to seven or eight and the icing goes puffy and foam-like, and that foam dries unevenly — some cookies harden overnight while others stay tacky for days.
Color, Taste, and Adjust
Divide the icing into small bowls before coloring, because gel color concentrates fast and it is impossible to un-tint. Use gel rather than liquid drops: liquid coloring is mostly water, so it thins the icing and dulls the finish, and it is the reason a batch that looked great in the bowl looks blotchy on the cookie.
Add a toothpick of color, mix fully, then wait a minute before judging it. Color deepens as it sits. If the icing tastes strongly of vanilla and you want a bright white, you used regular brown vanilla — clear extract fixes it.
Adjustments are simple. Too stiff for the tip you chose? Add water a drop at a time from the spray bottle. Too thin to hold a line? Sift in a tablespoon of sugar and mix it in completely. Never dump a large scoop of sugar into wet icing, because the dry pockets take forever to dissolve and you will pipe them as lumps.
Pipe, Spread, and Store
Fill a piping bag two-thirds full, twist the top, fit the coupler and the #3 tip, and squeeze from the top of the bag so you control pressure with your whole hand rather than your fingers.
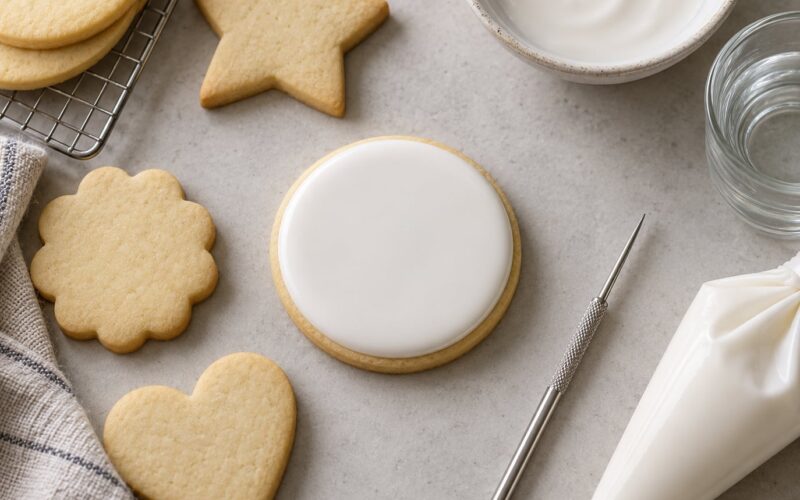
For a flood, thin a small portion of icing until it runs off the spoon in a slow ribbon and settles flat within about 10 seconds. Put the flood in a squeeze bottle or a small cup, spread it to the edge with a scoop or offset spatula, then tap the cookie on the counter a few times to release bubbles and let the icing settle level.
Keep the main bowl of icing covered with a damp towel or plastic wrap while you work. A thin crust forms within minutes, and the crusted layer is what makes the next scoop lumpy.
Transfer leftovers to an airtight container and press plastic wrap directly onto the surface of the icing. At cool room temperature it holds about a week; in the fridge it holds two weeks, though it may need a stir and a few drops of water. Meringue-powder icing filled into sealed piping bags reportedly keeps up to two weeks at room temperature, which is how most people decorate a wedding cookie table over two evenings without remaking anything.
Common Mistakes
Almost every ruined batch traces back to one of these nine things.
- Lumpy icing. Usually unsifted sugar or sugar dumped into wet icing. Sift first, and add any extra sugar in small spoonfuls mixed completely.
- Gritty icing. Under-mixed, or coarse low-quality meringue powder. Give it the full five minutes with a whisk, not a paddle, and buy a finer powder if it stays sandy.
- Icing that runs off the cookie. Too much water, or added too fast. Add powdered sugar a spoonful at a time, then re-test.
- Cracks in the finished cookie. Over-whipping past five minutes, or a cookie baked too long and too dry. Pull the cookies at the pale-golden stage and let them cool completely before icing.
- Craters in the flood. The base flood dried fully before you added the next layer, or the flood was too thin. Thicken it, tap the cookie to settle, and start the next layer once the base is dry to the touch but not hard.
- Blotchy or dull color. Liquid drops instead of gel, color added to icing that still had dry pockets, or too many colors stirred together in one bowl. Use gel, and let each color sit a minute before you judge it.
- Pink-tinged white icing. Regular brown vanilla extract. Use clear vanilla and a small scoop of bright white gel color.
- Air bubbles in piped lines. Bag filled too full or squeezed too hard at the top. Fill two-thirds, and rest your squeezing hand on the counter for steadier pressure.
- Clogged tip. Icing too stiff for that tip, or a dried plug from previous use. Run the bag under warm water, or push the plug out with a pipe cleaner from the back.
One more that comes up constantly: icing that peels off the cookie when you lift it. That is almost always a warm cookie. Royal icing needs a completely cool surface, and even ten minutes of residual warmth will weaken the bond.
And if you want a softer finish rather than the paper-crisp shell that can be tough on older teeth and very young children, add 2 to 3 teaspoons of corn syrup or extra glycerin, or let the cookies sit in front of a fan for an hour after the icing sets.
Frequently Asked Questions
Do I need meringue powder to make royal icing?
No. Four large fresh egg whites work in place of 3 tablespoons of meringue powder, and you will need less added water because the whites carry their own liquid — usually only 1 to 2 teaspoons. Fresh whites give a very slightly more tender shell, but they carry raw-egg risk, so use pasteurized egg whites if anyone eating the cookies is pregnant, elderly or very young.
How do I make royal icing thicker without making it lumpy?
Sift in extra powdered sugar a tablespoon at a time and mix on low until it disappears completely. Adding several tablespoons at once creates dry pockets that survive into the piping bag and pipe out as lumps. If the icing is already very stiff, sifting a little more sugar in usually smooths it as the sugar absorbs the remaining moisture.
Why is my royal icing too thin to hold a piping tip?
Because you added liquid too fast. Pour the runny icing back into a clean bowl and sift in powdered sugar a spoonful at a time, mixing fully between each addition. If you have already lost the original proportions, mixing in a dry scoop of meringue powder and a little extra sugar brings it back quickly and adds no extra moisture.
Can I use royal icing on cookies that contain nuts?
Yes. Royal icing itself is sugar, protein, water and flavoring, with no nuts, so it is generally a safe choice for people avoiding nuts. The nut risk on a nut cookie comes from the cookie itself and from cross-contact during baking and decorating. Check that your meringue powder is not processed in a facility that handles nuts if the cookies will be shared with someone with a severe allergy.
How long does homemade royal icing take to dry?
Expect six to eight hours for it to be touch-dry, and up to 24 hours for it to harden all the way through. A fan pointed at the cookies cuts that considerably, and a dehydrator on its lowest setting does it fastest. Let cookies sit overnight before stacking or transporting them, since trapped moisture in a closed box is what makes icing sticky and dull.
Can I make royal icing ahead of time?
Yes, and most professional decorators do. Press plastic wrap directly onto the surface and store airtight at cool room temperature for about a week, or refrigerate for up to two weeks. Filled piping bags, sealed with a rubber band and covered, reportedly stay usable for up to two weeks at room temperature with a meringue-powder recipe. Before reusing, knead or stir it and add water a drop at a time if it has stiffened.
Conclusion
Start by weighing 480 g of confectioners’ sugar and sifting it with 21 g of meringue powder. That first step takes two minutes and it decides whether the rest of the batch goes smoothly.
Then add the vanilla, add water one teaspoon at a time, and beat for exactly five minutes — no more. If you only make one thing from this guide, make the spray bottle. Almost every disappointing batch of royal icing traces back to liquid added too quickly to save.
Before you decorate a full batch of cookies, mix up one small test batch and pipe a border and a flood on a single cookie. Let it dry overnight, check the finish, and only then commit to the whole tray.