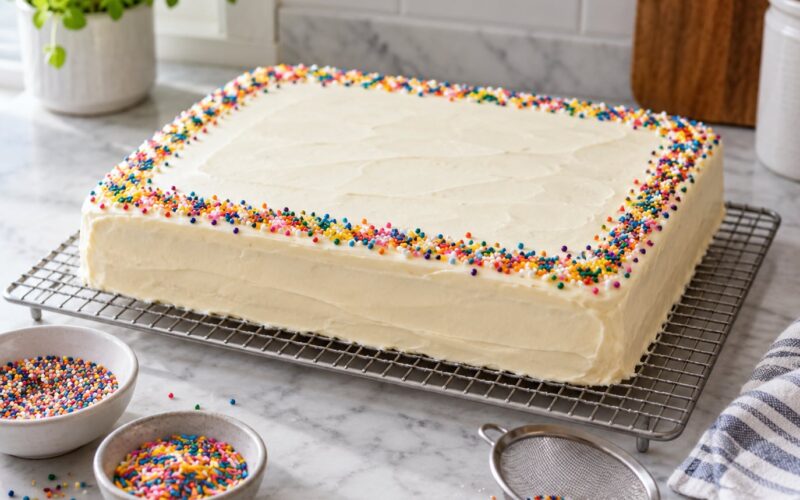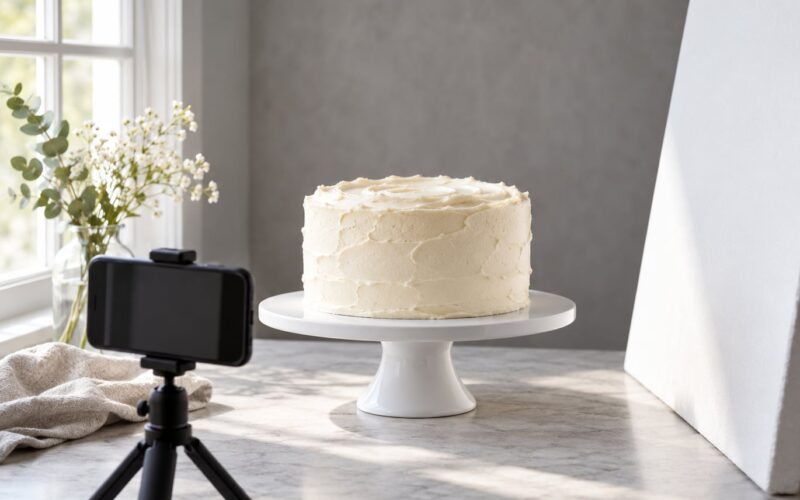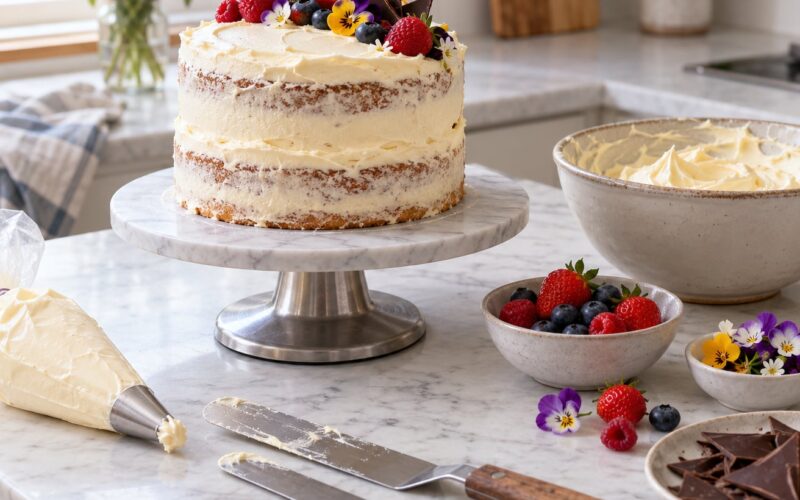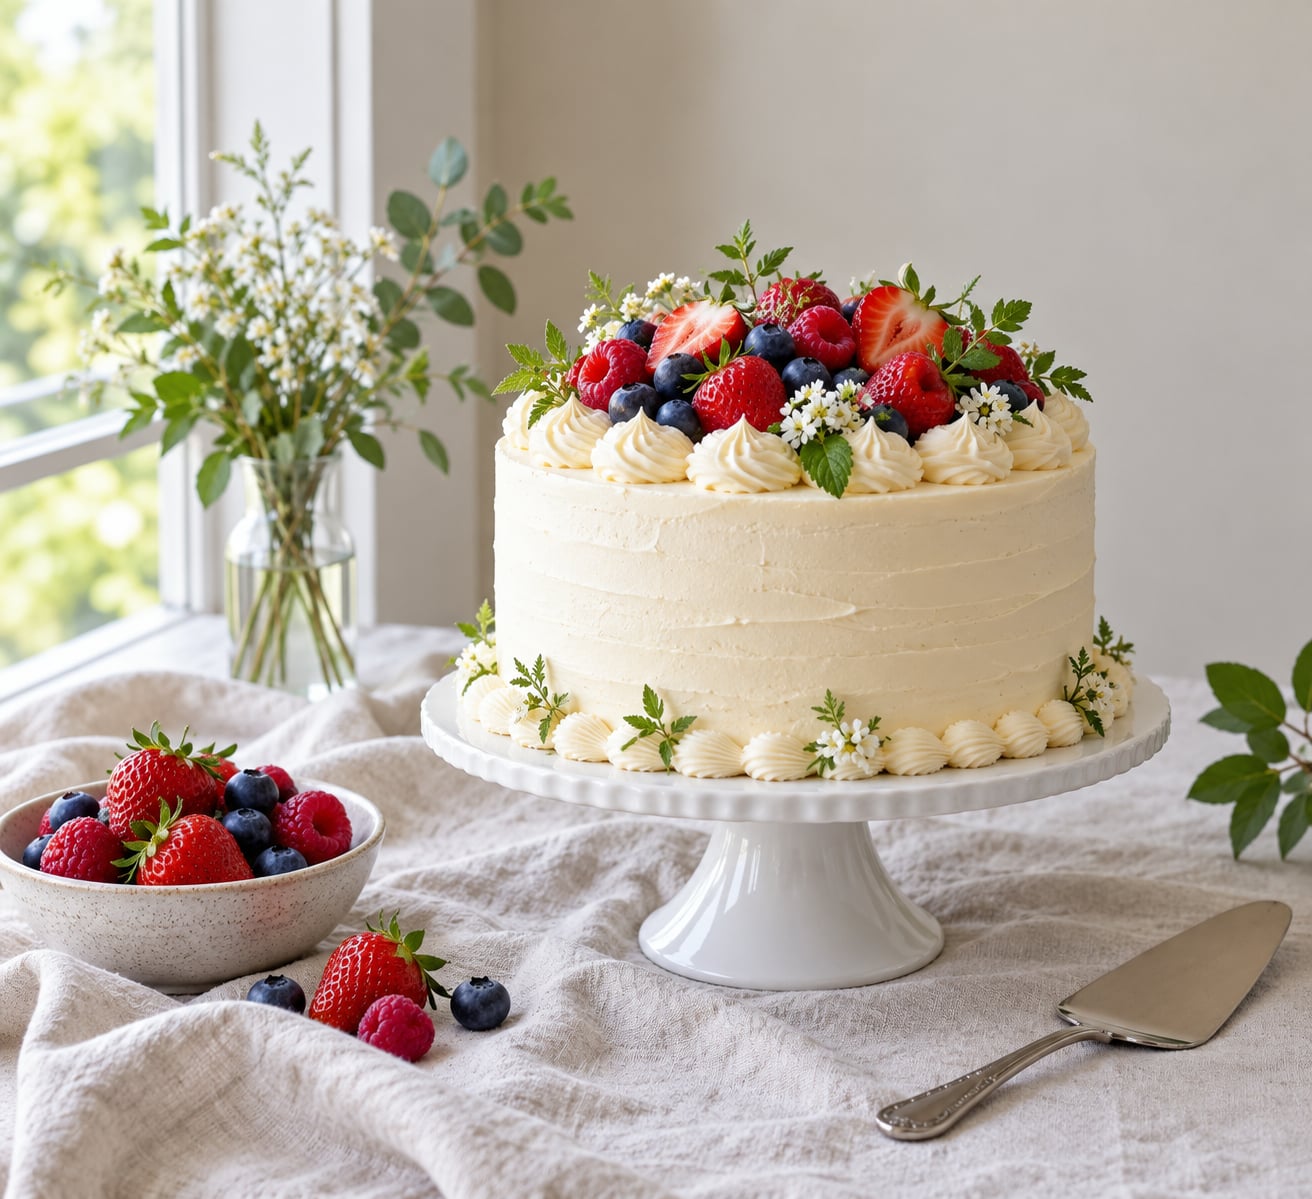
The best cake photo comes down to three things: soft light from a side window, a plain background with nothing else in frame, and an angle matched to the height of the cake. Shoot the cake while the frosting still looks perfect, take one hero view plus a 45-degree and a straight-on view, and keep your phone on a tripod or a stack of books so nothing shakes.
That is the whole method, and it costs nothing beyond a window and ten minutes. Anyone asking how to take good photos of their cakes assumes they need better gear, and gear is the least of it. On baking forums the most repeated piece of advice is not about lenses or cameras, it is about moving the cake closer to the window and turning off the kitchen light.
Below is the whole process in order, from chilling the cake to exporting the file.
Table of Contents
- What You Need
- Step-by-Step: How to Take Good Photos of Your Cakes
- 1. Prepare the Cake and Choose a Clean Setting
- 2. Set Up Soft, Directional Light for Cake Photography
- 3. Build a Simple Background and Composition
- 4. Focus on the Cake and Use the Right Camera Settings
- 5. Photograph the Main Views
- 6. Check the Photo Before Taking More
- Common Mistakes and How to Fix Them
- Frequently Asked Questions
- What is the best way to photograph a cake?
- Do I need a tripod to photograph a cake?
- Can I take good cake photos with just my phone?
- What background is best for cake photos?
- How do I photograph a tiered or tall cake?
- How do bakeries get pictures on cakes?
- Conclusion
What You Need
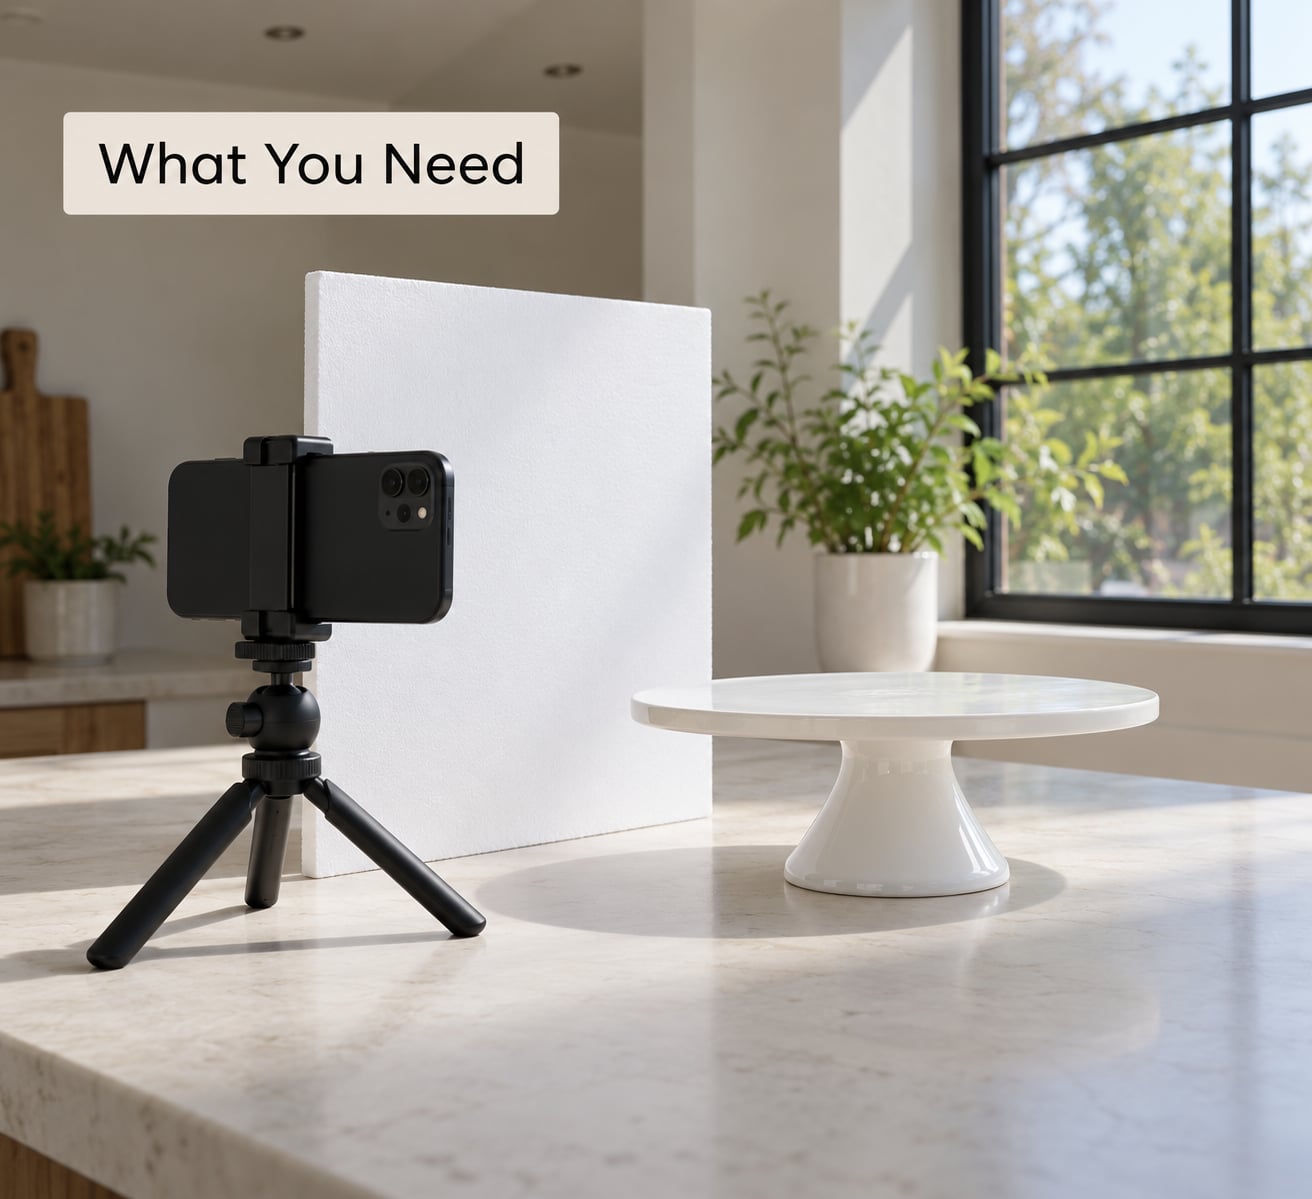
None of this is expensive and most of it is optional. Gather it once and a shoot takes minutes.
- A phone camera. Current phone cameras handle a cake in daylight perfectly well. The default camera app is fine.
- Something to steady the phone. A small tripod, a phone clamp, a heavy book or a stack of two mugs all work. Holding the phone in your hand is the main reason cake photos come out soft.
- A white foam board or a sheet of white card. This is your reflector. It lifts the shadow side of the cake so it does not go flat and grey.
- A plain backdrop. A sheet of paper, a plain wall, a linen cloth or a large piece of unpatterned fabric in a single colour.
- A cake stand or a flat cake board. A turntable makes it easy to shoot all sides without touching the cake.
- A clean, sharp knife. You will want it for the slice shot, which is the one photo that shows the crumb and filling.
- Something to diffuse the light. A sheer net curtain or a roll of baking paper taped over the window softens harsh sun. Even a frosted bathroom window works.
If you only have a phone and a window, that is genuinely enough. Everything above just makes the result more repeatable.
Step-by-Step: How to Take Good Photos of Your Cakes
Work through these in order rather than jumping to the shot. Each stage assumes the one before it, and skipping ahead to styling is why most cake photos end up with a beautiful cake and a bad photo.
1. Prepare the Cake and Choose a Clean Setting
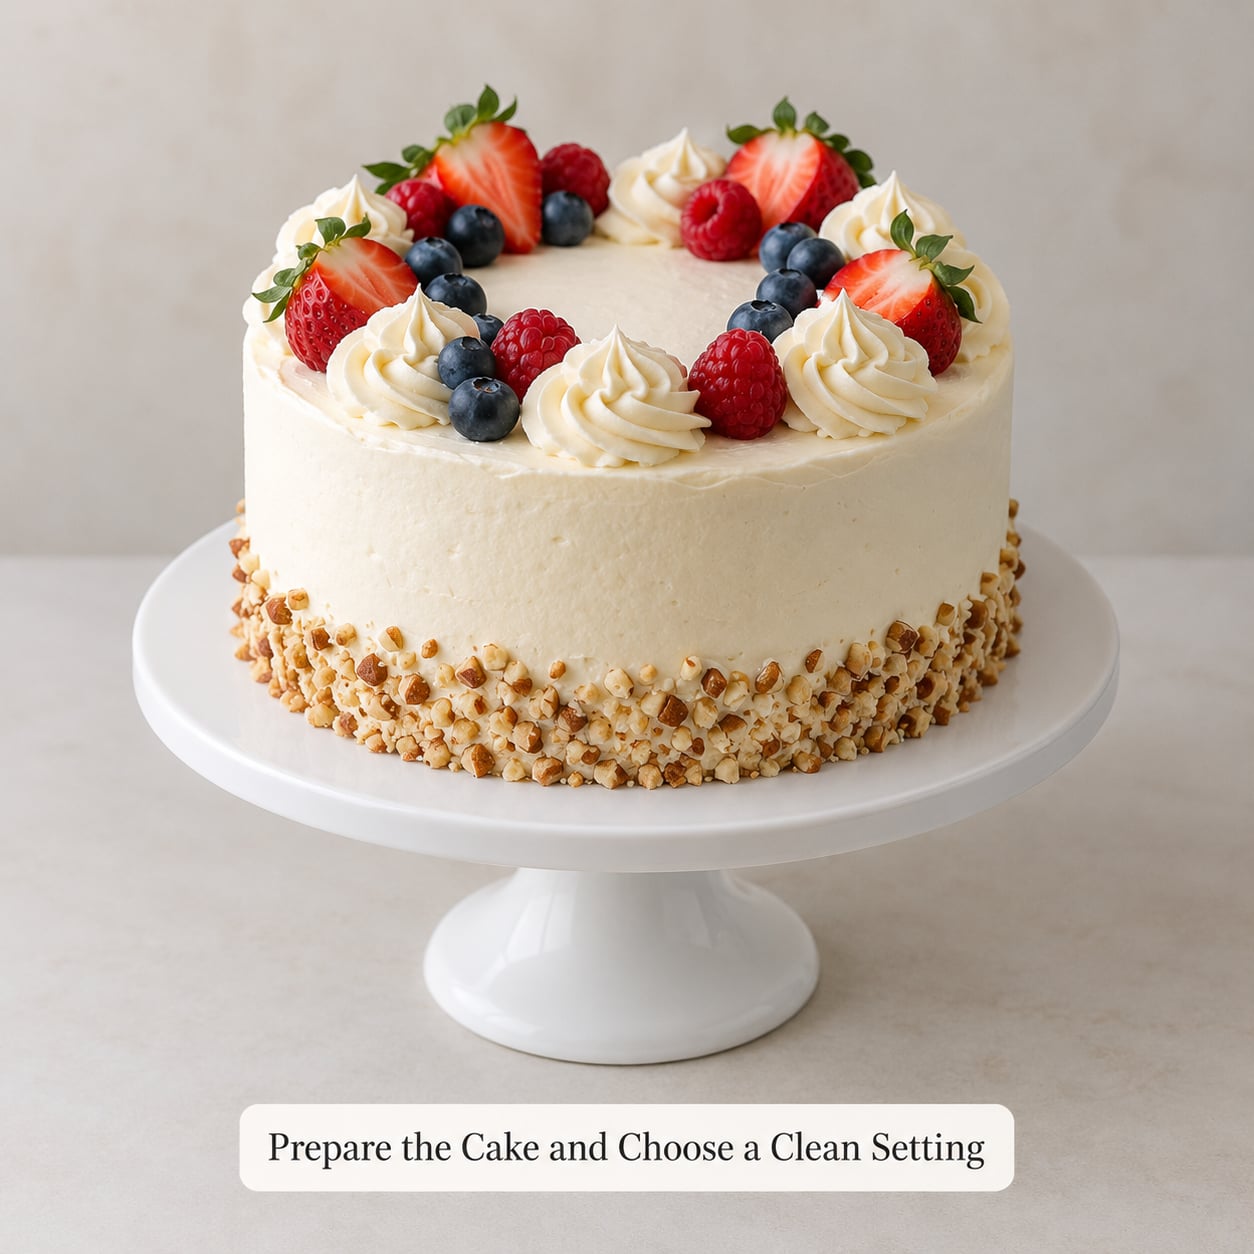
Chill the finished cake for 20 to 30 minutes before the shoot so the frosting firms up and it stops sliding when you turn it. Warm frosting smears at the first touch and drags over the board.
Run a finger or a pastry brush along the base of the cake and lift every crumb. Check the sides of the board too, since stray crumbs are the first thing the eye finds in a close-up.
Wipe the stand or board, put the cake on it, then clear the counter. Take away the rolling pin, the mixing bowls, the tea towel and the cooling rack. If you can see anything in frame that is not part of the shot, take it out.
Check the shot is a success when the cake stands straight, the board is clean, and the only thing within a foot of the cake is the cake.
2. Set Up Soft, Directional Light for Cake Photography
Put the cake beside a window rather than in front of it, so the light falls across the cake from one side. Light coming from directly behind the camera flattens the frosting and kills every bit of texture you decorated. Light coming from behind the cake makes it a dark silhouette.
A north-facing window gives the steadiest, softest light through the day because it never gets direct sun. An east or west window is fine if you shoot before or after the sun hits it. A south-facing window at midday is the hardest case, which is where a sheer curtain earns its place.
Switch off the ceiling light and any lamp in the room. Mixing warm kitchen bulbs with daylight is the number one cause of photos where the frosting looks the wrong colour, and bakers complain about it constantly on photography forums.
Then put your white foam board on the side away from the window, roughly 30 cm from the cake, angled slightly inward. The board bounces soft light back into the shadow side and you will see the difference in the preview before you even take the photo.
3. Build a Simple Background and Composition
Give the cake one plain surface behind it in a colour that is not the same as the frosting. Neutral tones such as soft white, pale grey, muted green or a light wood work for nearly everything. A strong background competes with the cake for attention.
Leave breathing room around the cake. Filling the frame edge to edge with nothing but cake can look good on a tall tiered cake, but on a small cake it loses all sense of scale and readers cannot judge the size.
Keep the line where your surface meets the backdrop level. A crooked horizon is the one flaw almost every viewer spots without being able to name it.
Props are optional and they have one job, which is to tell the reader when and where the cake is being served. A few berries, a dusting of sugar, one linen napkin and a small cake server is plenty. More than that and you have styled a scene instead of photographing a cake.
If you shoot tall cakes, push the backdrop a good 60 to 90 cm behind the cake so it stays clear of the widest point of the tier and you avoid wide-angle distortion.
4. Focus on the Cake and Use the Right Camera Settings
Tap the cake on the screen to focus on the front edge of the cake, not the middle of the frame. On most phones, tap and hold to lock focus and exposure so the brightness stays put as you move.
Skip portrait mode for the whole-cake shots. It blurs the edges of the cake and the board, which makes the shape look soft and slightly wrong. Portrait mode works for a single slice or a close-up of piping where a softer background genuinely helps.
Stay away from digital zoom. Every phone crops into its digital zoom and loses quality. Move the phone closer or use an optical lens instead.
If your phone has a pro or manual mode, these starting values work:
- Aperture: f/4 to f/5.6. Enough depth of field to keep the front and back of the cake sharp.
- Shutter speed: 1/125s or faster if you are shooting handheld, 1/60s is fine on a tripod.
- ISO: the lowest base number the camera offers, usually 50 to 100.
- White balance: set it to a daylight or cloudy preset rather than auto, so consecutive shots from the same session match.
- Exposure compensation: start around -0.3 EV and pull it further down if the white frosting keeps blowing out.
- Focus: single-point autofocus on the front edge of the cake.
On a phone without manual control, do the same job by hand. Tap the frosting, check the preview, then step back until the whole cake fits before you take anything.
5. Photograph the Main Views
A finished shoot should have a hero frame plus two supporting views. Shooting six or more is fine as long as you change only one thing between frames, which makes it obvious which change helped.
The 45-degree view is the workhorse. Raise the camera to just above the top of the cake, tilt it down about 45 degrees, and keep the lens at cake height rather than looking down from above your own head.
| Angle | What it shows | Best for |
|---|---|---|
| Straight-on (eye level) | Height and tiers, no distortion | Tiered and tall cakes, sheet cakes |
| 45-degree (three-quarter) | Top, side and texture together | Round layer cakes, most everyday cakes |
| Overhead (top-down) | The full design from above | Piped patterns, flat designs, cupcakes, tray bakes |
| Low (below cake level) | Height and drama | Tall cakes, drip and gravity cakes |
| Close detail | Piping, texture, edges and crumbs | Buttercream work, drips, textures |
| Cut slice | Crumb, filling and height of each layer | Layer cakes, sponges, filling flavours |
Shoot the cut slice last. Use a warm knife wiped clean between cuts, cut one wedge, and turn the slice onto its side on a small plate so the layers read from the front. Push a fork in at an angle if you like, but keep the crumb the main subject.
Turn the turntable a few degrees and shoot again between views. You will notice the difference between a decent frame and a good one in the preview on the second look.
6. Check the Photo Before Taking More
Before you take another photo, zoom in on the preview and check five things: is the front edge of the cake sharp, are the highlights on white frosting still showing detail, is the board level, is there anything in the background you would remove now, and is the colour of the frosting accurate to what you see in the room?
If the frosting is blown out, tap the darker area beside the cake and shoot again. If the whole frame feels flat, move the foam board closer to the shadow side rather than adding more light to the bright side.
Then take four or five versions of your best frame. Every small handheld movement, every nudge of the board, gives you options to pick from without touching the cake again.
Export, and keep the editing light. Crop any edge where the stand got clipped, lift the shadows a touch, add a small amount of vibrance, and pull the saturation back if the frosting has gone neon. Save one version of the edit you like and reuse it, because a consistent look is what makes a grid look like it belongs to one baker.
Common Mistakes and How to Fix Them
Your cake looks small and squat. The camera was held above the cake and angled down. Drop the camera to the height of the middle tier and shoot straight on.
The photo is too dark. You photographed in the evening or with the light behind the cake. Move to a window, or shoot earlier in the day. If you are shooting at night with no window, put the cake under a single lamp at 45 degrees and put a white board opposite to bounce light back.
White frosting is blown out and detail-free. Tap the cake to set exposure, then step back and down slightly until the preview stops flickering. Lock the exposure before shooting.
The photo is blurry. The phone moved during the shot. Put it on a tripod or a stack of books, tap to focus, hold still, and use a timer or the volume button to trigger the shutter.
There is a flash shadow behind the cake. Someone handed it back to you. Turn the flash off in settings, not just in the camera app, and never use it for a cake.
The frosting looks the wrong colour. You mixed a warm ceiling bulb with daylight. Switch off the indoor lights, or set white balance to daylight and accept a cooler frame, but do not mix the two.
The cake looks distorted at the edges. The phone was too close on a wide lens. Step back and zoom in optically instead of standing next to the cake.
The background is busy. Remove props, move the cake closer to a plain wall or sheet of paper, and give the cake space on one side of the frame rather than centring everything.
Your feed looks inconsistent. Different windows, backgrounds and filters. Pick one backdrop, one light direction and one editing preset, and repeat them for a month before changing anything.
Frequently Asked Questions
What is the best way to photograph a cake?
Place the cake beside a window so daylight falls across it from one side, switch off indoor lights, and put a white board on the shadow side to bounce light back. Use a plain background, shoot from a 45-degree and a straight-on angle, and keep the phone steady on a tripod or stack of books.
Do I need a tripod to photograph a cake?
No, but a shaky phone is the most common cause of soft cake photos. A small tripod, a phone clamp or a heavy book works. If you have none, rest your elbows on the counter, hold the phone with both hands, take a timer shot, and never pinch the phone with one hand.
Can I take good cake photos with just my phone?
Yes. In daylight beside a window, a current phone camera produces sharp, well-exposed images of a cake. Use the default camera, tap to focus on the front edge of the cake, lock the exposure, avoid portrait mode for whole cakes, and skip digital zoom by moving closer instead.
What background is best for cake photos?
A single plain surface in a colour that differs from the frosting, such as soft white, pale grey, muted green or light wood. Keep the join between surface and backdrop level, leave breathing room around the cake, and push the backdrop well behind tall cakes so it does not distort their shape.
How do I photograph a tiered or tall cake?
Shoot it straight on with the camera at the height of the middle tier so the tiers stack evenly instead of narrowing. Keep the backdrop 60 to 90 cm behind the cake, step back further than feels natural, and add a second low-angle frame from just above board level to show the height.
How do bakeries get pictures on cakes?
This question usually means edible photo printing, which is a different process. Bakeries print a photograph onto a frosting sheet, wafer paper or sugar paper using edible ink on a food-safe printer, then place the sheet on the cake. It has nothing to do with taking photos of a cake.
Conclusion
Start with one move: put the cake beside a window, switch off the kitchen light, and put a plain sheet of paper behind it. Shoot one frame straight on and one from 45 degrees, and compare them in the preview.
Most of how to take good photos of your cakes comes down to a window, a plain backdrop and ten steady minutes. Keep a handful of angles for every cake, add the cut slice at the end, and save one edit you like so the next photo matches it. That quiet block of time is the whole difference between a photo people scroll past and one that brings an enquiry.